Sourdough Ciabatta – Step by Step
Sourdough ciabatta is rustic and delicious, made with a sourdough starter, flour, water, salt, and olive oil. It is known for its chewy texture and irregular holes. Ciabatta is a versatile bread that can be used for sandwiches, toast, or as a side for soups and stews.
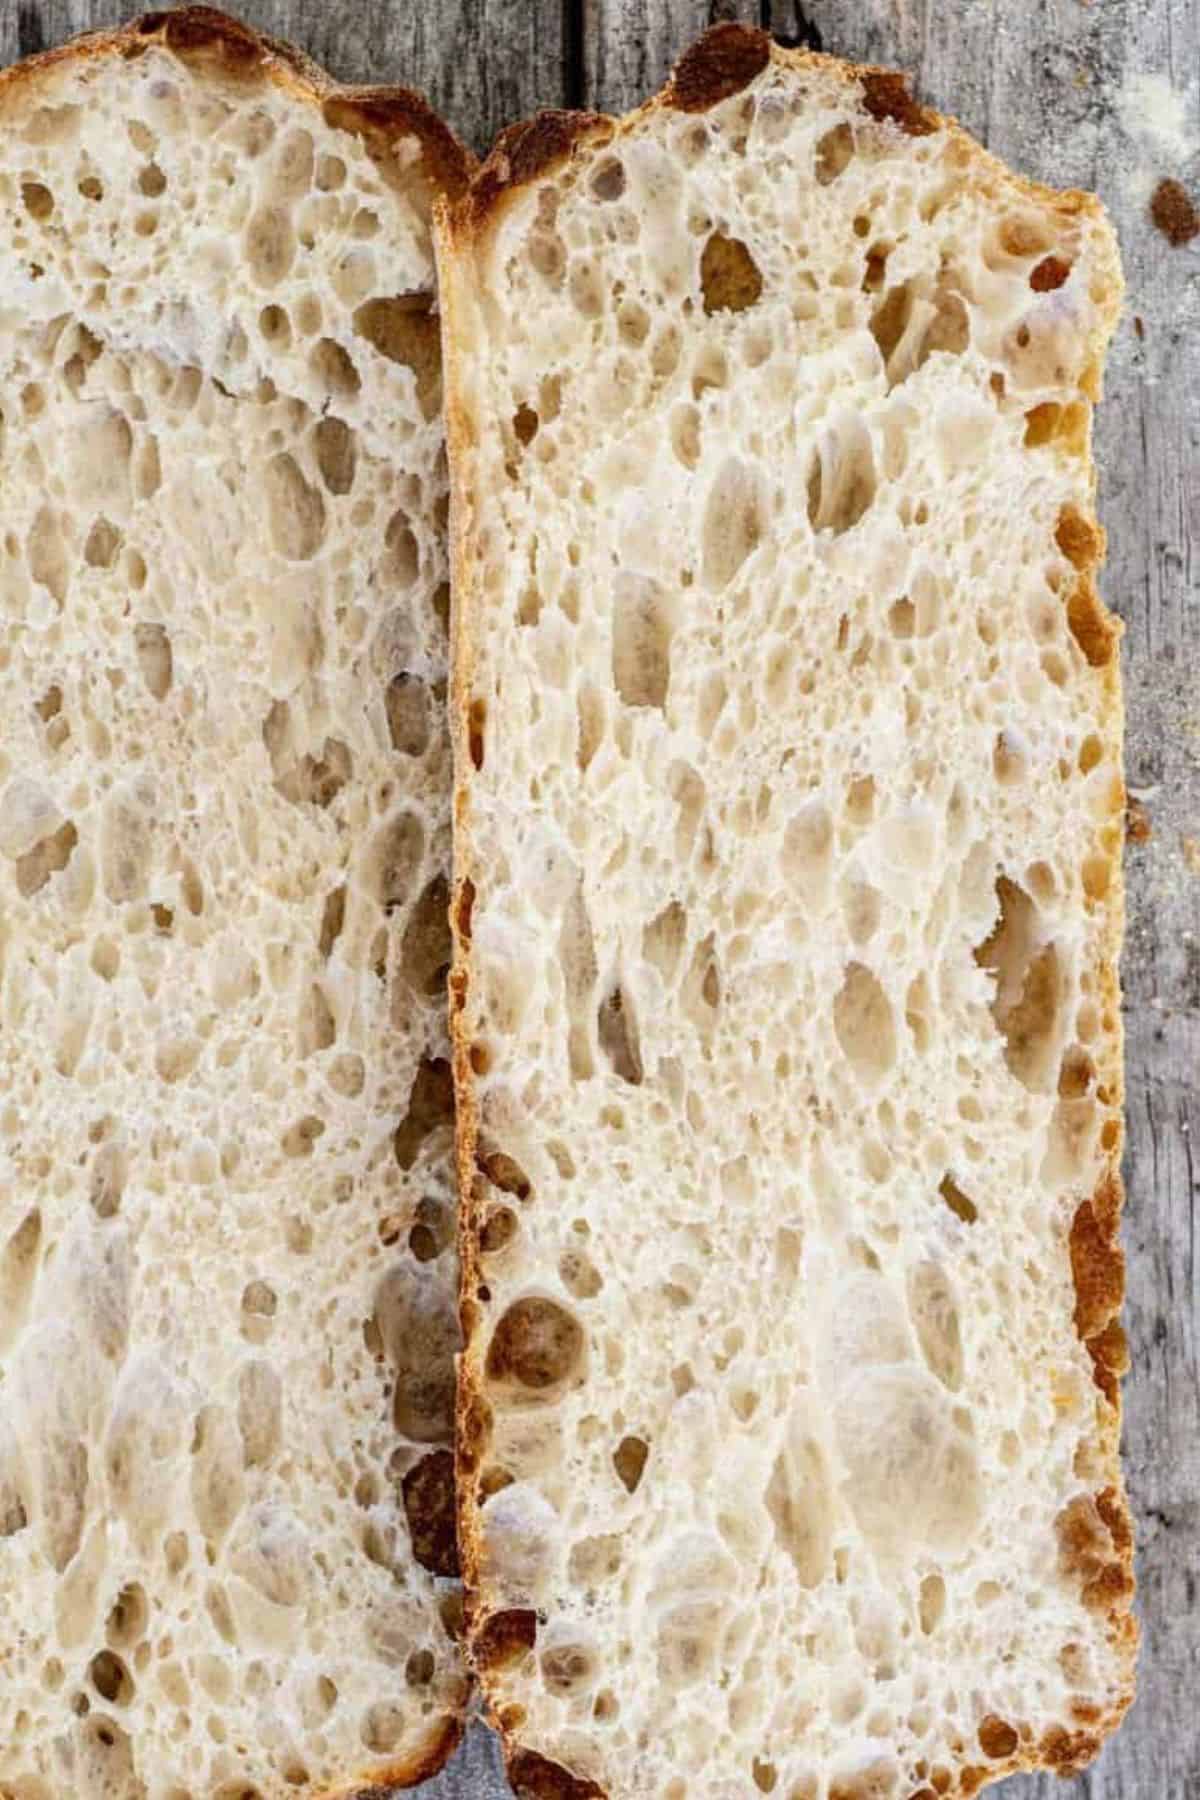
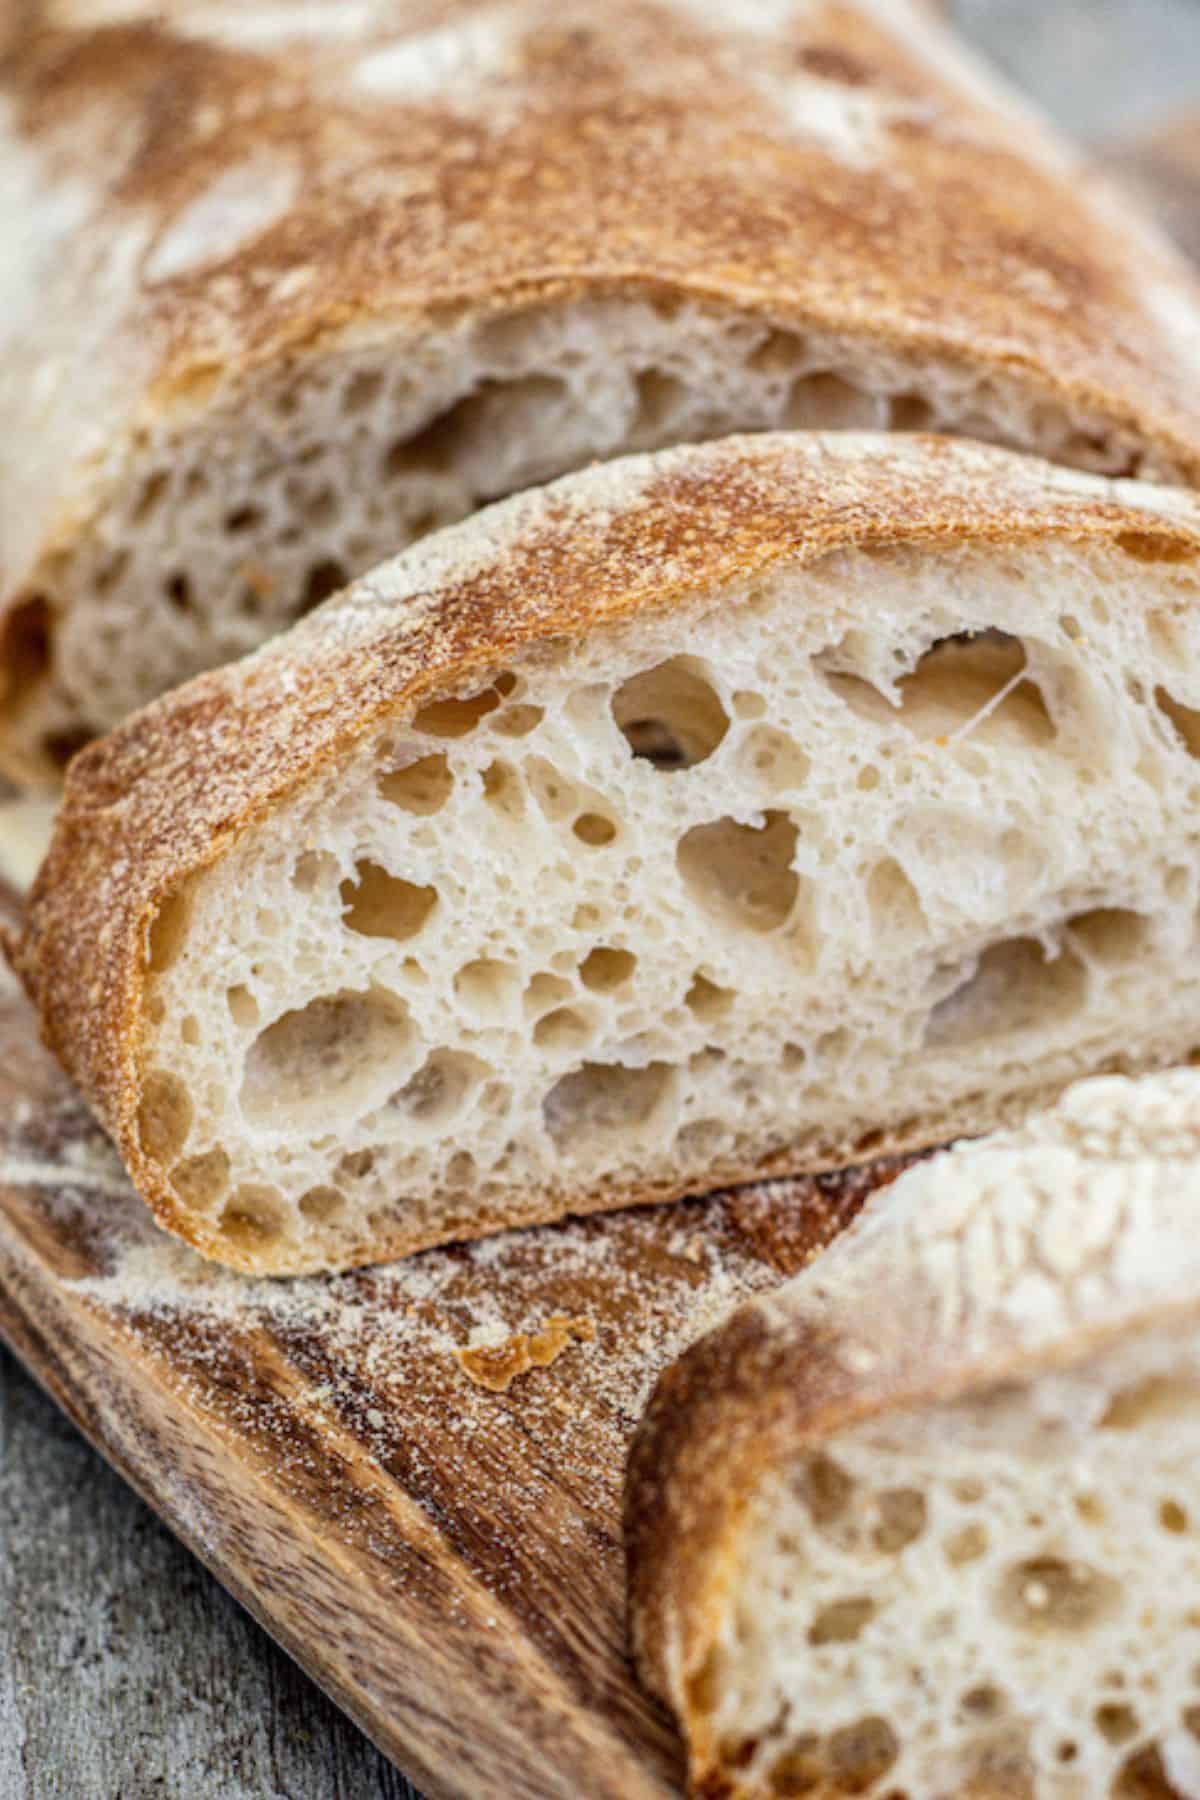
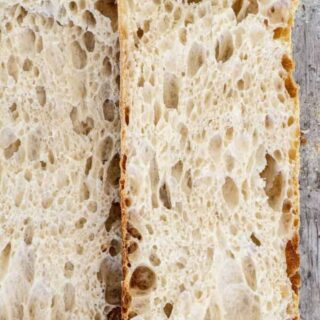
Ciabatta means ‘slipper’ in Italian, and I see why. Ciabatta is made with a very high-hydration dough. This wet dough spreads out into a long slipper shape, and the extra water is responsible for the ciabatta’s open crumb.
This sourdough ciabatta has a hydration of around 83%. It’s a fair bit wetter than my usual sourdough loaf recipe. I still make this by hand, though, without a mixer. The result is lovely, airy bread with large interior holes. It’s the perfect bread for sandwiches.
Ingredients
Find the amounts of the dough ingredients for this sourdough ciabatta recipe listed in the printable recipe card at the bottom of this post. Here is a rundown of what you will need.
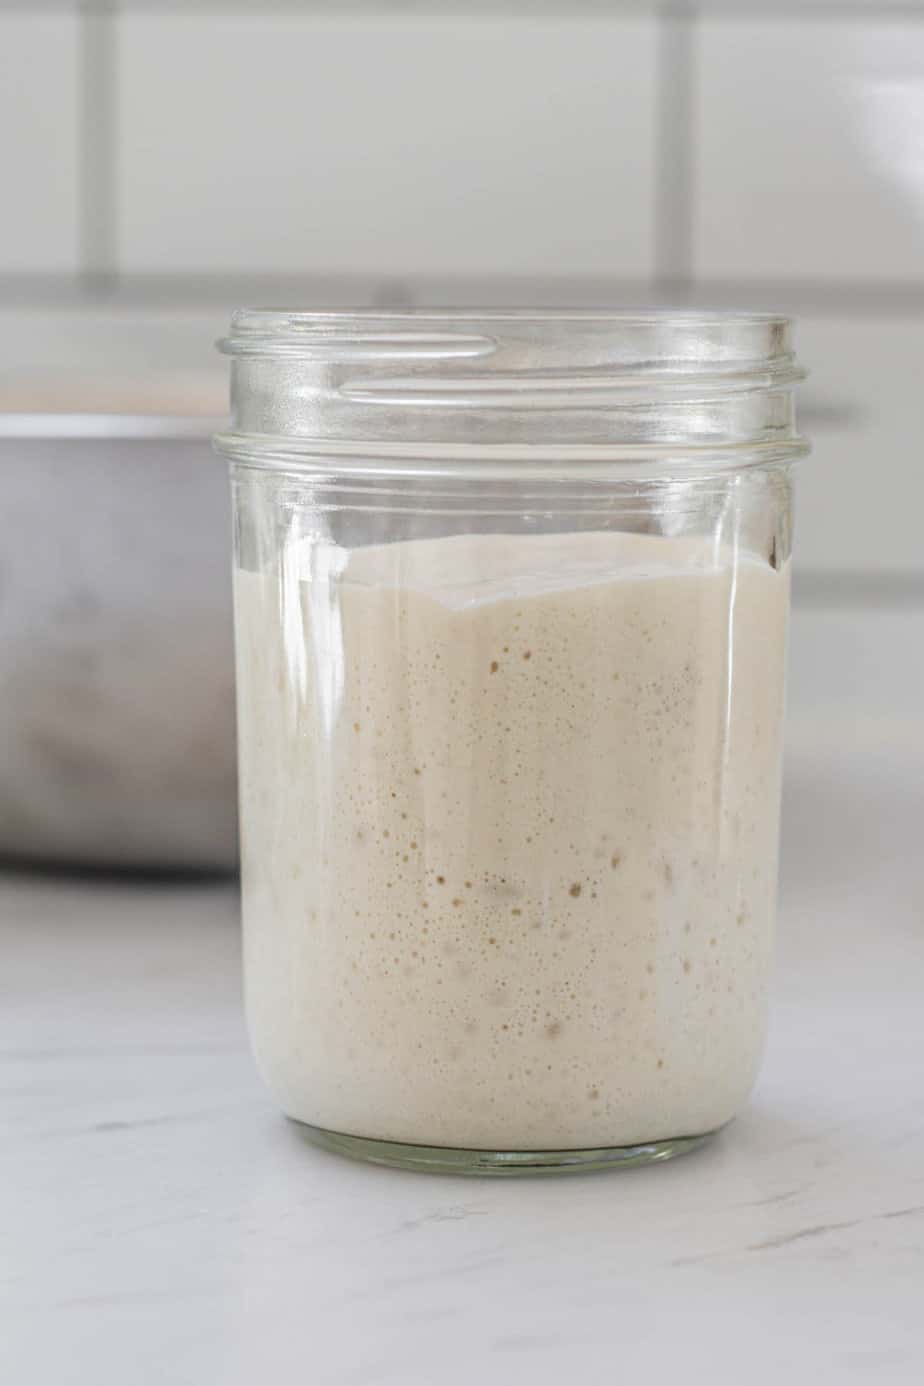
- Active sourdough starter. I use an active starter with low acid content with all my sourdough (unless it’s sourdough discard recipes). This means I keep my starter often refreshed, so the acid build-up stays low. Read more about sourdough starter maintenance. Mix ripe sourdough starter with flour and water and create a levain. This is the name for the separate mixture of sourdough starter, where the entire thing will be used in the dough.
- Bread flour or strong all-purpose flour ( You need a high gluten flour with a protein content of at least 11.5%.)
- Olive oil
- Water
- Salt
The sourdough ciabatta schedule
It’s a two-day process to make this sourdough ciabatta bread recipe. That’s the time needed to strengthen and ferment the dough well so your bread is airy, light, and delicious. Here is the baker’s schedule. Feel free to tweak it so it fits your schedule.
Day 1
- 9 am – Feed your sourdough levain and let it double
- 2 pm – Autolyze dough
- 3 pm – 7 pm – Bulk fermentation and first rise. You will fold the dough during this time, though you can also use a stand mixer with a dough hook.
- 7 pm – 8 am – Cold proof. This can be up to 24 hours. The longer the time left, the more tang the bread will have.
Next day
- 8 am – 9 am – Shape and final rise.
Method
Begin by feeding your levain so it has time to rise.
Mix the flour and water in a large mixing bowl into a sticky, shaggy dough when the starter has almost finished rising.
Cover the bowl and leave this dough to hydrate for 30-60 minutes. This step is called the autolyze.
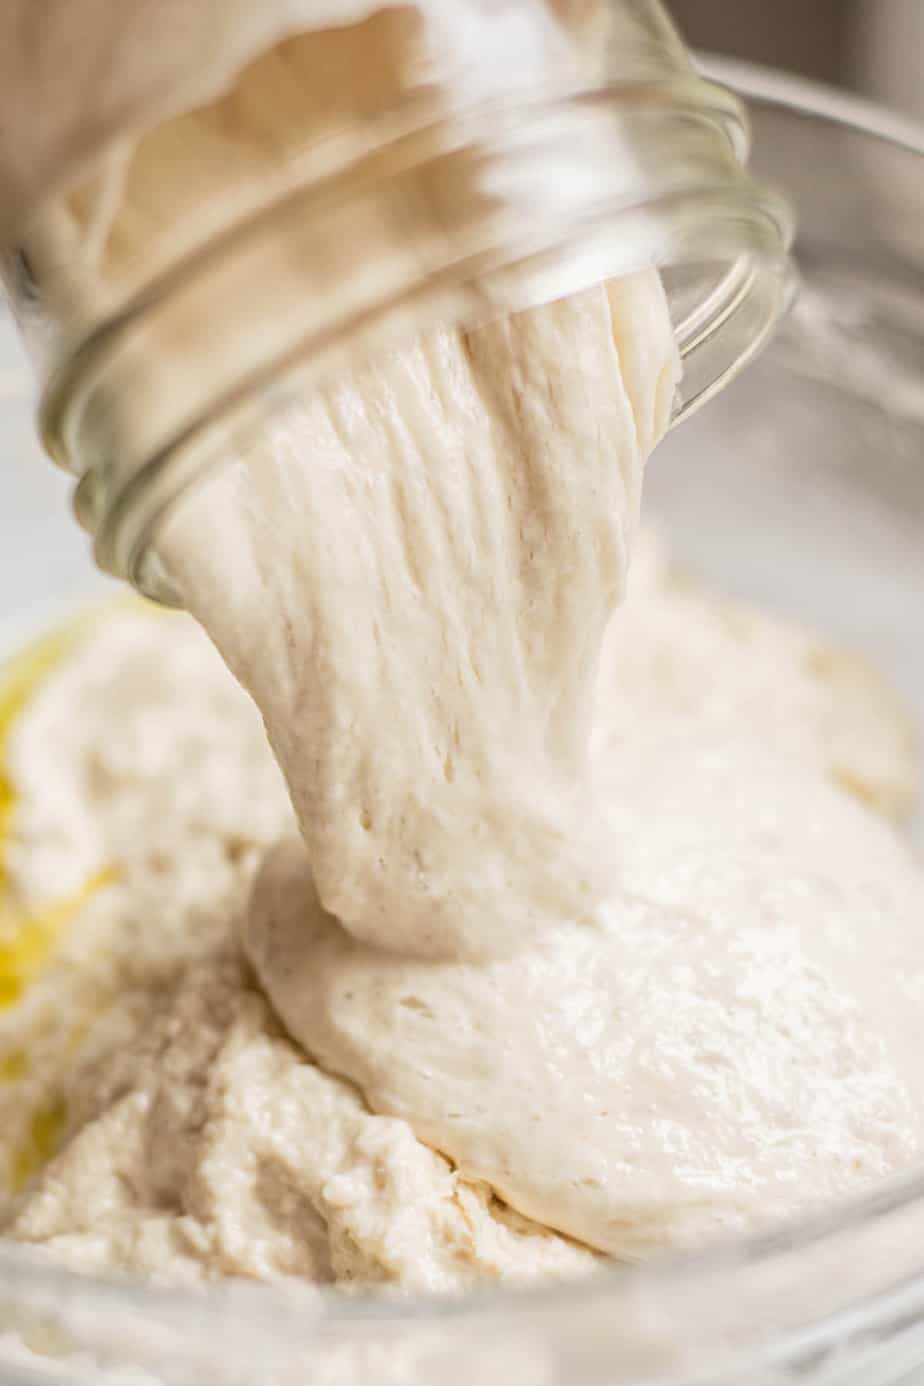
After the autolyze, add the salt, starter, and oil and squish it with wet hands until the sticky dough is well combined.
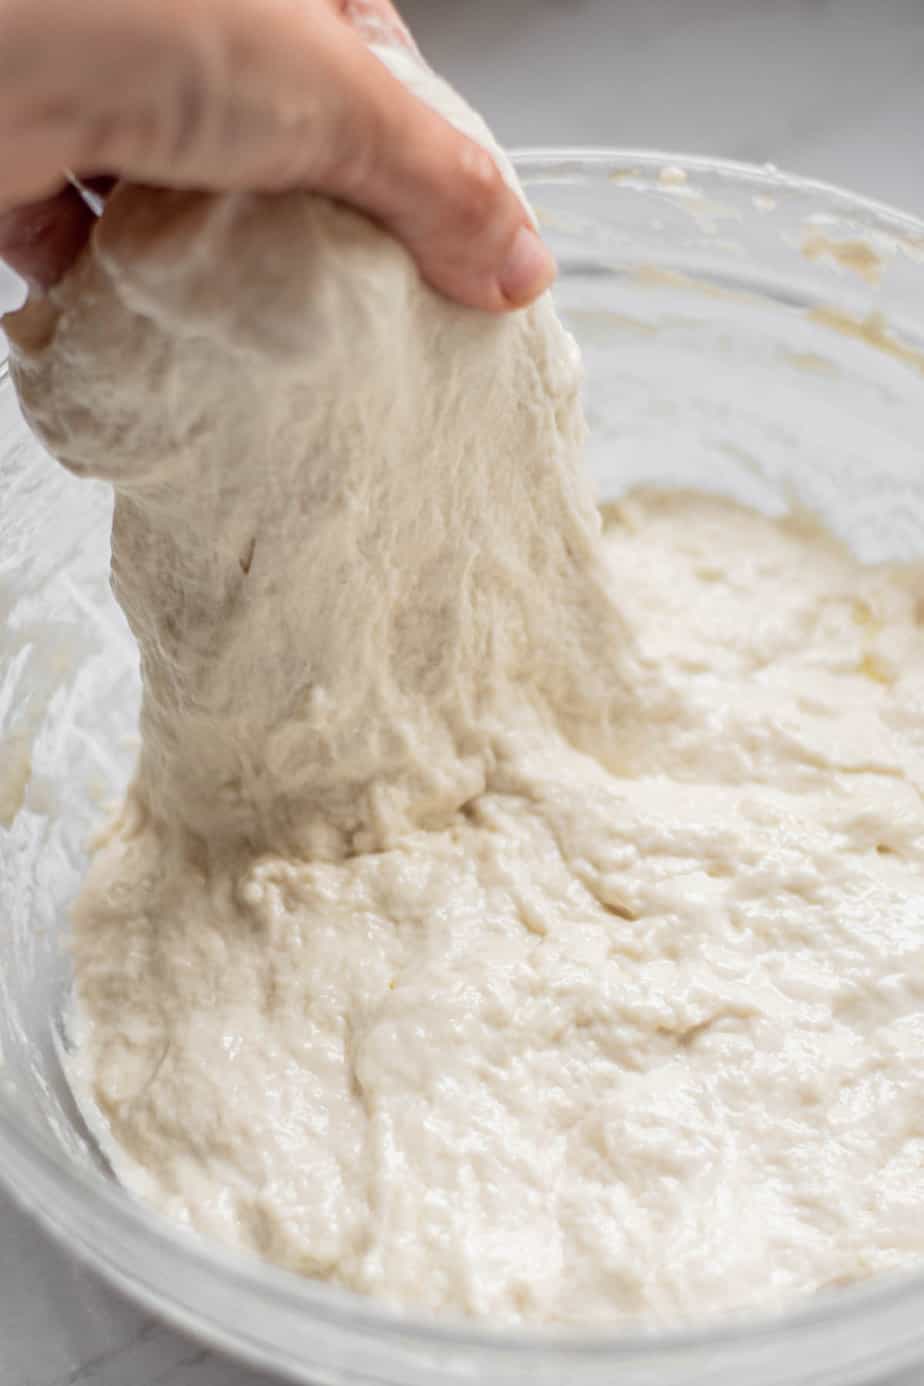
Leave the dough to rest for 10 minutes, then perform a set of stretch and folds or coil folds.
Using wet hands, take one side of the bread dough and stretch it up, then pull it over itself.
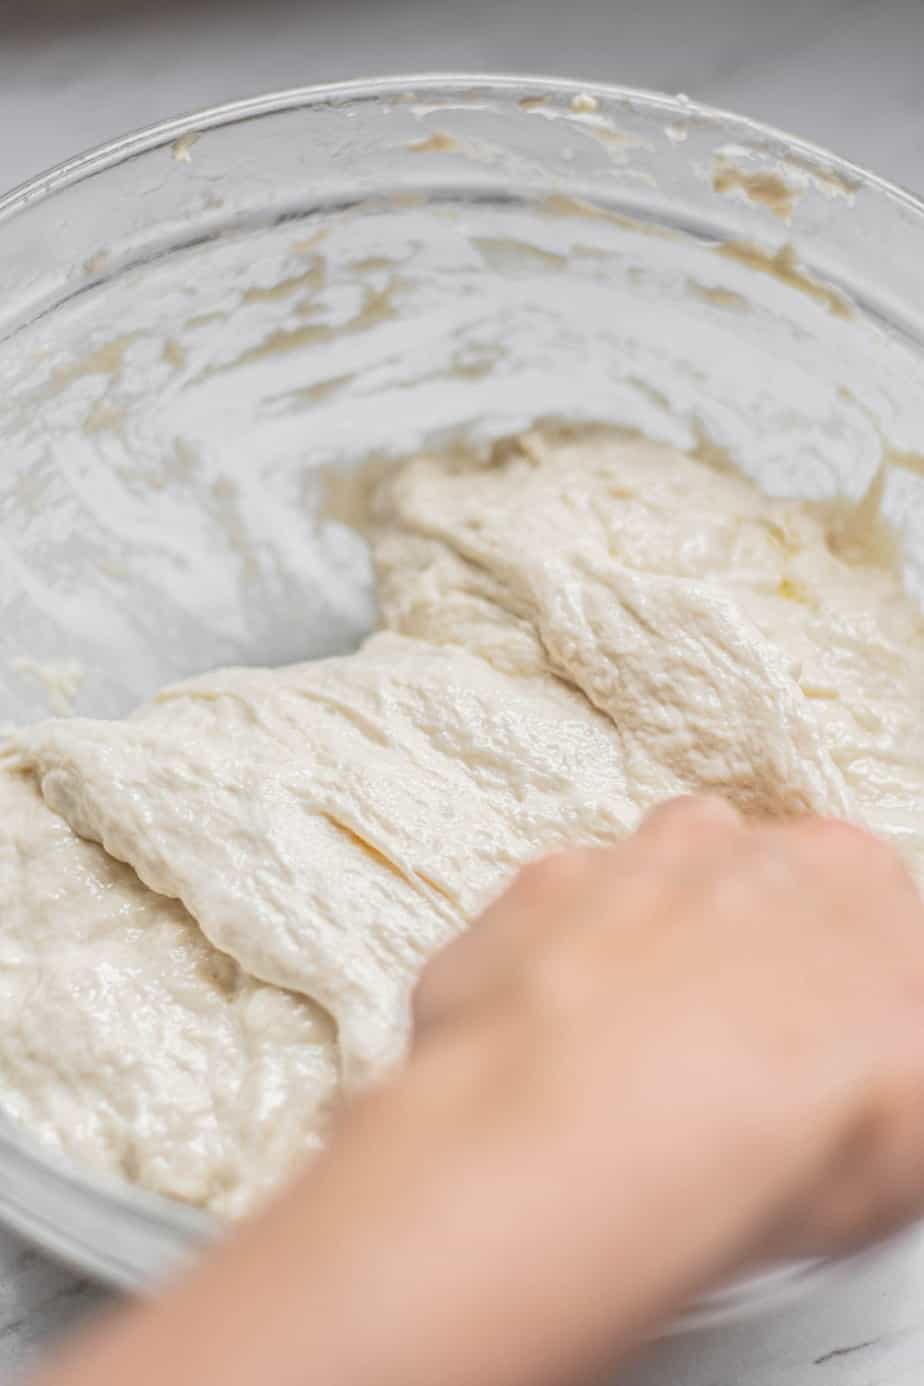
Turn the bowl a quarter turn and repeat this move. Continue stretching and folding, turning the bowl until all sides have been folded.
That is ‘one set’ of stretch and folds. Do this 4-5 more times over the next 2 hours.
Coil fold – Using wet hands, coax the sides of the dough up with your fingers and lift it from the middle and back onto itself. Turn the dough and repeat on all sides until it forms a ball. If the dough sticks too much to your hands, wet them again. See coil folding in action.
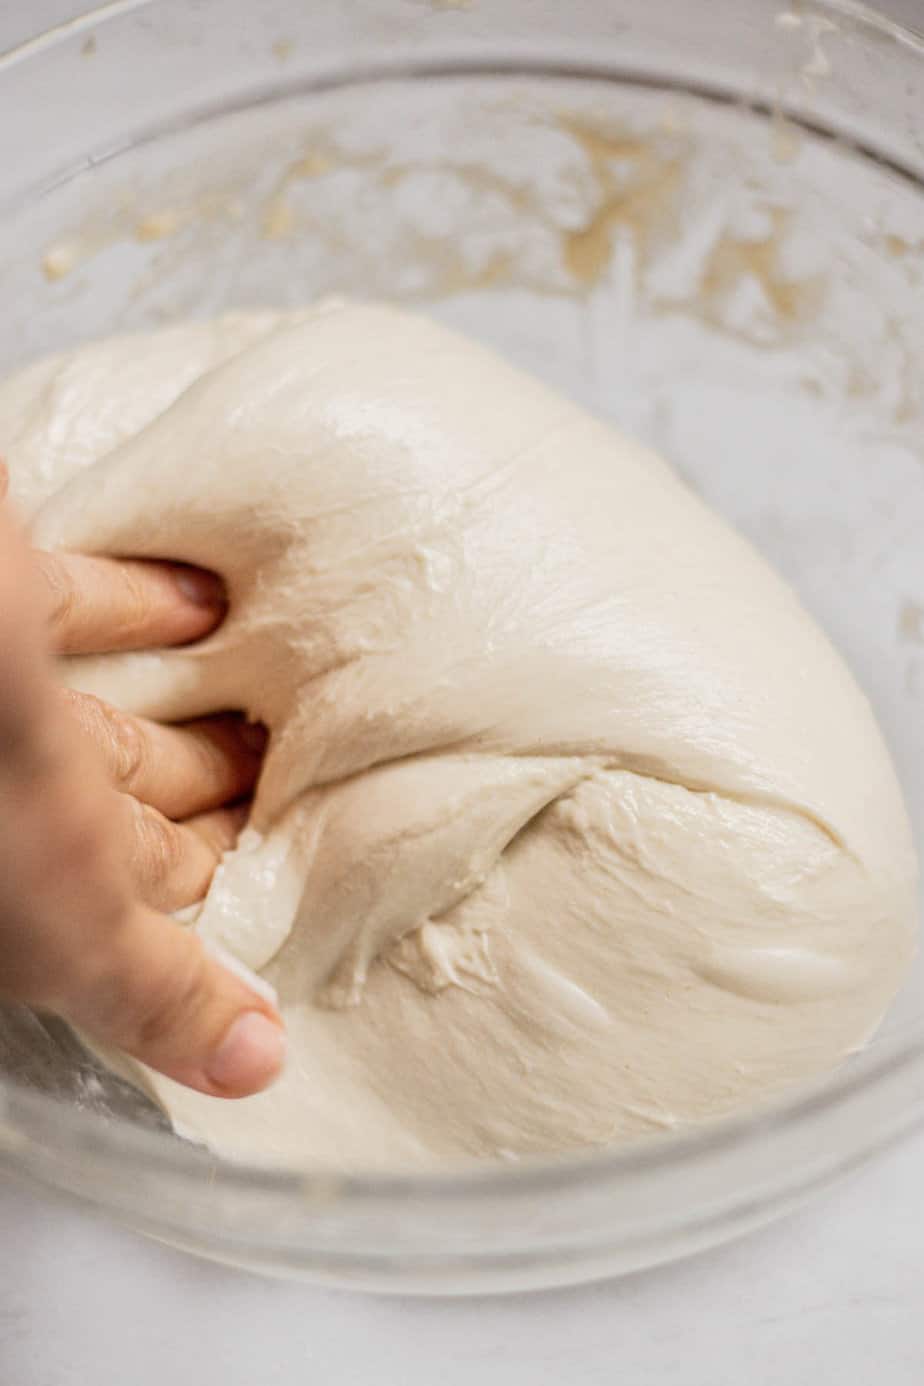
Even though it will start as a slack dough, if your starter is good, you will notice the incredible changes in the dough as it strengthens and gluten development happens. The first stretch and fold will be rough, but it will soon become a strong, elastic dough.
After the last fold, let the ciabatta dough rest on the bench until it has bulked out by around 50%. Cover the bowl tightly and transfer to the fridge overnight (or up to 24 hours)
Stand mixer
You can also use a stand mixer with a dough hook if you prefer not to fold it. After the autolyse period, knead the dough in the mixer for around 15 minutes until it’s strong and smooth and passes the windowpane test.
Then let it rest and bulk on the bench.
Shaping
After the cold proof, there should be plenty of signs of bubbles and fermentation.
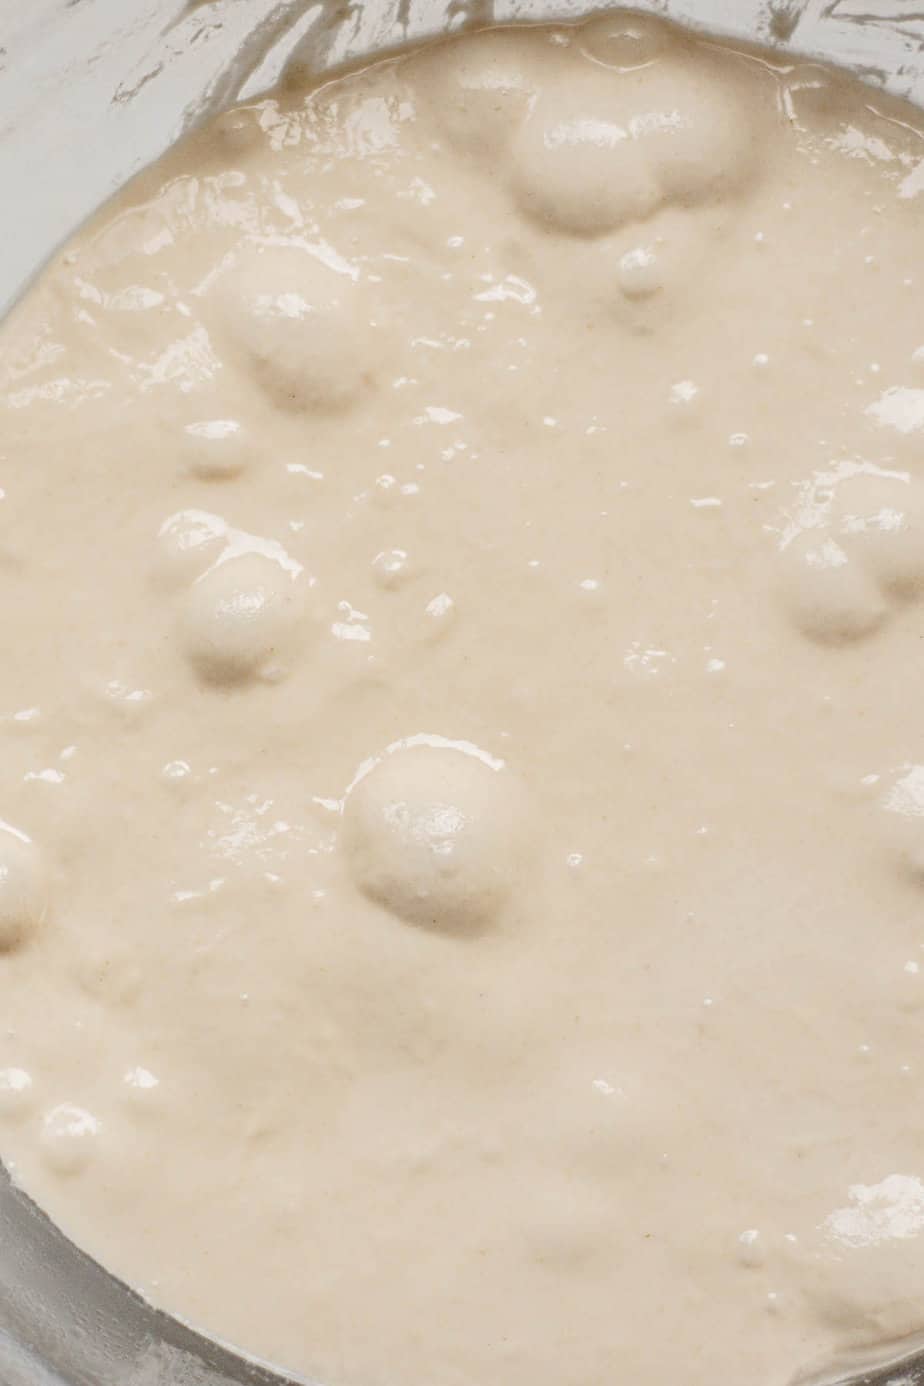
Tip the dough onto a well-floured work surface and generously dust the top of the dough with flour. Use a bench scraper to push the dough into a rectangular shape.
Line a baking sheet with parchment paper and dust the parchment paper with flour.
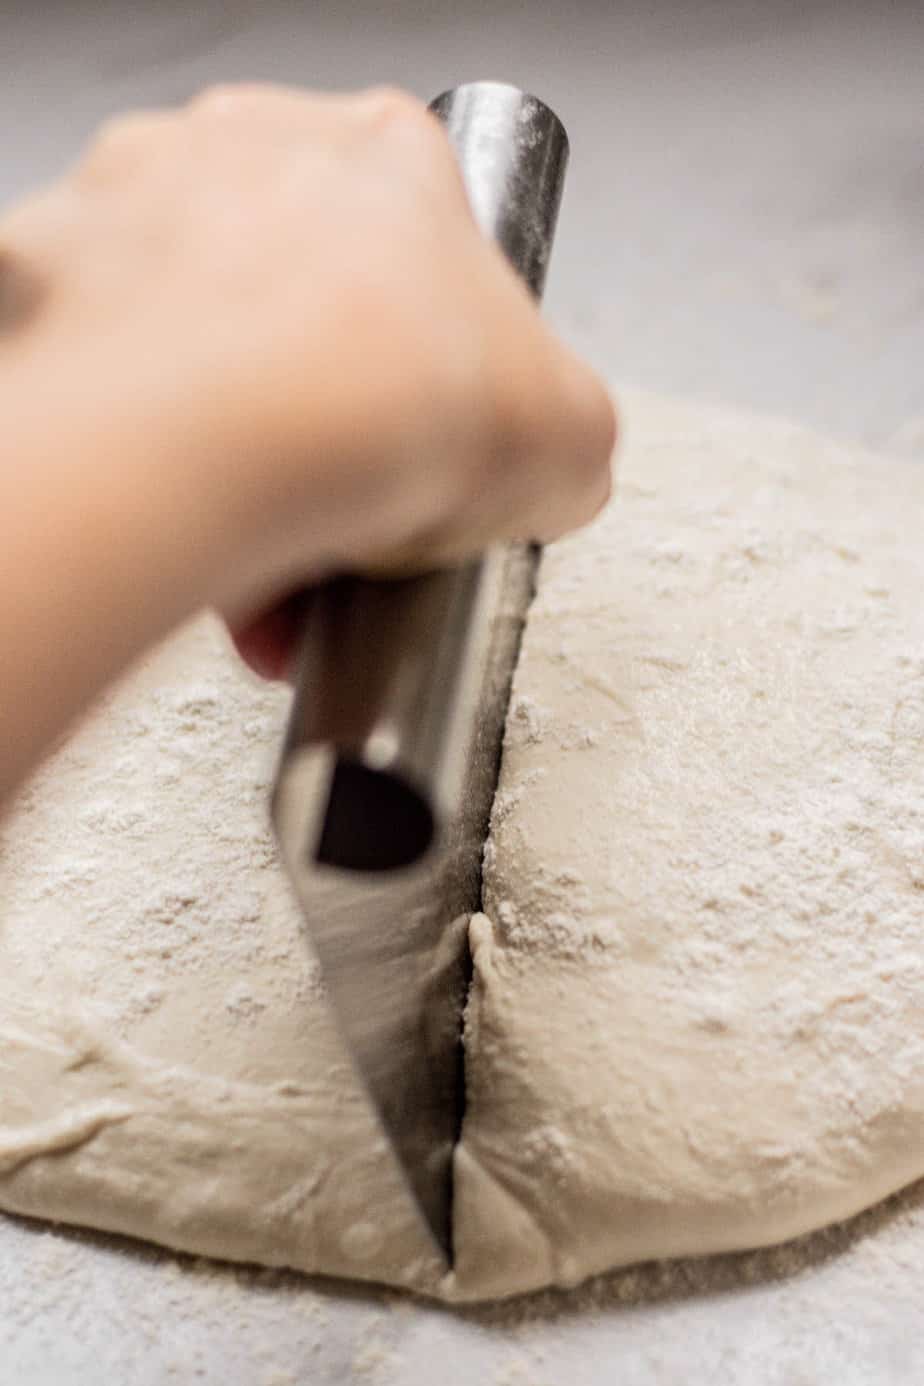
Use the bench scraper to cut the dough rectangle width-wise into 2 equal pieces.
Using floured hands, lay one piece on the parchment paper.
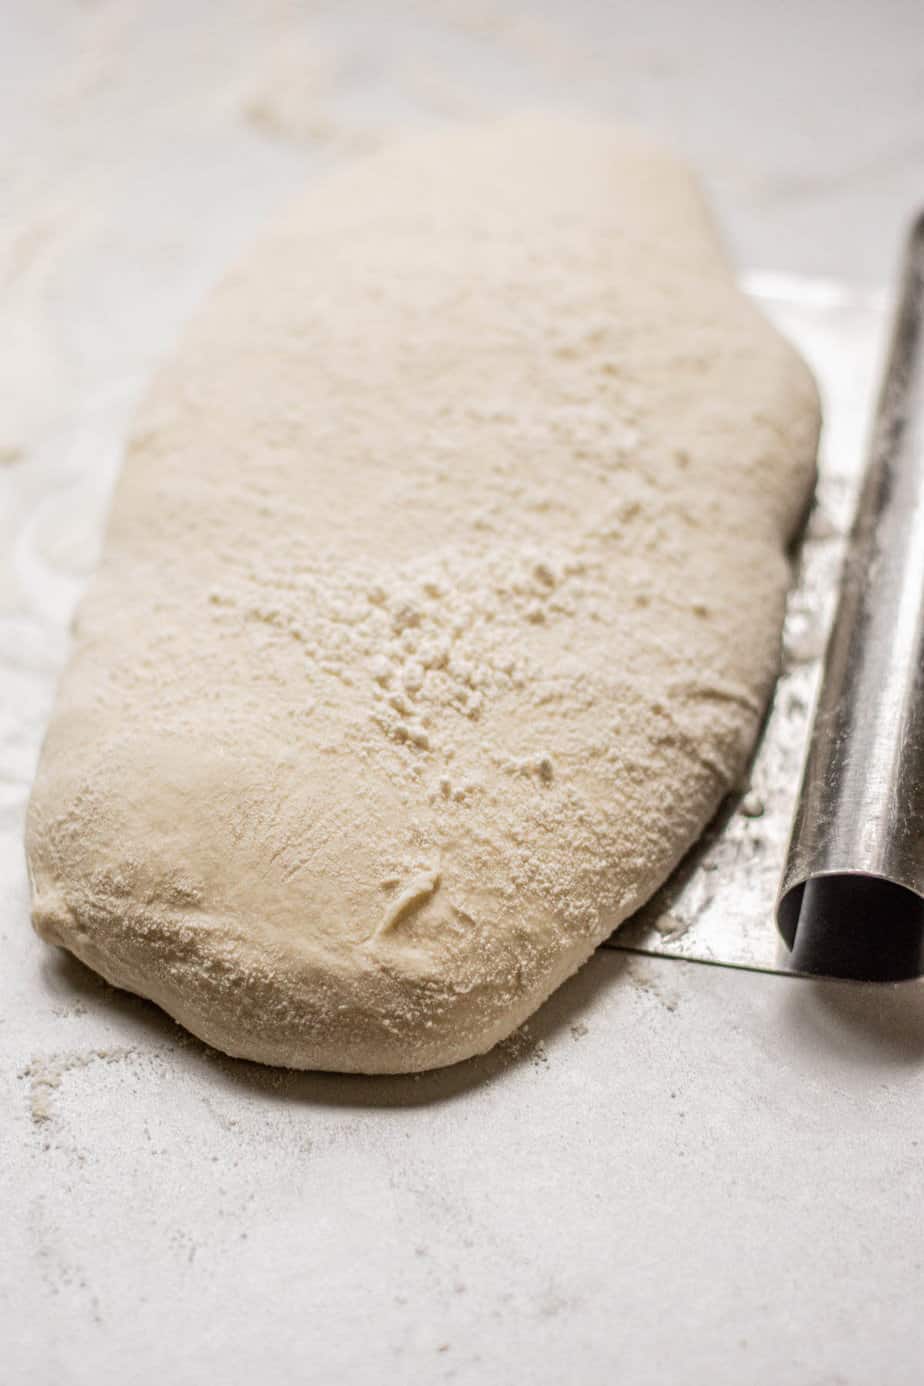
You can also use your bench scraper to help pick up the dough.
Stretch it out just a little as you lay it down. Repeat with the second piece.
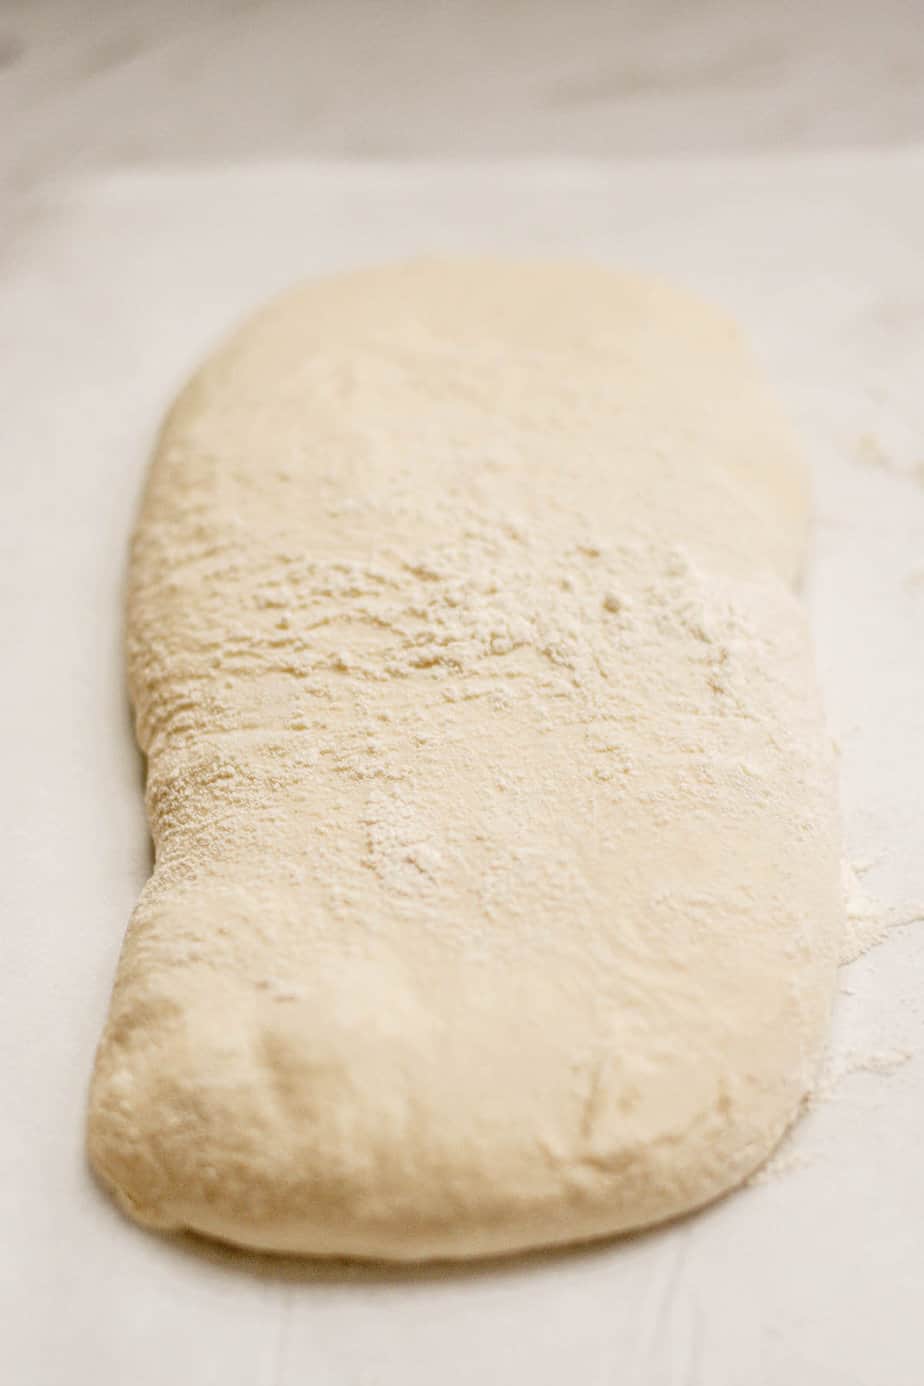
Cover the dough with a floured kitchen towel and let the dough sit at room temperature for around an hour until slightly puffy. If your kitchen is cooler, increase this to one and a half hours.
Baking the dough
Preheat an oven and a baking sheet to 230°C (450°F). Slide a board under the parchment paper with the dough when the oven is at temperature. Transfer the parchment to the preheated baking sheet.
Bake the loaves for around 25-30 minutes in the oven alongside a dish with an inch of water to create some steam while the sourdough ciabatta bakes. Take care when opening the oven door as the steam will rush out.
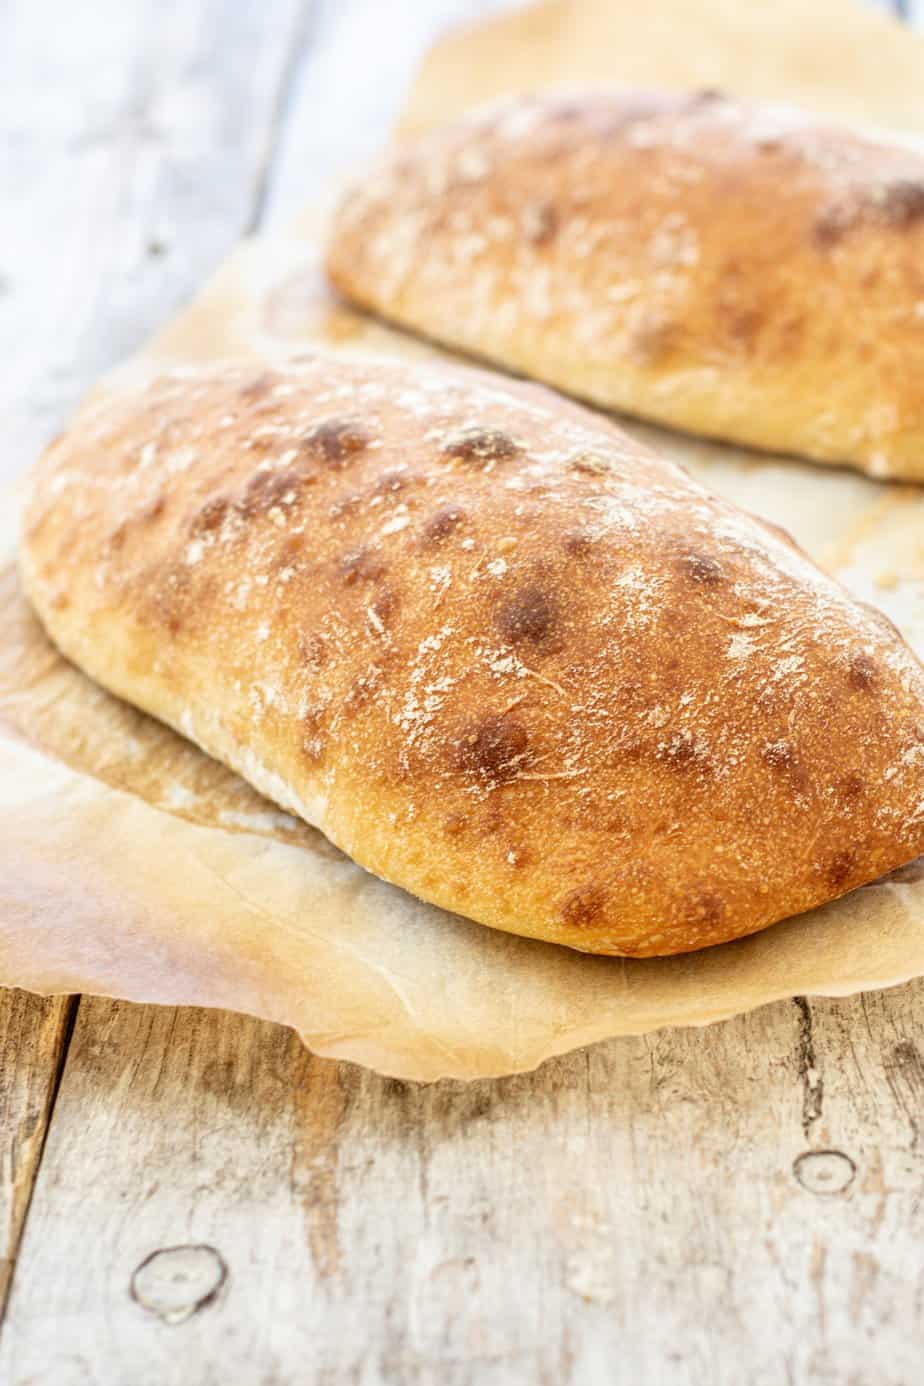
Once baked, it should be a deep golden brown and sound hollow when tapped. Let the bread cool for at least an hour before slicing to avoid a gummy texture.
More sourdough bread recipes
If you liked this sourdough ciabatta bread recipe, you might like these too!
- Step-by-Step Sourdough Baguette Recipe
- Soft sourdough dinner rolls
- Sourdough ciabatta sandwich rolls
- Sourdough burger buns
Sourdough Ciabatta Bread
Airy and soft, this sourdough ciabatta bread is easy to make at home, without a mixer.
Ingredients
Levain
- 25g sourdough starter
- 50g all-purpose flour
- 50g water
Dough
- 420g bread flour
- 340g water
- 15g olive oil
- 10g salt
- All the levain
Instructions
Day 1
- Begin by feeding your levain so it has time to rise. Mix the levain ingredients and tip into a clean jar. Leave it to rise in a warm place for 4-6 hours to at least double (but not collapse).
- When the starter has nearly finished rising, mix the flour and water in a large bowl into a sticky, shaggy dough. Cover the bowl and leave this dough to hydrate for 30-60 minutes. This step is called the autolyze.
- After the autolyze, add the salt, starter, and oil and squish it with wet hands until the sticky dough is well combined.
- Leave the dough to rest for 10 minutes, then perform a set of stretch and folds or coil folds.
- Perform 4-5 more sets of folds over the next 2 hours. After this, cover the bowl and let it further ferment in a warm place, ideally around 25°C/77°F for 2-4 hours until it shows clear signs of fermentation and bulks by around 50%. This timing will depend on your room temperature.
- Transfer to the fridge overnight (or up to 24 hours)
Day 2
- After the fridge rest, there should be plenty of signs of bubbles and fermentation.
- Tip the dough onto a well-floured work surface and generously dust the top of the dough with flour. Use a bench scraper to push the dough into a rectangular shape.
- Line a baking sheet with parchment paper and dust the parchment paper with flour.
- Use the bench scraper to cut the dough rectangle width-wise into 2 equal pieces.
- Using floured hands, lay one piece on the parchment paper. You can also use your bench scraper to help pick up the dough. Stretch it out just a little as you lay it down. Repeat with the second piece.
- Cover the dough with a floured kitchen towel and let the dough sit at room temperature for around an hour until slightly puffy. If your kitchen is cooler, increase this to one and a half hours.
Baking
- Preheat an oven and a baking sheet to 230°C (450°F).
- Slide a board under the parchment paper with the dough when the oven is at temperature. Transfer the parchment to the preheated baking sheet.
- Bake the loaves for around 25-30 minutes in the oven alongside a dish with an inch of water to create some steam while the sourdough ciabatta bakes. Take care when opening the oven door as the steam will rush out.
- Once baked, it should be a deep golden brown and sound hollow when tapped. Let the bread cool for at least an hour before slicing to avoid a gummy texture.
Notes
* A strong all-purpose flour with at least 11.5% protein can also be used.
Nutrition Information:
Yield: 6 Serving Size: 1 gramsAmount Per Serving: Calories: 333Total Fat: 6gSaturated Fat: 1gUnsaturated Fat: 0gSodium: 780mgCarbohydrates: 58gFiber: 2gSugar: 1gProtein: 10g





Love your sourdough articles! I’ve been making sourdough for 5 years or so and I still pick up a little from your thoughts. Thanks!
Oh that’s cool! I find sourdough such a cool subject, always more to learn! Thanks so much for reading them ☺️
Thanks, love all your sourdough recipes and have tried lots of them with success, want to try this one, and was keen to watch the video before I do as i find them really helpful, but the link doesn’t seem to be working, not sure if it’s just me? Gabrielle
Hey Gabrielle, do you have an ad blocker on? That sometimes stops the videos playing! Here is a link to the same video but on youtube which you should be able to play instead :).
Wow! Thanks for a fantastic recipe! It was easy to follow and made two fab ciabattas. The video helped a lot. The first time that my ciabattas were a success…..definitely doing them again, this time doubling the recipe 🙂
That’s so great to hear Joann! 😀
When you leave the dough on the side. What temperature is your kitchen? Thank you.
Hey it’s usually around 20 degrees Celsius 🙂
This came out perfectly. Grateful for the video because I would of thought the dough was too wet but it was just like the video and the bread turned out perfect !!!
This bread turned out amazing ! I am very grateful there was a video reference otherwise I would of thought my dough was too wet. But it was just like the video and the bread turned out perfect !! Thank you so much !
Yesterday was baking day and it was a total success! It’s worth all the time it takes which is just waiting without strenuous kneading! I enjoyed all the process as much as I am enjoying now a sourdough-tasting slice with butter and jam! Thank you!
Please could you give the measurements in cups. It will help so much and will be appreciated very much. I just love the whole concept of this bread, and would like to try it. Thank you so much.
Heya, it really depends if you’re using US cups or NZ cups, they range in size. I avoid writing cup sizes as they differ so much, as well as how much you overfill or under fill the cups. However you could have a search on the internet for a cup to gram conversion site, there’s plenty there that will convert the amounts for you. 🙂
This recipe worked out just as pictured. Dough was easy to handle. I cheated and cut the bread and ate some also before it cooled completely. It was yummy, a little moist, but yummy≥. The crumb was perfect. I prepared sandwiches once completely cooled. Love love loved them. The next day. Even better. Others couldn’t wait to have it for breakfast ciabatta sandwiches.
Yay Dona that’s great to hear, thank you 😁
No only a family favorite all my sons friends love it and ask me for loafs
That’s so awesome! So glad you love it 😊
I will definitely try again. My bake is nice and has great flavor but the crumb is softer and not as open as it should be. Not sure what I did wrong.
Heya, perhaps you could try extend the bulk ferment time before you bake it. That may help 🙂
Lori, I learned this trick from a professional baker, after you have completed your “bake”, turn the oven off and open the oven door to the “FIRST CATCH”, oven doors have a stop point if you will where the door remains open, after doing this, let the bread sit for an additional 15-20 minutes, this helps dry the crumb a bit making for a chewer bread. Just my input, but this works very well on regular (if you will) sourdough bread. I have a proofing basket in the refrigerator now to bake today, I will use the above method and the results are awesome. Have a wonderful day, be safe and God Bless.
Ken (Tennessee, USA)
I love love making these. My dough is always great and easy to handle. They turn out perfect each time and the only recipe I go back to. I also passed this on to a friend who said the exact same thing
Yay that’s so awesome Nicola! Thank you 🙂
In the middle of day one now! Does the dough need to be covered when it’s sitting on the towels?
Hey I cover it with a tea towel too 🙂
Hi, excited to try this recipe. Will you please clarify the following. Step 1 feed starter has the criteria of doubling or more. Step 2 has starter being added to flour/water after only 30 minutes. I don’t think my starter can double in 30 minutes.
Hey Rick, usually it takes my starter around 6 hours to double. Step two could be started after the starter has been rising for around 5 hours or so.
I cannot get my starter to rise. I am using Organic Unbleached, pre-sifted, enrich all purpose flour. It says ideal for breads, etc. I have monitored the temperature correctly.
Any feedback would be greatly appreciated.
Havent baked using this recipe yet….but have a question, do you have to slow proof overnight in the fridge, is it possible to rise and bake in one day ?
Also can the recipe be doubled for more loaves ?
Thank you
Looking forward to this
Hey Merryn, I would advise not to skip the cold proof as it helps with fermentation and the over all crumb of the bread. The dough can be doubled for more loaves, though I would split it into two trays for the folding part so it’s not too big to handle 🙂
Also, I am feeding my starter once a day so about every 24 hours when first starting it. I have gotten to day seven and more and it still hasn’t risen enough for me to feed two times a day, etc.
Feedback would be so much appreciated so that I can started making this wonderful bread. Thanks!
Hey Marcey, unfortunately I can’t give you an exact answer since there are so many variables but I can give you some things to look for!
Firstly, is it rising a bit? Could it be you are missing the rise and collapse of the starter overnight? A tell tale sign would be marks on the jar – which is why adding a starter in a clean jar is so helpful. If it is rising a bit, you could try a 12 hourly feed just incase you are missing the rise
hi… i was just wondering if i can make this into 4 loaves instead of 2 (square shaped!), how will the baking temperature/time be different? Thank you!
Hey you can definitely do that! I would bake them for 18 minutes then check to see if they’re browned enough and sound hollow when tapped 🙂
Thank you for the recipe. Have tried and turned out great. My family loves it. I have some problem when comes to shaping coz the dough too wet but lucky it came out nice after baking!
First time making sourdough ciabatta. Turned out so nice thank you for this great recipe.
Thank you for the recipe. Worked out very well!
Thank you for the recipe but I have a question, can I know how long is the duration of the overnight rest in the fridge is? I had mine popped into the fridge in the noon. Will it be too long for cold fermentation until the next morning?
I cold ferment all the way up to 24 hours sometimes with no problems 🙂
Hi….the recipe is extremely well presented and explained – thank you.
Before I go ahead a question please; as you use the fridge overnight to bulk rise does this prohibit an overnight proof in the fridge too? Or could the bulk rise be done at room temperature and the proof overnight, if required for convenience?…this is the route I usually use go for my Sourdoughs.
Many thanks Best Wishes Chris.V
Hey the cold fridge proof is mainly for flavour. The bulk rise happens at room temperature the following day when they are shaped. You can definitely try your usual sourdough proofing schedule on this!
Somehow I still got a gummy texture and I cut it opened hours after the baking… but the ciabatta is very airy like yours .. what went wrong ?
Everything is looking great for the recipe. The dough is perfect texture so far. How long can I leave in the refrigerator?
Hi Camille,
following on from my question of 7 April. I went with the recipe but I baked just one ‘log’ at first, the second I put in the fridge overnight, it was actually in there for 24hours, so that was a total time in the fridge of 38 hours, including the first bulk rise. Both cooked perfectly, no real difference in taste.
TIP: To cure the crust: when the bread is baked return it to the oven, turn the oven off, open the door slightly and leave it to cure for 10-15 minutes….I find the crust is then excellent. Do this with all your Sourdough.
Regards Chris.V
Elien, I wanted to let you know that I added a few sprinkles more flour (trying not to add too much) and continued with the recipe as instructed. Even though it was still very loose and never made a ball as yours, I was able to shape it and once baked it turned out great! It rose as expected and had nice holes in it like your picture. I can only set my oven by 5 degree increments and can’t remember what I baked it at. What would you recommend that I bake at next time, 465 or 460 degrees F? Also, my bread was mildly sour (refrigerated about 15 hours) and I’d like to make it a little more sour. How long would you recommend I leave it in the refrigerator next time to make it more sour but not over-ferment? Thank you!
Hi Elian,
What hydration do you use for your starter? I used a 100% hydration and found my dough a little too wet.
100% too, and it is a very wet dough. Using a starter that’s nice and fluffy and not acidic makes a difference to the dough and makes it easier to handle.
Hi just wondering if you would be able to give me any advice, tips on making this recipe GF
Heya I’m afraid I’ve got no experience with gluten free baking sorry!
Hi there and Happy new year!
My question is if the tray has to be hot when you place the ciabattas in the oven. Thank you!
Hey Flora, I don’t pre heat the oven tray 🙂
Turned out beautifully! Delicious!
Hi Elien, follow your recipe, it turns out great, thank you for your recipe.
Can I use my stand mixer instead of fold and stretch method?
yup you could!
What does that mean? If I mix it enough to get a window pane I wouldn’t have to do the stretch and folds? If not could you please explain? I have issues with my arms so this will be a great option!
Thank you
Jen
Hey Jen, yes you can use your mixer to get a window pane instead of the folds 🙂
Hi Eileen, love your recipes and have recommended your website to many sourdough bakers. Is the oven conventional when not otherwise noted? Like the ciabatta above?
Thanks
Katie
Heya thanks so much! And yes it is 🙂
Surprisingly easy to make and loaves turned out beautifully, will be making again soon.
So happy you loved them! 🙂
This is a great recipe and seemed less time consuming than others-really enjoyed the texture! We made a chicken/bacon/avocado/lettuce/bbq/ranch and toasted the one half😋
Hi there! I feed my starter and make multiple recipes. Would you suggest 100 g of starter for this recipe?
Yup! 🙂
About how much levain weight wise do you use? I had already fed my starter prior to finding this recipe and used a total of 130ish grams in the dough, should that be okay?
Yup that’s great!