Sourdough Hamburger Buns
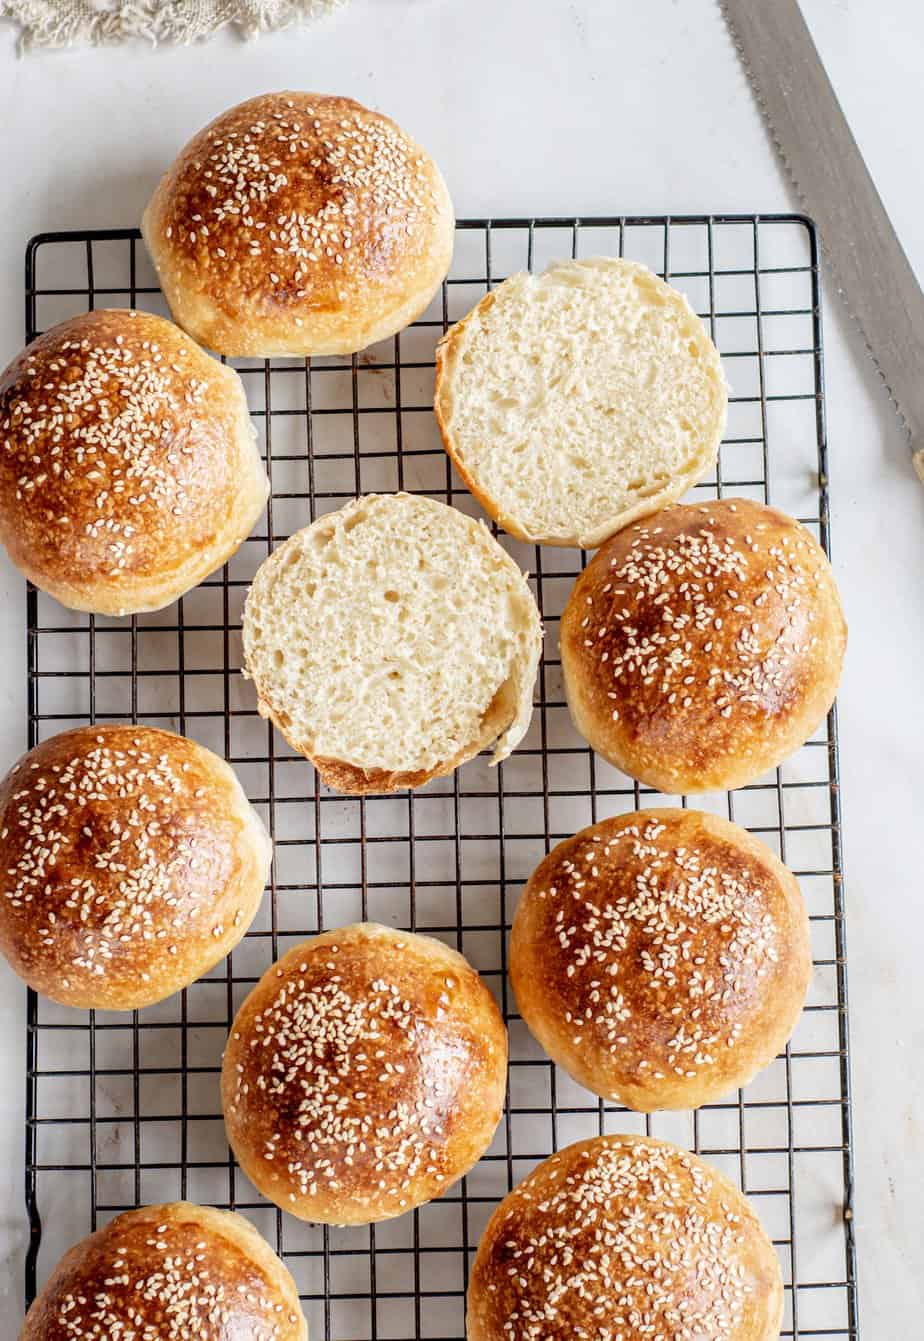
These soft sourdough hamburger buns are soft and fluffy with a shiny golden exterior. They are naturally leavened and easy to make by hand.
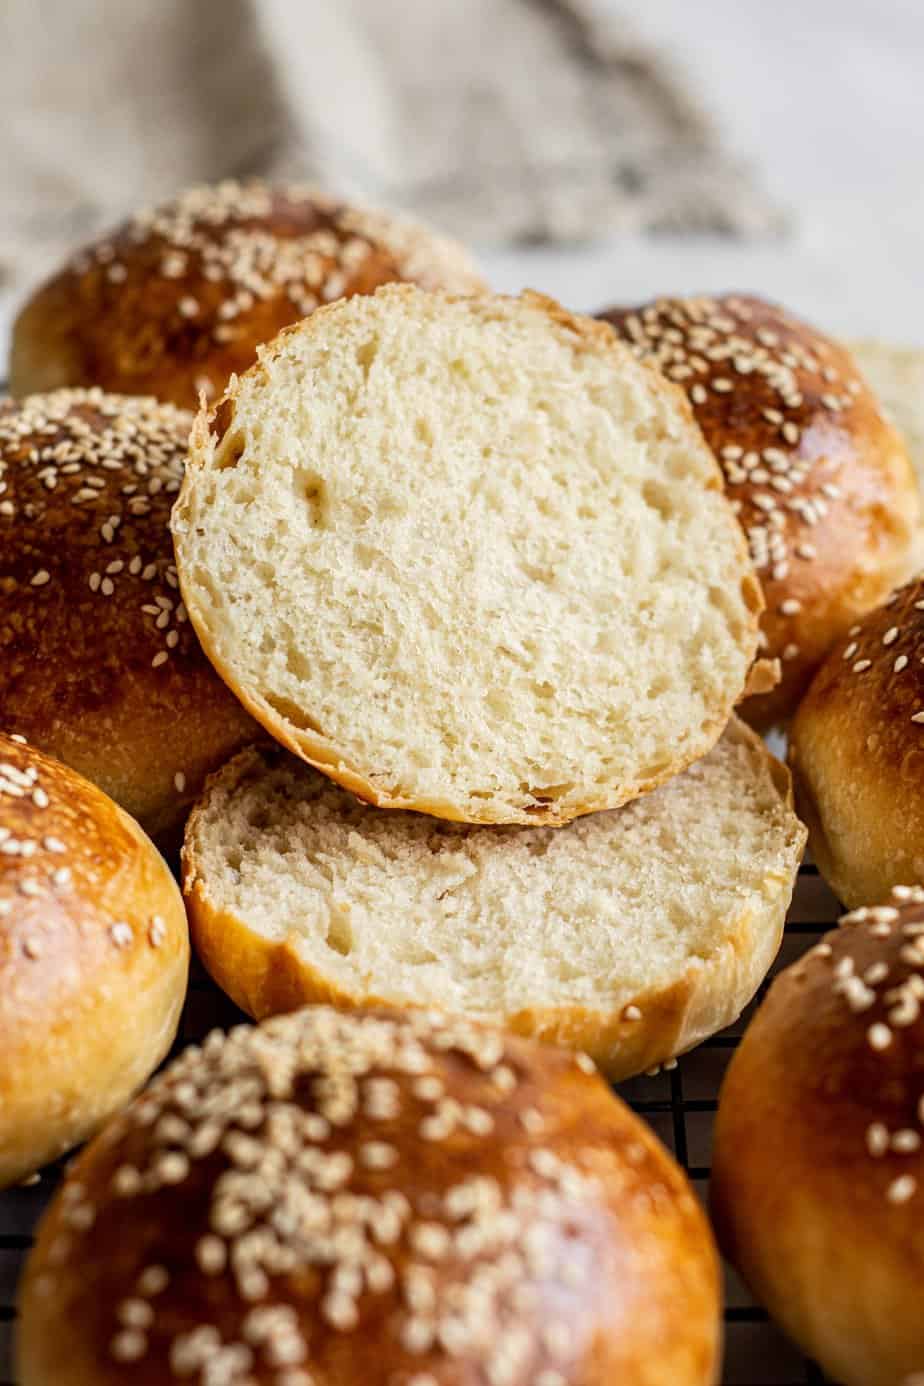
Yield
This sourdough hamburger bun recipe makes 9 buns. If you’re after more of a slider-style bun or hot dog buns you can use this recipe for those too or try these soft sourdough dinner rolls.
See more sourdough recipes here.
The ingredients
This is a slightly enriched dough, with the addition of milk and butter for some fat. For this sourdough bread, you will need –
- An active sourdough starter.
- All-purpose flour with a protein level of at least 11%. You can use bread flour too for a chewier bun.
- Milk
- Water
- Butter
- Granulated sugar
- Salt
- Egg + sesame seeds for the coating at the end.
The flour
For this recipe, all-purpose flour is used, one with a protein level of at least 11%. The protein amount in all-purpose flour changes depending on the brand, and so does the name of the flour.
It’s best to just check the protein level rather than the name of the flour.
A bread flour with protein of around 12% could also be used for a chewier bun.
The starter
You’ll need an active sourdough starter at 100% hydration for these fluffy sourdough buns.
I don’t have many same-day bread recipes, but I do like making these sourdough hamburger buns all in one day (not including the starter feeding.) There is still plenty of sourdough flavor in the buns and more flavour than if they were made with instant yeast.
To do this, the starter will be fed the night before. Overnight the starter will at least double and likely triple.
In this case, it’ll be fed at a 1:3:3 or 1:4:4 ratio since it will be rising overnight. This means 1 part starter, 3 parts flour, and 3 parts water, measured in weight. For example, 1:3:3 can be 20 grams of starter, 60 grams of flour, and 60 grams of water. Mix sourdough starter, flour, and water in a separate bowl until well combined. Then tip it into a clean jar to rise.
If your kitchen is a reasonably warm place overnight, feed it 1:4:4 so the starter doesn’t rise too quickly and the wild yeast doesn’t run out of food.
Any sourdough discard leftover can be fed again and refrigerated to use another time.
Baker’s schedule
- In the evening – Feed the starter
- 9 am – Mix the dough
- 9:20 am – 12:30 pm – Bulk ferment in a warm spot and perform 3 sets of stretch and folds
- 12:30 pm– Shape the burger buns
- 12:45 pm- 3:45pm – Rise in a warm spot
- 3:45 pm– Bake the burger buns.
The dough can also be refrigerated after the first ferment, for up to 24 hours. When you’re ready, take it from the fridge and shape the buns.
Allow around 4-6 hours for them to rise in a warm spot.
Step-by-step instructions
The evening before, feed your starter.
The following day, mix the flour, sugar, and salt in a large mixing bowl. Add to this the water, milk, and sourdough starter and mix into a shaggy dough. You can use a wet hand, a fork, or a wooden spoon for this.
Tip this dough onto a workbench and use a slap-and-fold kneading method to bring the dough together. Knead it for 5 minutes to give it strength.
Alternatively, all these steps can be done in a bowl of a stand mixer on medium speed fitted, with a dough hook.
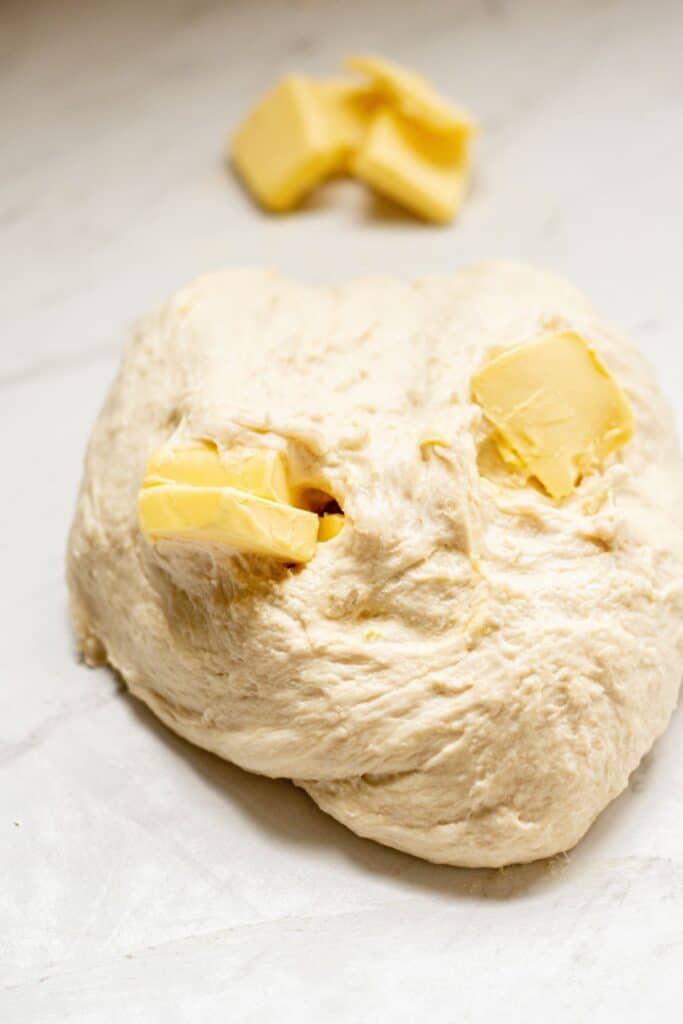
Add in the cubed butter, a few small cubes at a time, and knead them in. The butter is going to make it sticky, but the dough will have some strength already from the previous kneading.
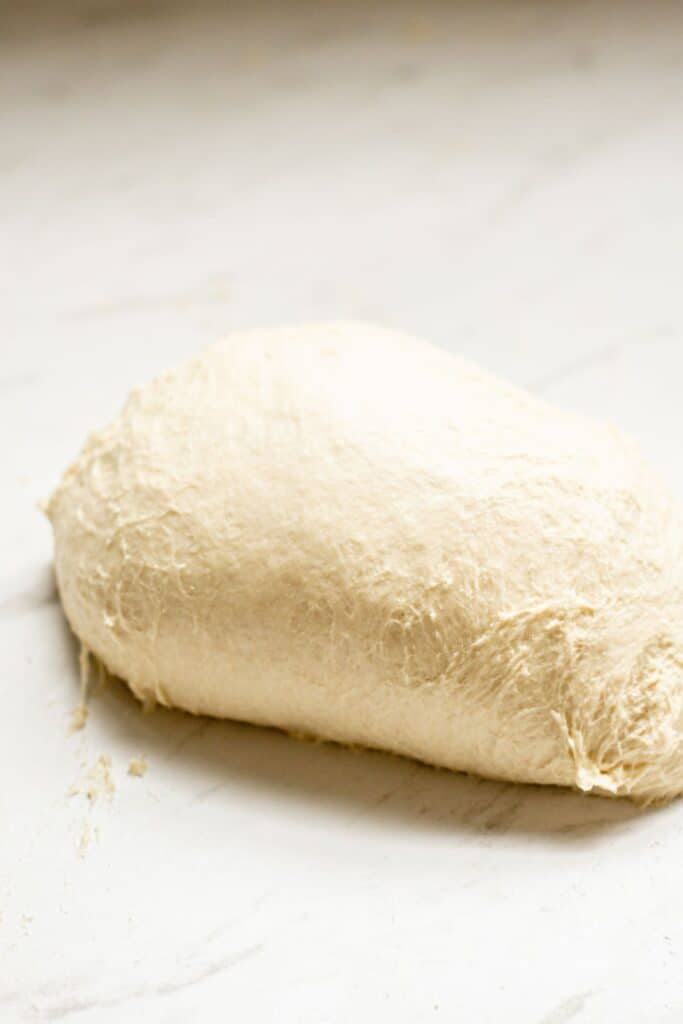
Continue slapping and folding for a further 5 minutes.
The dough won’t be smooth yet but should feel much stronger.
First rise
Add the dough to a lightly greased large bowl and let the dough rest in a warm spot (ideally around 25°C/77°F) for 3-4 hours, covered with a damp cloth. Perform 3-4 sets of stretch and folds during this fermenting time, one every hour.
If you took a piece of dough at this point and stretched it out it should get thin and be almost see-through. This is called the windowpane test and shows gluten development in the dough.
Use a wet hand when performing the stretches so the dough doesn’t stick to you. You can create a warm and humid spot by placing the dough into a turned-off oven alongside a large cup of boiled water. Replace the water as needed when it cools down.
By the end, the dough should feel lighter and puffier. At a warm room temperature 3 hours may be enough, but extend the ferment if it’s cooler.
After this period, the dough can go in the fridge overnight (cover it so it doesn’t dry out), before shaping, or the sourdough burger buns can be shaped right away.
Shaping and second rise
Pull the dough from the bowl onto a lightly floured work surface. Shape it into a dough ball and weigh it on a scale. Divide the total weight of your dough by 9. That’s how much dough is needed for each bun.
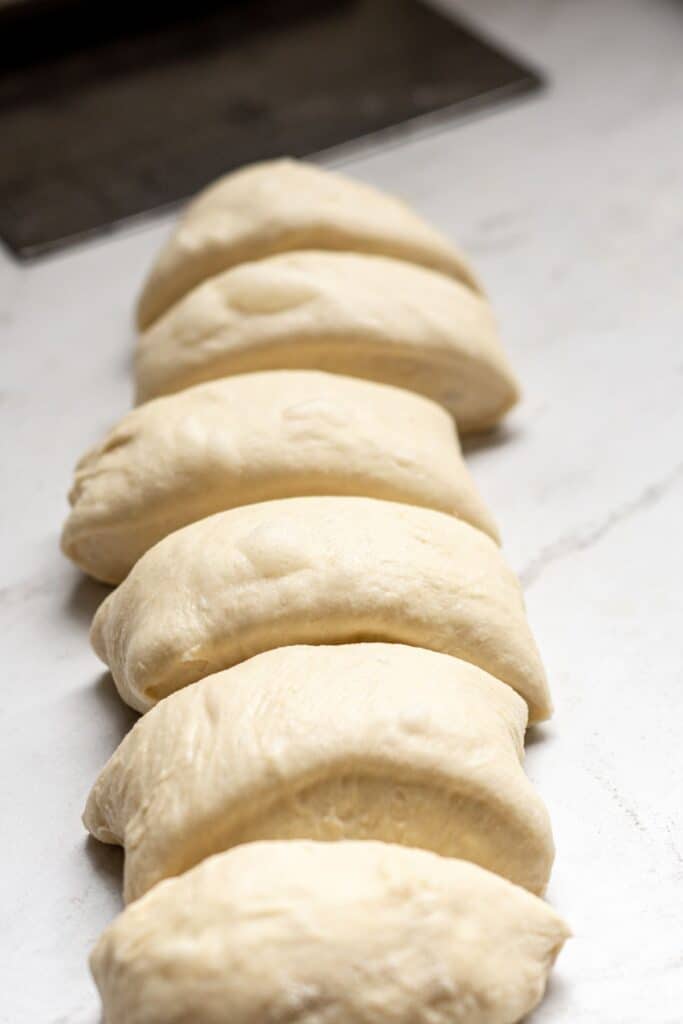
Cut the dough into 9 equal pieces and take some from one piece to give to another until they’re all the same size.
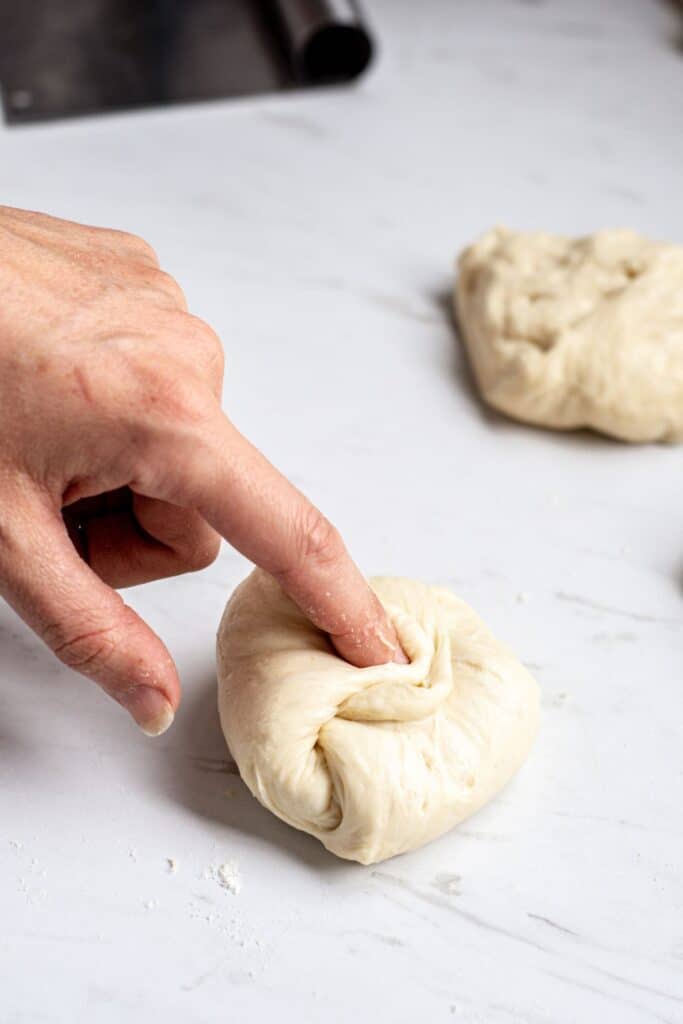
Shape each piece into a tight ball by bringing all the edges of each dough piece into the middle, then flip it upside down so it’s seam-side facing down.
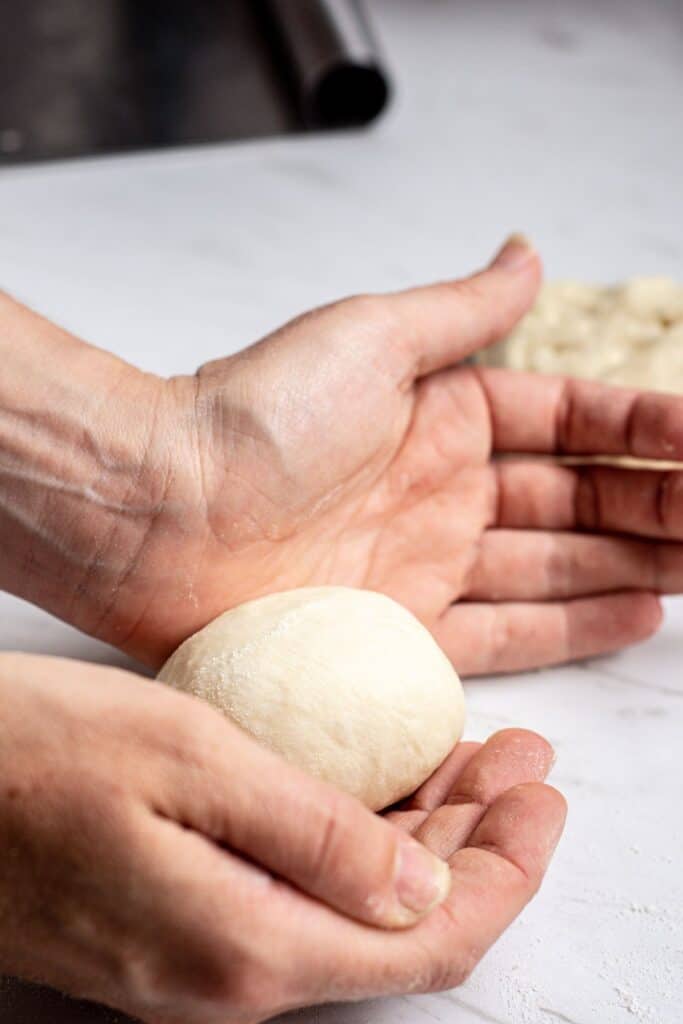
Use the palms of your hands to cup the ball and spin it round and round on the bench, creating some surface tension and a smooth ball.
The dough will be a bit sticky so use the floured surface and any extra flour you need to to ensure the dough balls don’t stick to you.
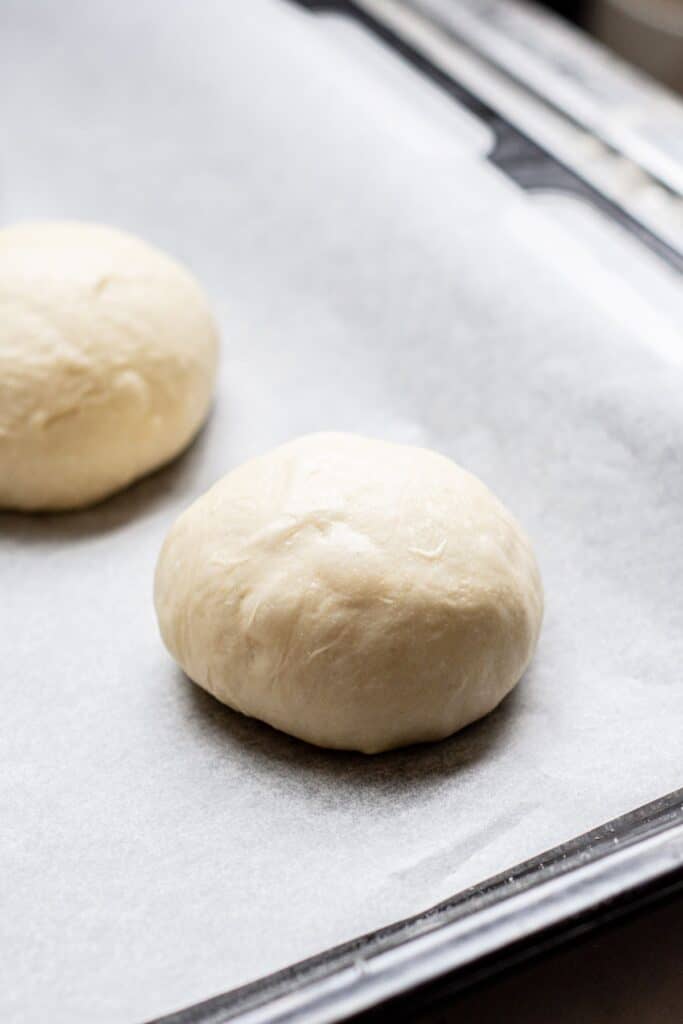
Slightly flatten each ball with the palm of your hand to create a wider bun.
Place the shaped buns onto a baking sheet lined with parchment paper. Let the buns rise for 2-4 hours in a warm spot (ideally around 25°C/77°F) until nearly doubled in size.
If needed, create a warm and humid spot by placing the dish into a turned-off oven alongside a large cup of boiled water.
Baking
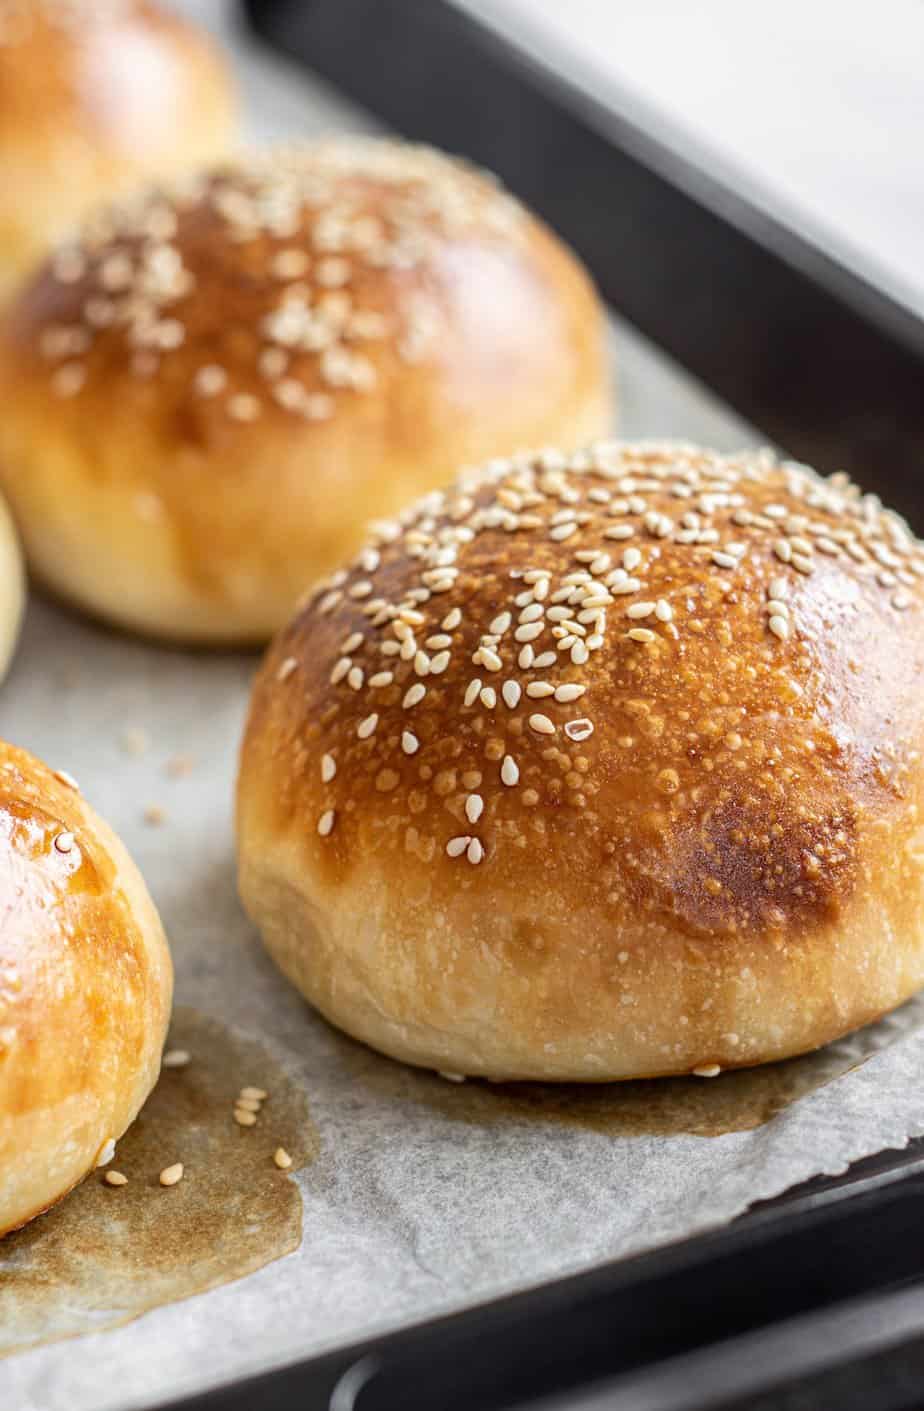
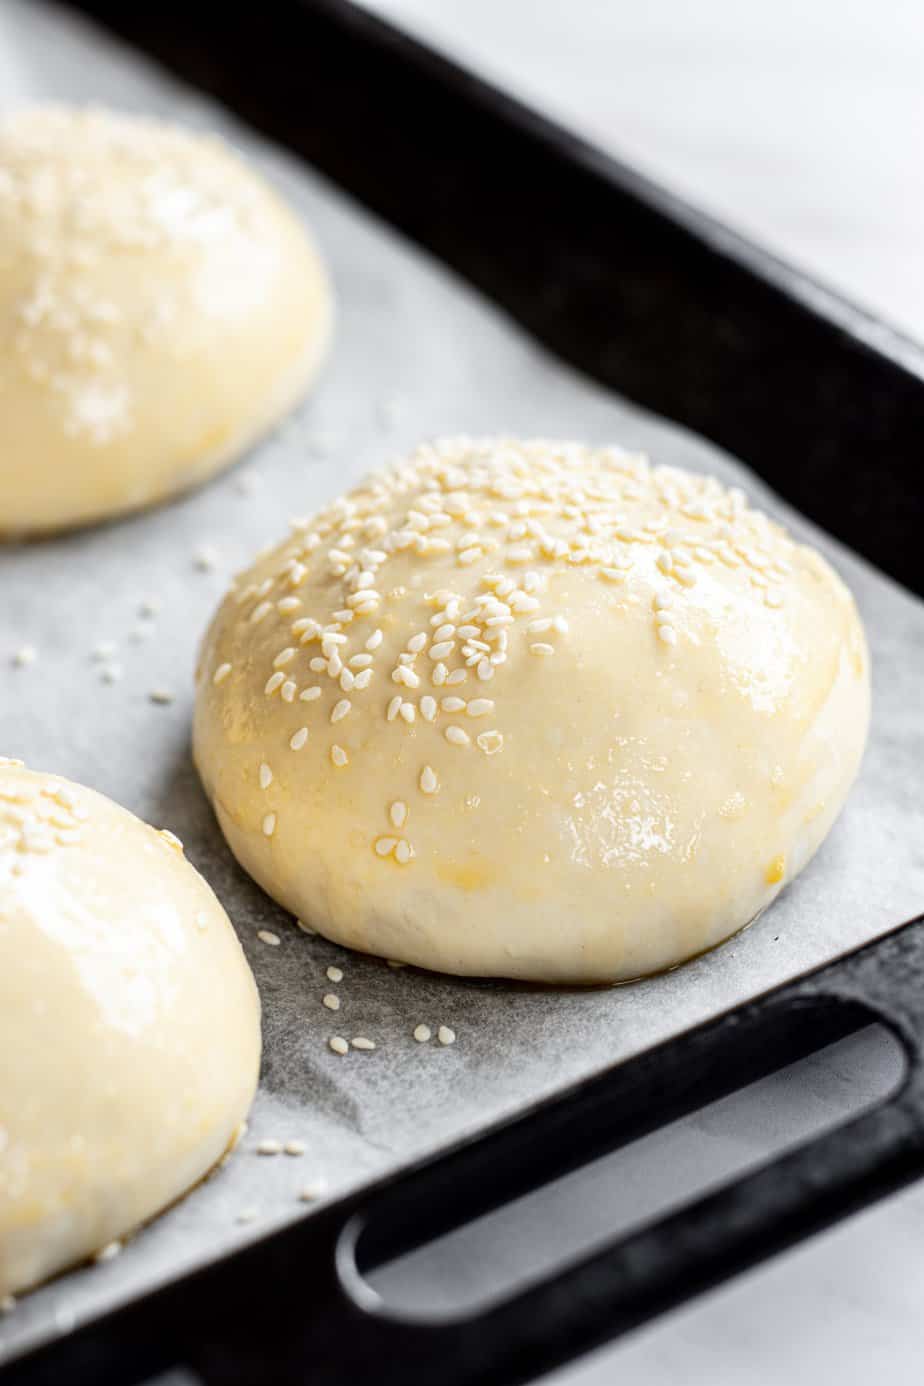
In a small mixing bowl, lightly beat a large egg with a tablespoon of water. Brush egg wash over the sourdough buns. Sprinkle sesame seeds or poppy seeds on top of each bun.
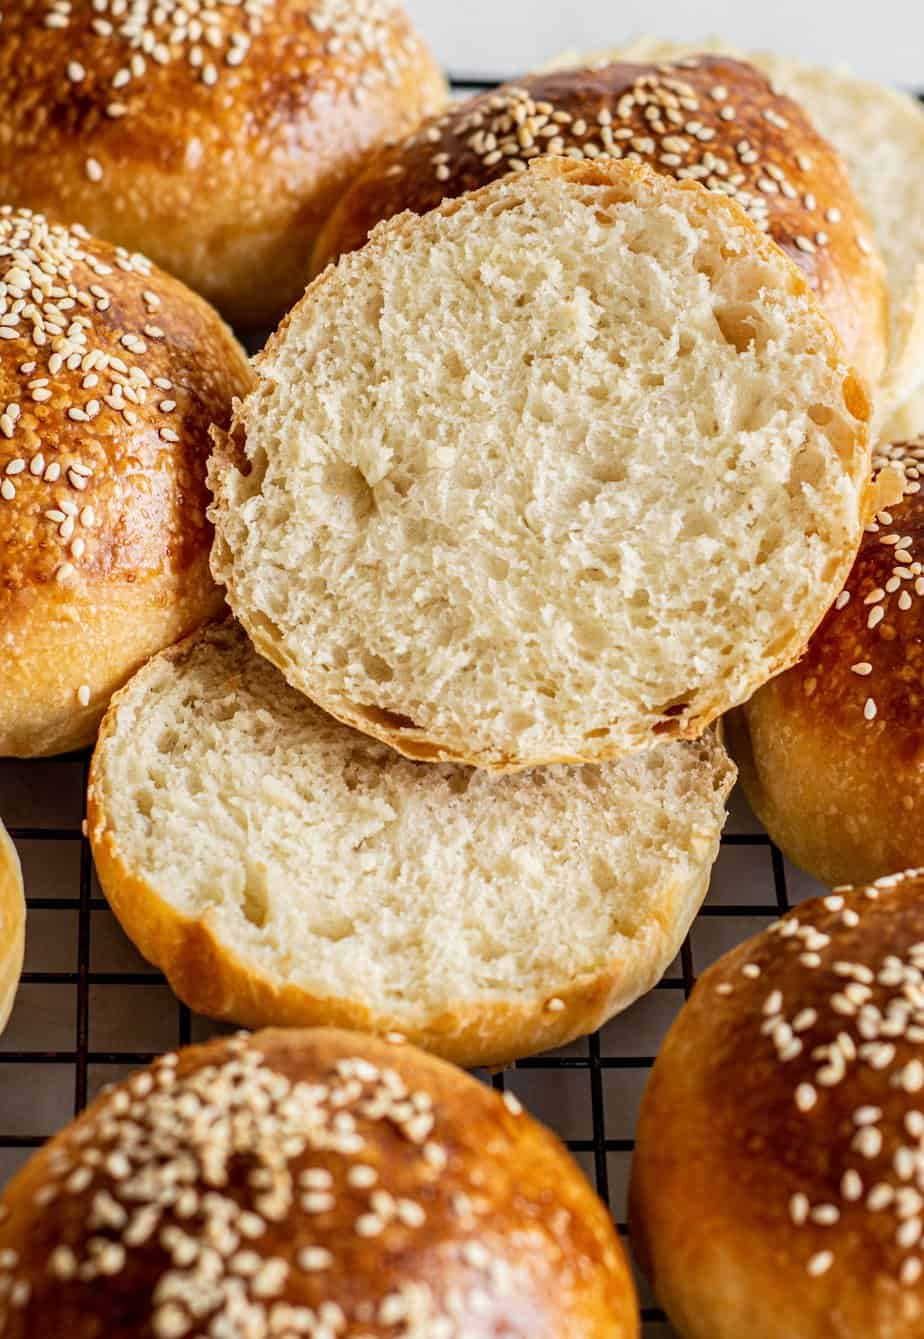
Bake in a pre-heated oven until deep golden brown.
These homemade burger buns will be crisp as they come from the oven but will soften as they cool down.
Storing
Leftover burger buns can be stored at room temperature in an airtight container for up to 3 days. Alternatively, freeze them for up to 3 months.
Related recipes
Sourdough Burger Buns
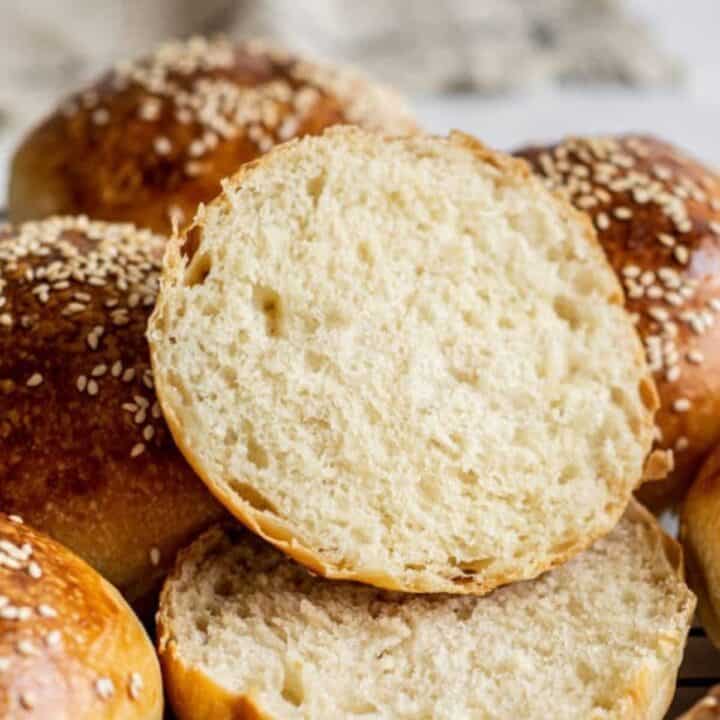
These sourdough burger buns are soft and fluffy with a shiny golden exterior.
Ingredients
Starter*
- 20g starter
- 60g all-purpose flour
- 60g water
Burger bun dough
- 450g all-purpose flour with a protein level of at least 11%
- 20g granulated sugar
- 8g salt
- 150g water
- 140g whole milk
- All the sourdough starter (around 120g)
- 50g unsalted butter, room temperature
Egg wash
- 1 large egg
- 1 tablespoon water
- Sesame seeds
Instructions
The evening before
- In a bowl, mix all the starter ingredients until well combined. Scoop the mixture into a clean jar covered loosely with a lid and leave it to double overnight.
The following day
- Mix the flour, sugar, and salt in a large bowl.
- Mix the water, milk, and sourdough starter into a shaggy dough. Tip this dough onto a workbench and use a slap-and-fold kneading method to bring the dough together. Knead it for 5 minutes.
- Add in the cubed butter, a few cubes at a time, and knead them in. The butter will make it sticky, but the dough will already have some strength from the previous kneading.
- Continue slapping and folding for a further 5 minutes. The dough won't be smooth yet but should feel stronger.
- Add the dough to a lightly greased bowl and let it bulk ferment in a warm spot (ideally around 25°C/77°F) for 3-4 hours. Perform 3-4 sets of stretch and folds during this fermenting time, one every hour. You can create a warm and humid spot by placing the dough into a turned-off oven alongside a large cup of boiled water. Replace the water as needed when it cools down.
- The dough should feel lighter, puffier, and bulked out by around 50%. 3 hours may be enough in a warm spot, but extend the ferment if it's cooler.
- After this period, the dough can go in the fridge overnight (cover it, so it doesn't dry out) before shaping, or the sourdough burger buns can be shaped immediately.
Shaping
- Pull the dough from the bowl onto a lightly floured bench. Shape it into a dough ball and weigh it on a scale. Divide the total weight of your dough by 9. That's how much dough is needed for each bun.
- Cut the dough into nine pieces and take some from one piece to give to another until they're all the same size.
- Shape each piece into a tight ball by bringing all the edges of each dough piece into the middle, then flip it upside down so it's seam-side facing down. Use the palms of your hands to cup the ball and spin it round and round on the bench, creating some surface tension. Use flour to dust your hands so the dough doesn't stick to you.
- Use your palm to flatten the dough ball slightly. This will help to make a wider bun.
- Place each ball onto a lined baking tray. Leave them to bulk out for approximately 2-4 hours in a warm spot until doubled in size.
Baking
- Preheat the oven to 200°C/400°F.
- Lightly beat an egg with a tablespoon of water. Brush this over the sourdough buns. Sprinkle them with sesame seeds.
- Bake for approximately 22-25 minutes until the buns are a deep golden brown. Let them cool on a wire rack.
- Leftover burger buns can be stored at room temperature in an airtight container for up to 3 days. Alternatively, freeze them for up to 3 months.
Notes
*If your kitchen is reasonably warm overnight, feed it 1:4:4 so the starter doesn't rise too quickly. E.g. 15g starter, 60g flour, 60g water
Recommended Products
As an Amazon Associate, a Mighty Ape affiliate and member of other affiliate programs, I earn from qualifying purchases.
Nutrition Information:
Yield: 9 Serving Size: 1Amount Per Serving: Calories: 327Total Fat: 10gSaturated Fat: 5gTrans Fat: 0gUnsaturated Fat: 4gCholesterol: 41mgSodium: 418mgCarbohydrates: 50gFiber: 2gSugar: 3gProtein: 8g




Wow what a versatile recipe. Tried it for the burger buns but since everyone loved it, I decided to make a bread with it. Sooo good and fast. Its a one day bread and what I love about it is if you want a mild sourdough taste this is it and that’s what i was looking for. I’m starting making bread and was looking for this. Very soft and tender. Love also your discard blueberry scones since I live in an area of the region (chicoutimi, quebec) famous for our blueberry. They grow everywhere. Thank you for your beautiful and good recipes.
So happy you’ve been enjoying the recipes Flechere!! 😀
140g whole milk?? What is that in oz or mL? Or did you mean ounces? I’ve never seen liquids listed by weight?
I mean grams 🙂 it’s super easy and consistent to measure that way. I place a bowl on my digital scale and measure our 140g milk. It’s around 136ml, but kitchen scales can’t measure liquid volume accurately, so grams works best.
This was so good! Nice to have a hamburger bun I want to eat just by itself. I didn’t know the protein content of my all-purpose flour, so I used half all-purpose and half bread, and it turned out great. I also did a 30 minute “fermentolyse” before adding the butter, mostly out of laziness, but I think it helped with dough strengthening as well.