Step by Step Sourdough Ciabatta
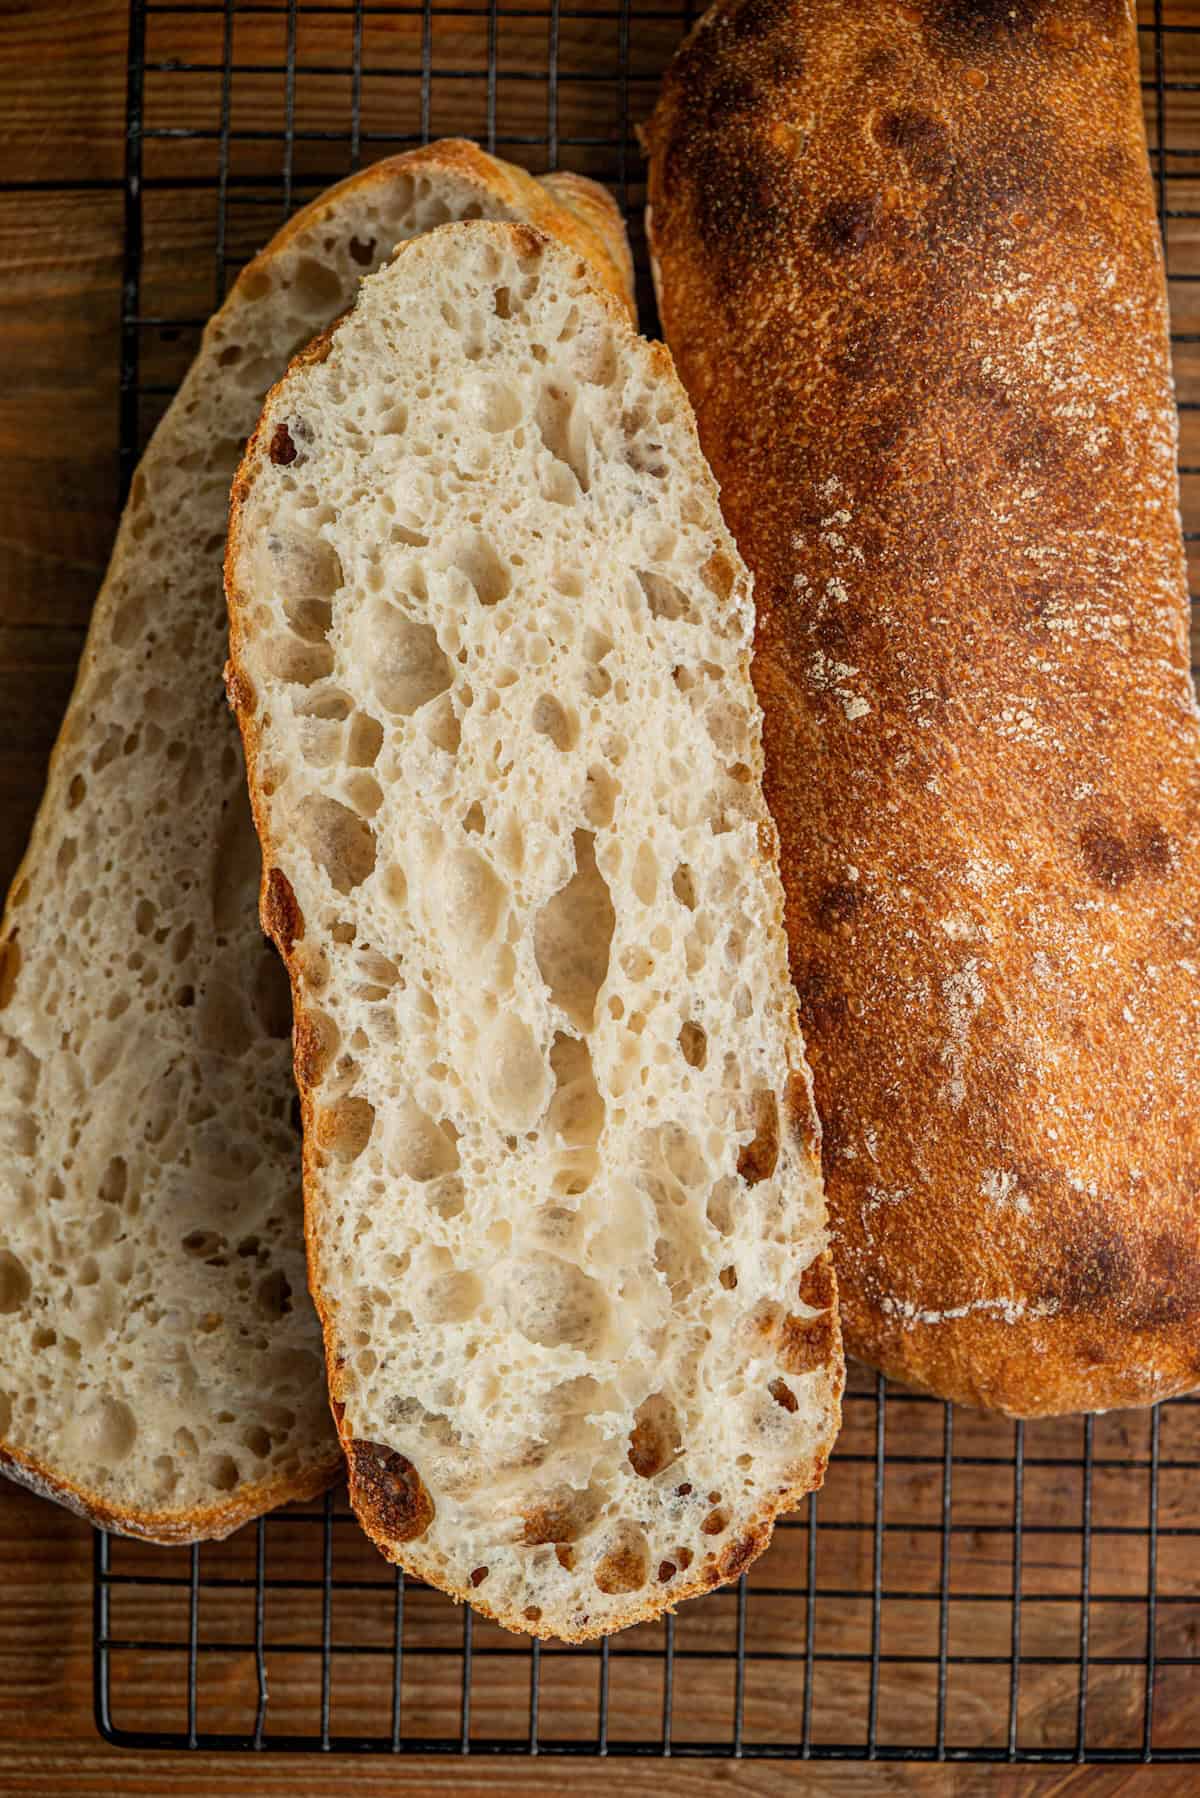
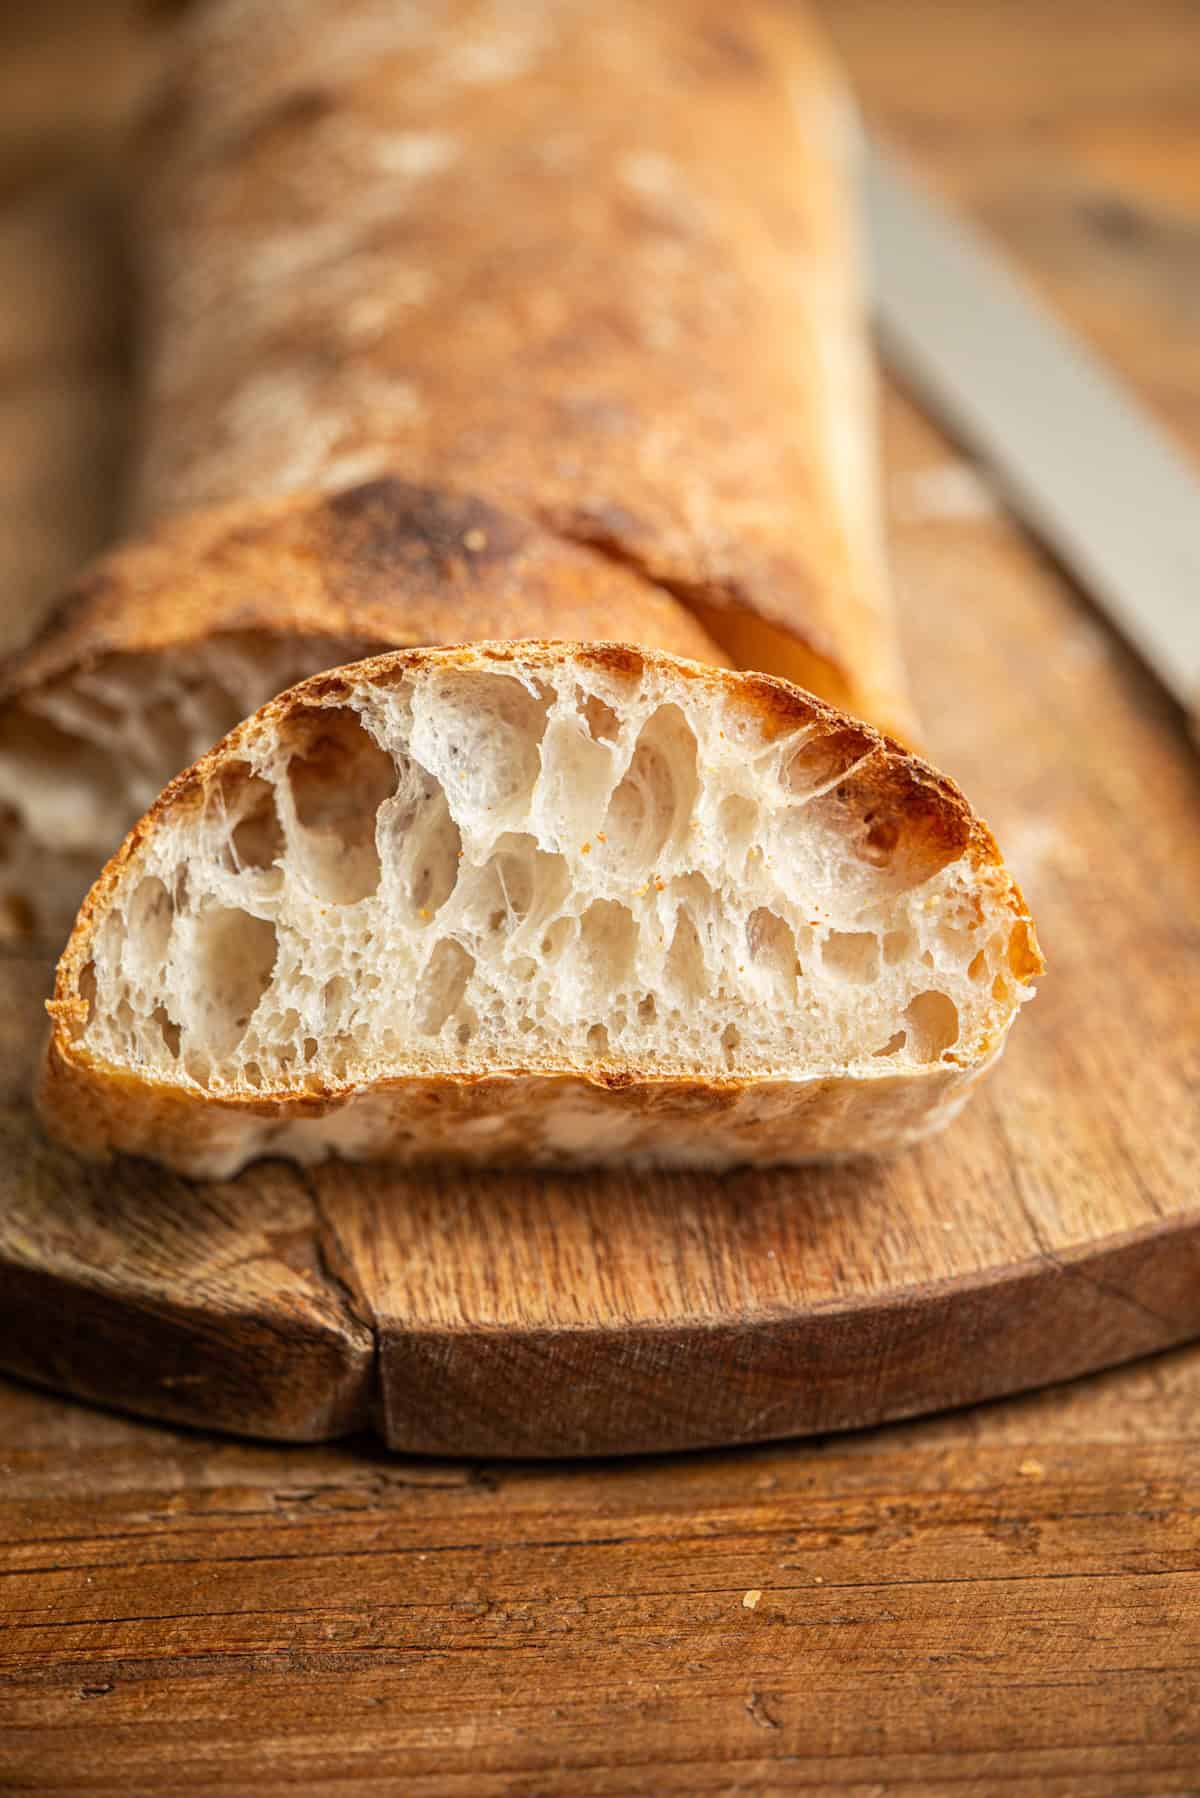
This sourdough ciabatta is rustic, chewy, and full of irregular open holes, with a crisp crust and the signature stretched “slipper” shape. It’s made by hand with no mixer, and the high hydration is what gives you those big and airy holes. Perfect for sandwiches, dunking into soup, or eating warm with olive oil.
About this sourdough ciabatta
Ciabatta means “slipper” in Italian, and once you see one come out of the oven you’ll see why. It’s a high-hydration dough that spreads out into a long flat shape as it bakes, and the extra water is what gives ciabatta its open, holey crumb.
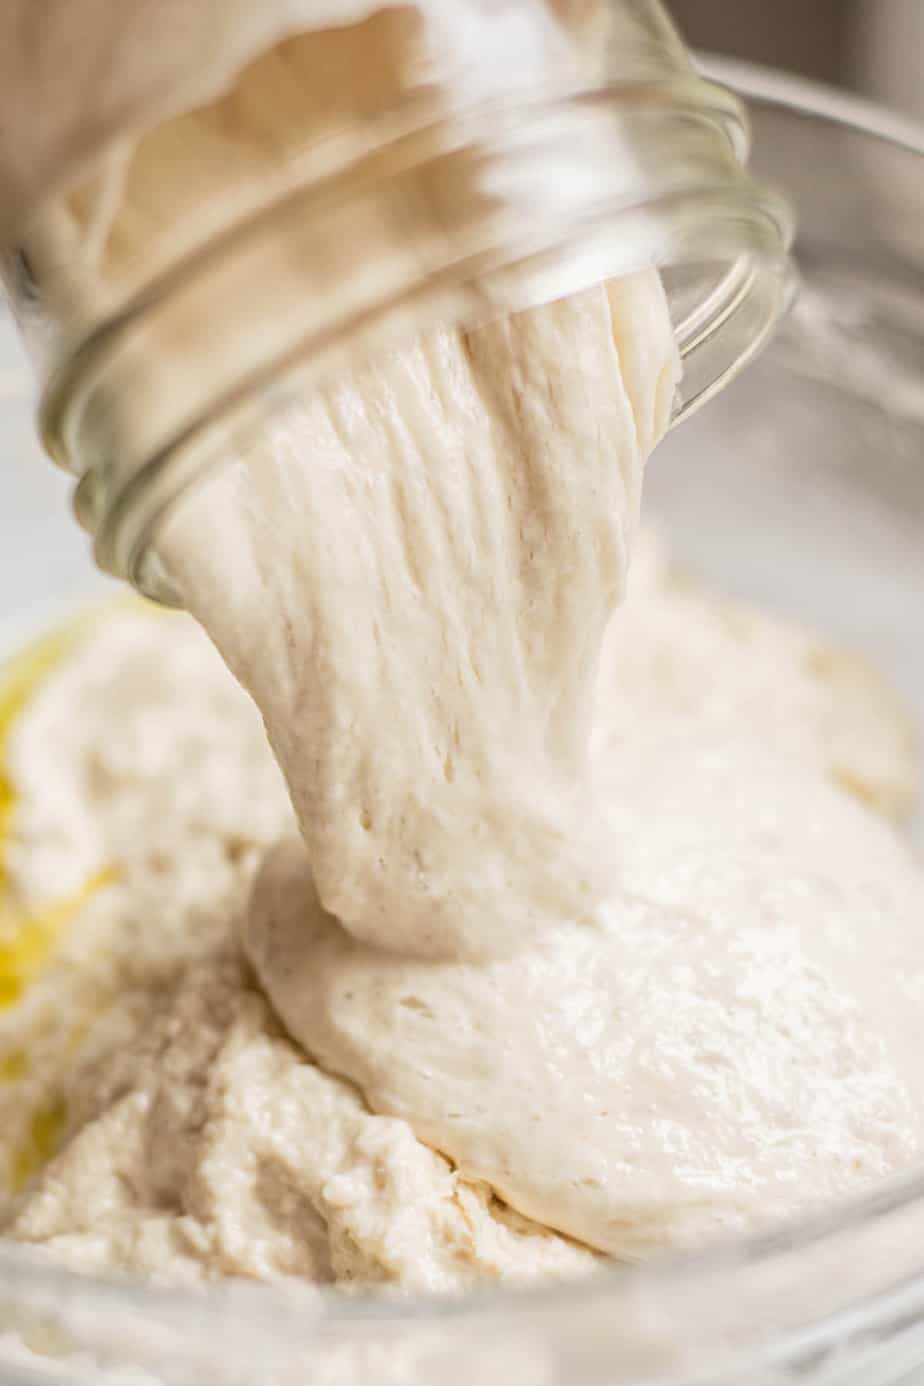
This recipe sits at around 82% hydration, which is a lot wetter than a standard sourdough loaf, but it doesn’t need a mixer. The dough is built up through a series of stretch and folds (or coil folds), which gradually transforms a slack, sticky mess into a strong, glossy, jiggly dough you can handle. It’s super satisfying to feel the change happen under your hands.
The other thing that sets ciabatta apart from a standard sourdough loaf is the shaping, which is barely shaping at all. After the cold proof, you tip the dough out, gently nudge it into a rectangle, cut it in half, and stretch each piece a little as you lay it on the tray.
Key ingredients
- High-grade flour or bread flour: You want a strong, high-protein flour (at least 11.5% protein) so the gluten can hold all that water and trap the gas for those big holes. A weak flour won’t cope with this hydration.
- Active sourdough starter: As with all my sourdough recipes, the starter needs to be active, bubbly, and at peak. A sluggish starter on a high-hydration dough is asking for a flat ciabatta. I build a fresh leaven for this loaf rather than using starter straight from the jar.
- Olive oil: A small amount of olive oil gives the crumb a bit more of a tender quality.
- Water: The high water content does most of the work for the open crumb.
- Salt: Strengthens the gluten and seasons the loaf.
Baker’s schedule
This is a two-day bake. Both days are short, but the dough needs that time to develop properly. Watch the dough rather than the clock here, the times are a guide and shift with your kitchen temperature.
Day 1: Build the leaven, mix the dough, fold and bulk ferment, then cold proof overnight.
Day 2: Shape, do a short final proof, and bake.
Method
- Begin by feeding your levain so it has time to rise.
- When it’s nearly ready, mix the flour and water into a shaggy dough and leave it to autolyse for 30 to 60 minutes to hydrate. Then add the leaven, salt, and olive oil and squish it all in with wet hands.
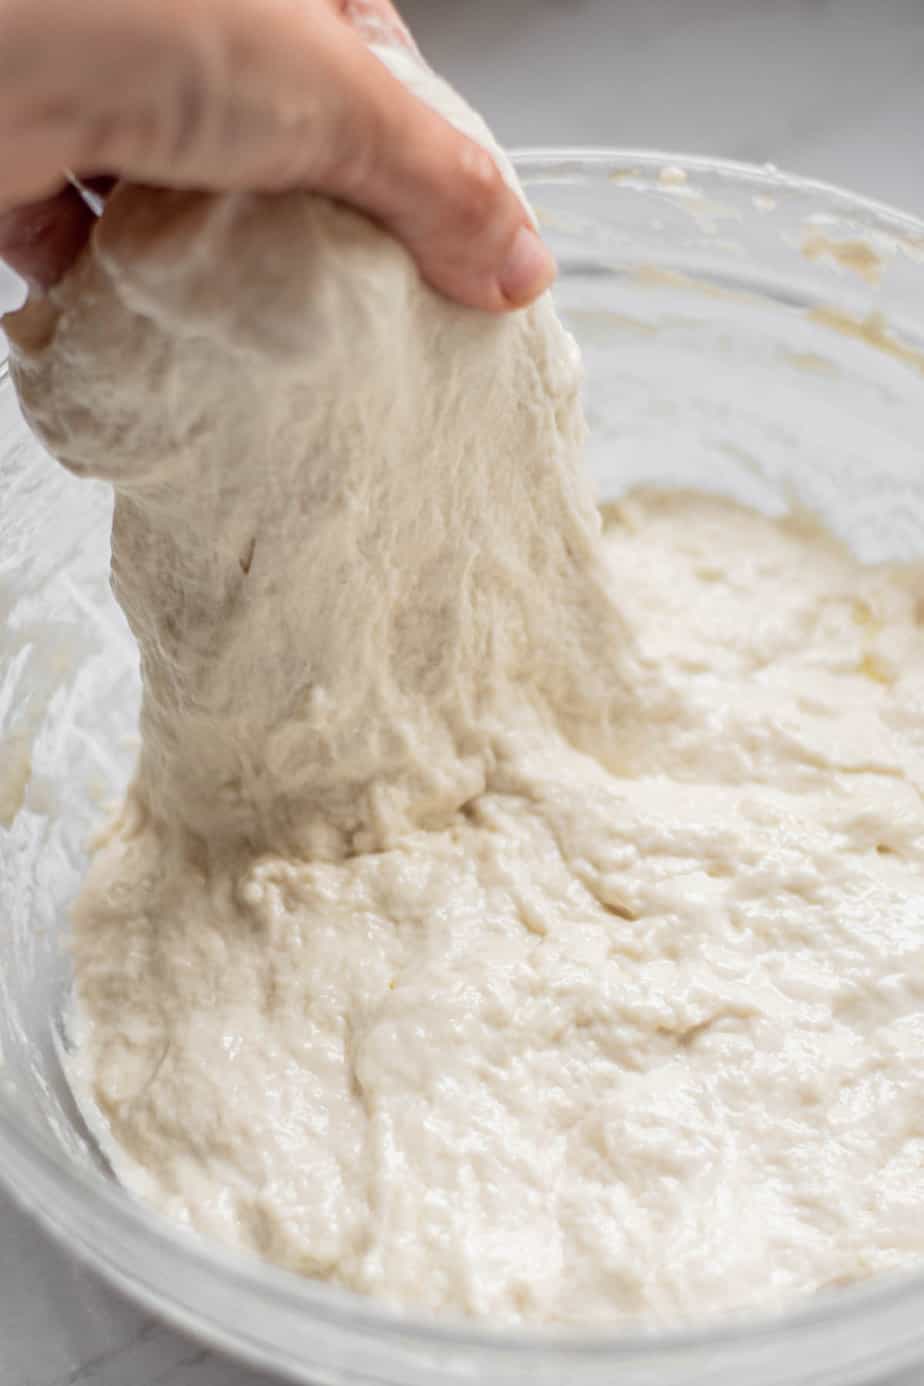
- Next, do a set of stretch and folds (or coil folds) every 30 minutes for 2 hours, 5 to 6 sets in total. The first fold will be really wet and the dough will tear easily.
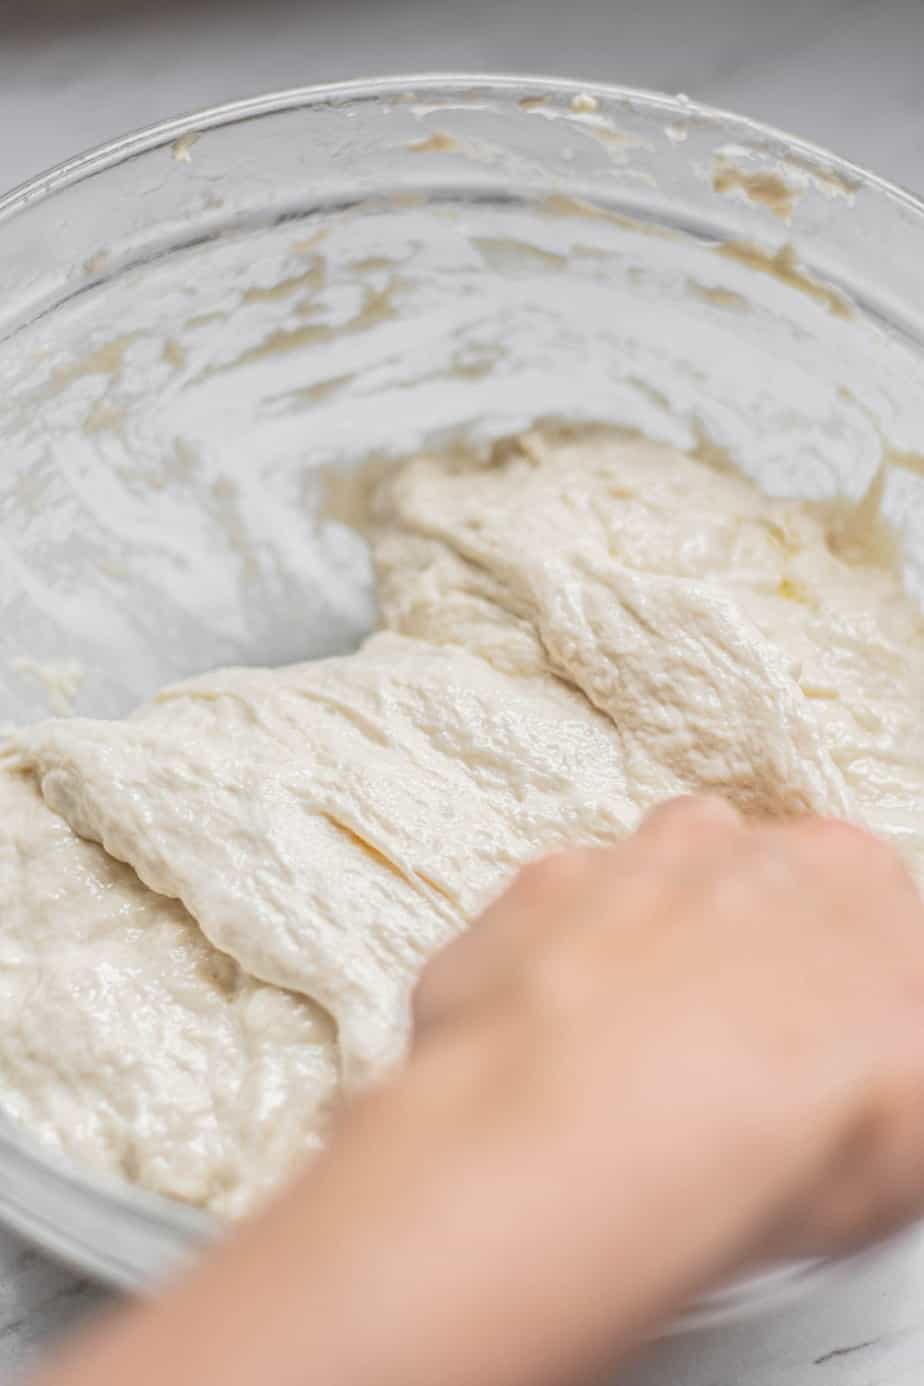
- Over time, the folds will give the dough strength. Continue stretching and folding, turning the bowl until all sides have been folded.
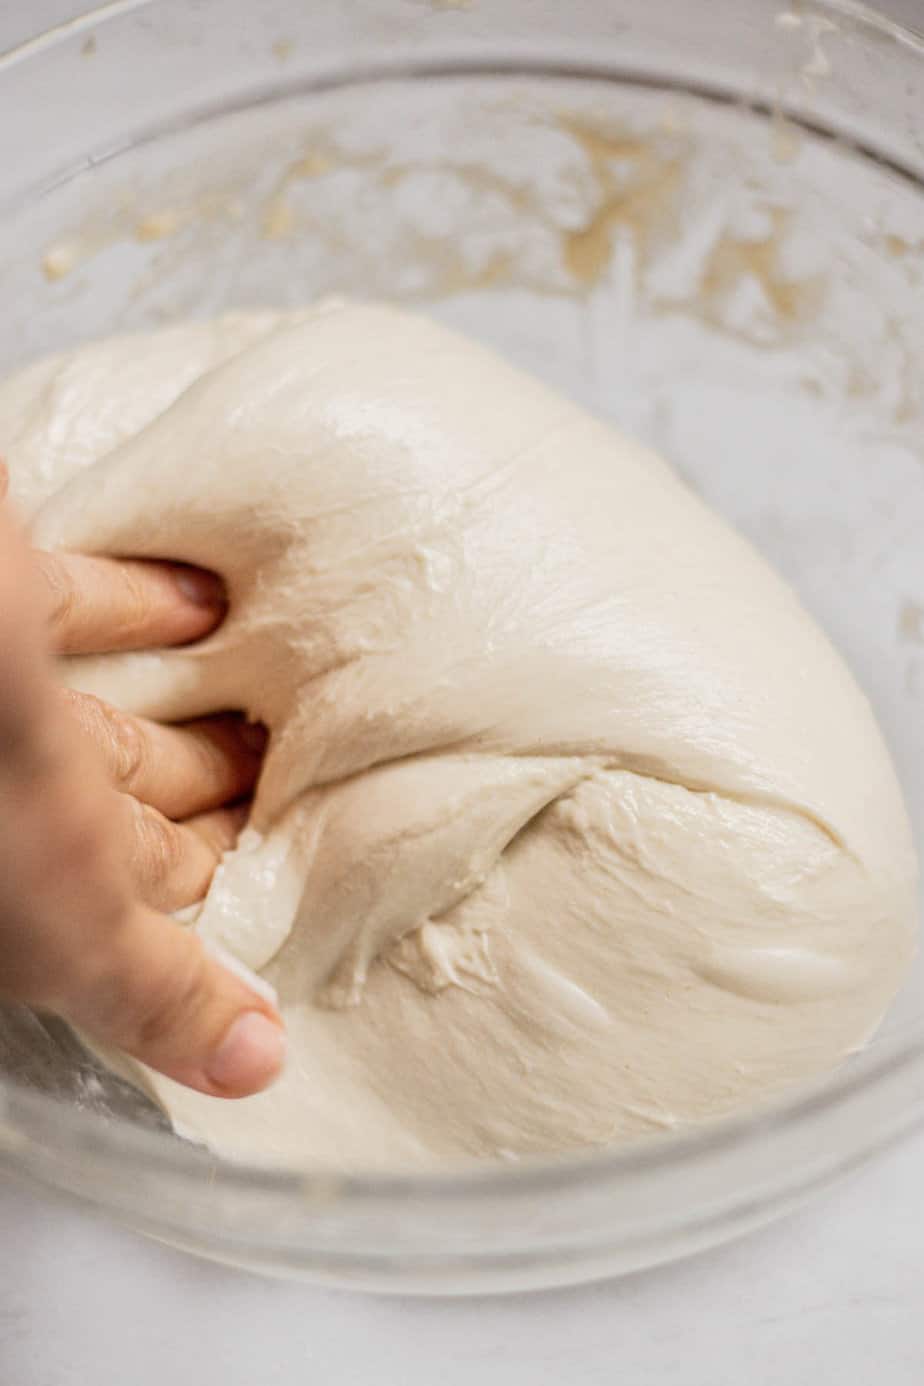
- Even though it will start as a slack dough, if your starter is good, you will notice the incredible changes in the dough as it strengthens and gluten development happens. The first stretch and fold will be rough, but it will soon become a strong, elastic dough.
- After the last fold, leave the dough in a warm spot to finish bulk until it’s risen by 30 to 40%, with bubbles and a soft alive feel. Cover the bowl tightly and transfer to the fridge overnight.
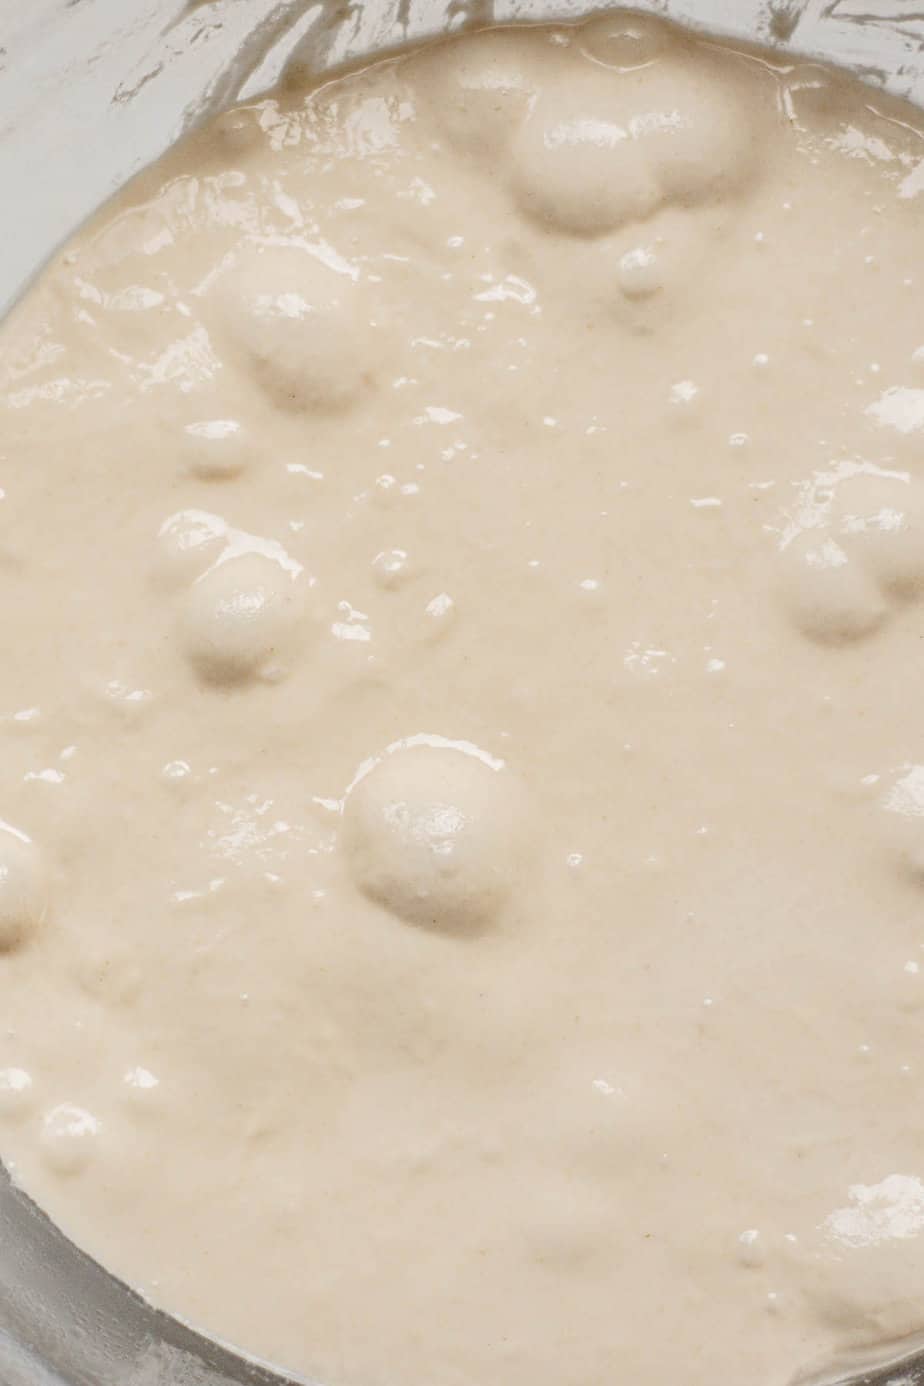
- After the cold proof, there should be plenty of signs of bubbles and fermentation.
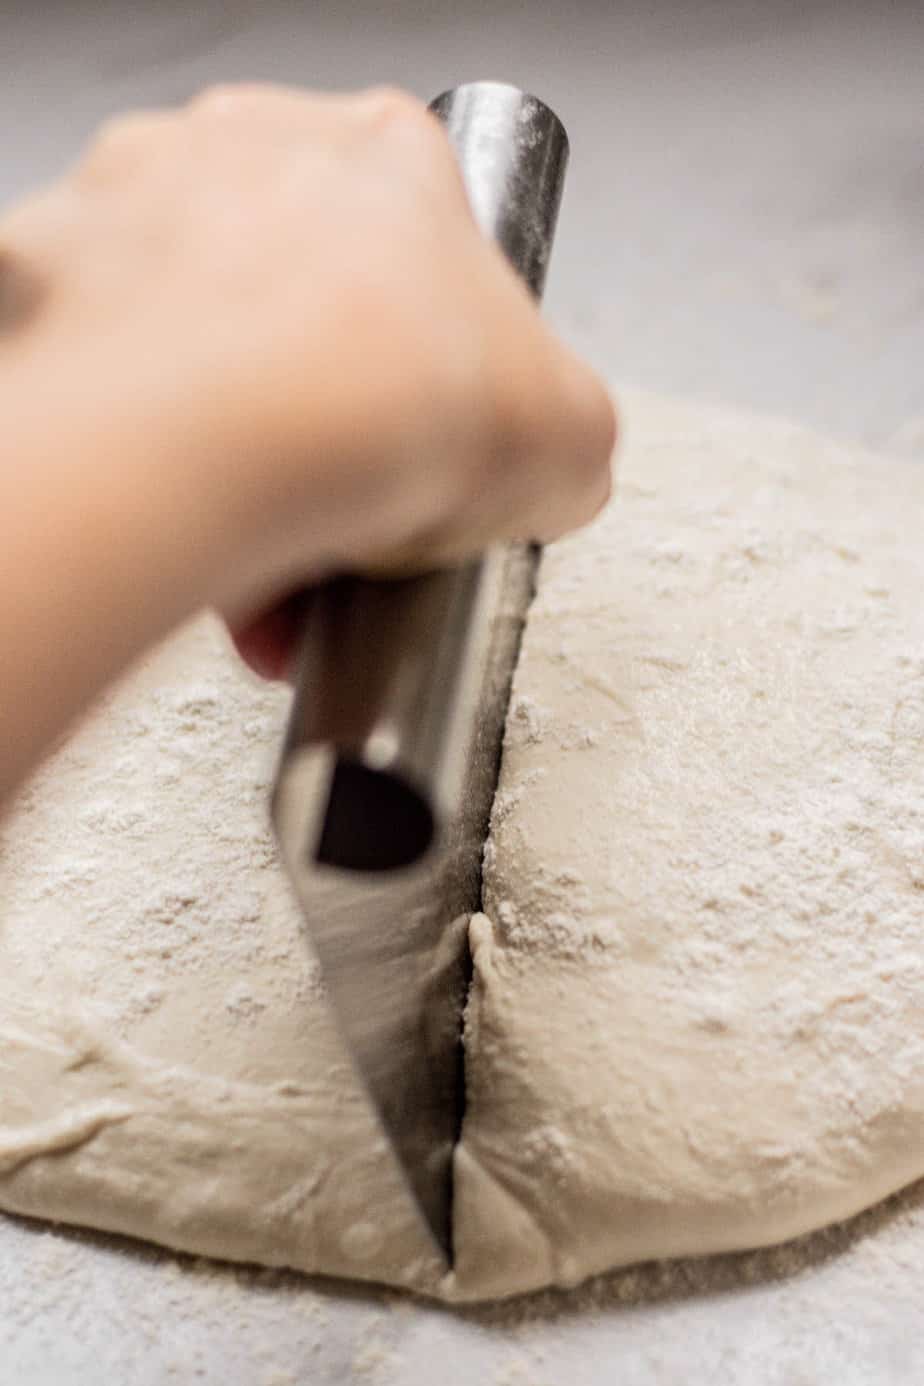
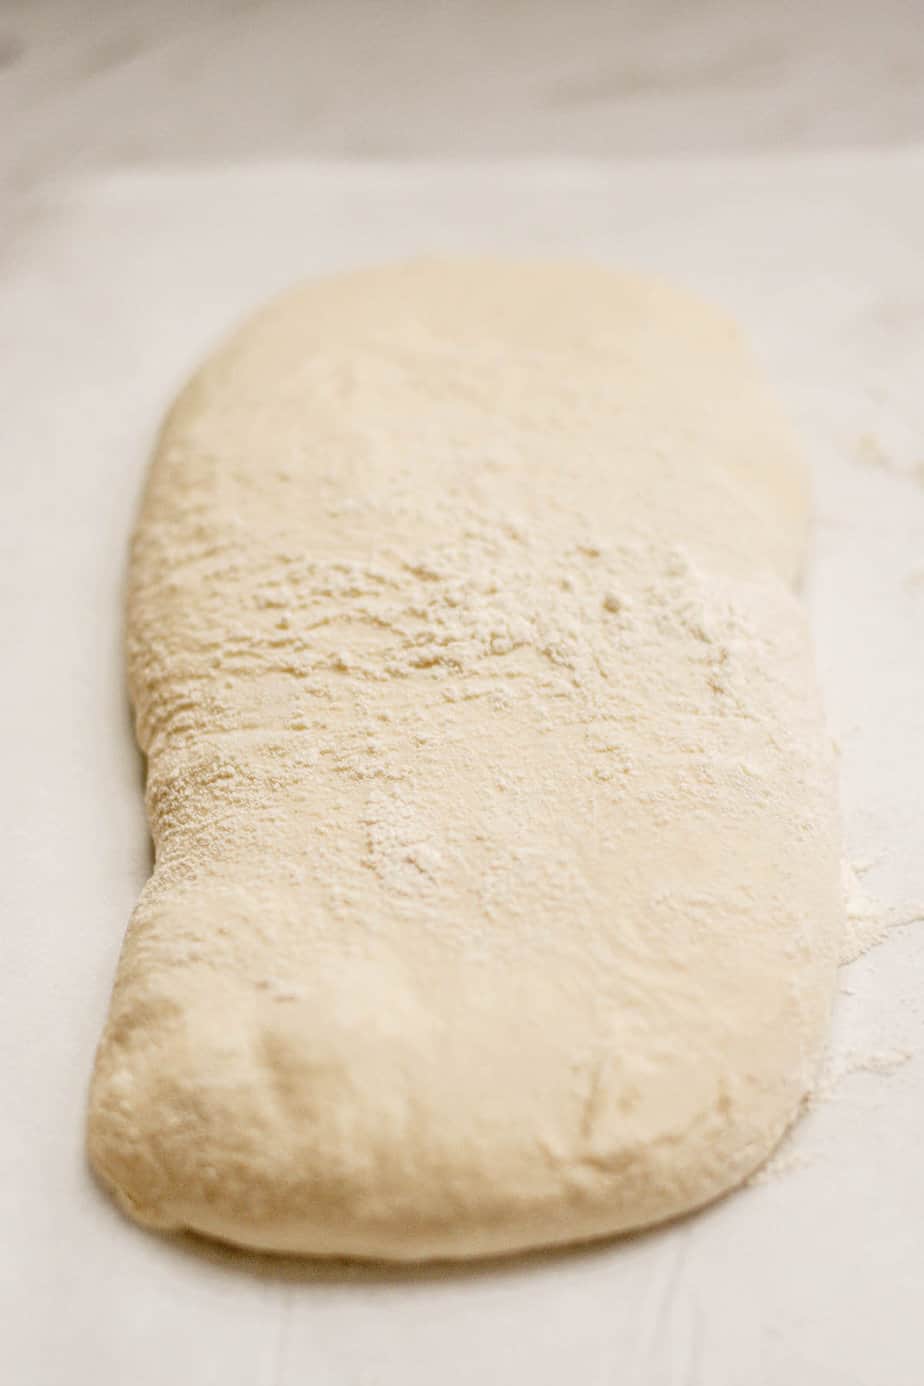
- Tip the cold dough onto a heavily floured bench and dust the top with flour. Use a bench scraper to coax it into a rectangle, cut in half widthwise.
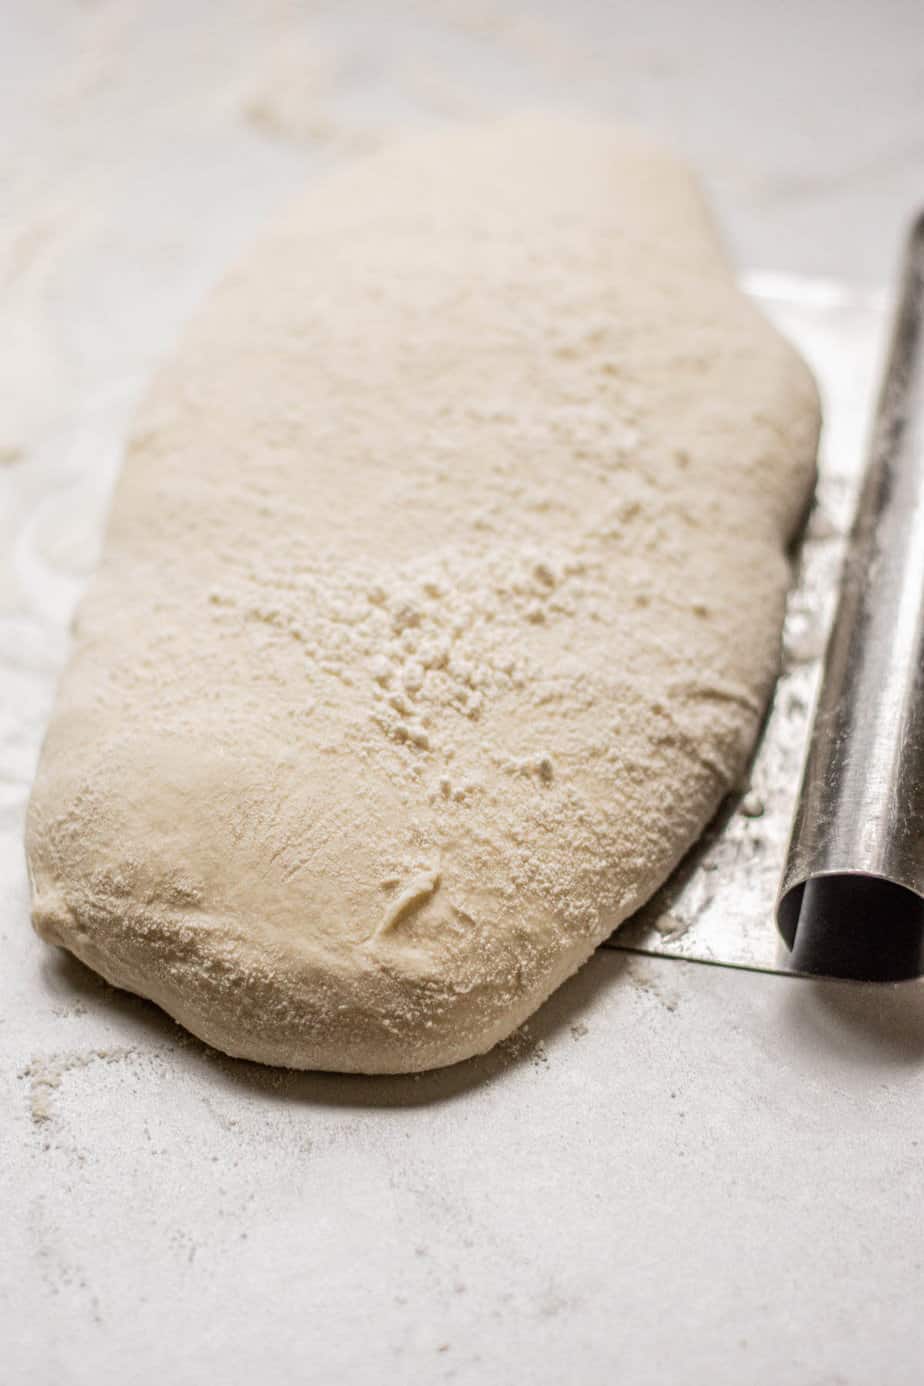
- Then transfer each piece onto its own sheet of baking paper, stretching gently as you lay it down.
- Cover with a floured tea towel and rest for around 1 hour until slightly puffy.
- Bake at 230°C / 450°F for 25 to 30 minutes on a hot baking sheet with a tray of water on the bottom rack for steam, until deeply golden. Cool on a wire rack for at least an hour before slicing.

Tips for success
- Use plenty of flour at the shaping stage. The dough is very wet and sticky out of the fridge, so a good dusting on both the bench and the dough is what stops it sticking to everything. Don’t worry about excess flour on the loaves, it bakes off and adds to the rustic look.
- Trust the strength change during folds. The first set of folds will feel like trying to wrangle wet glue. By the third or fourth, the dough will be visibly stronger and jiggling like jelly. That transformation is the recipe working.
- Don’t over-shape. Ciabatta is one of the few breads where less handling gives better results. Tipping out, cutting in half, and stretching gently is all you need. Any more and you’ll knock out the bubbles you’ve spent two days building.
- Watch the dough, not the clock. Bulk fermentation times in particular shift a lot with kitchen temperature. A cool kitchen needs hours longer than the recipe while a warm kitchen can mean it’s shorter.
Storage
Ciabatta is best eaten the day it’s baked, while the crust is still crisp. Store any leftovers in a paper bag at room temperature for up to 2 days. The crust will soften, which is normal.
For longer storage, slice and freeze in an airtight bag for up to 3 months. Toast directly from frozen.
Day-old ciabatta is also brilliant for bruschetta, panzanella, or just toasted with olive oil and salt.
Related recipes
If you liked this, you might also like:
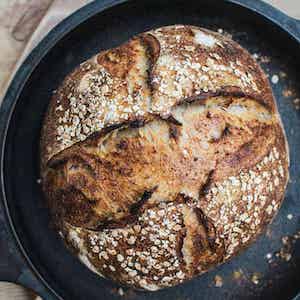
- Step-by-step sourdough baguettes
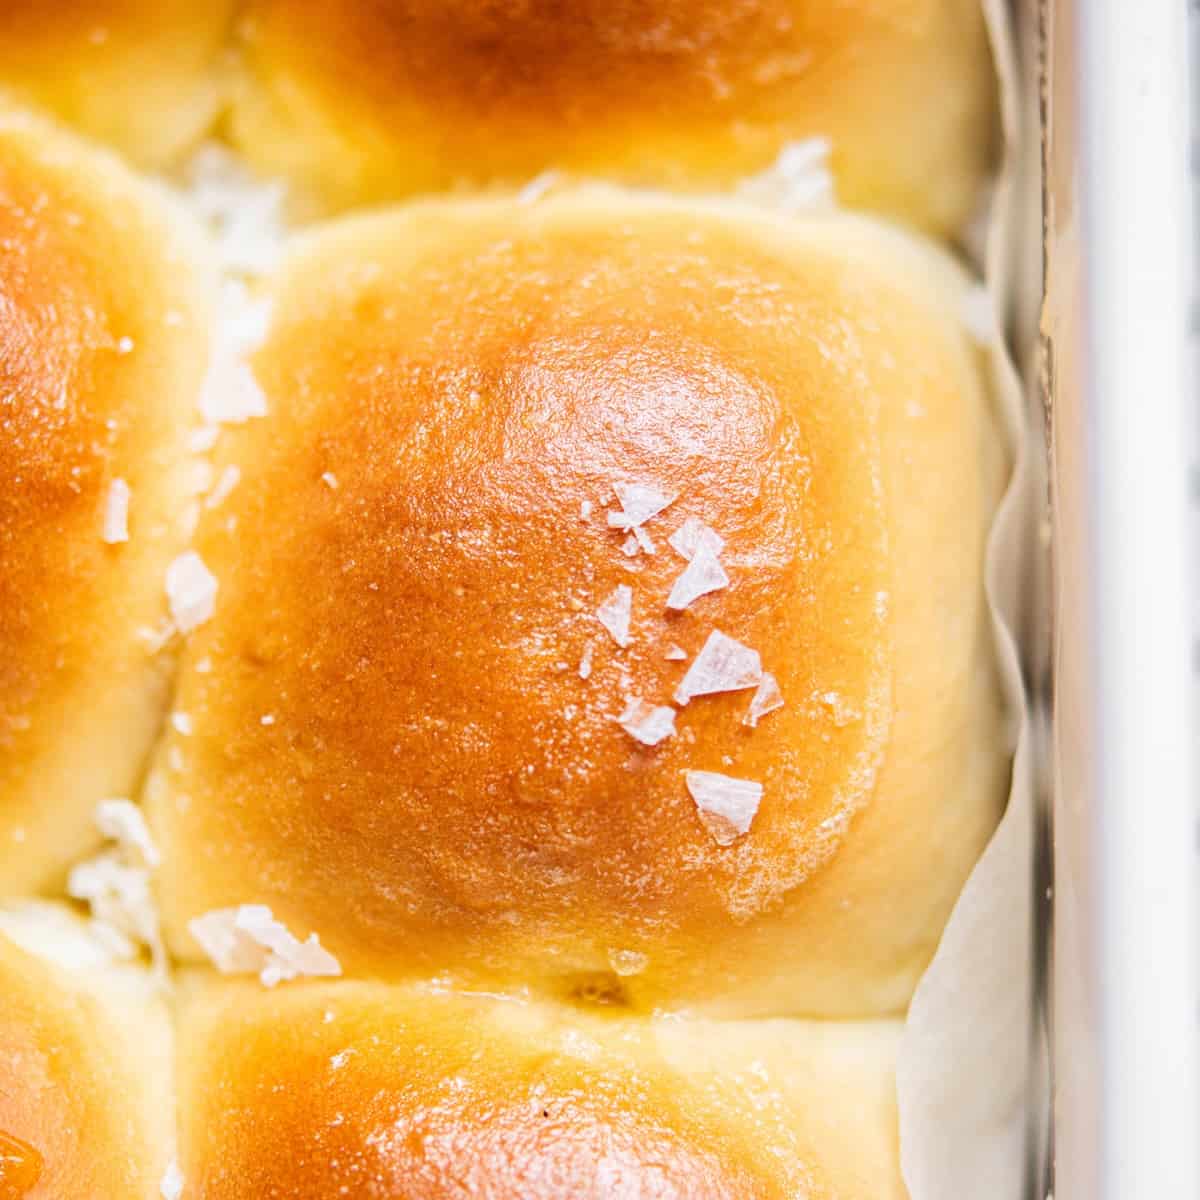
- Soft sourdough dinner rolls
- Sourdough ciabatta sandwich rolls
- Sourdough hamburger buns

Sourdough Ciabatta Bread
Ingredients
Levain/starter
- 25 g sourdough starter
- 50 g all-purpose flour
- 50 g water
Dough
- 420 g bread flour
- 340 g water
- 15 g olive oil
- 10 g salt
- All the levain around 120g
Instructions
Day 1
- Mix the starter ingredients in a clean jar. Leave to peak in a warm spot for 4 to 6 hours, until at least doubled but not collapsed.
- When the starter is nearly ready, mix the flour and water into a shaggy dough in a large bowl. Cover and rest for 30 to 60 minutes.
- Add the risen starter, salt, and olive oil. Squish in with wet hands until fully combined.
- Rest 10 minutes, then do a set of stretch and folds or coil folds, always with wet hands. Repeat 4 to 5 more times over the next 2 hours. The dough will strengthen noticeably as you go.
- Leave the dough to finish bulk in a warm spot (ideally 25°C / 77°F) until risen by 30 to 40% with visible bubbles and a soft, jiggly feel. This usually takes another 2 to 4 hours.
- Cover the bowl tightly and refrigerate for 8 to 24 hours.
Day 2
- Tip the cold dough onto a heavily floured surface and dust the top with flour. Coax into a rectangle with a bench scraper. Cut in half widthwise.
- With floured hands, transfer each piece onto its own sheet of baking paper, stretching gently as you lay it down.
- Cover with a floured tea towel and rest at room temperature for around 1 hour (1½ if your kitchen is cool) until slightly puffy.
- Preheat the oven and a heavy baking sheet to 230°C / 450°F for at least 30 minutes. Place a tray with a couple of centimetres of water on the bottom rack for steam.
- Slide a board under the baking paper and transfer it onto the hot baking sheet. Bake for around 25 until deeply golden and the loaves sound hollow when tapped.
- Cool on a wire rack for at least 1 hour before slicing.
Notes
- Watch the dough, not the clock. Bulk fermentation times shift with kitchen temperature. Trust the visual signs (30 to 40% rise, bubbles, jiggle) over the times listed.
- Don’t slice too soon. Sourdough finishes baking as it cools. Slicing into a warm loaf gives you a gummy crumb.
- Flour generously at shaping. This dough is wet, and a heavily floured bench and dusted top are essential.
- Stand mixer option: After the autolyse, knead in a stand mixer with a dough hook for around 15 minutes until smooth and strong, then bulk on the bench as usual.
- Storage: Best on the day. Keep leftovers in a paper bag for up to 2 days, or slice and freeze for up to 3 months.


Yup 🙂
About how much levain weight wise do you use? I had already fed my starter prior to finding this recipe and used a total of 130ish grams in the dough, should that be okay?
Yup that’s great!
Hi there! I feed my starter and make multiple recipes. Would you suggest 100 g of starter for this recipe?
Yup! 🙂
This is a great recipe and seemed less time consuming than others-really enjoyed the texture! We made a chicken/bacon/avocado/lettuce/bbq/ranch and toasted the one half😋
Surprisingly easy to make and loaves turned out beautifully, will be making again soon.
So happy you loved them! 🙂
Hi Eileen, love your recipes and have recommended your website to many sourdough bakers. Is the oven conventional when not otherwise noted? Like the ciabatta above?
Thanks
Katie
Heya thanks so much! And yes it is 🙂
Can I use my stand mixer instead of fold and stretch method?
yup you could!
What does that mean? If I mix it enough to get a window pane I wouldn’t have to do the stretch and folds? If not could you please explain? I have issues with my arms so this will be a great option!
Thank you
Jen
Hey Jen, yes you can use your mixer to get a window pane instead of the folds 🙂
Hi Elien, follow your recipe, it turns out great, thank you for your recipe.
Turned out beautifully! Delicious!