How to Make Sourdough Starter
This guide shows exactly how to make a sourdough starter from scratch. Once you understand the process, it’s simple, and it just takes a little time and patience. If you’re troubleshooting, check out my Sourdough Bread Troubleshooting Guide or my post on maintaining a sourdough starter.
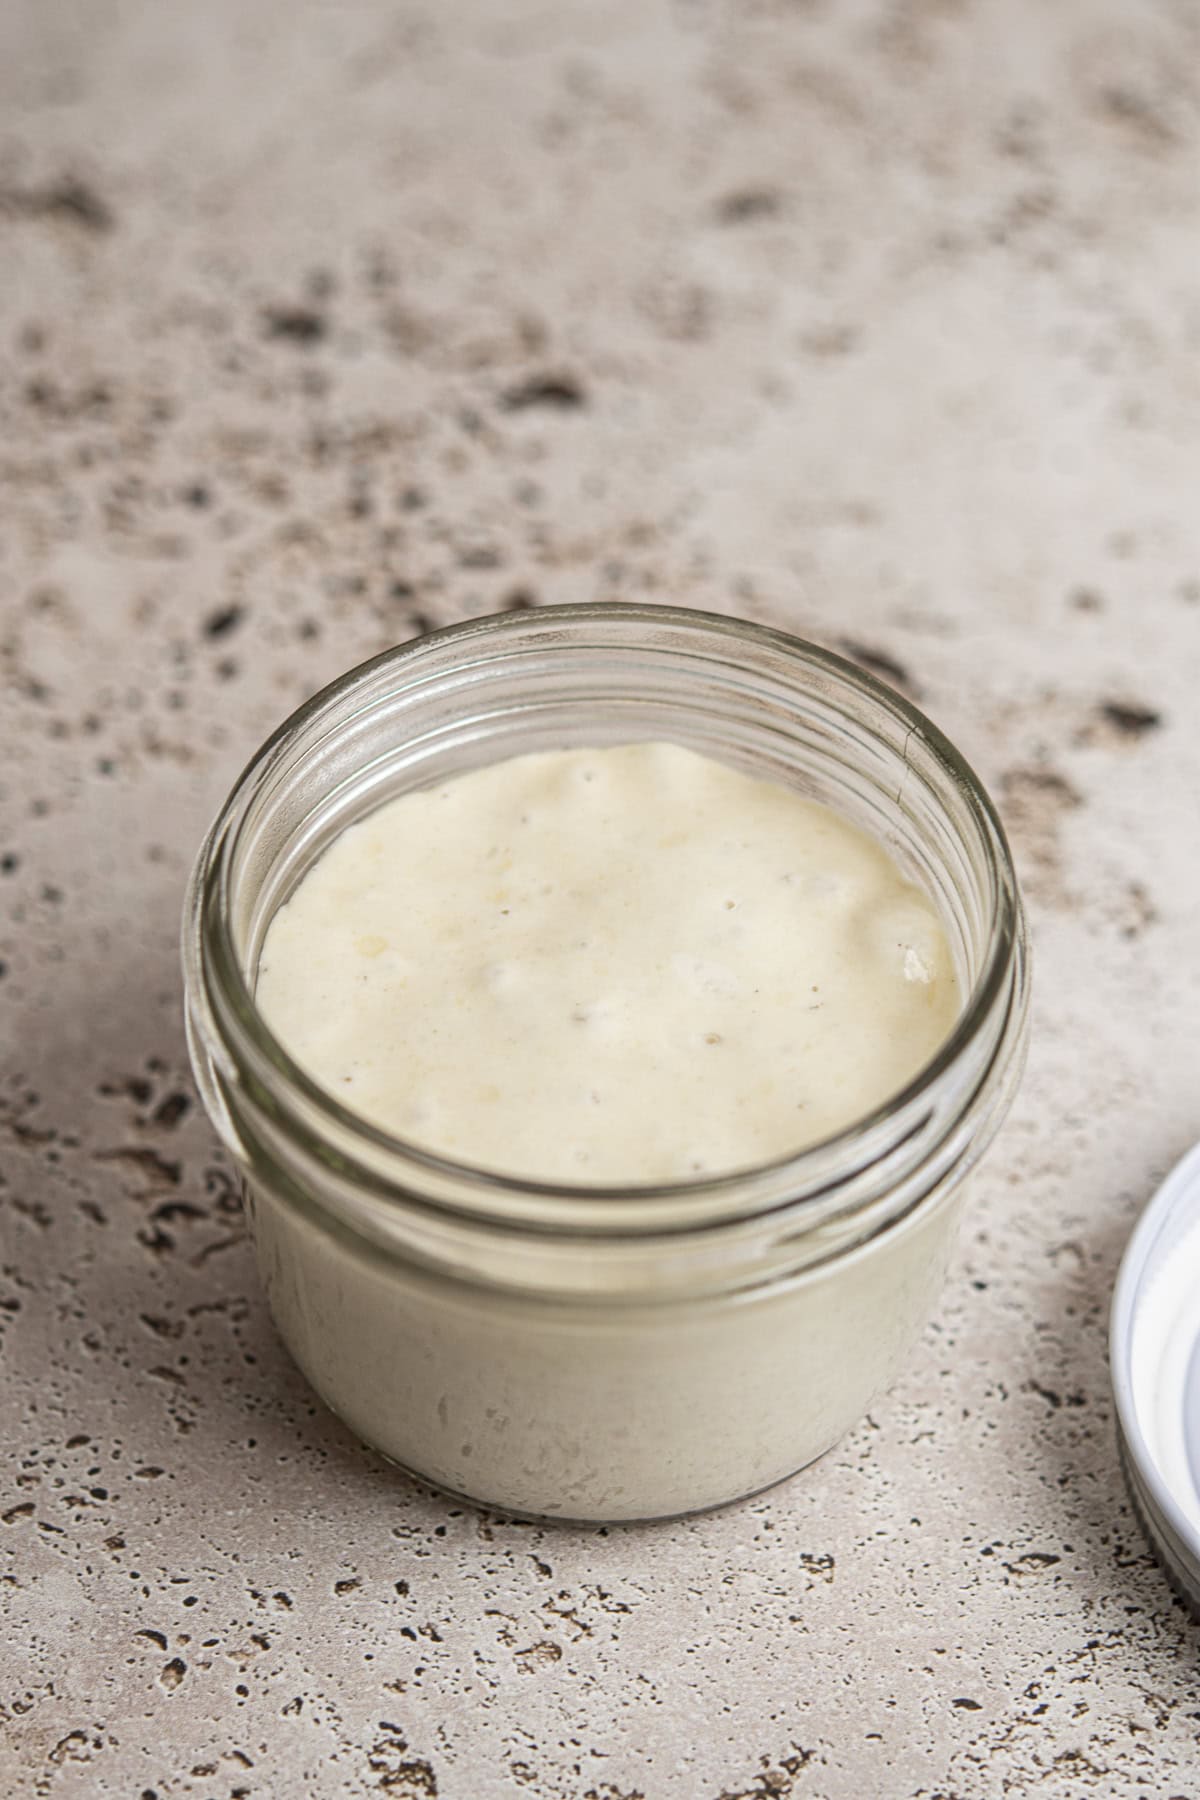
A sourdough starter
A sourdough starter is the foundation of homemade sourdough bread, English muffins, and rolls. It’s a living mixture of wild yeast and bacteria that feed on flour and water. Over time, they form a healthy colony that makes your bread rise without any commercial yeast.
When you first create a starter, you encourage these wild organisms to grow by giving them fresh flour and water every day. Once established, the wild yeast produces carbon dioxide that lifts your dough, while the natural bacteria add that signature tangy flavour.
The bacteria, mainly lactobacilli, produce lactic and acetic acids. This is what gives sourdough its sour flavour.

What you need
Every starter develops a little differently depending on your room temperature, humidity, and even the flour you use.
You’ll need:
- Flour
- Water
- A kitchen scale
It’s best to measure by weight for consistency.
Choosing the flour
Any grain-based flour can work, but unbleached all-purpose or bread flour gives the most consistent results. Rye and whole wheat can be used too, though rye tends to ferment faster because it contains more natural sugars and enzymes.
Rye flour often makes a starter look active early on, but that early bubbling can be misleading. It’s mostly bacterial activity before the yeast really establishes itself. Even if your starter looks bubbly after a day or two, it’s still too young to bake with. A white flour starter can later be used to bake whole grain or rye breads, so it’s a good all-purpose base.
Choosing the water
If your tap water is heavily chlorinated, it can slow fermentation. Filtered water, or tap water that has been boiled and cooled, works best.
Personally, I just use tap water. Mine doesn’t affect my starter or other ferments. If you’re unsure about yours, filtered water is a safe choice.
The best temperature for a sourdough starter
Yeast and bacteria grow best at around 21-26 °C (70-79 °F). If it’s too cold, the process slows right down. In very warm conditions, it will speed up, and your starter may need more frequent feeds.
Cooler temperature tip:
Pop your starter in a cooler bag with a jar of hot water beside it and close the bag to keep the warmth in. It’s a great little warm space for cold winter days. A yoghurt maker also works well. Fill it with a little bit of hot water (making sure it doesn’t touch the starter jar or it can get too hot) and set the starter jar inside so it stays gently warm.
Day-by-day sourdough starter guide
Day 1
- The following uses 30 g flour and 30 g water as a base.
Note: I always mix the flour, water, and starter in a separate bowl first, then scrape the smooth mixture into a clean jar. It keeps the jar tidy and makes level markers easy to see. Old starter sticks like glue, so this saves a lot of scrubbing.
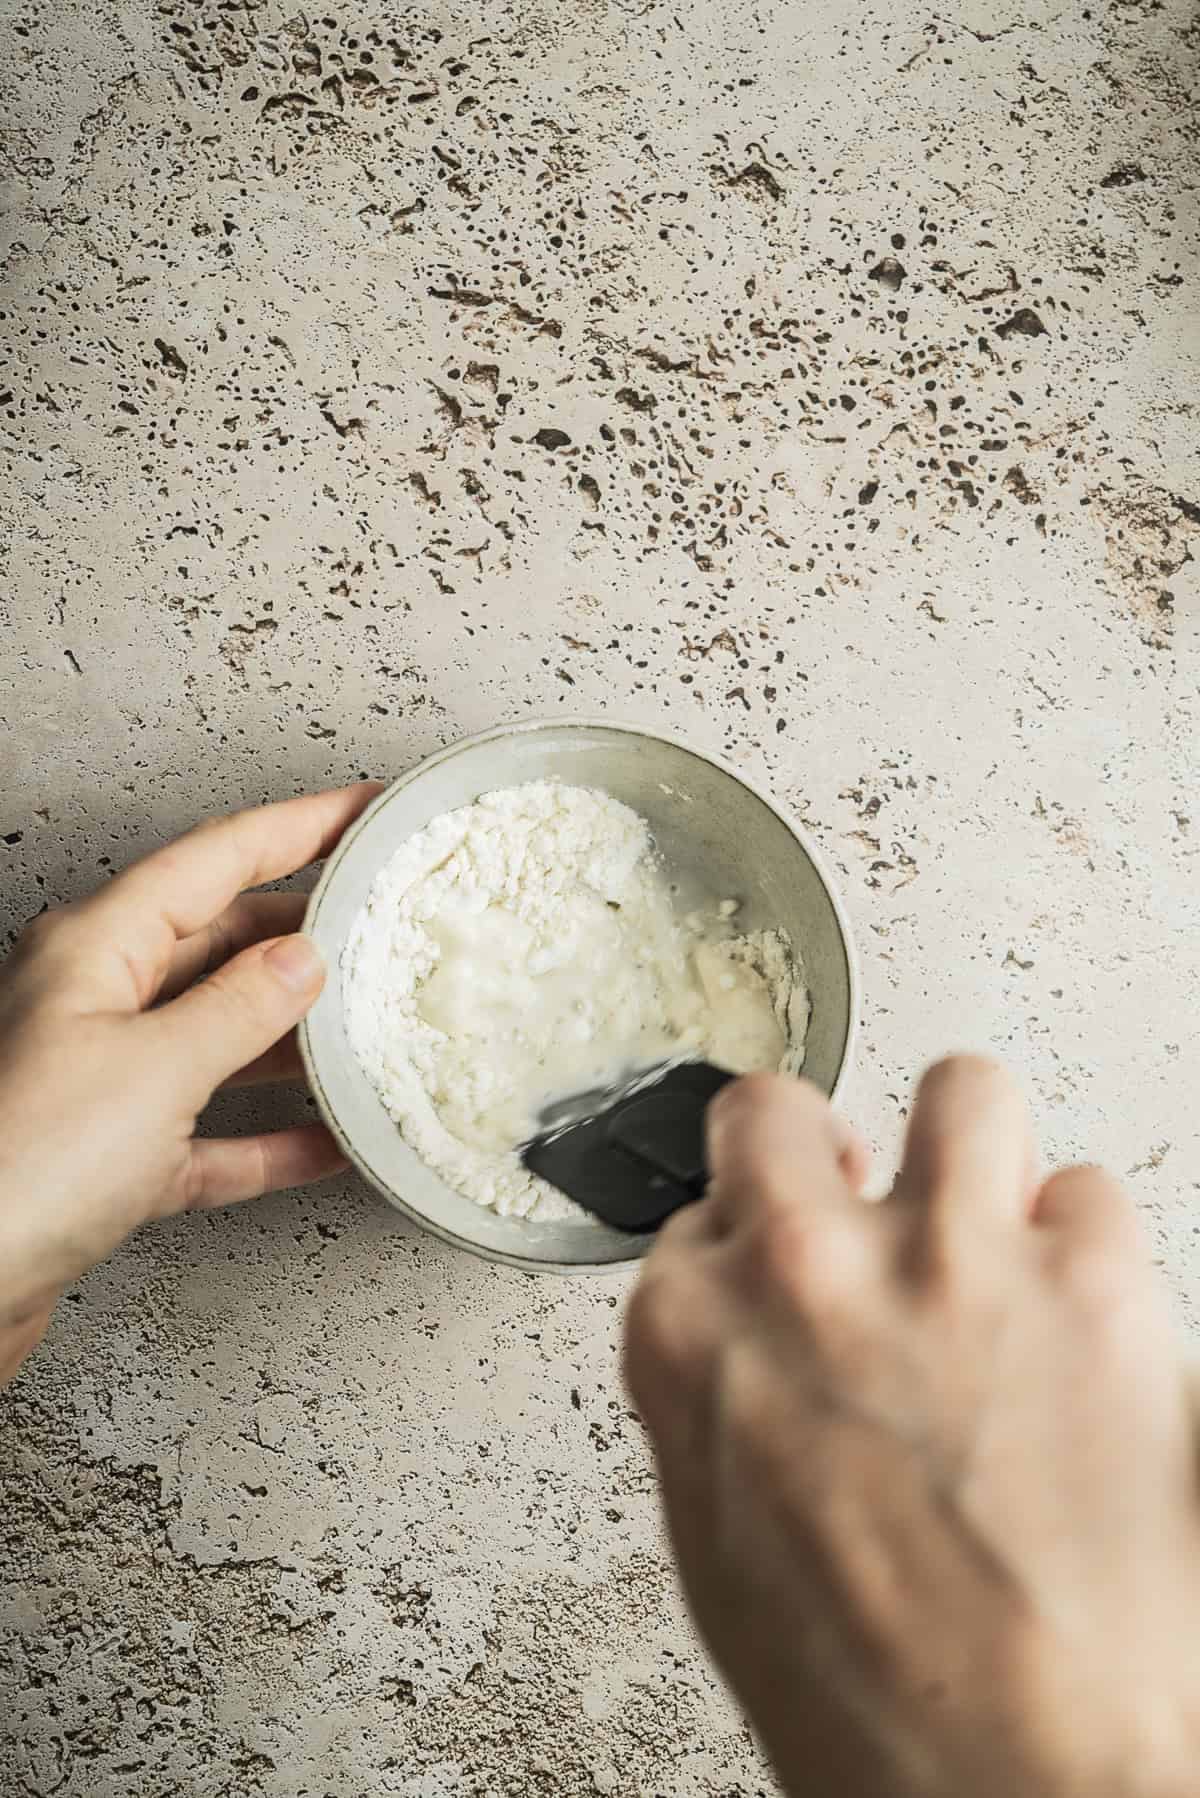
- Mix flour and water in a bowl until combined.
- Put in a clean jar and cover with a balanced lid or cloth.
Day 2
- Tip the starter into a bowl, add 30 g flour and 30 g water, and mix until smooth. Then transfer it to a clean jar.
Day 3
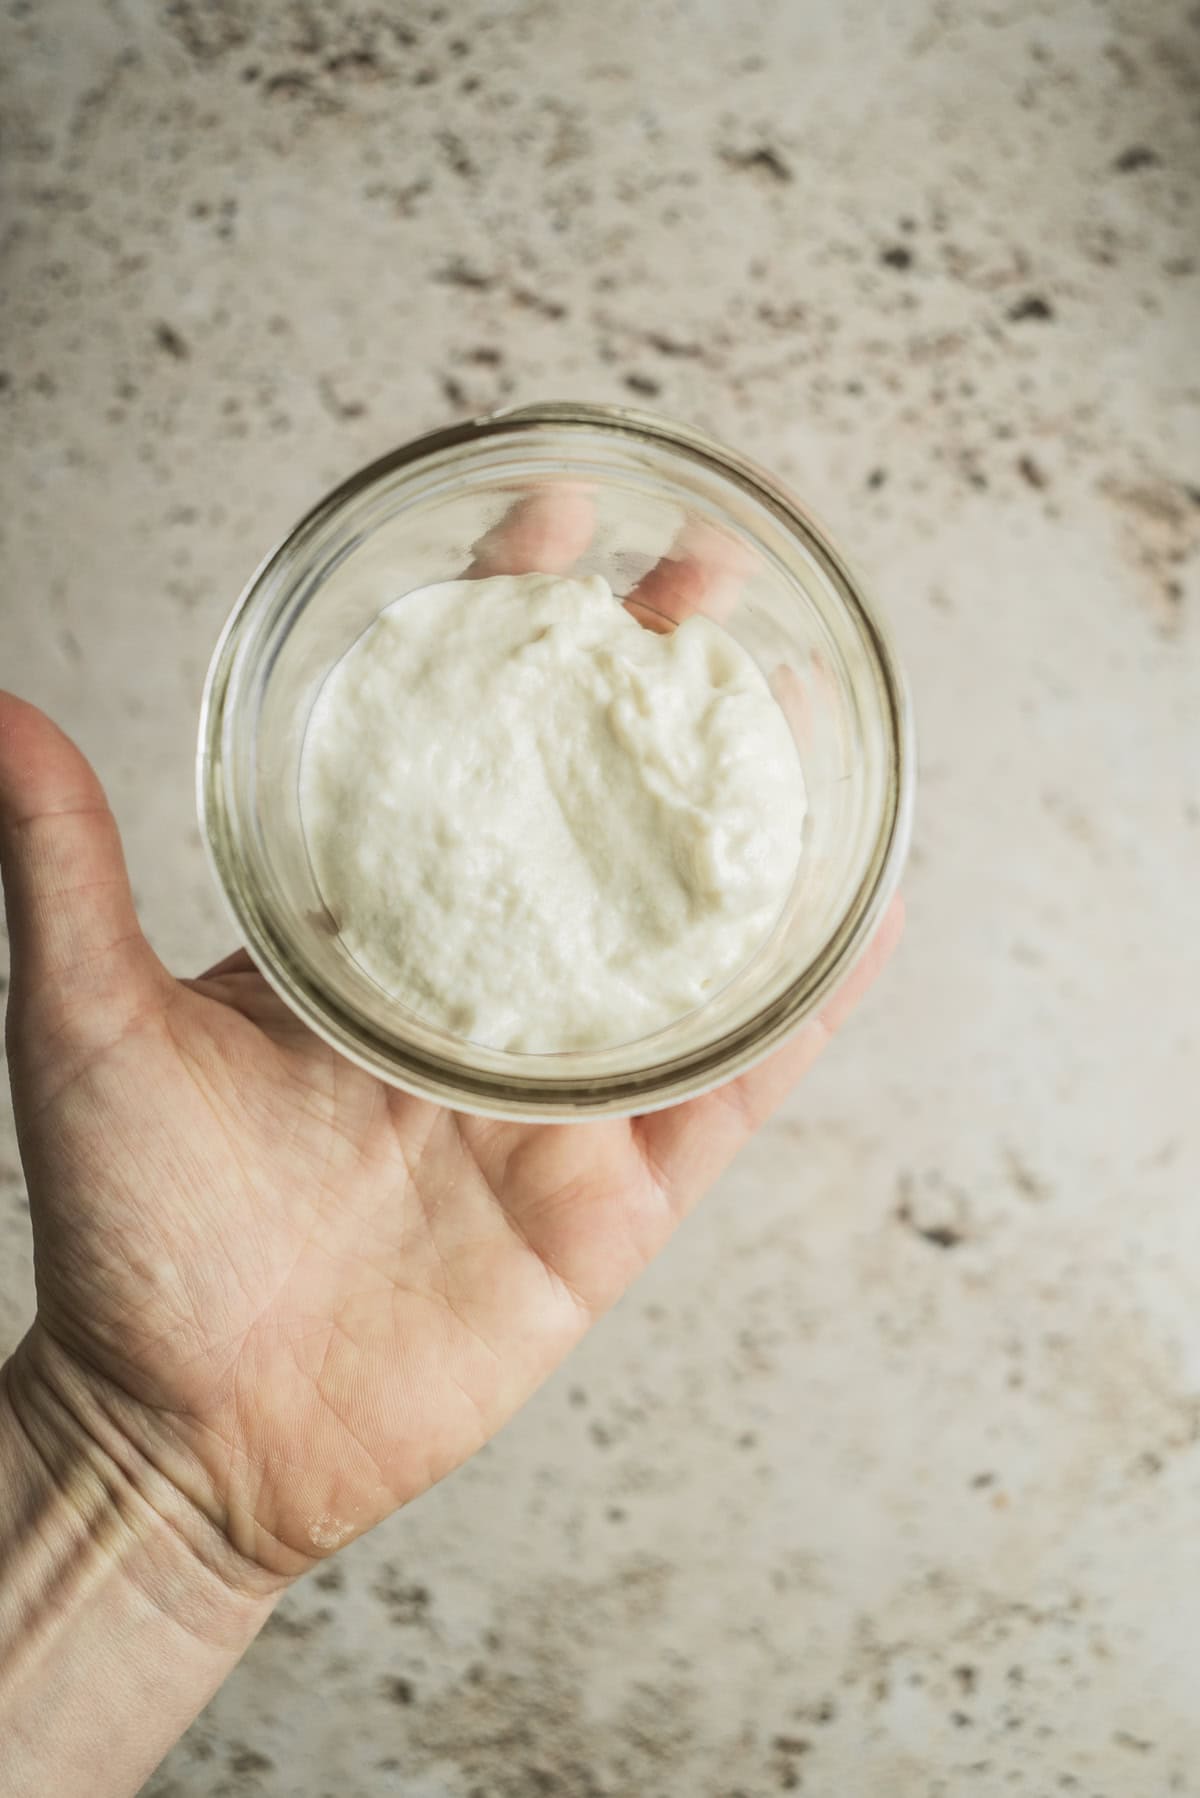
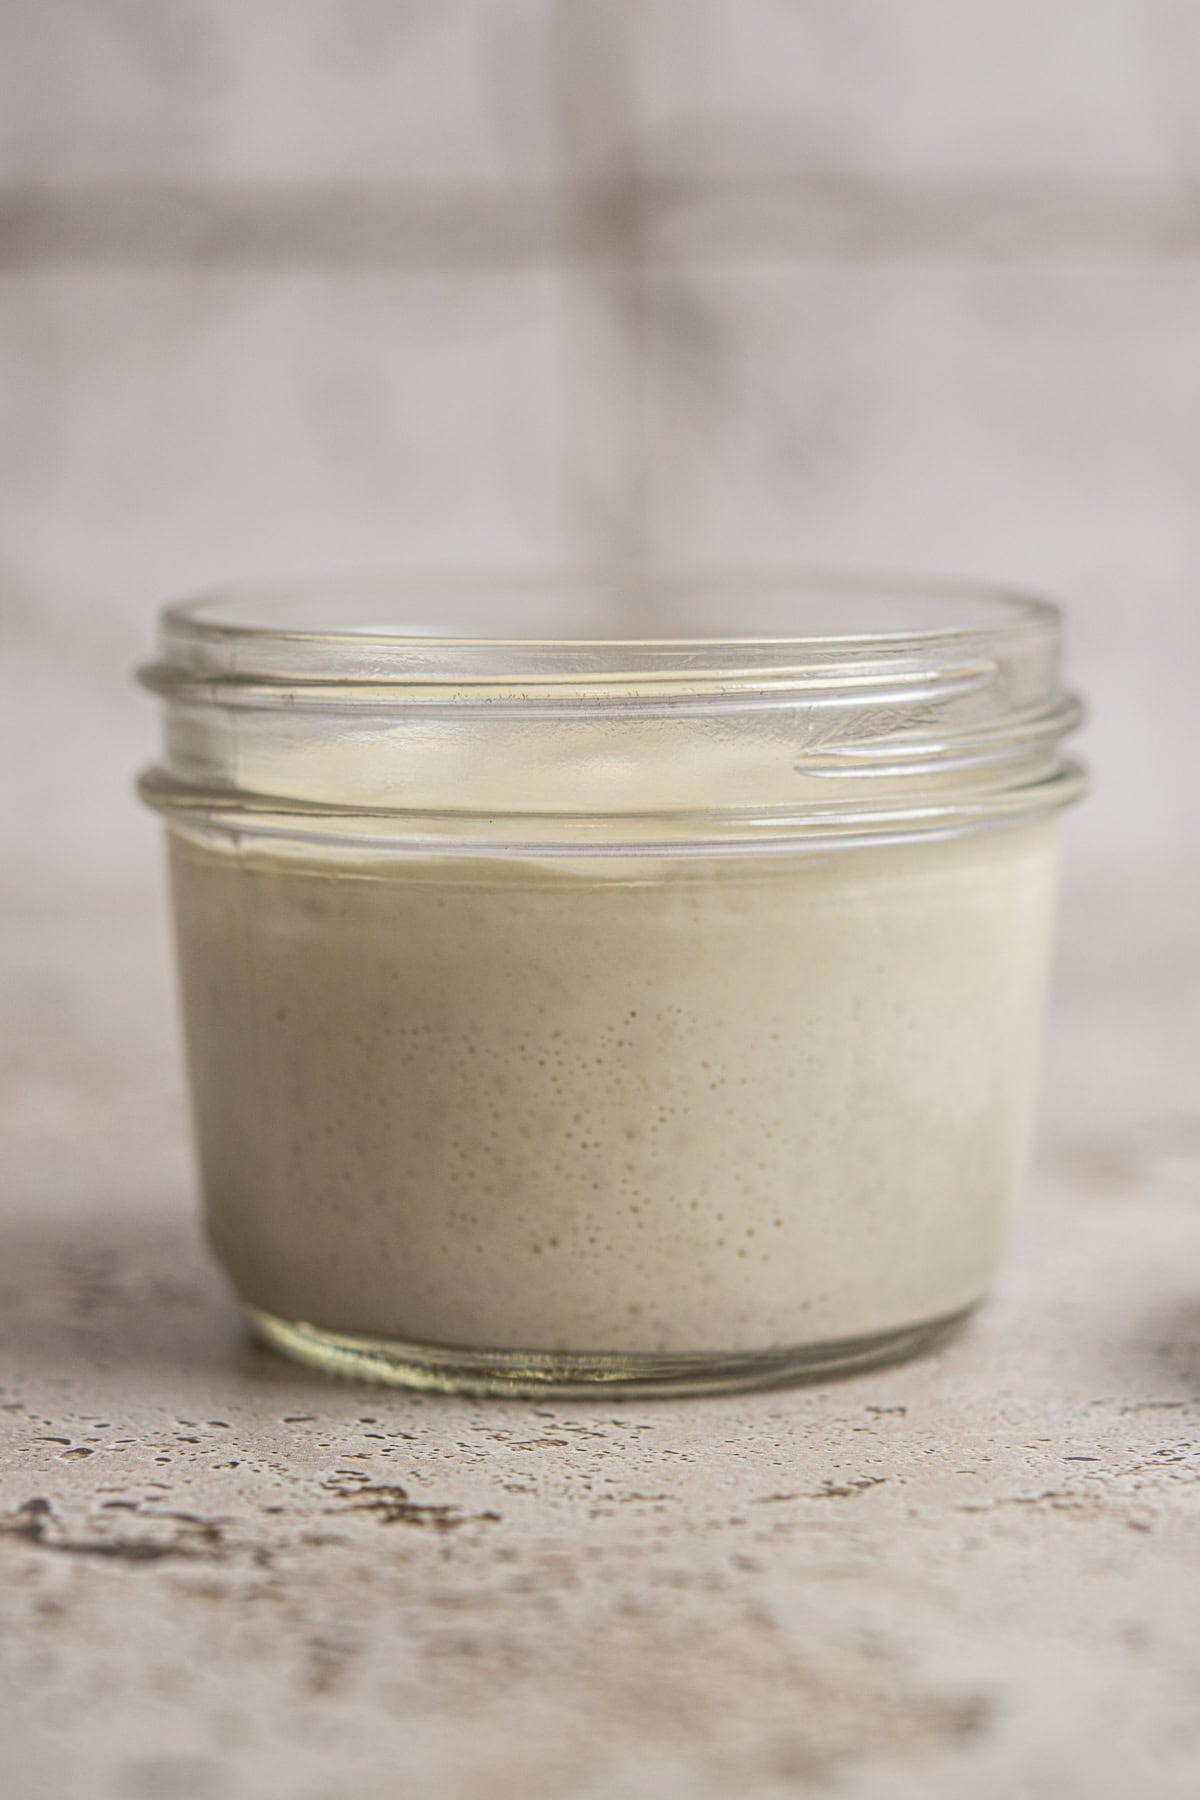
- You might notice bubbles forming after day 2, but this early activity comes from bacteria, not yeast. It’s a good sign that fermentation has started, but your starter still needs more time before it’s ready to bake with.
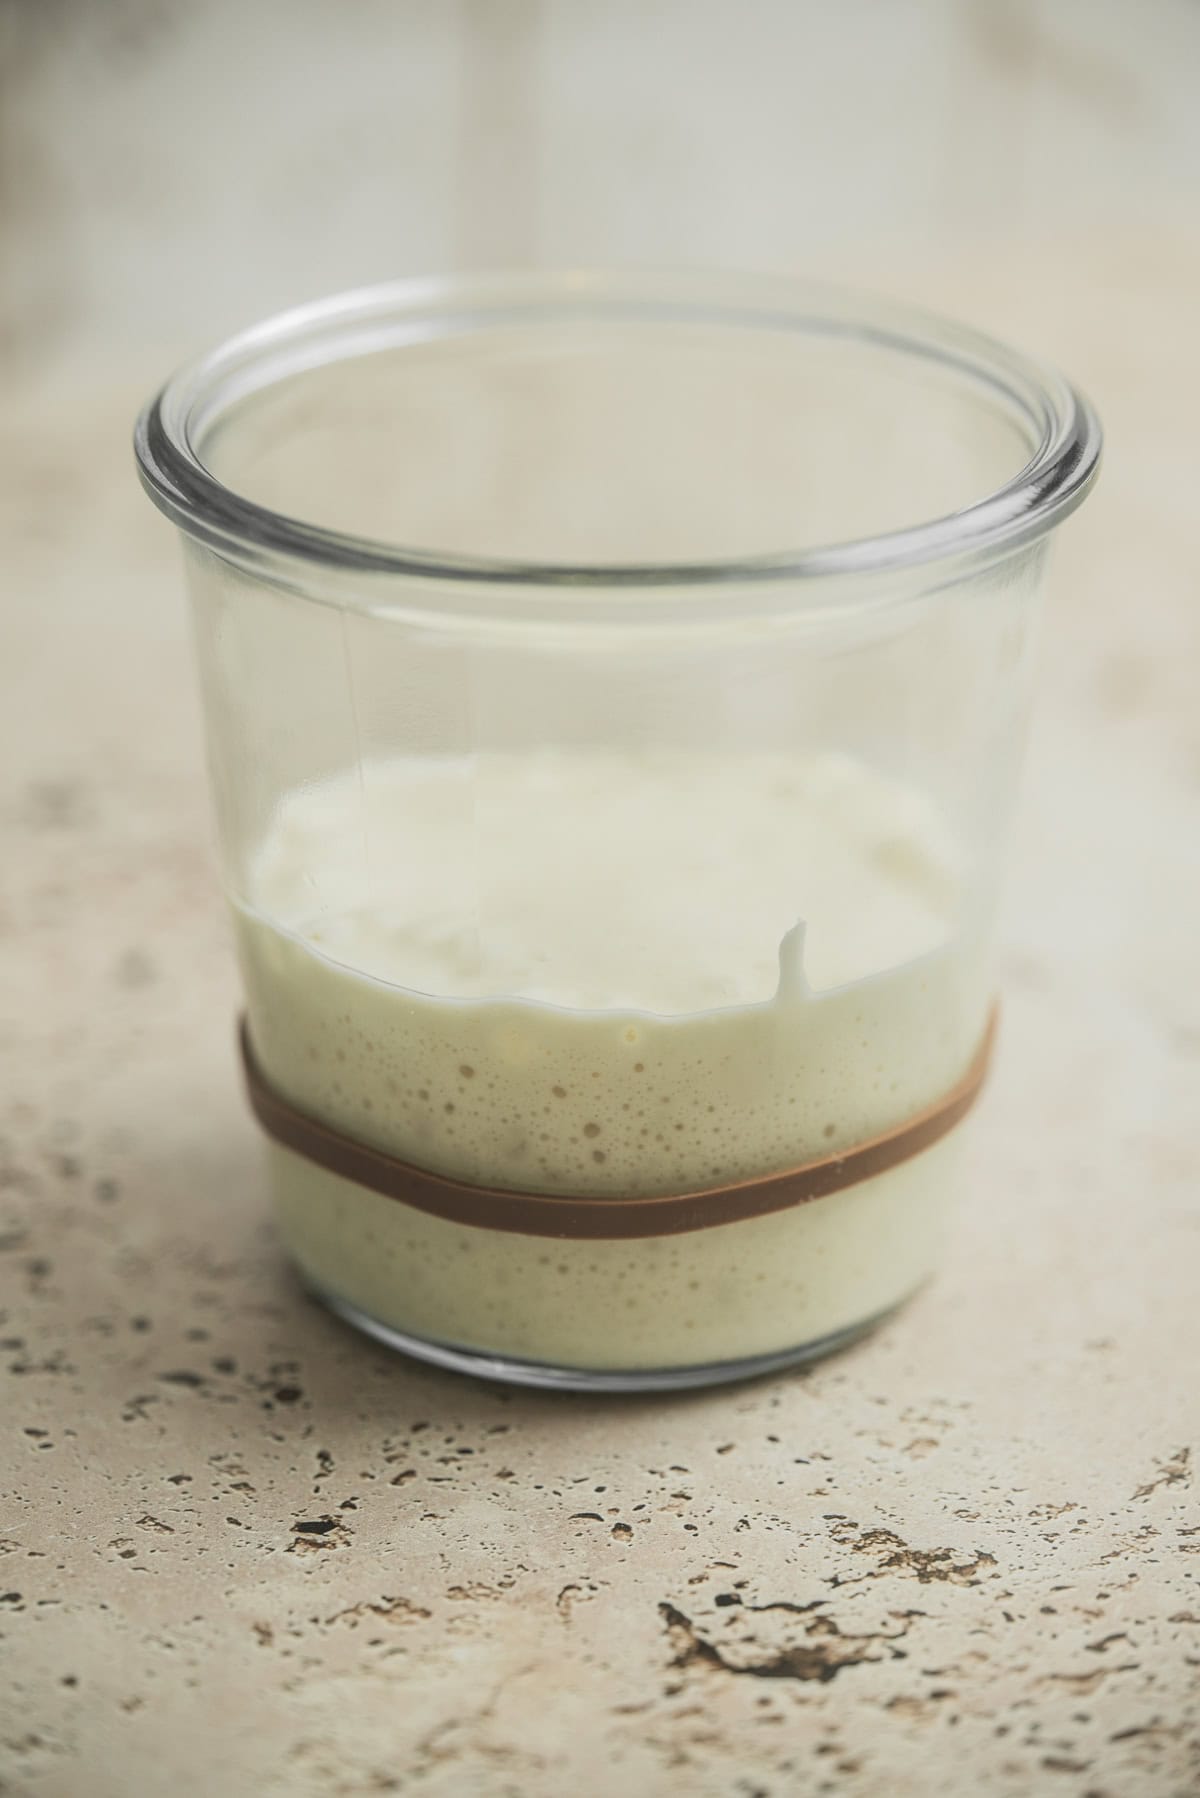
- Pour 30 g of your starter mixture into a new bowl, feed it 30 g of flour and 30 g of water, mix well, then transfer it to a clean jar. Mark the level with a rubber band so you can see how much it rises. Discard the rest.
Days 4–10:
Repeat the same feeding each day: take 30 g of starter, feed it 30 g flour and 30 g water, and move it to a clean jar. Continue discarding the excess.
By day 4 or 5, you should see more bubbles or smell a mild tang. That’s a good sign, though it’s still not ready for bread. You can use some of the discard for recipes like pancakes or cookies.
Discarding is important. It keeps the yeast and bacteria balanced by giving them enough food each time you feed. If you keep feeding the entire jar, it compounds quickly and you’ll burn through a lot of flour.
Keep only a small portion (about 30 g) and feed that each day. Save the rest of your discard in a container for sourdough discard recipes.
Things to watch for
If your starter becomes runny, it’s usually because of the acid and alcohol produced by the bacteria and yeast. That’s normal. Just keep feeding it.
If liquid forms on top or underneath, it’s a sign your starter is hungry. Check the temperature. If it’s too hot, fermentation speeds up. Feed more often, every 12 hours if needed, until it settles.
Feeding ratio
While building your starter, use a 1:1:1 ratio which is equal parts starter, flour, and water by weight. Measuring by weight keeps your starter consistent, as water weighs more than flour.
If your starter is doubling within 6 hours by day 6 or 7, it’s nearly ready. Keep feeding 1:1:1 twice daily until it becomes strong and predictable.
Testing your starter’s strength
To check if your starter is ready to bake with, it should double after feeding it at 1:1:1 within about 4-5 hours at room temperature, 21-26 °C (70-79 °F).
You can also test it by feeding it a higher ratio, like 1:2:2 (one part starter, two parts flour, two parts water). If it can double or triple within 6 hours, it’s strong enough to raise a loaf.
If it’s still slow, keep feeding twice daily for a few more days and test again.
Maintaining your new starter
Once your starter is active and reliable, regular maintenance keeps it strong. Feed it often enough to avoid acid build-up. If you’re keeping it at room temperature, feed 2-3 times a day at 1:1:1, or twice a day at 1:2:2. In warmer weather, you may need to feed more frequently.
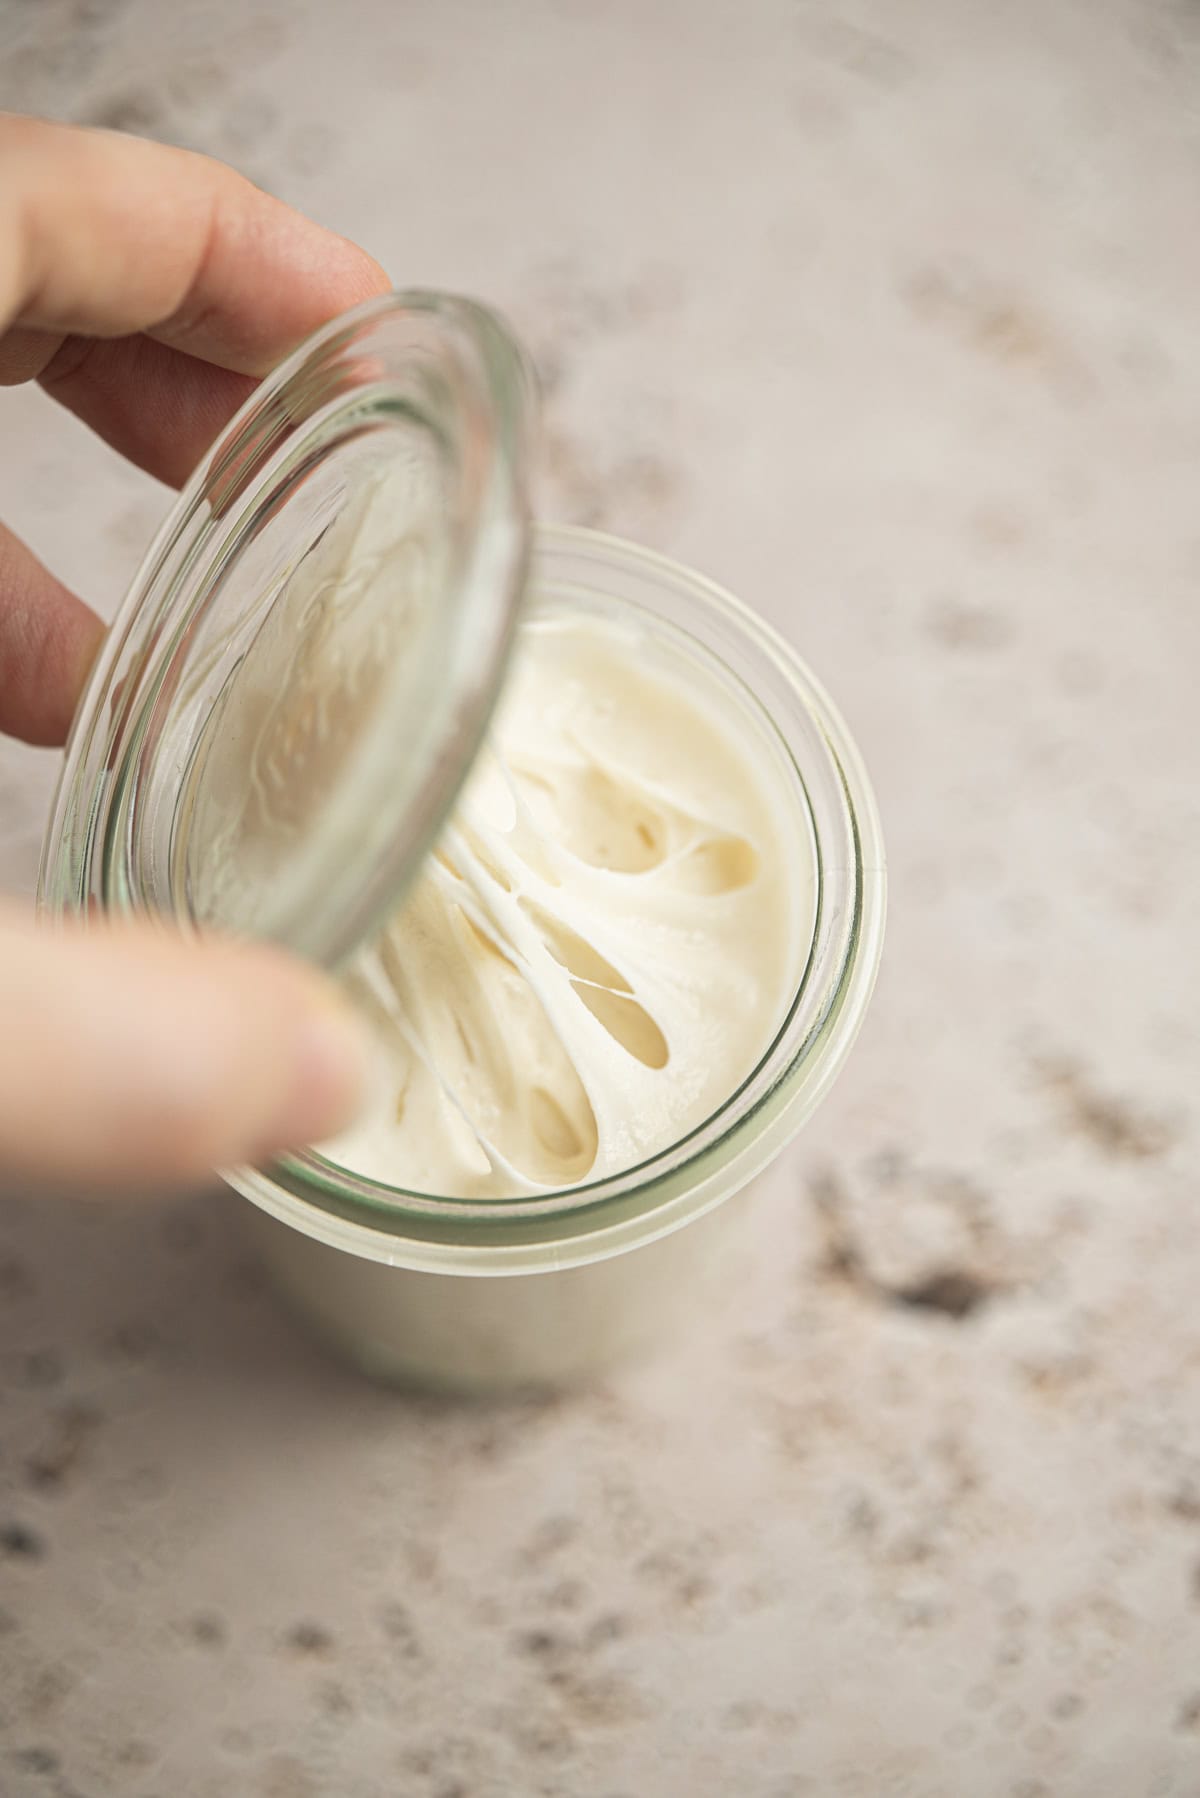
When it peaks (meaning it has doubled and just before it starts to fall) that’s when it’s best to use it for baking.
Once it’s well established, you can store it in the fridge. For more details, see my full guide on how to maintain a sourdough starter.
Sourdough starter troubleshooting FAQs
Chances are it was the lactobacillus bacteria in your starter forming those bubbles, and not the yeasts. Bacteria also create bubbles while they are converting sugars to lactic and acetic acid, but it’s the yeasts in the starter that will give rise to your bread. The yeast colony takes a little longer to establish itself. Be patient and keep feeding and refreshing your starter
Be patient and keep regularly feeding your starter and ensure it’s in a warm spot. If you’ve been feeding your starter for at least 6 days and it’s not bubbling you could experiment with an extra feeding, or check your water source and that it’s not hindering the starter.
This is a sign that your starter is hungry. Your starter might be fermenting a little too fast and the yeasts have run out of food. This can happen if the room your starter is in is too hot.
Check the temperature and fix it if it’s too hot before continuing. Then, carry on with the 1:1:1 feeds, but you can switch to 12 hourly feeds if it keeps splitting.
It is normal for a starter to rise, reach its peak, and collapse once it has run out of food. Once your starter can double within 5-6 hours after being fed 1:1:1, switch to 12 hourly feedings.
If it doubles within 4-5 hours with the increased feedings, try the starter activeness test.
Has the temperature changed? If it’s colder your starter will take longer to double. Have you increased the feedings? If you increase the feeds before the starter is ready, it will slow things down a bit.
If you keep up with regular discarding and feeding, in a fresh jar each time, your lactobacillus colony will thrive. As they do, the amount of lactic acid they produce will inhibit mould growth and harmful bacteria.
A contaminated sourdough starter is pretty rare. If you do see mould growing on your starter or it develops a pink, red, or orange tinge, discard it and start again.
Sourdough Starter Recipe
Ingredients
- Unbleached all-purpose flour
- Water*
Instructions
Day 1
- Combine 30 g flour and 30 g water in a bowl and mix very well until smooth. Transfer the mixture to a clean glass jar, cover it with a loose lid or cloth, and leave it in a warm spot around 21-26 °C (70-79 °F) out of direct sunlight.
Day 2
- Tip the starter into a bowl, add 30 g flour and 30 g water, and mix well until smooth. Scrape the mixture into a clean jar. Mixing in a bowl first keeps the jar tidy, since old starter sticks like glue.
Day 3
- Pour 30 g of your starter into a bowl, add 30 g of flour and 30 g of water (a 1:1:1 ratio), and mix well. Transfer it to a clean jar and discard the rest. You might notice some small bubbles by now but these come from bacteria starting to ferment, not yeast just yet.
Day 4
- Pour 30 g of the starter into a bowl, feed it 30 g of flour and 30 g of water, and mix until smooth. Transfer to a clean jar and discard the rest. By this stage, your starter might be bubbling more and smell slightly sour.
Days 5-10
- Each day, pour 30 g of the starter into a bowl, feed it 30 g of flour and 30 g of water, mix well, and transfer it to a clean jar. Discard the rest.
- If your starter is doubling easily within about 4-6 hours of feeding start feeding it 1:1:1 twice a day instead of once, or switch to a higher ratio like 1:2:2 or 1:3:3 once a day. If it’s runny each time you go to feed it, that means it’s getting too hungry between feeds. Increase the ratio or feed twice per day.
Ready for baking
- By around day 10, your starter might be ready to bake with, though sometimes it happens sooner. You’ll know it’s ready when it doubles within 4-6 hours at a 1:1:1 feeding, has a domed top, and is bubbly, spongy, and pleasantly yeasty.
- If you’re feeding it at a higher ratio, like 1:2:2 or 1:3:3, the rise will take longer, usually around 6-10 hours depending on your room temperature. That’s completely normal. The extra flour and water give the yeast more food, so the starter needs more time to ferment and reach its peak.
- If it’s still slow or inconsistent after that, keep feeding daily until it rises and falls predictably after each feed. A strong starter will show a clear rhythm and bounce back quickly after every feeding.
- If it’s still slow or inconsistent after that, keep feeding daily until it rises and falls predictably after each feed. A strong starter will show a clear rhythm and bounce back quickly after every feeding.
Notes
Troubleshooting tips
- No bubbles yet? Be patient. Early activity is usually from bacteria, not yeast. Keep feeding daily, and it will become active.
- Runny or watery starter, or grey liquid (hooch) on top: It’s hungry. Feed more often or increase the ratio (1:2:2 or 1:3:3) so it has more food.
- Strong, vinegary smell: Too much acid build-up. Give it a couple of good feeds at room temperature to rebalance it.
- Slow to rise: Check your room temperature. Starters like it warm (but not too hot), around 21–26 °C (70–79 °F).


So the sourdough recipe I found asks for 250g starter, is this starter going to be enough or will I need to make double the 50g daily?
Heya,
How much starter your future recipe needs isn’t important at this stage. You need to create an active seed starter first, following the steps and checking that it’s properly ready. That’s what this recipe is for, and that’s what takes around 10 days to set up.
Once that’s done, you can feed your seed starter enough fresh flour and water to bulk it out to however much you need for your recipe, and always keep a little bit left over to feed and use the next time. 🙂
If you have a look at this recipe, you’ll see how I bulk out my seed starter so I have enough for bread: https://homegrownhappiness.com/homemade-sourdough-step-by-step/
I’m going to give this a go, but I’ve never baked bread before so will see how it goes. When I’m making the starter, should I seal the jar with a lid or just cover it with a cloth?
Cover with a cloth or a loosely balanced lid 😊
Hey Elien – to maintain the starter, do you only store it in the fridge if not using every day? If using every day do you just feed it & leave it out? And if using from the fridge does it take longer to activate because it’s cold when you start the 1:2:2 process? Initially my dough was working well but I’m now finding it quite wet & sticky for the fold & coil process & I can’t figure out why. Thanks Adelle
Hey I store mine in the fridge after using it even with baking every day because it’s such an established starter now and not much slows it down. If you’re still building your starter up, keeping it out on the bench and feeding it regularly will help establish it more. If it’s a cold day when I feed my starter, I’ll pop it in a warm spot and then it doubles well within the time frame, even though it had been in the fridge.
Thank you! I think mine might be too acidic now. How do you reduce the acidity?
By keeping the seed starter amount small when feeding it fresh flour and water ☺️
Is it OK to collect/combine multiple days worth of discard in order to have enough to use in a recipe? For example, A KAF sourdough pancake recipe calls for 1 cup of discard but I think I’ll only get ~50g of discard each day, if I’m understanding your instructions … which I’m not entirely sure that I am. Newbie outed!
Hey yup you can combine your discards in a separate container for discard recipes ☺️
Hi my sour dough has been going well up to day 4 , then I had it o bench and noticed kids had moved it it was in direct sunlight for a few hours . since then I’ve been discarding half and feeding it. Ones on day 8 and obesity on day 7 but they are not rising after a feed at all. They have bubbles always but not rising . what should I do
Hey don’t worry the sun didn’t ruin it. Just keep feeding it regularly, but stick to the 1:1:1 ratio of equal weights of starter, water and flour. Not just discarding half ☺️. It’ll get there!
Hello! Thanks for all the info! It looks as if my starter more than doubled at some point but it had “fallen” back to its starting level. Is it ready to be fed and stored or fed and leave out still? Thanks!
Hey Alie, have you tried the 1:2:2 test? If it rises within 6-8 hours after a feeding of that it’s good to go. You can then feed it and keep it in the fridge, though you’ll do no harm if you keep leaving it out and feeding it. The more time it has to grow, the better your starter will be .
Hi Elien, thanks for this site and your very clear instructions. I’m on day 4 but I cheated a little by adding a bit of yeasty water at the beginning, so the starter seems quite active already, I’m leaving it overnight and feeding every 24 hours, but I notice it’s quite liquid underneath and like chewing gum on top before I feed it again. I guess that’s the sign it’s hungry. When I mix it up (before feeding) it becomes quite runny but also stretchy and gelatinous, like egg white almost – is that normal?
Heya Kay, Im sorry but as I’ve never added yeast water to my starter I can’t really trouble shoot what’s going on with your one or if that has affected it
No worries. I have continued to feed it and look after it as per your instructions and now it is thick and bubbly and I’m baking with it, so thanks! I have visited other sites where they use a little commercial yeast in their starter to speed up the process and they say that after a while the wild yeasts will outcompete the one you started with, for that distinctive tangy sourdough flavour.
How many actual weeks can you leave the starter sealed in the fridge? Do you only have to feed it the one time before putting it in the fridge? Or can I leave it in the fridge for 2-3 weeks without feeding it again? Thanks, G
Hey once it’s properly active, you can feed it 1:2:2 and it will last a 2-3 weeks in the fridge no problem 😊
If my starter has doubled in size within 5 hours of the feed on day 3 do I need to be feeding it less?
Nope just keep feeding it ☺️
Thanks for the recipe and I have just started my Starter but 50gms flour and 50gms water made quite a gluggy mix not liquidy at all. Is that right? What consistency would you say it is?
Yup like a thick muffin batter ☺️. As the starter gets going, acid will be produced which will start making it runnier