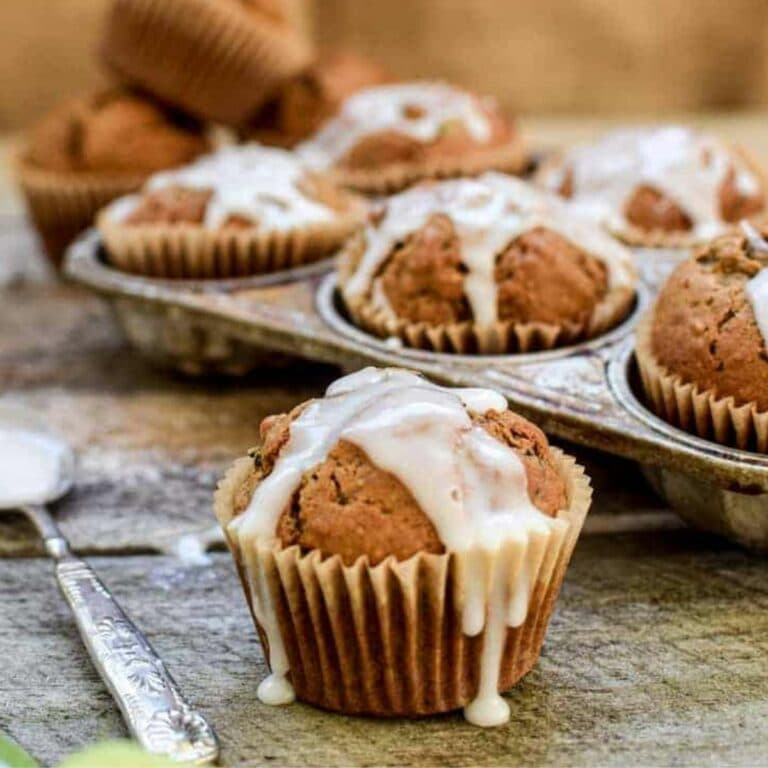
Sourdough Salt Bread (Japanese Shio Pan)
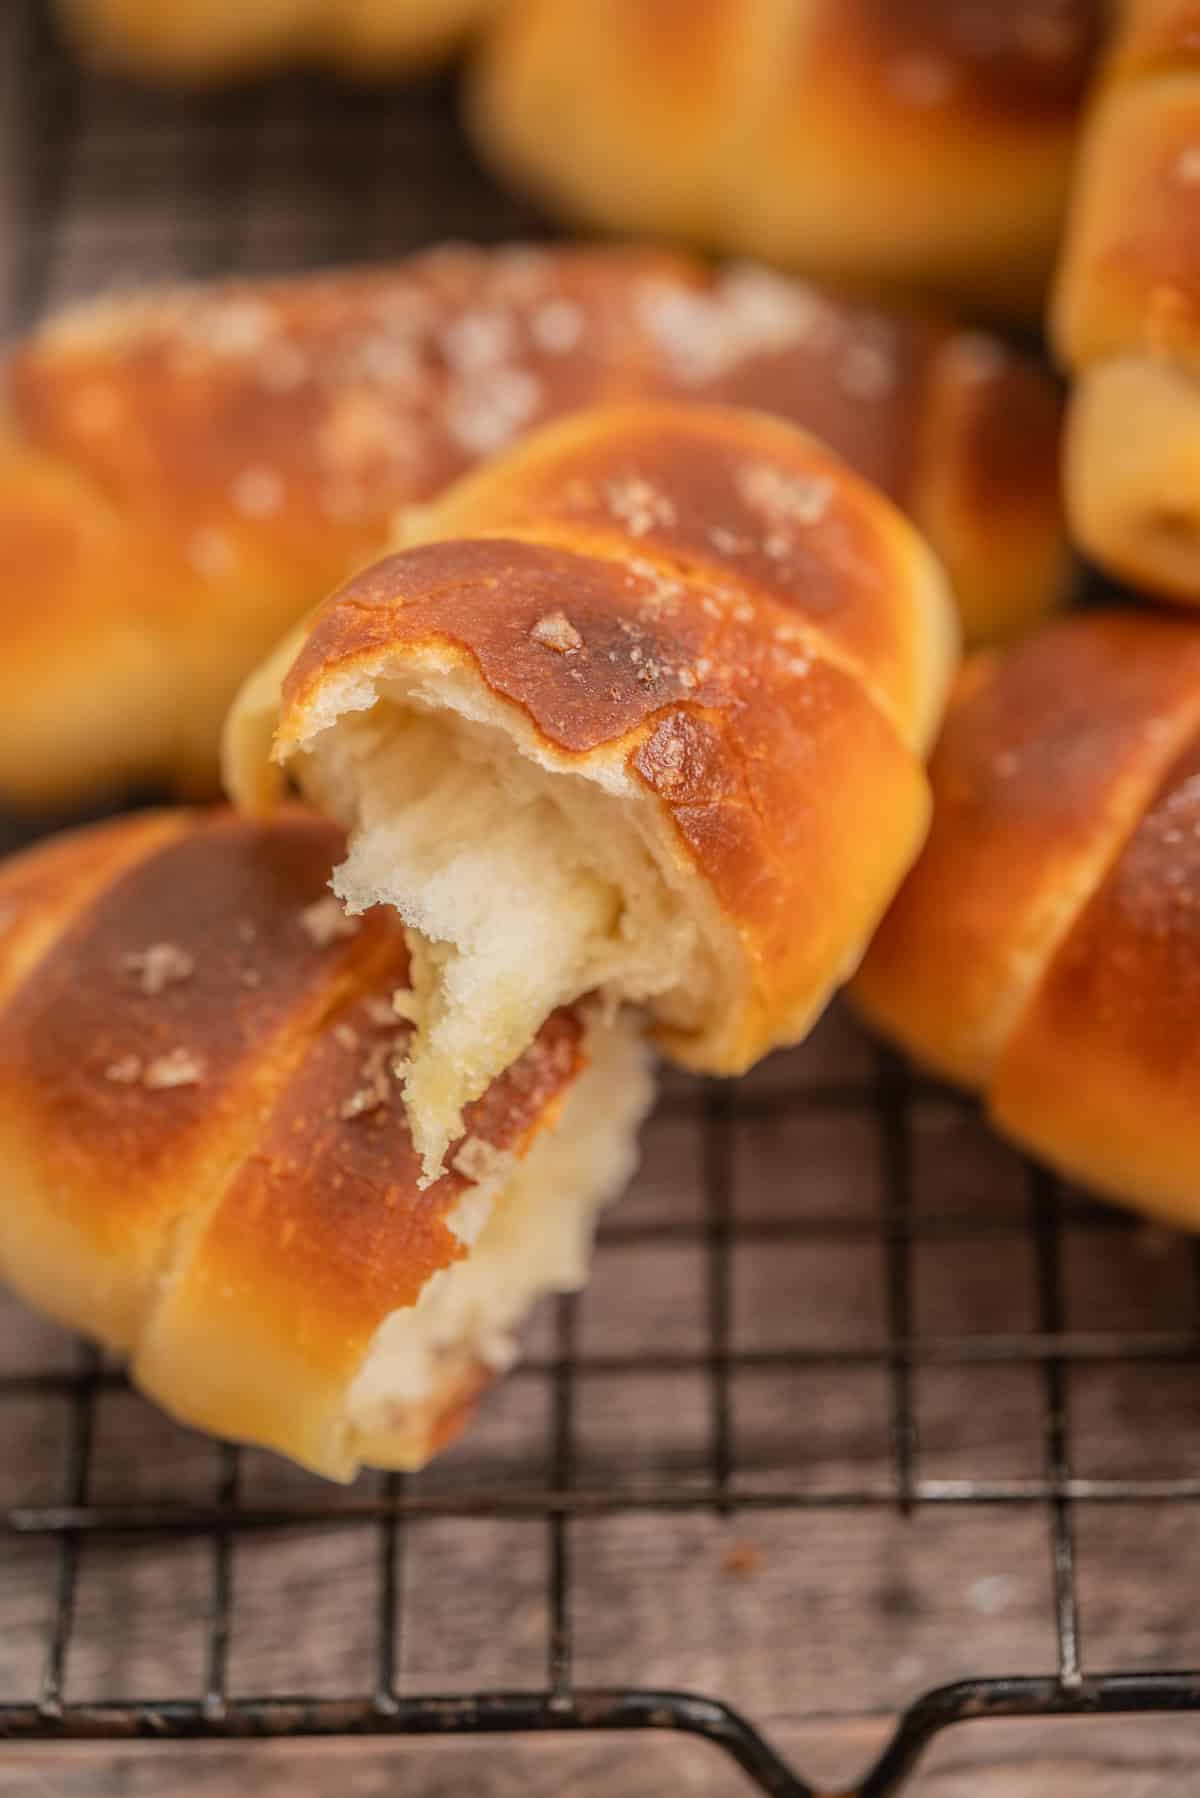
These sourdough salt bread rolls are my take on Japanese shio pan, soft and tender inside with a crispy base and a sprinkle of flaky sea salt on top. The dough is slightly enriched with milk and a tangzhong, then wrapped around cold butter so it melts as the rolls bake, creating that signature hollow and a buttery fried base. This style of bread has become wildly popular in Korean bakeries, which is why you will often see it referred to as Korean salt bread.

About the dough
The dough is soft and elastic, but still strong enough to hold its shape, and it bakes up beautifully. The texture sits somewhere between a classic dinner roll and milk bread, but with more structure and a savoury finish.
- Hydration is on the higher side, nearly 80%, but because part of the liquid is cooked into a tangzhong, it doesn’t feel quite as wet, more like high 60s.
- It contains milk, a small amount of sugar, butter in the dough, and a tangzhong for softness.
- There are no eggs, which keeps the crumb light and elastic so it can stretch around the melting butter.
- The main butter is added as a filling, which is what gives salt bread the butter hold in the middle when it melts. A smaller amount is mixed through the dough to enrich it.
You can knead this dough by hand, but a stand mixer makes it much easier, especially since it starts pretty sticky. After kneading, the dough should feel smooth, elastic, and soft. If you are new to baking with sourdough, my sourdough hub has guides on starters, fermentation, and enriched doughs

Baker’s schedule (example)
This is a flexible guide and the exact timing will depend on your kitchen temperature and starter strength.
Day 1
- Morning or early afternoon: Mix tangzhong and dough
- Bulk ferment at room temperature for 3 to 4 hours until about 30-40 percent risen
- Refrigerate dough for at least 3 hours or overnight
Day 2
- Shape rolls with butter filling
- Proof at room temperature for 2 to 3 hours
- Bake
The key ingredients
Method
- Cook the tangzhong just until it thickens to a smooth, custard-like consistency.
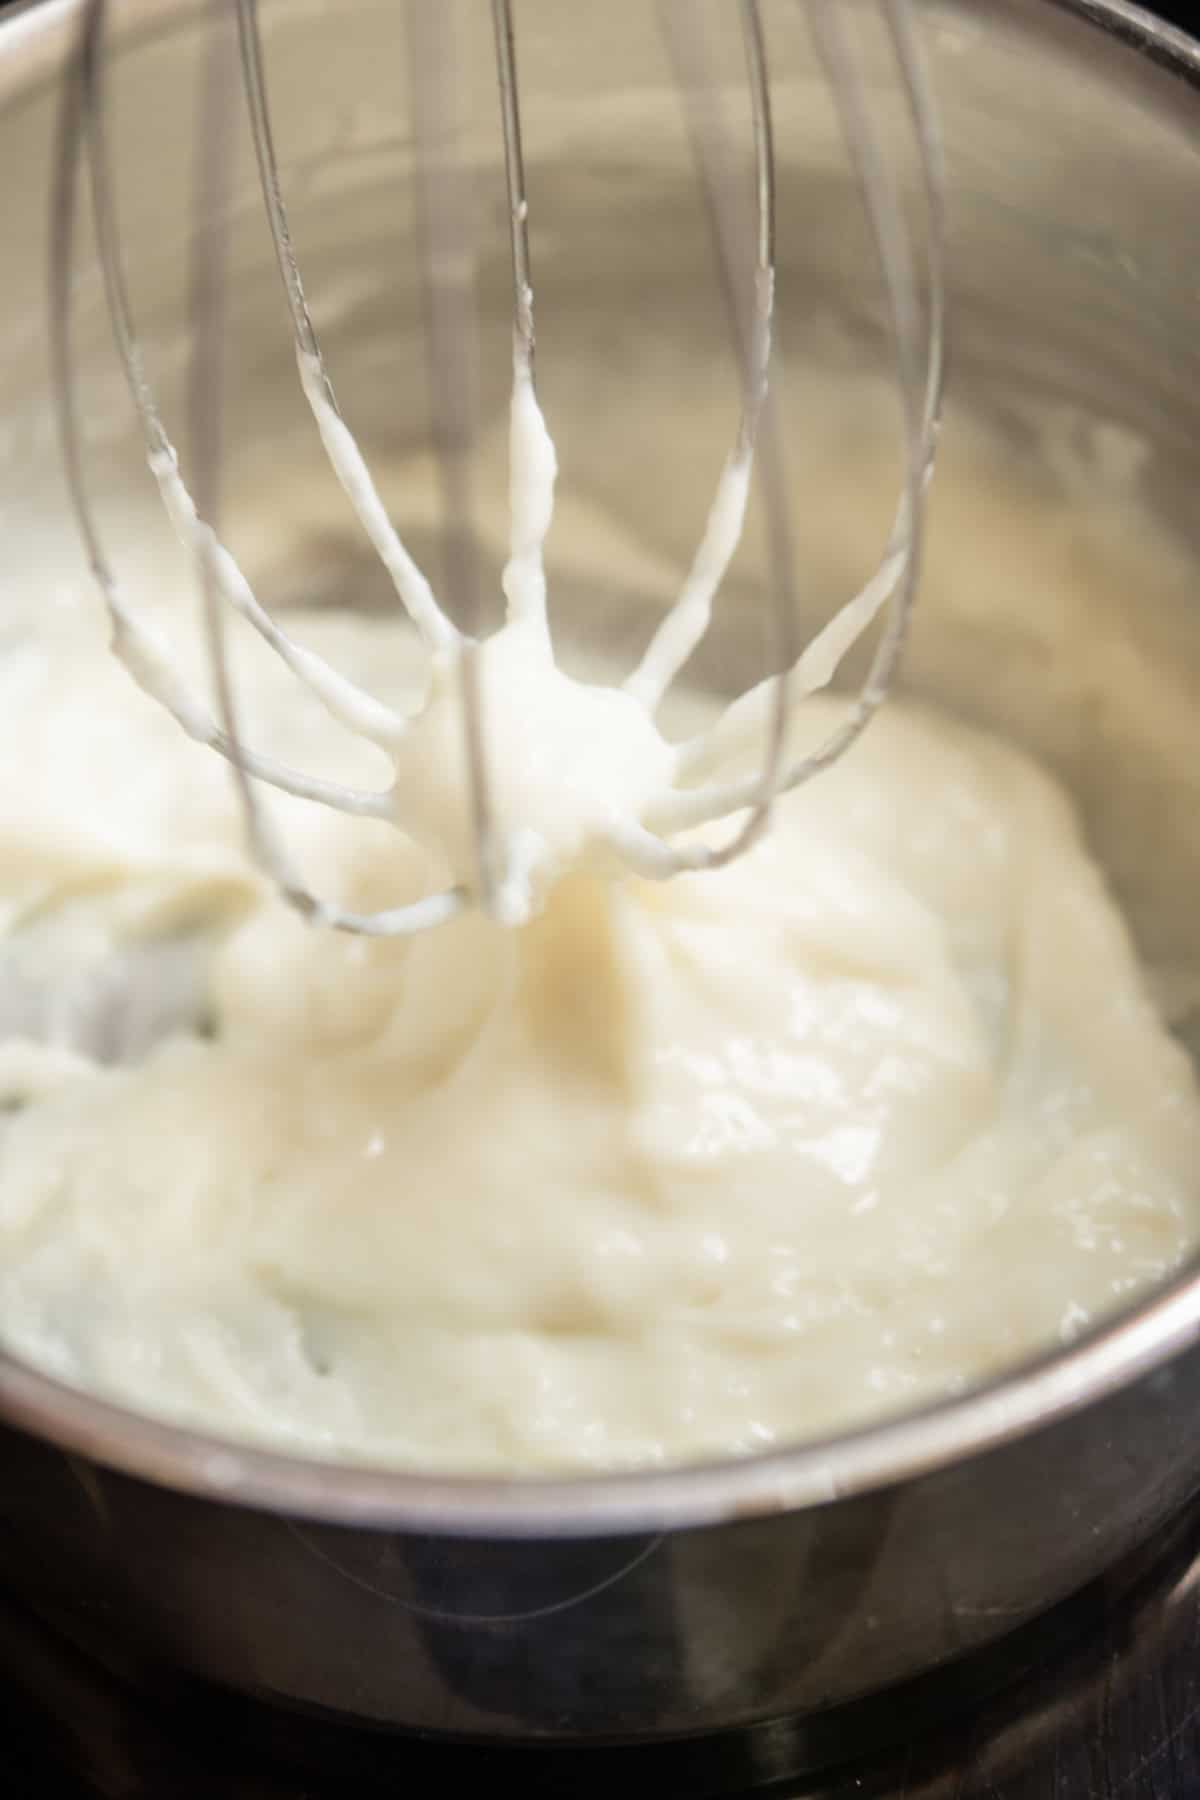
- Add to a stand mixer bowl and let it cool.
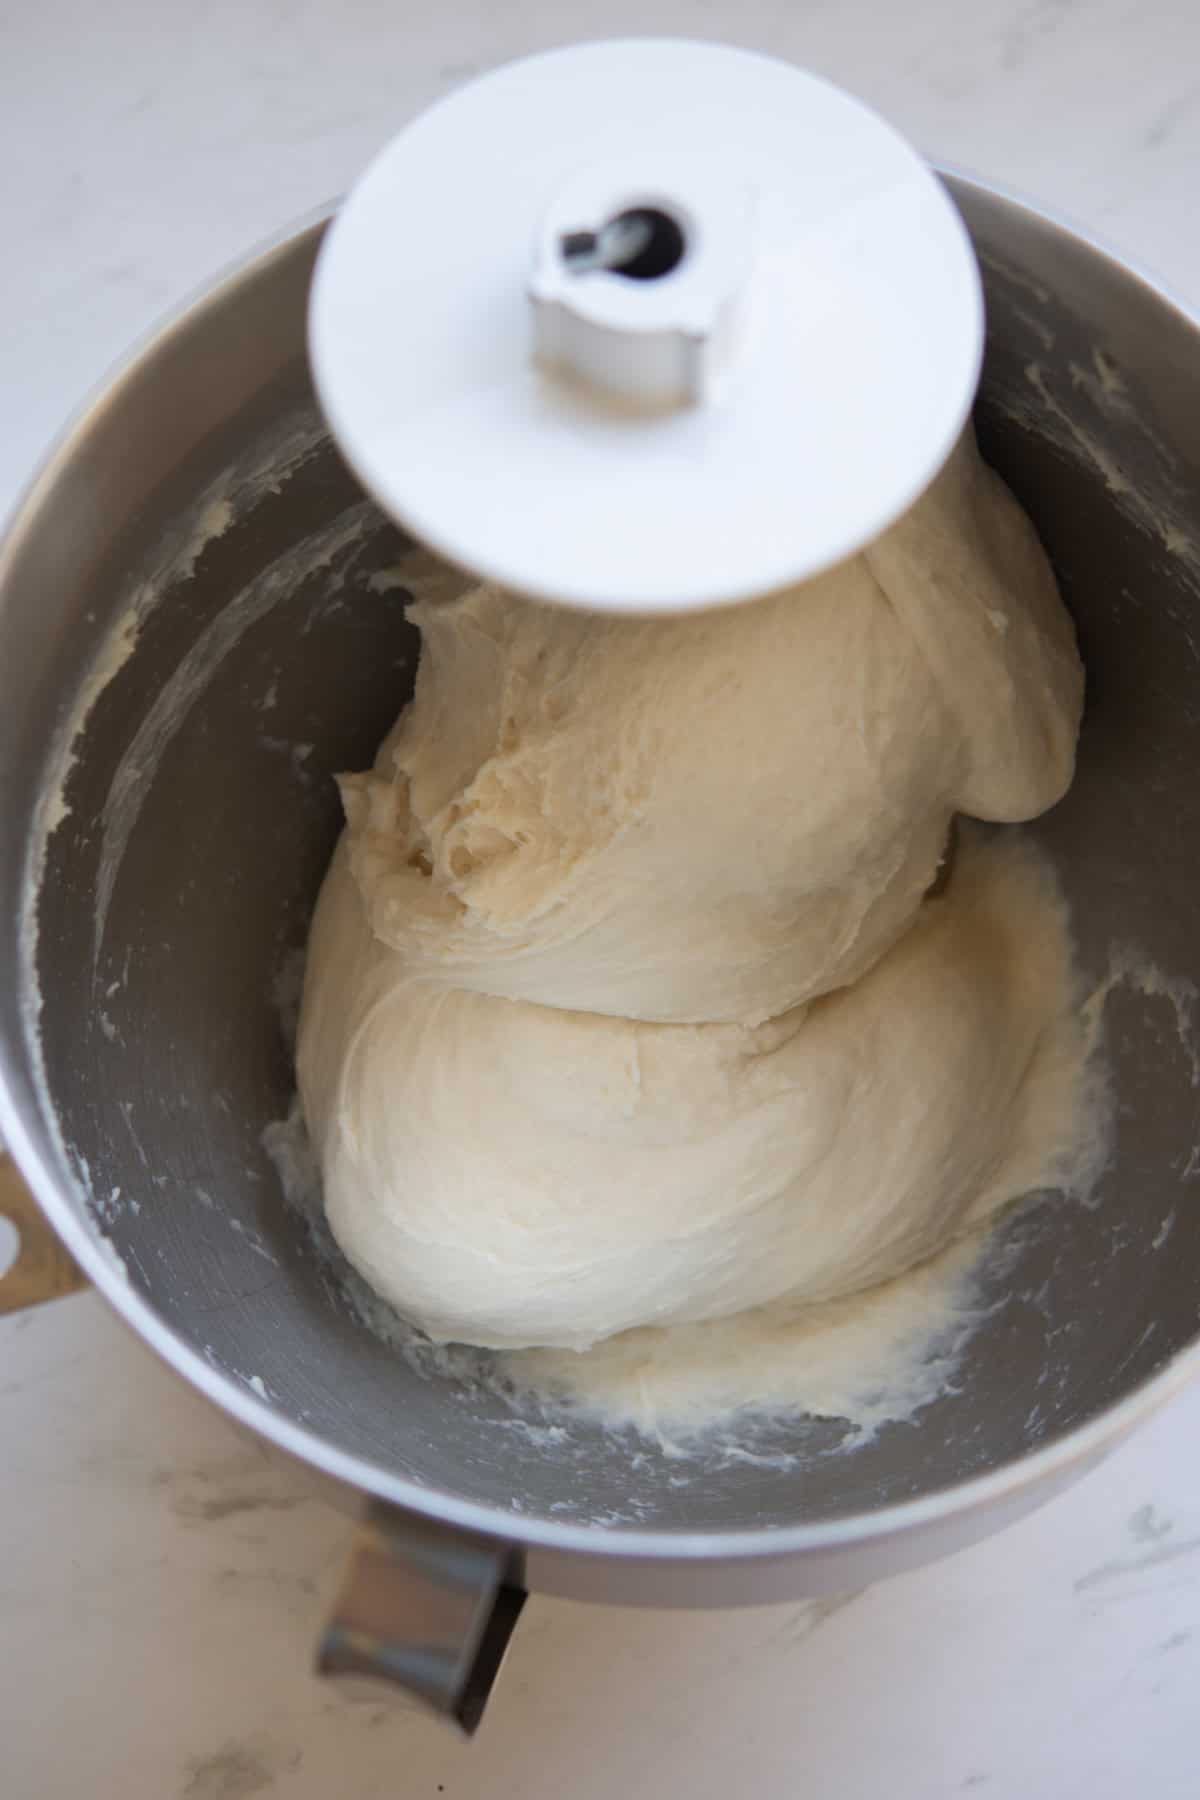
- Mix the dough ingredients with the tangzhong until smooth and elastic.
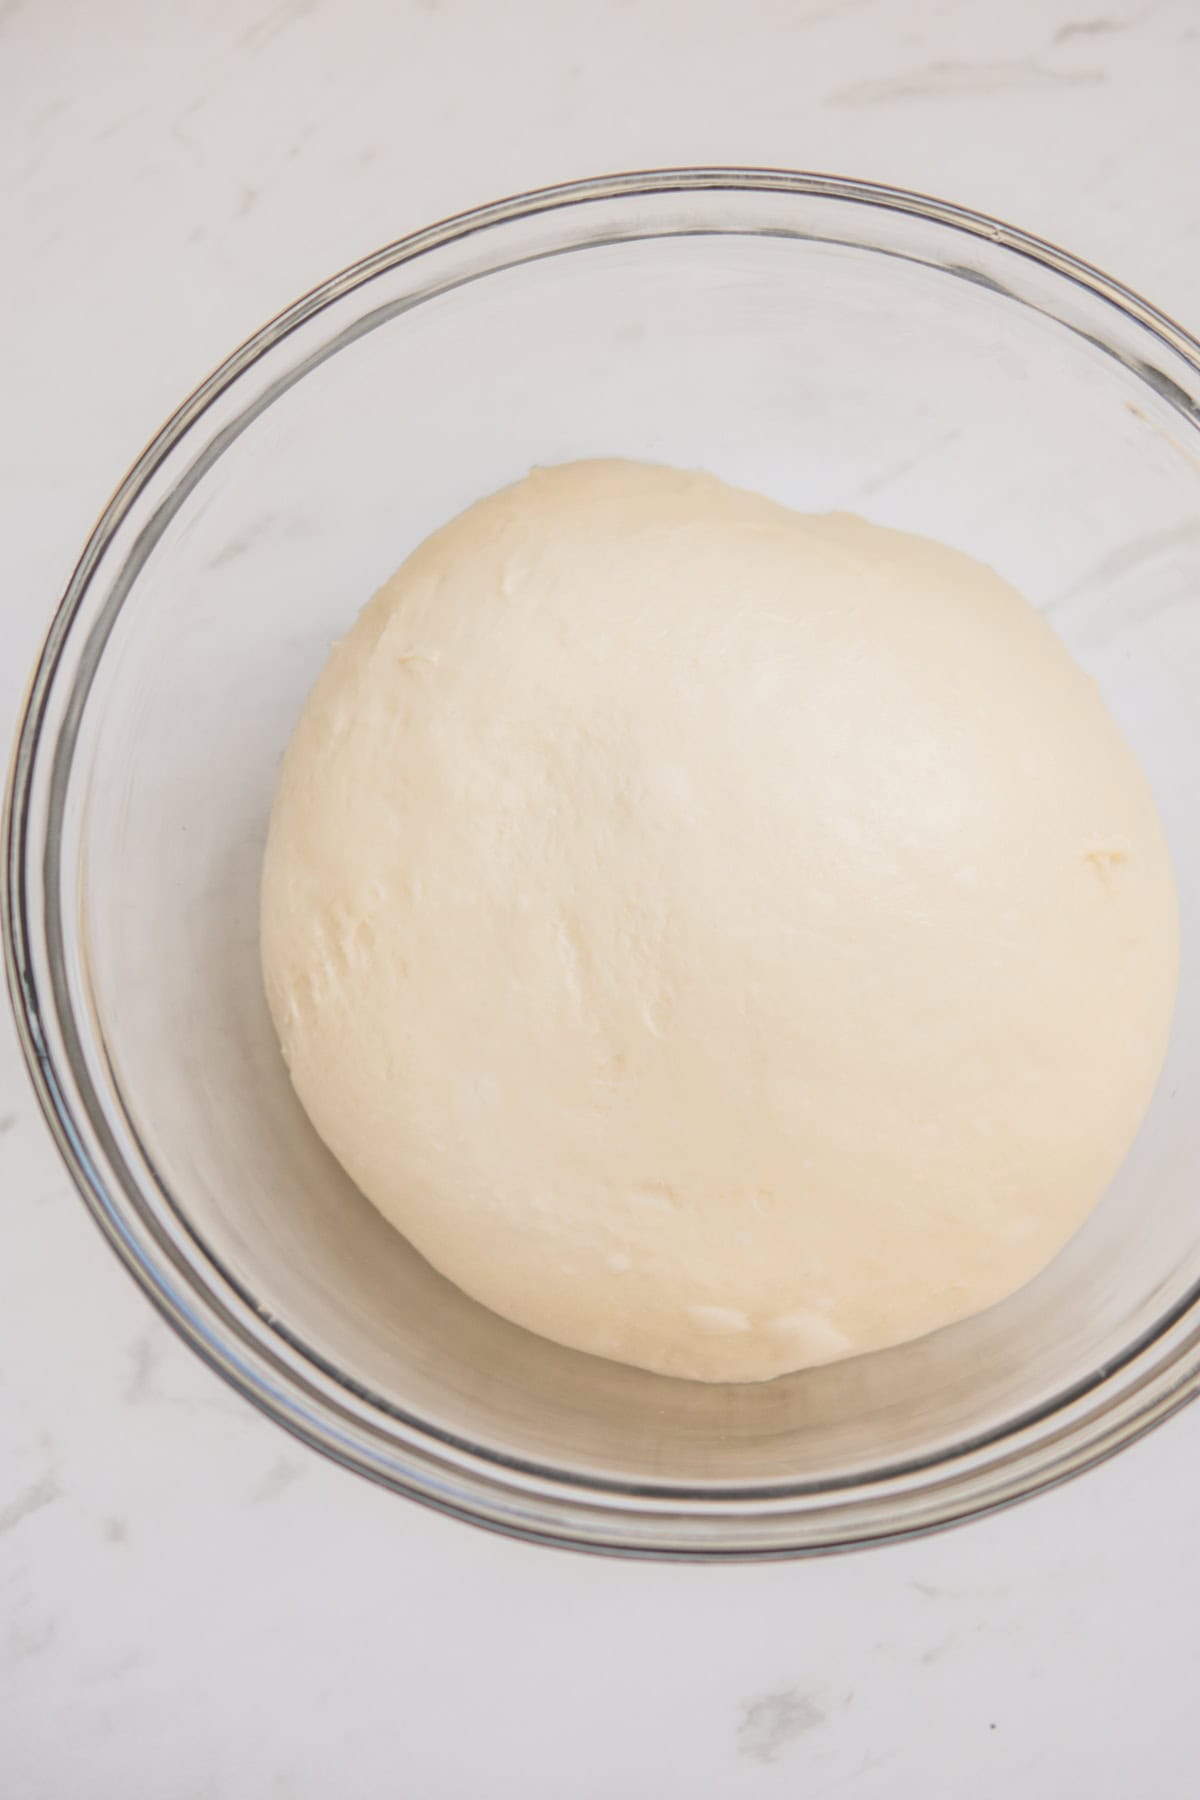
- Place in a bowl and bulk ferment at room temperature, before placing in the fridge overnight.
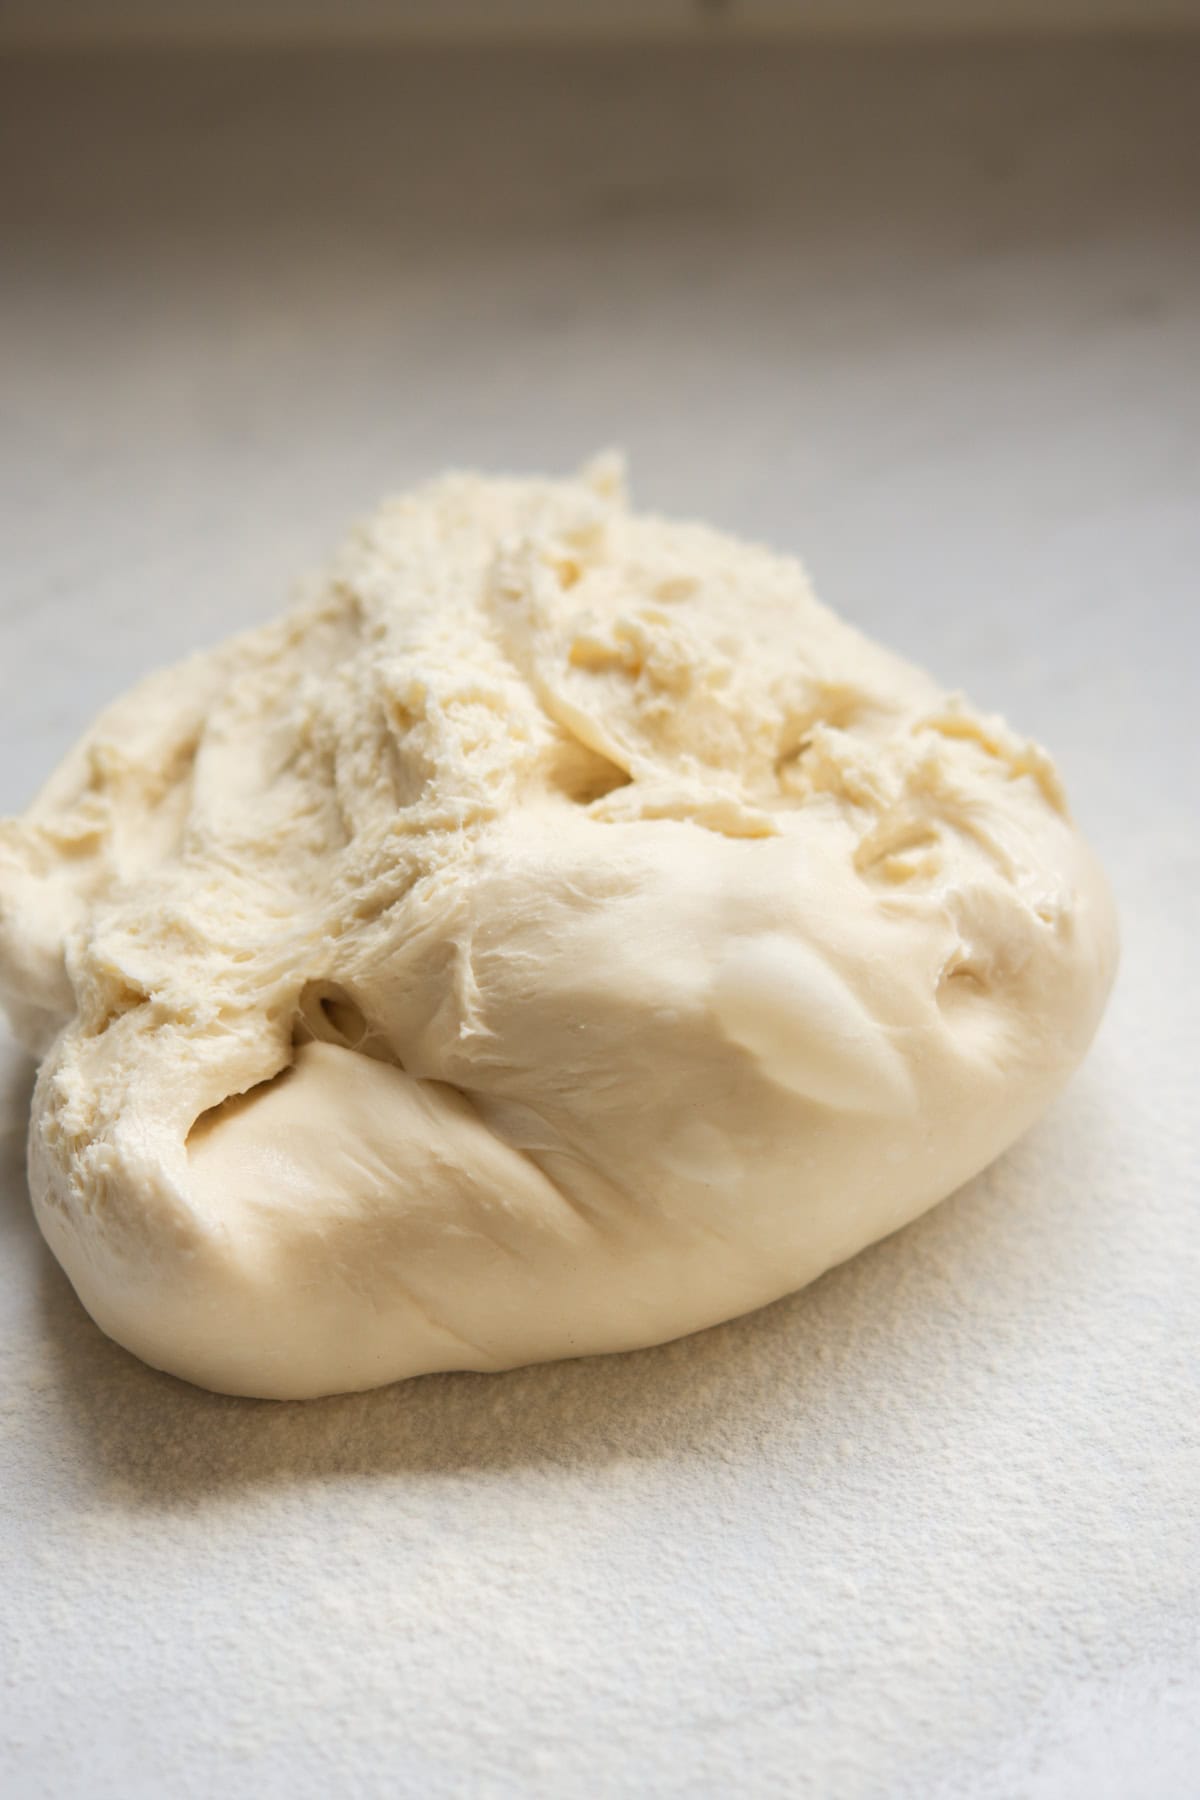
- Pull the cold dough from the bowl and cut into 12-14 pieces (around 65-75g each.)
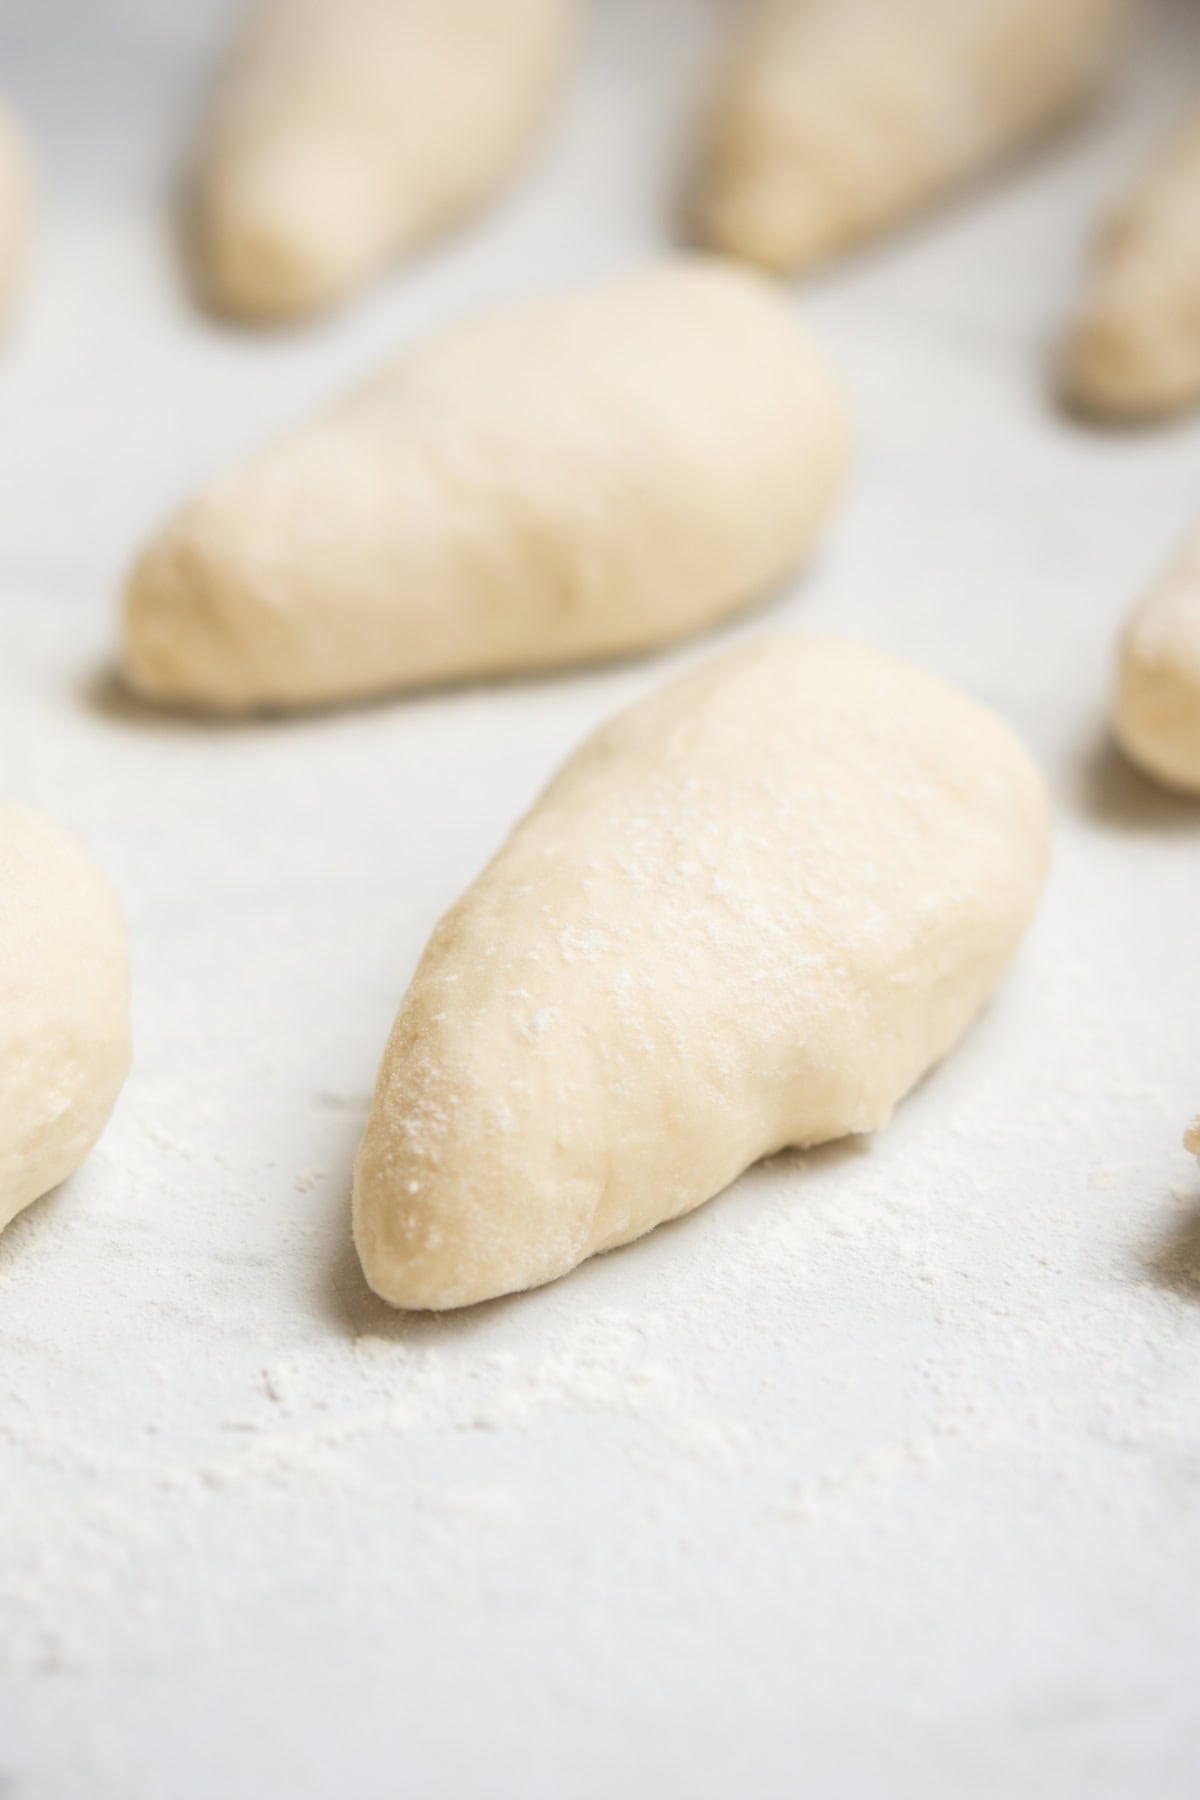
- Shape into balls, then roll the ball under your palm in one direction to form a cone shape.
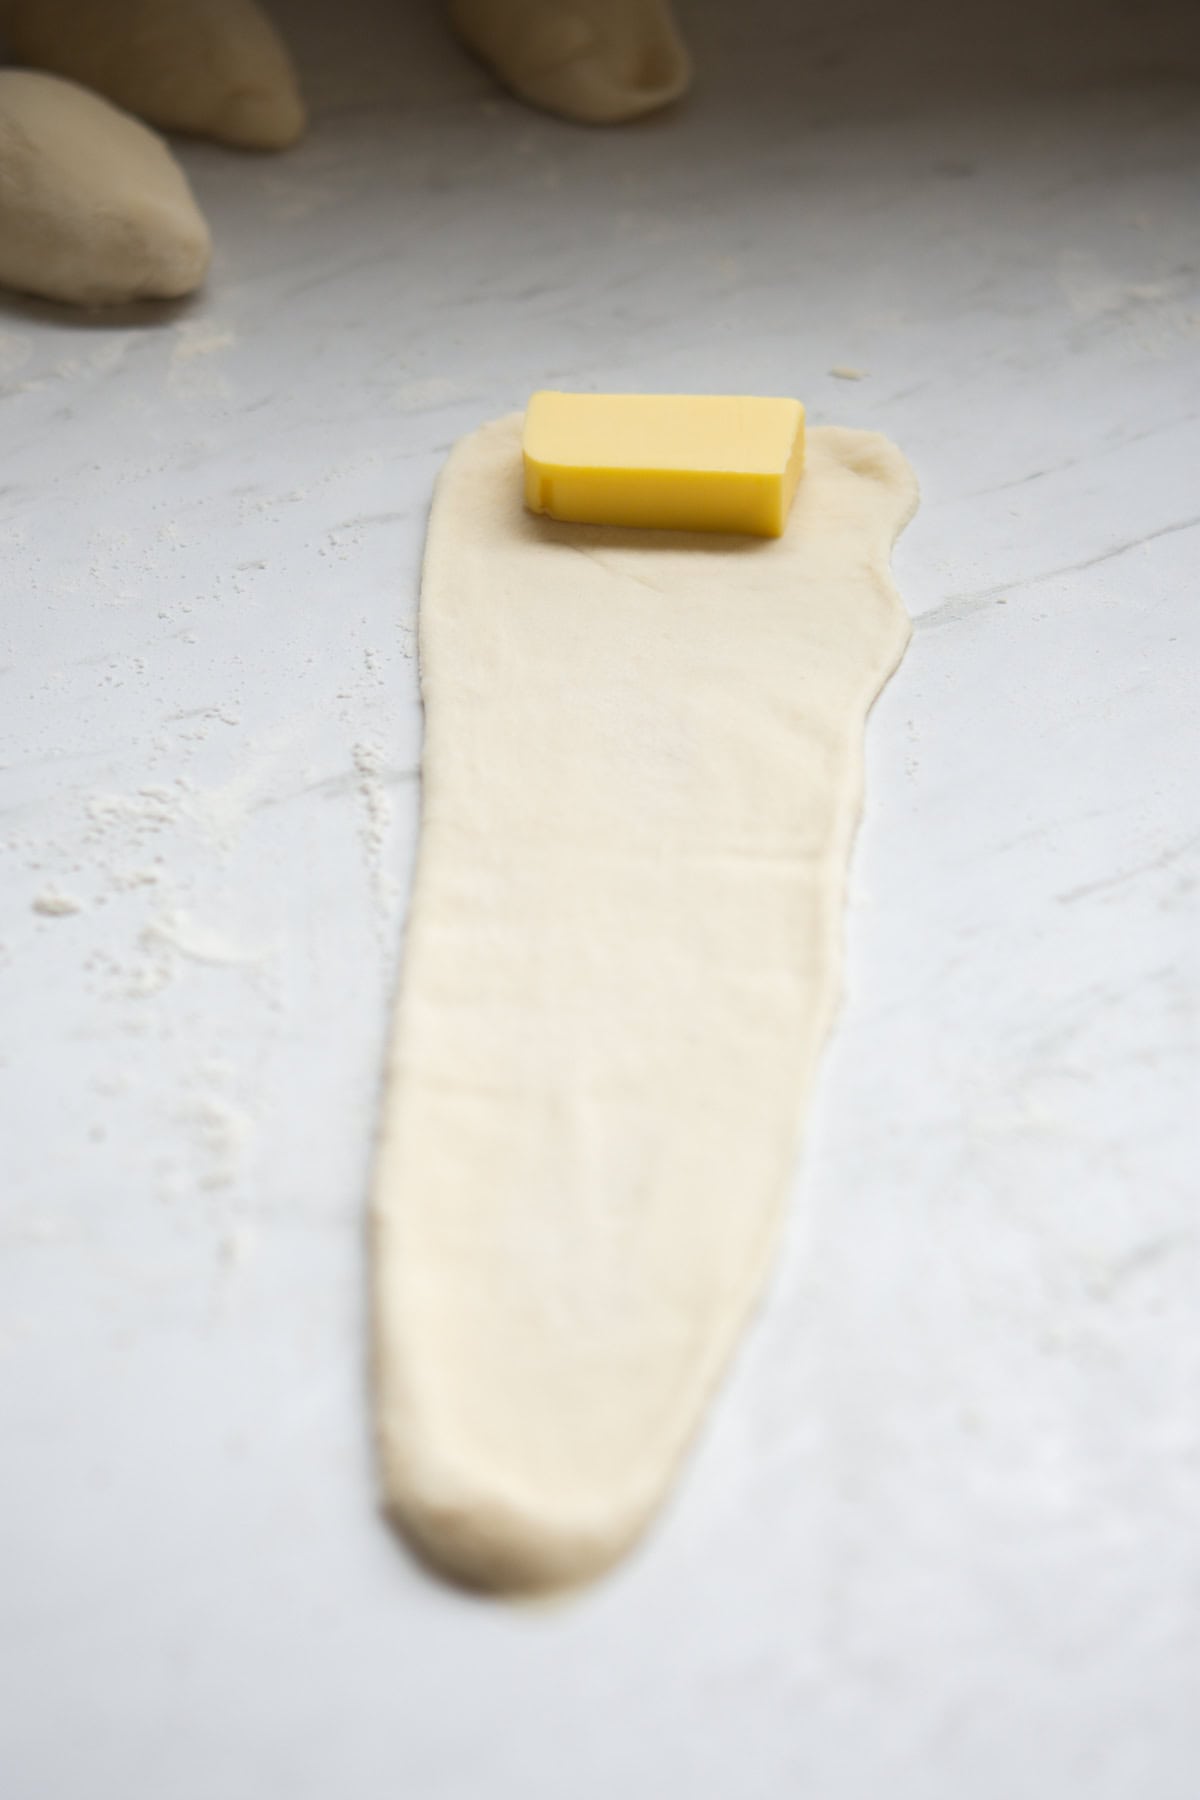
- Roll into a triangle and add a piece of cold butter across the wide end of the triangle.
Note: Cut the butter while it is cold into short, even batons so each roll gets the same amount. Aim for pieces that are about finger thickness, long enough to sit across the wide end of the dough without sticking out the sides.

- Stretch the tip of the triangle gently to lengthen it, then roll up from the wide end towards the tip, tucking the tip underneath to seal.
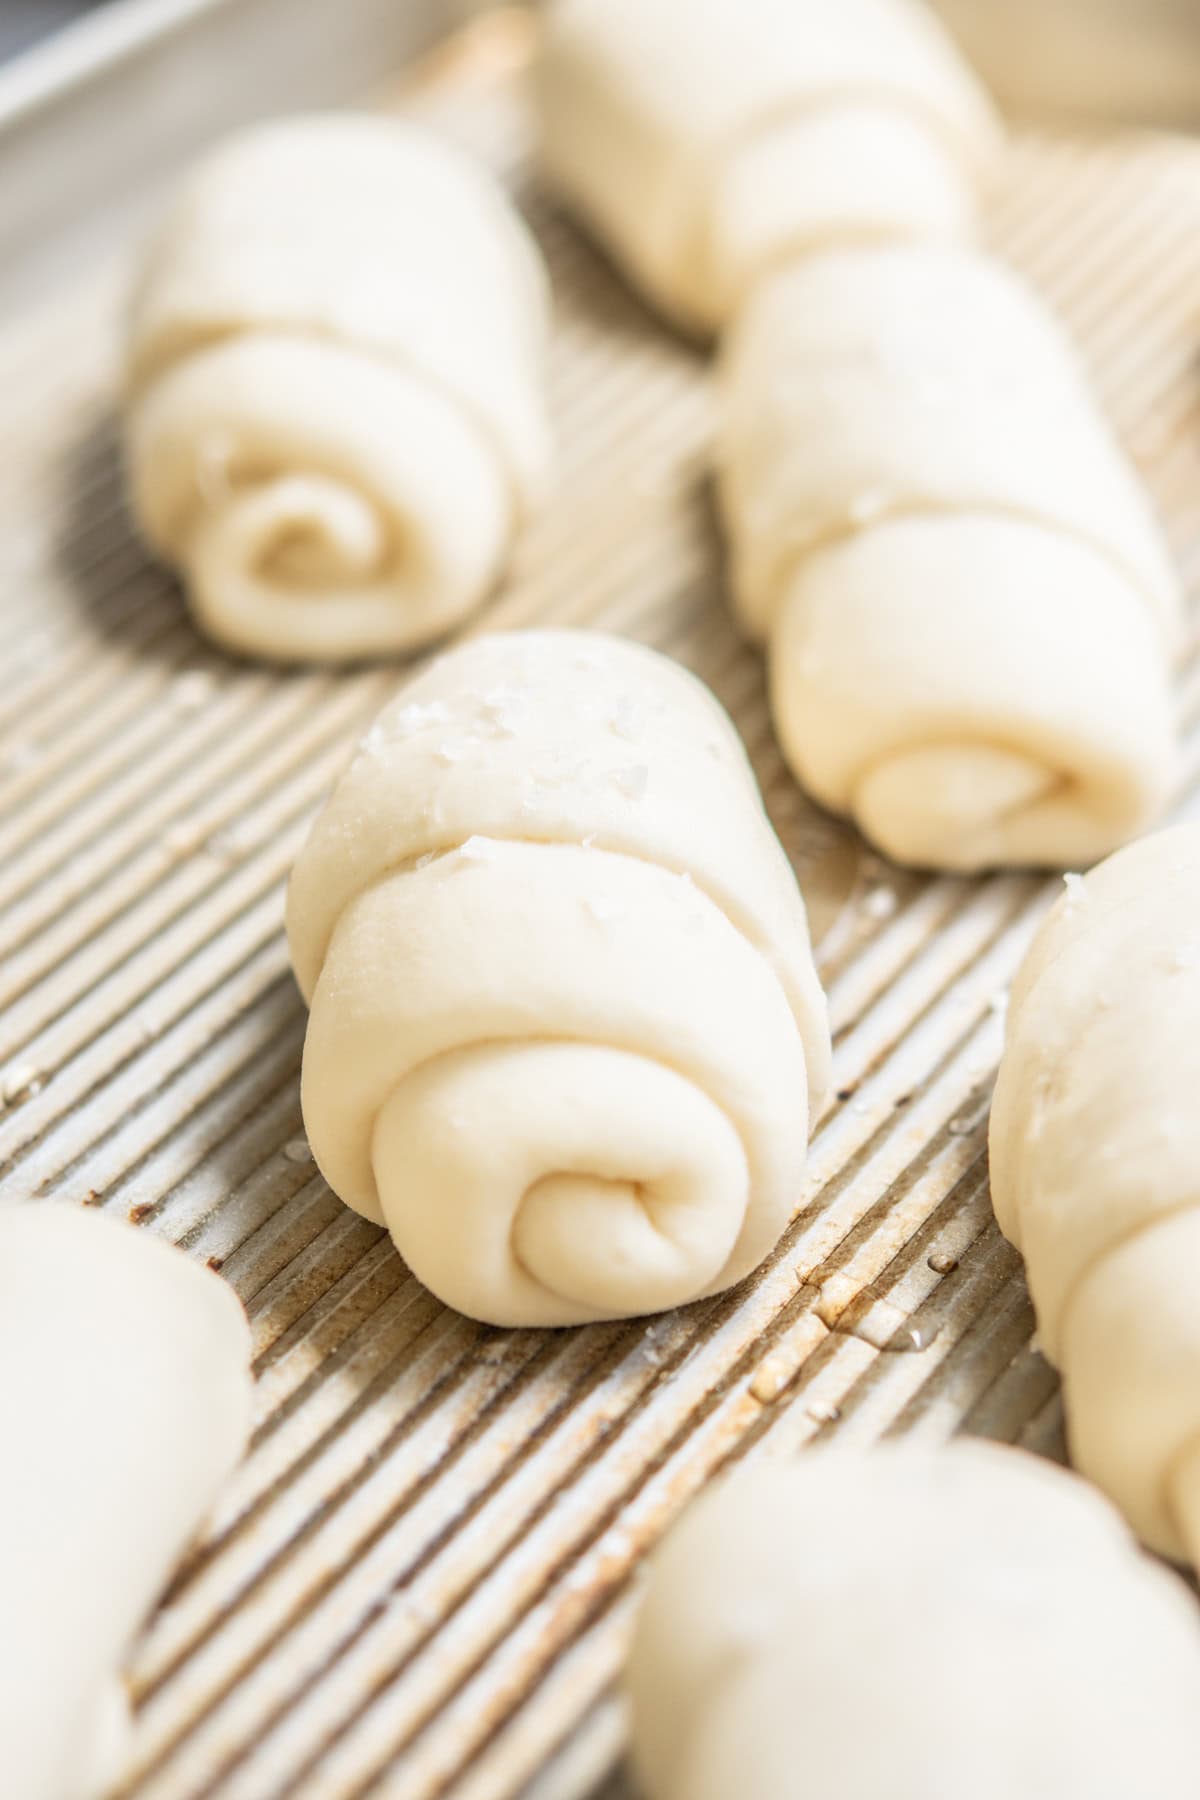
- Let the rolls proof until puffy, then spritz with water and sprinkle with flaky salt before baking until deeply browned.
Bulk ferment
You are not looking for a full doubling here. Instead, aim for around a 30 to 40 % rise before placing the dough in the fridge for the cold proof.
At a room temperature of about 21 to 23 °C (70 to 73°F), bulk fermentation usually takes around 3 to 4 hours, but this is only a guide. The dough should look lightly puffed, with a smoother, slightly domed top and a few visible bubbles.
In winter, when kitchens are cooler, fermentation slows down. It can be tempting to leave the dough sitting out for much longer just to see more rise, but this often brings a more sour flavour. Lactic acid bacteria handle cooler temperatures better than yeast. When it is cold, yeast activity slows right down, so the dough rises slowly, while the bacteria continue producing acid. This is why dough can taste more sour in winter, even when it has not risen very much.
The fridge is a bit different. A small amount of fermentation and rise still happens, especially at first, but the cold slows both yeast and bacteria down together, so fermentation stays more balanced.
Rather than extending the bulk ferment in a cool kitchen to chase the rise, I like to help the dough along by placing it in a gently warm spot, around 23 to 25 °C (73 to 77°F). This lets the dough rise better without becoming overly sour. A turned-off oven with the light on, or with a mug of boiled water placed inside to keep it warm and humid, works well.
If your kitchen is very cold, starting with slightly warm milk, around 30°C (86 F), can also help bring the dough temperature up so fermentation gets going from the start.
Tips & Tricks
- When rolling the dough into triangles, a little friction underneath the dough helps it stretch and hold its shape. If the dough starts sticking to the rolling pin, lightly dust the pin or top of the dough rather than the bench, or lightly oil your hands.
- A non stick baking tray works well for these rolls, as butter will melt and bubble out during baking. Or, line the tray with parchment paper to prevent sticking.
- For the best golden, crisp base, a darker coloured baking tray works better than a light one. If you only have light trays, placing a baking steel or heavy baking stone on the rack underneath helps transfer more heat to the base. This is the setup I use.
- If butter leaks during baking, that is normal. It’s what will fry the base and adds flavour.

Variations
- Cheese salt bread: Add a small cube of cheese alongside the butter filling.
- Garlic butter: Use garlic butter instead of plain butter for the filling.
- Sesame salt bread: Sprinkle sesame seeds along with the salt before baking.
Relate recipes
If you enjoyed making this sourdough salt bread, here are a few other sourdough recipes that use similar methods or ingredients.

Sourdough Salt Bread (Japanese Shio Pan)
Ingredients
Levain
- 35 g sourdough starter
- 35 g all-purpose flour
- 35 g water
Tangzhong
- 25 g all-purpose flour
- 120 g milk
Bread
- All the levain (100 g active sourdough starter)
- 240 g milk
- All of the cooled tangzhong
- 440 g all-purpose flour with at least 11% protein, or bread flour
- 25 g sugar
- 7 g salt
- 30 g unsalted butter room temperature
Butter filling
- 120 to 145 g unsalted butter cold , cut into 12-14 pieces (about 12 g each)
Instructions
Levain
- Mix the starter, flour, and water together in a small bowl until smooth. Cover loosely and leave at room temperature until risen and bubbly. 35 g sourdough starter, 35 g all-purpose flour, 35 g water
Tangzhong
- Whisk the flour and milk together in a small saucepan until smooth. Cook over low-medium heat, stirring constantly, until thickened to a thick, smooth, pudding-like mix that holds lines from the whisk. Remove from the heat and let it cool completely to room temperature. 25 g all-purpose flour, 120 g milk
Dough
- Add the sourdough starter, milk, tangzhong, and sugar to the bowl of a stand mixer fitted with the dough hook. Mix briefly until combined. All the levain, 240 g milk, All of the cooled tangzhong, 25 g sugar
- Add the flour and salt. Mix on low speed until a shaggy dough forms, and there is no dry flour left. Cover and let the dough rest for 10 minutes. This rest helps the flour hydrate and makes kneading easier. 440 g all-purpose flour, 7 g salt
- After resting, mix on medium speed for 5 minutes. Add the softened butter and continue mixing for another 8-10 minutes, until the dough is smooth, soft and elastic. 30 g unsalted butter
- Transfer the dough to a lightly oiled container and cover.
- Bulk ferment at room temperature until the dough has risen about 30 to 40%. At around 21 to 23 °C (70 to 73°F), this usually takes 3 to 4 hours, but timing will vary. The dough should look lightly puffed with a smoother, slightly domed surface and a few visible bubbles.
- Once bulk fermentation is complete, cover the dough and place it in the fridge overnight.
- To shape, divide the cold dough onto a floured bench into 12-14 equal pieces, about 65-75 g each. Shape each piece into a smooth ball, then roll the ball gently under your palm in one direction to form a short cone shape, slightly tapered at one end. This step helps create an even triangle later.
- Flatten the cone gently, then roll it out into a triangle about 20-25 cm long (8 to 10 inches), with the wide end closest to you and the tip pointing away. The triangle does not need to be perfect. Dust the top of the dough with flour to stop it sticking to the rolling pin, but a little bit of friction between the dough and bench will help it roll out.
- Cut the butter into short batons about 5 to 6 cm long (2 inches), roughly finger-shaped. Place one piece of cold butter across the wide end of the triangle. 120 to 145 g unsalted butter
- Stretch the tip of the triangle gently to lengthen it slightly, then dust away any excess flour and roll the dough up tightly from the wide end towards the tip, enclosing the butter fully. Press the tip down firmly underneath so it does not unravel.
- Place the shaped rolls seam side down on a lined baking tray, leaving space between them.
- Cover loosely and proof at room temperature until slightly puffy and lighter to the touch, about 2-4 hours depending on temperature. They should still hold their shape.
- Preheat the oven to 220C (430F) regular oven.
- Just before baking, brush the tops with water and sprinkle lightly with flaky sea salt.
- Bake until deeply golden brown, around 15 to 20 minutes depending on your oven. Butter will melt out during baking and bubble around the base, which is normal and gives the rolls their crisp bottom.
- Remove from the oven and let the rolls sit on the tray for 5 to 10 minutes before serving. Brush the hot rolls lightly with melted butter after baking for extra shine and flavour. These are best eaten warm on the day they are baked.


Hi Elien,
Thank you for the recipe! I tried it first time and they came out perfect. Just wonder if I can replace milk with instant milk powder?
Also, it’s winter here where I live. Room temp would be 10-16 celcius degrees. How many hours maximum can I proof in fridge?
Hey I’m So glad they came out perfect first try.
Yes, milk powder + water instead of milk should work fine
For the fridge proof, overnight up to 24 hours is the sweet spot, and you can push to 36 to 48 hours if needed, but not past 48 or it starts to over-ferment and turn sour.
One thing to watch at 10 to 16°C though the bulk ferment on the bench will be really slow, and if the dough goes in the fridge before it’s had its 30 to 40% rise, extra fridge time won’t make up for it. So get that first rise going in a warm spot (a turned-off oven with a mug of boiled water inside). If that first rise takes too long the dough can get pretty tangy
Hi,
Can i bake it on same day? Is 3 hours cold proof enough? Because i live in tropical country with temp around 30-31 degrees C
Hey Syl, a 30-31°C room temp is much warmer than I would bake this in and I think the dough could get quite greasy and hard to handle. I haven’t tested this myself in those temps, but here’s my best go at adapting it.
You could do a few things to help, like chill your mixing bowl before starting, make sure the tangzhong is properly cold, and add cold butter. Then watch if your dough gets greasy during mixing, and chill it in between if you need to. Once mixed, do a short 1-2 hour bulk ferment at room temp just to get things going, then move the dough straight to the fridge for the rest of the bulk (3-4 hours). Shape straight from the fridge while the dough is cold, use frozen butter pieces for the filling, then let them rise til puffy and right before baking, pop the tray in the freezer for 10-15 minutes to firm the butter back up so it doesn’t leak out before the dough sets in the oven.
A cool recipe. I followed everything to the T and at the end realized that the 20 mins in the oven burnt the shio pan and I couldn’t eat them. 2 days of work went to waste. Shame because the proofing step made me super excited. Easily the smoothest dough I have ever made in my life. I’ll make these again and cool for only 10 mins next time.
Thanks for sharing this, and I’m really sorry they burnt. Bake times can vary a lot depending on the oven, so it’s best to go by colour and start checking earlier if your oven runs hot, or if you are using a dark tray. In my oven they do take the full 20 minutes, but others can brown much faster. I’m really glad the dough worked well for you though.