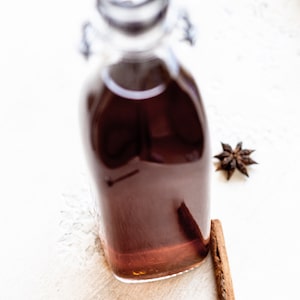
How to Make Apple Cider Vinegar
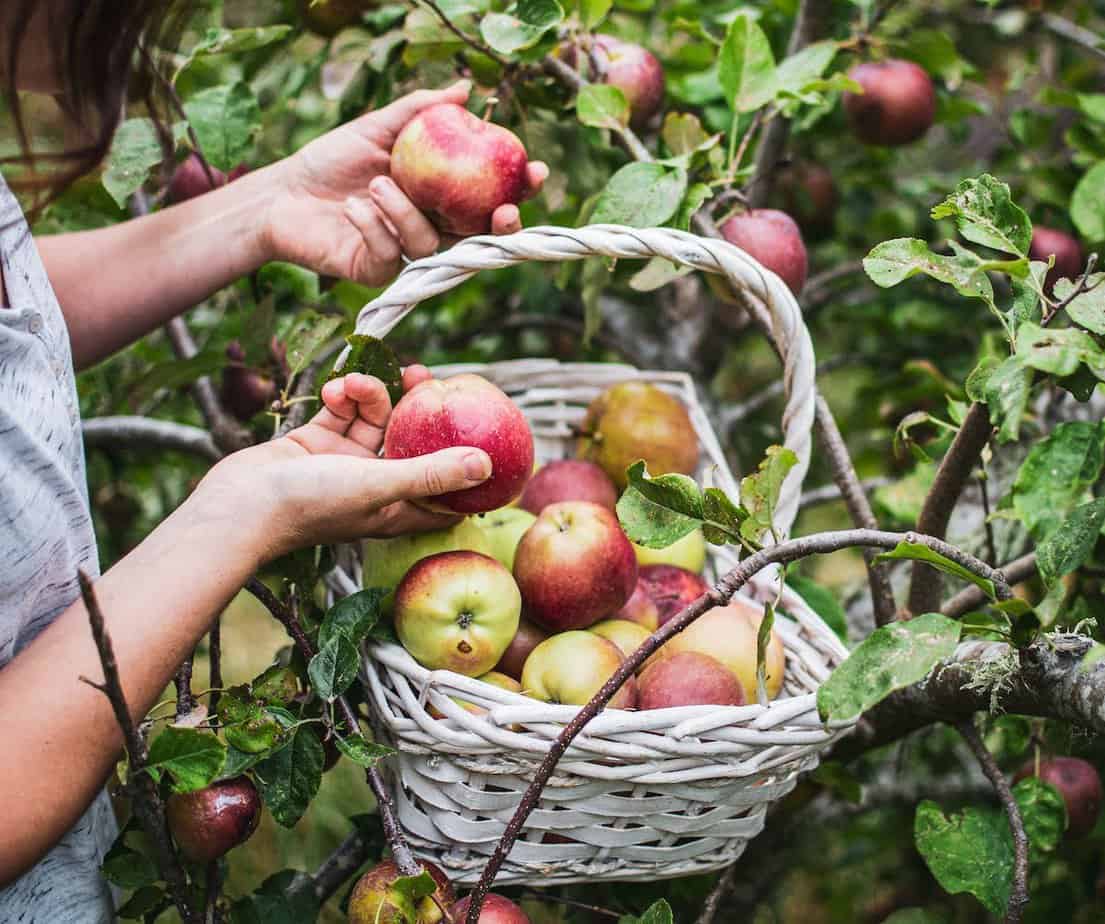
If you’ve ever wondered what to do with all your apple cores and peels after a day of baking or preserving, this is the perfect solution. You can turn them into delicious, probiotic-rich apple cider vinegar (ACV) right at home.
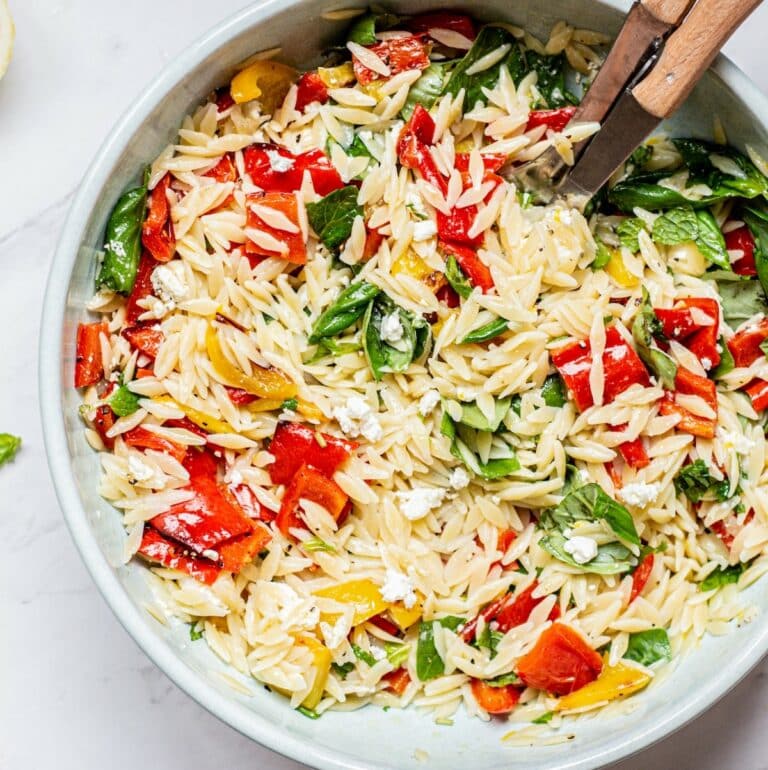
And you’re not limited to apples. The same method works beautifully with other fruits too. Try plum, pear, or feijoa vinegar. Homemade fruit vinegar adds a bright, tangy kick to salad dressings (like my herbed green salad dressing), marinades, or in homemade shrubs
Why apple cider vingear?
Apple cider vinegar has been used for centuries for its health benefits. It’s packed with probiotics and enzymes that may help balance blood sugar, support healthy digestion, and even boost skin health.
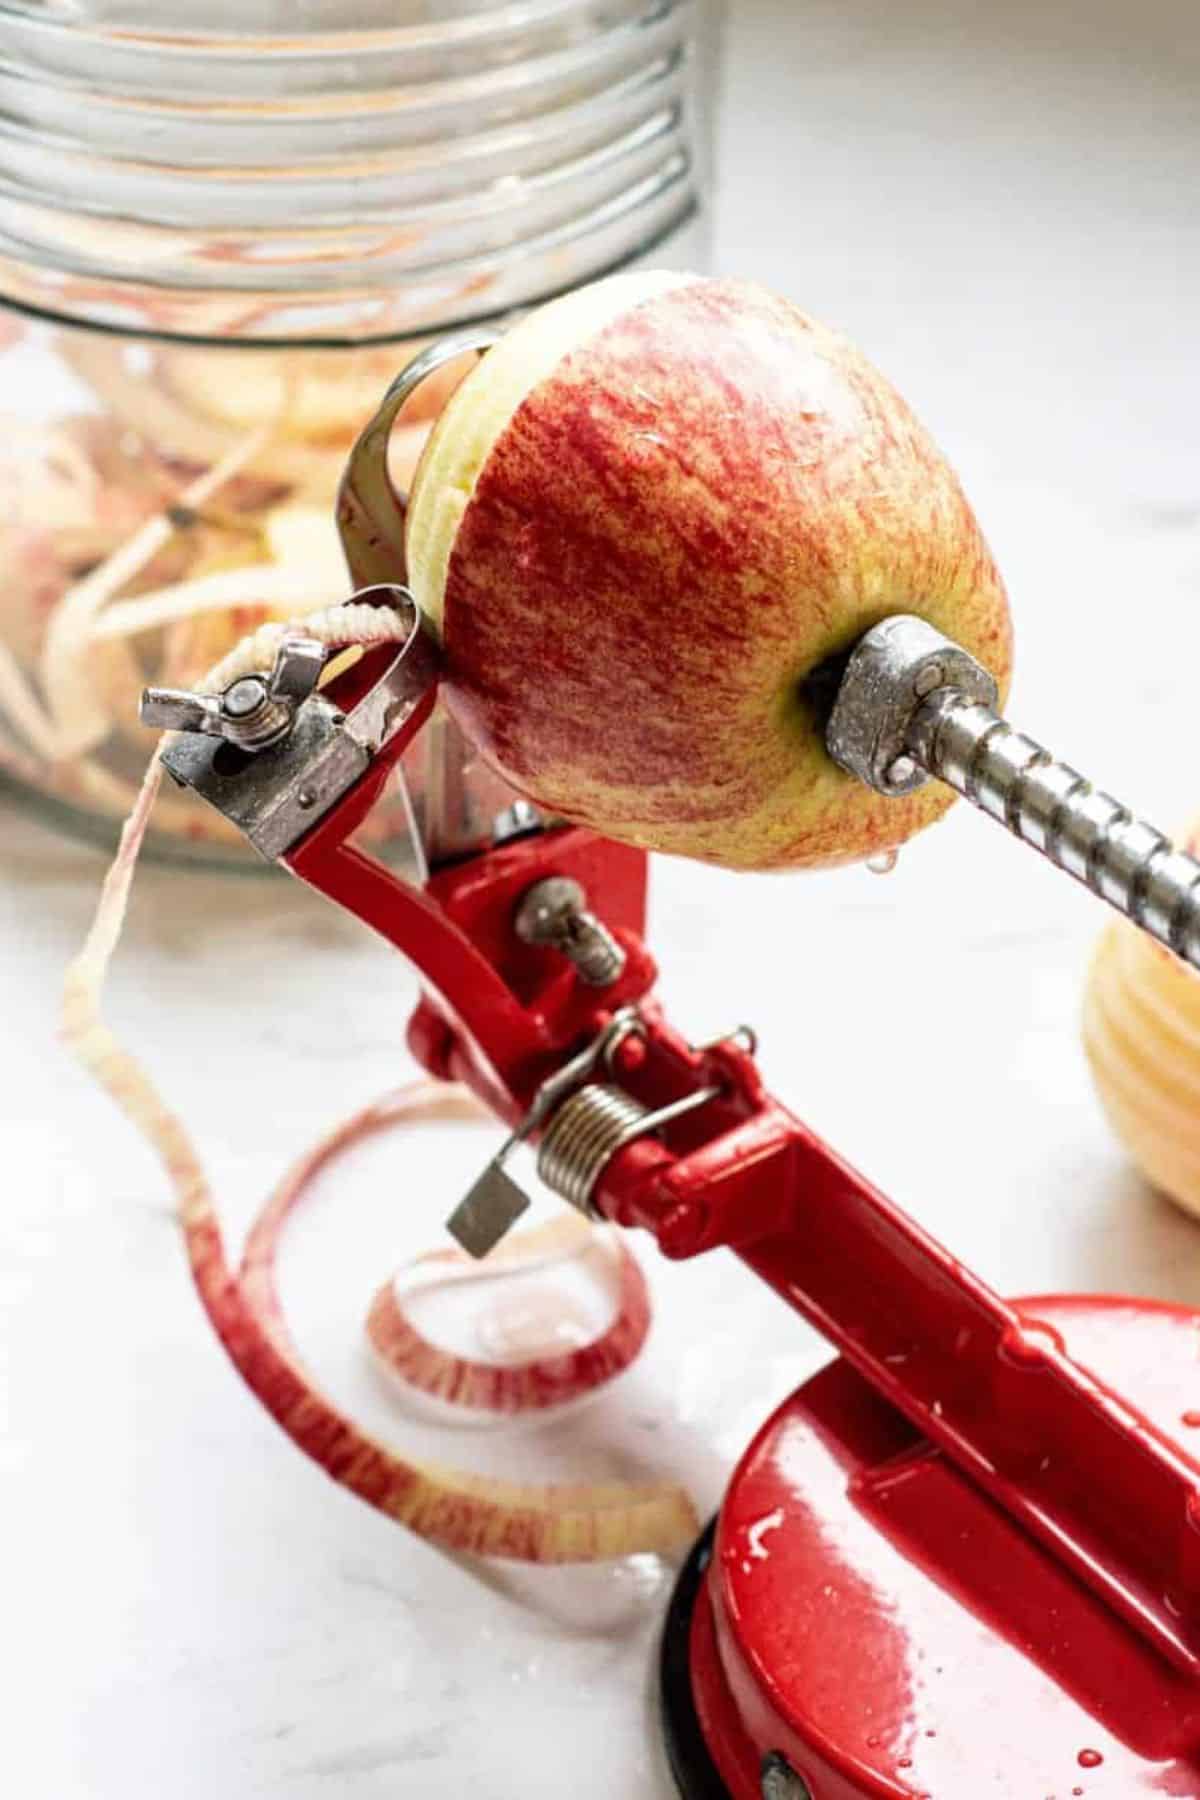
Traditionally, vinegar is made from pressed apple juice, but you can also make it from apple pieces and scraps. This version is easy, zero-waste, and perfect for small batches.
The flavor is tangy and tart with a little natural sweetness. The longer you let it ferment, the sharper and more complex it becomes.
Just a few ingredients
Tools you’ll need
How to Make Apple Cider Vinegar
- Fill a clean glass jar about halfway to three-quarters full with apple pieces or scraps. Dissolve 10% sugar in enough water to cover the fruit, then pour it into the jar, leaving about 2 cm of headspace at the top. If you have a glass weight, place it on top of the apples to keep them submerged. If not, that’s fine. You’ll just give it a light stir or shake daily.
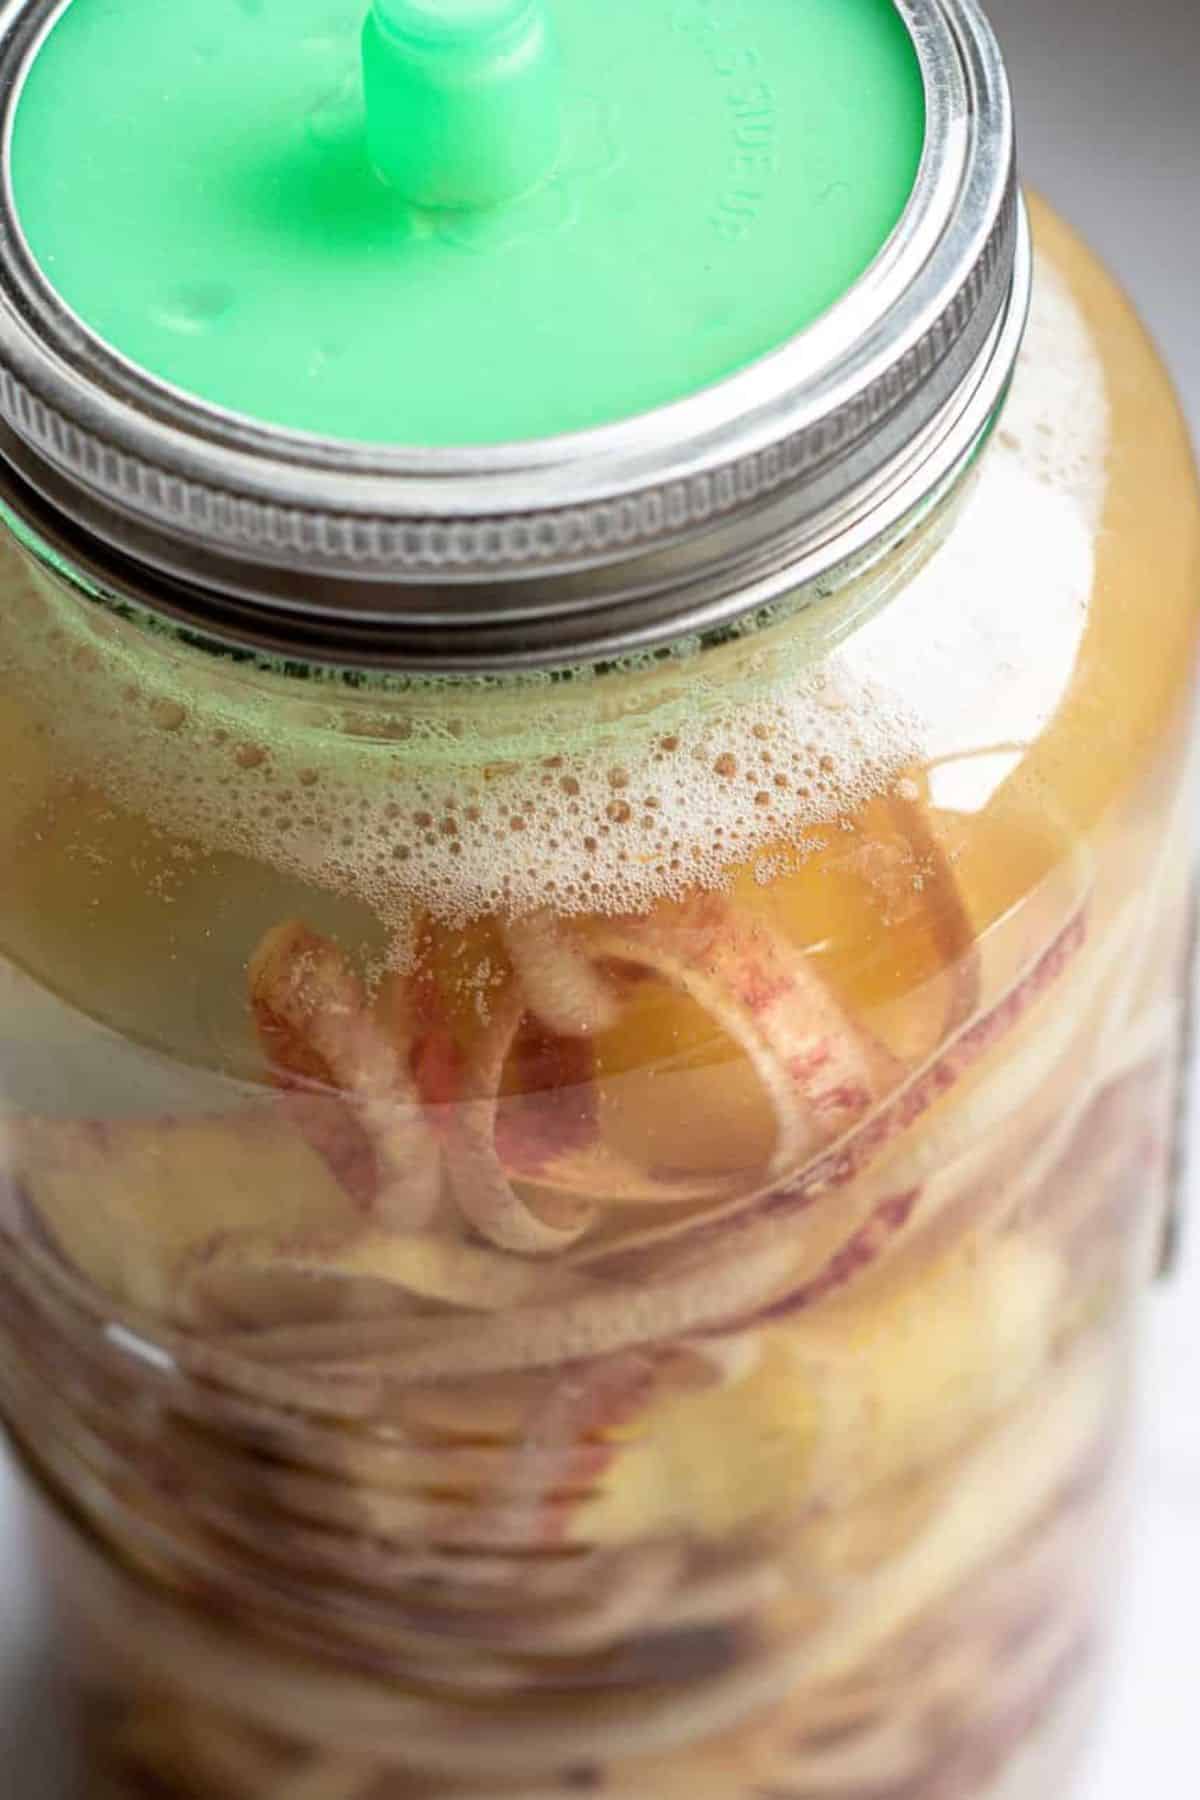
- Cover and ferment (the yeast stage): If you have an airlock, attach it now. If not, screw on a lid loosely and release it daily to let gases escape, or cover the jar with a clean tea towel secured with a rubber band. Store the mixture at room temperature (around 20-25°C / 68-77°F) out of direct sunlight for about 2 to 3 weeks. Gently shake or stir it once a day to keep the apples covered and discourage mould. You’ll soon notice small bubbles forming. That’s the wild yeast converting sugar into alcohol. The mixture will smell pleasantly fruity and may foam a little. Place a towel under the jar just in case it bubbles over.
- Strain and begin the vinegar stage: After about two weeks, when the bubbling has stopped, it’s time to strain out the apple pieces. Pour the liquid back into the jar. This is now your hard cider (alcoholic base).
Remove any lid or airlock and cover the jar with a clean tea towel or breathable cloth instead. This stage needs oxygen so that acetic acid bacteria can do their work and turn the alcohol into vinegar.
For a faster start, add 2-3 tablespoons of raw apple cider vinegar with the “mother” (unpasteurized and containing live bacteria). This jump-starts the process naturally, but it will still work fine without it.
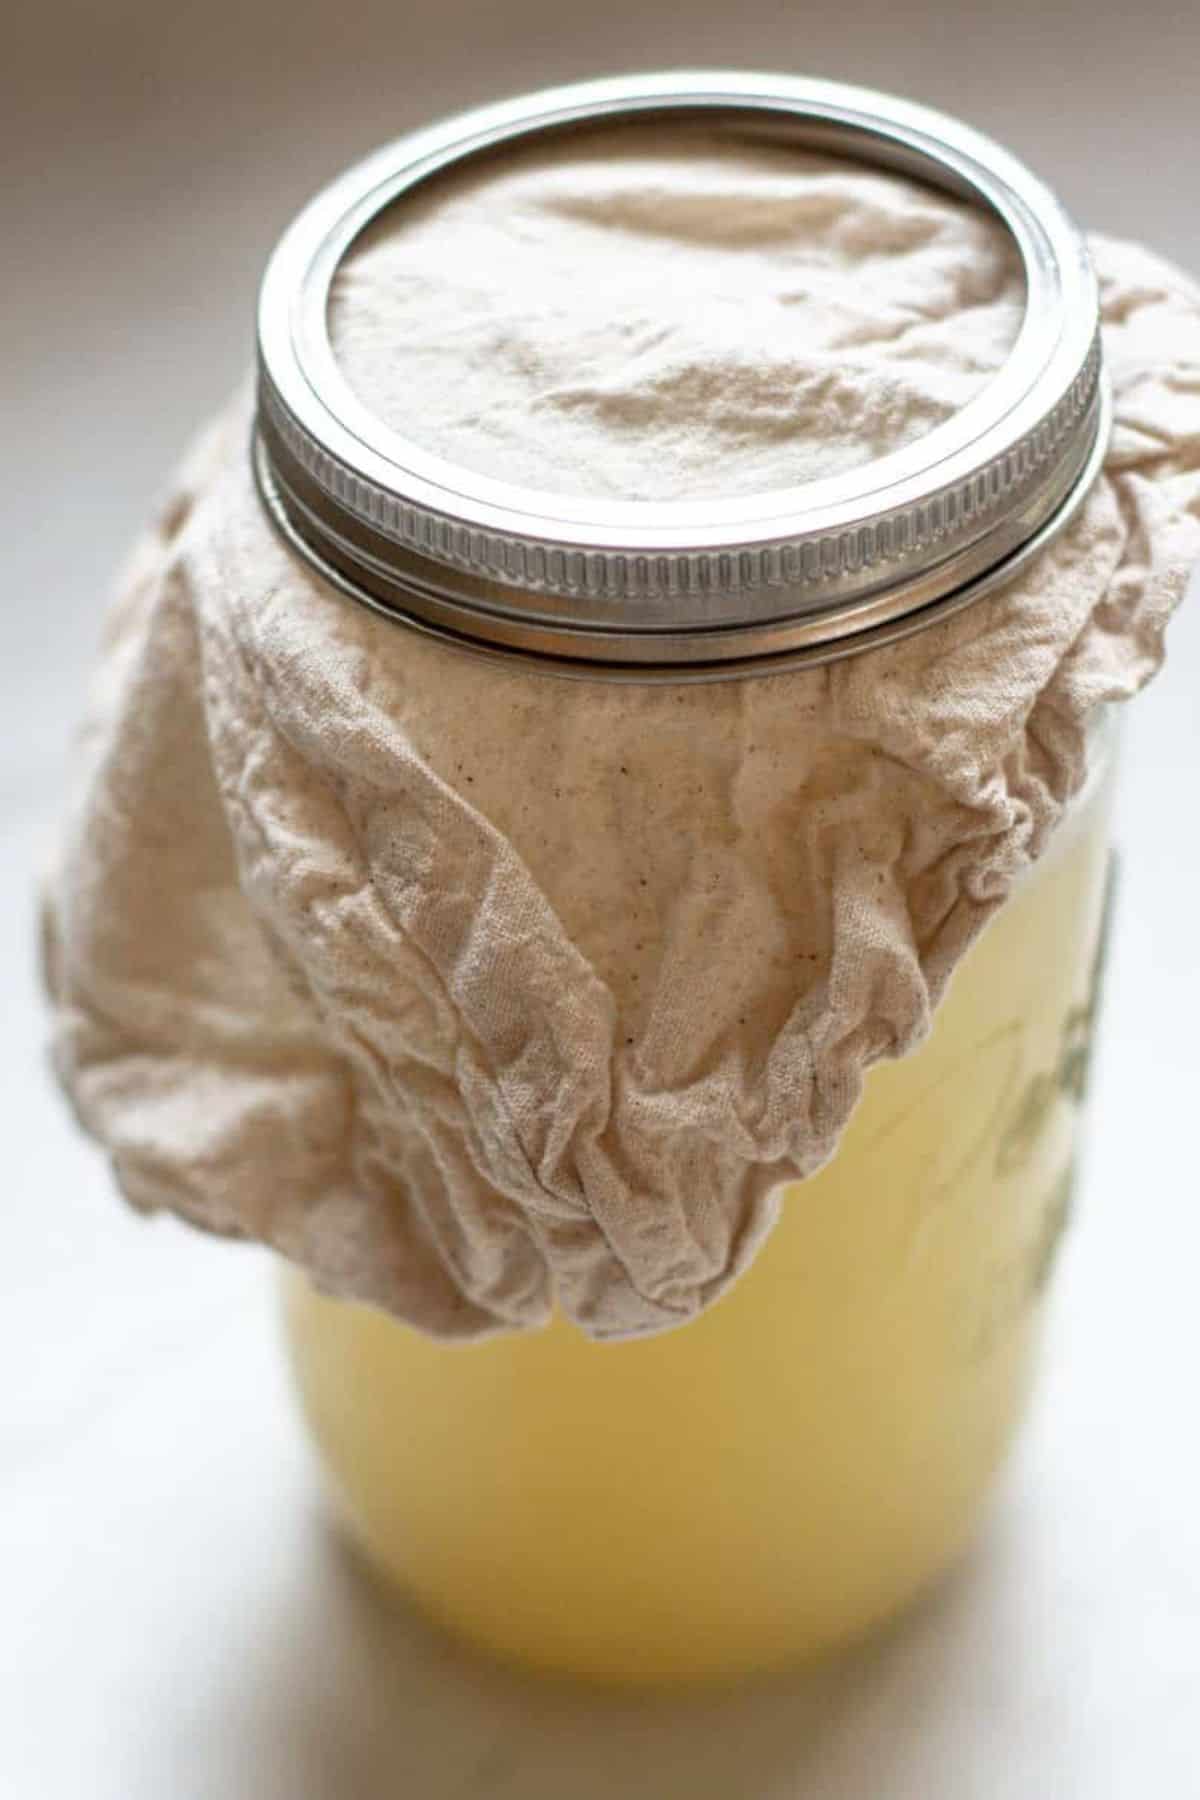
- Let it turn into Vinegar: Return the jar to its warm, dark spot, covered with the cloth. Let it ferment for another 4 to 8 weeks, tasting occasionally after week 4. The longer it sits, the more acidic and tangy it becomes.
If you notice a rubbery disc forming on top, that’s a SCOBY or “mother.” It’s completely normal and a sign of healthy fermentation. You can use it to kickstart your next batch. - Bottle and store: Once your vinegar has the taste you like, strain it again and transfer it to clean bottles or jars.
Homemade vinegar doesn’t need refrigeration. Its acidity preserves it naturally. Store it in a cool, dark place, and it will keep for a year or more. The flavor may continue to develop over time.
Notes
- A thin white film (kahm yeast) is harmless; just skim it off.
- Fuzzy or colored mould means start over.
- For stronger vinegar, let it ferment longer, or add a few tablespoons of raw vinegar at the start of the acetic stage.
- For faster batches, save a few tablespoons of vinegar from your previous batch as a starter.
Other Fruit Vinegar Ideas
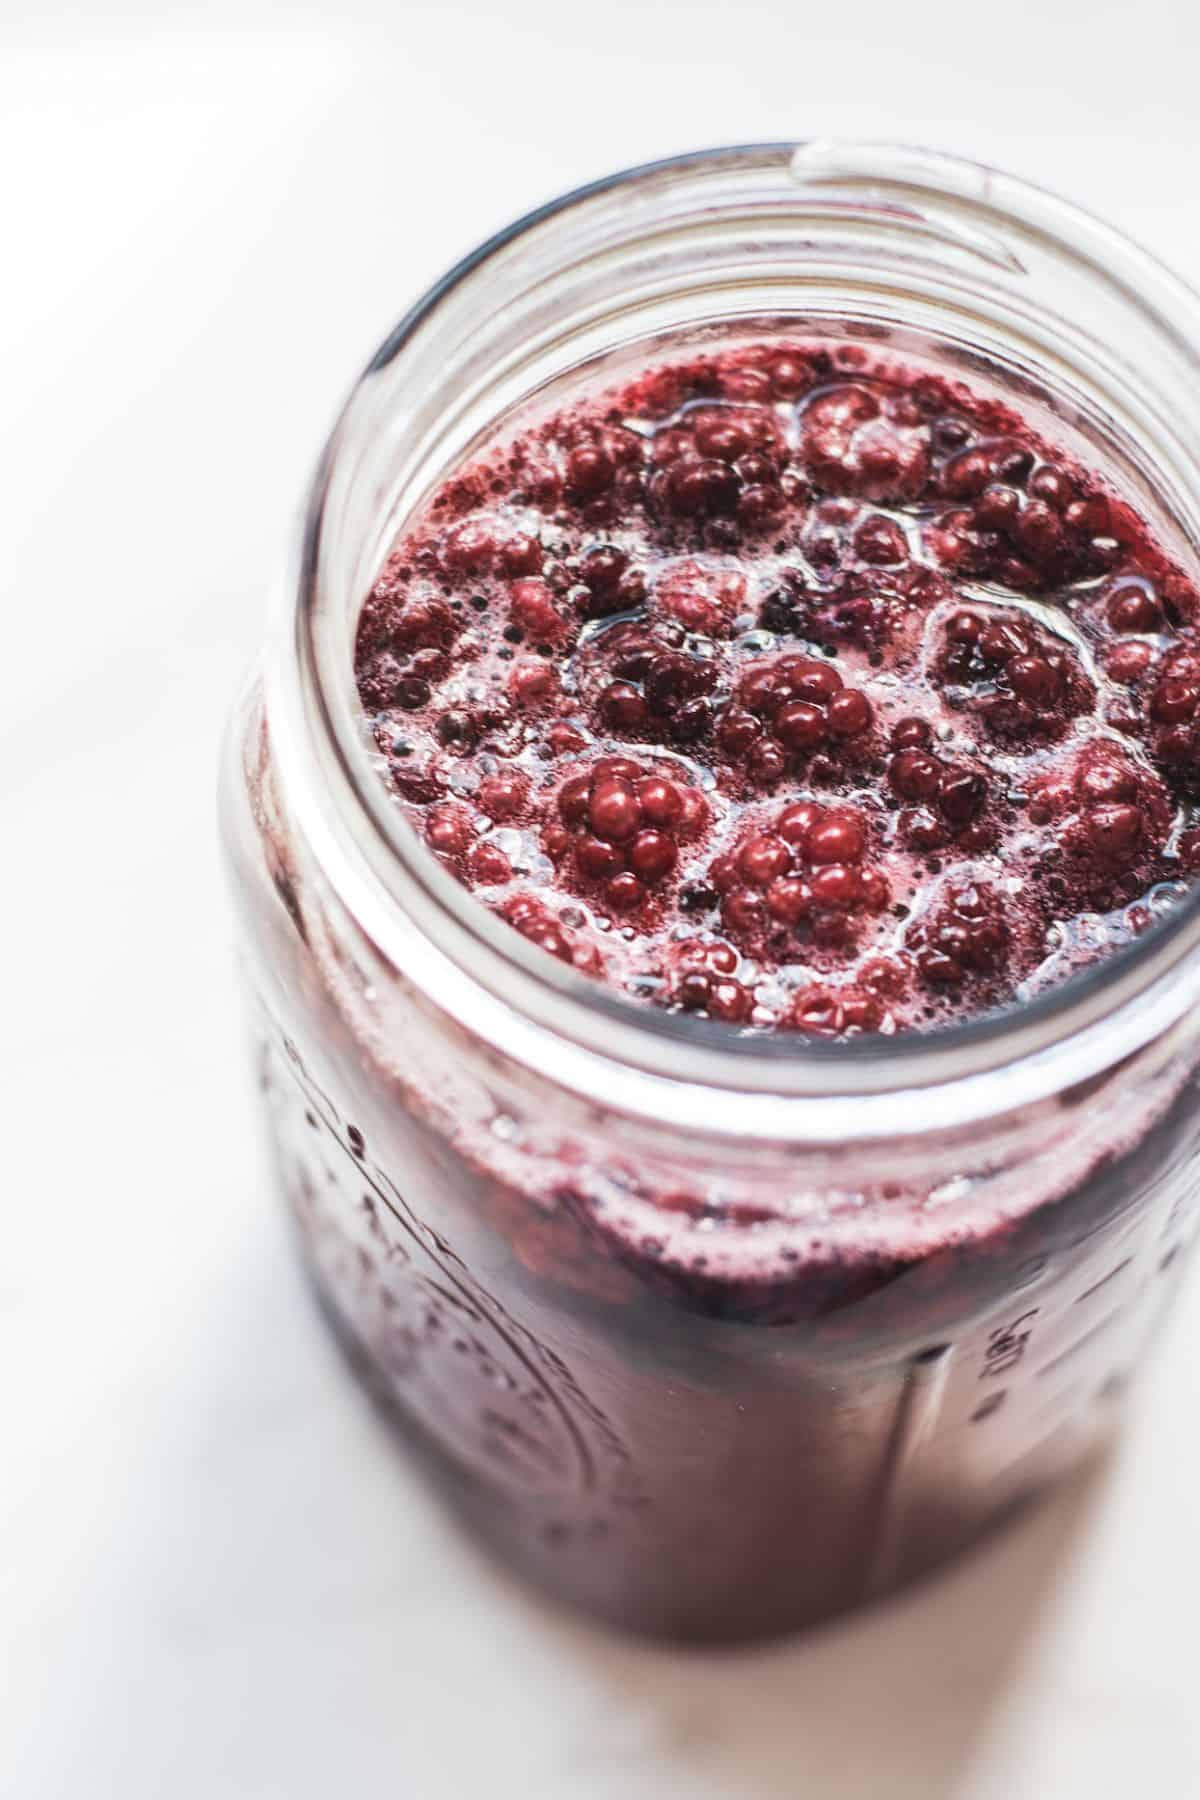
This same process works beautifully with other fruits, such as plums, berries, pears, or feijoas.
When using soft fruit like berries, skip the weight and just shake or stir gently each day. They’ll naturally break down in the liquid. Homemade blackberry or plum vinegar adds a beautiful, deep flavor to dressings and sauces.
Storage and Shelf Life
Homemade vinegar will last at least a year at room temperature. Store it in glass bottles or jars with a tight-fitting lid. If a new mother forms, you can remove it or leave it in. It’s harmless and full of good bacteria.
Related recipes

Homemade Apple Cider Vinegar
Ingredients
- Organic or spray free apple pieces Or berries, plums, pears…
- Filtered Water
- Sugar
Instructions
- Fill a clean glass jar halfway to three-quarters full with apple pieces or scraps.
- Dissolve 10% sugar in enough water to cover the fruit, then pour it over the apples (for example, 100g sugar per 1L of water). Leave about 2 cm of headspace at the top. Add a glass fermentation weight if you have one to keep the fruit submerged.
- If you have an airlock, attach it now. Otherwise, screw on a lid loosely and loosen it daily to release gases, or cover with a clean tea towel secured with a rubber band.
- Store the jar at room temperature (around 20–25 °C / 68–77 °F) out of direct sunlight for 2–3 weeks. Gently shake or stir once a day to keep the apples covered. The mixture will start to bubble and smell fruity. That’s the yeast converting sugar into alcohol.
- When bubbling stops, strain out the fruit. Pour the liquid back into the jar. Remove the lid or airlock and cover the top with a clean tea towel. This lets air in so acetic acid bacteria can turn the alcohol into vinegar. (Optional: add a few tablespoons of raw vinegar with the mother to speed things up.)
- Leave the jar in a warm, dark spot for 4 to 8 weeks. Taste after 4 weeks. The longer it sits, the tangier it becomes. A soft SCOBY or “mother” may form on top. That’s normal.
- Once it tastes right to you, strain again and pour into clean bottles or jars. Store in a cool, dark place. Homemade vinegar keeps for a year or longer at room temperature.
Notes
Troubleshooting
- A thin white film (kahm yeast) may form. This is harmless, you can skim it off.
- If you see fuzzy or colored mould, you should start over.
- For stronger vinegar, let it ferment longer or add a few tablespoons of raw vinegar when you begin the acetic stage.
- For faster batches, save a few tablespoons of vinegar from your previous batch as a starter.

Once you strain the apples, do you need to shake/stir the liquid periodically or just let it sit?
You don’t have to stir it after you have strained it, it can just sit 🙂
Hi. My cider vinegar got a bit neglected. It smells and tastes good. Is it meant to be cloudy and can i store it in a cupboard. Pretty happy that i could make it with your directions. Thank you. 🙂
Hey it’s normal for it to sometimes be cloudy and yup you can store it in the cupboard 🙂