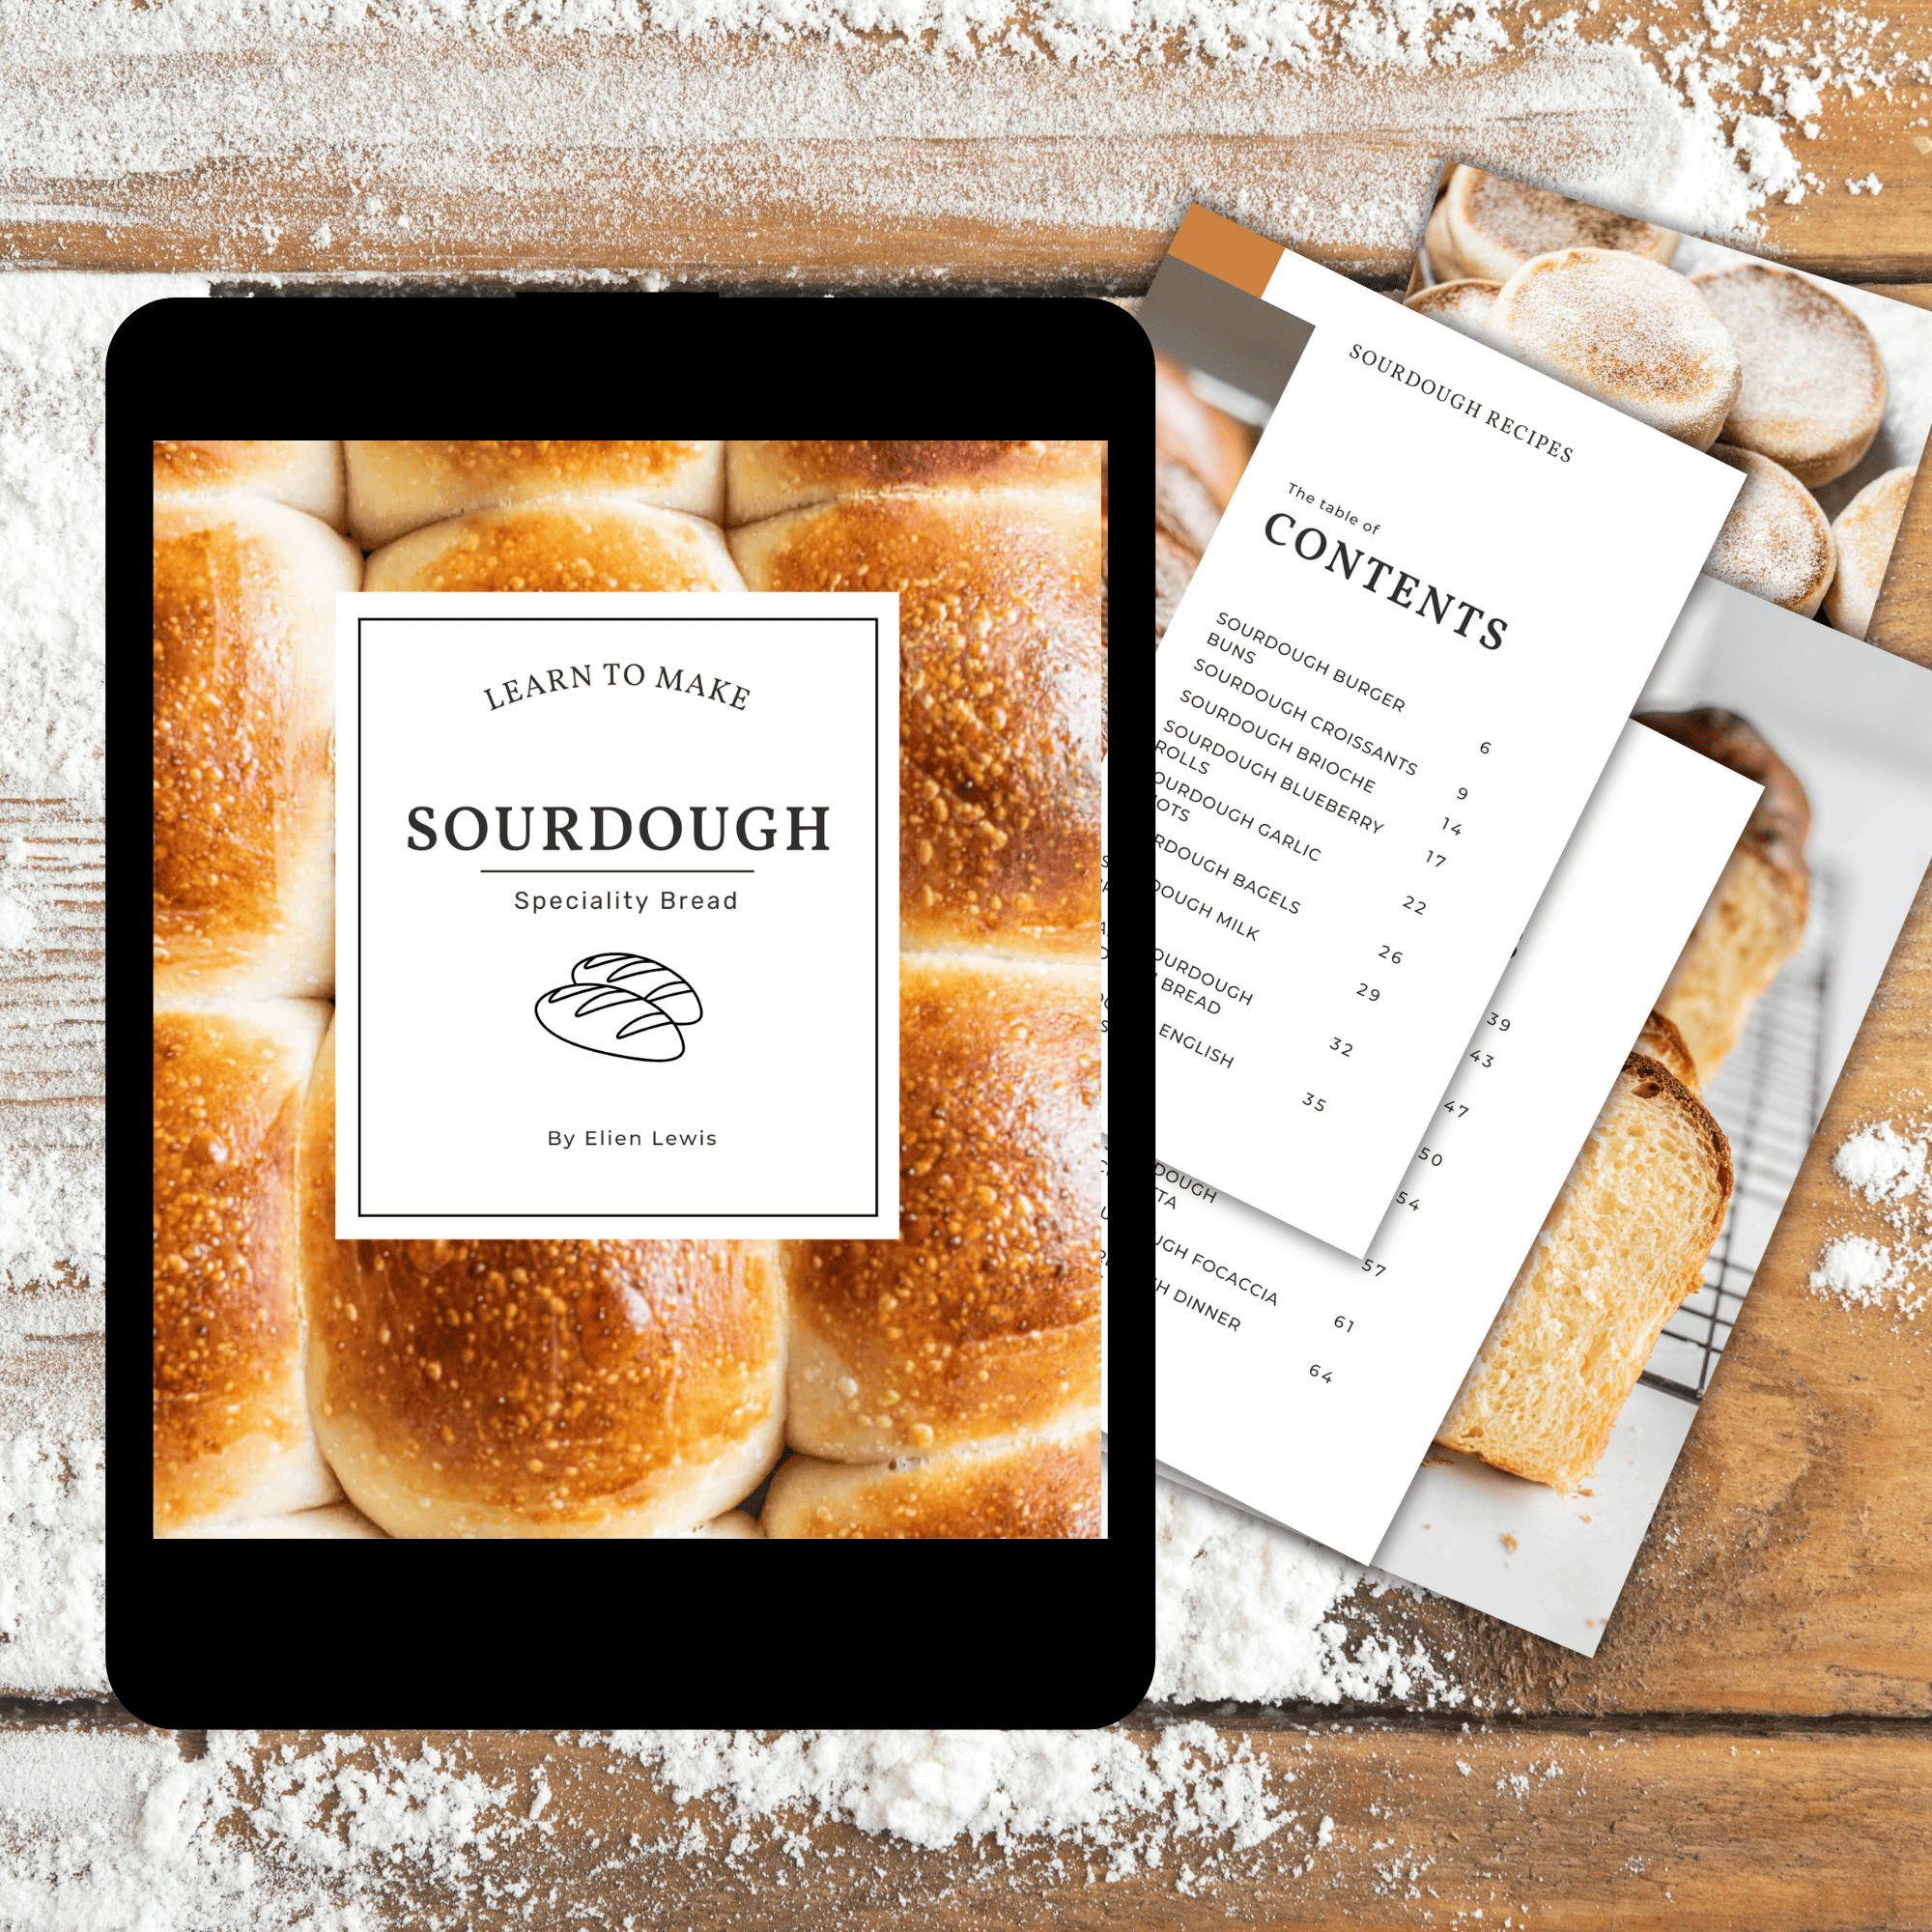
Simple Sourdough Pizza Crust
An easy sourdough pizza base made with sourdough starter. Light, airy, and chewy with a crisp edge. This sourdough pizza base keeps things simple and lets the dough do the work. The centre bakes thin and tender, while the edges puff into a chewy, lightly blistered crust.

About the dough
This recipe works best with an active sourdough starter, but it can also be made with sourdough discard.
If using an active starter, it should be bubbly, risen, and at or near its peak when you mix the dough. If using sourdough discard, just allow for a longer fermentation. The dough will take more time to rise and develop flavour, so extend the bulk ferment and cold proof as needed. The final texture will still be light and chewy, especially when baked hot.
Use bread flour or strong all purpose flour with at least 11% protein for the best structure and chew. If you are still getting your starter established, my guide to starting and maintaining a sourdough starter walks through the process step by step. Or, see tips and recipes in my sourdough hub.

When to make the dough
This pizza dough is flexible and works well with an overnight cold ferment. You can adjust the timings to suit your day.
Day 1: Feed starter and mix dough when starter is ready. Bulk ferment at room temperature for 3 to 4 hours then transfer to the fridge
Day 2: Divide and pre shape dough and rest briefly at room temperature. Shape and bake
The cold ferment can be extended up to 36 hours if needed.
Kneading
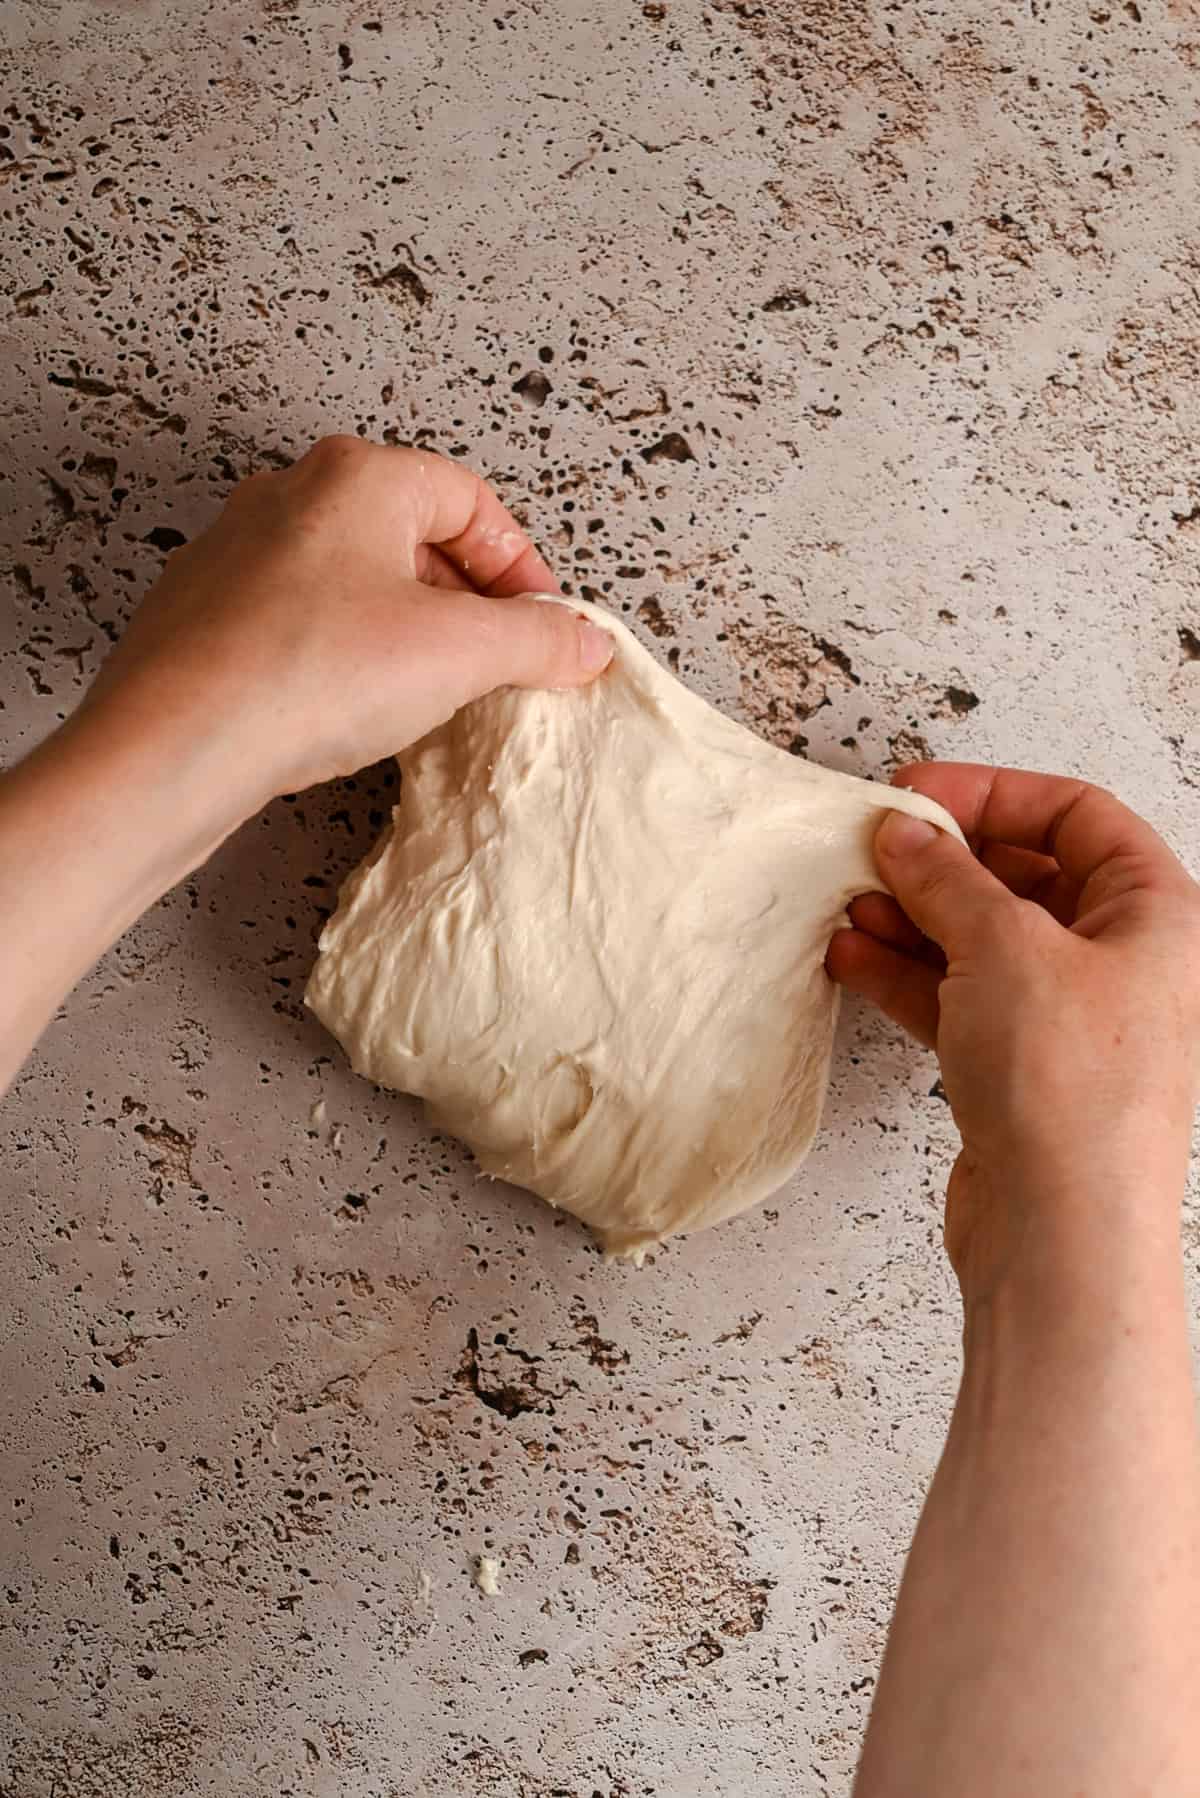
This dough can be kneaded in a few different ways. You can use slap and folds on the bench for about 5 to 6 minutes, until the dough feels smooth and elastic. Or, use stretch and folds every 15 to 20 minutes over the course of an hour.
A stand mixer fitted with a dough hook also works well. Choose whatever method that suits you best. The goal is to have a dough that feels elastic.
Method
- Mix together the flour and water and rest them briefly.
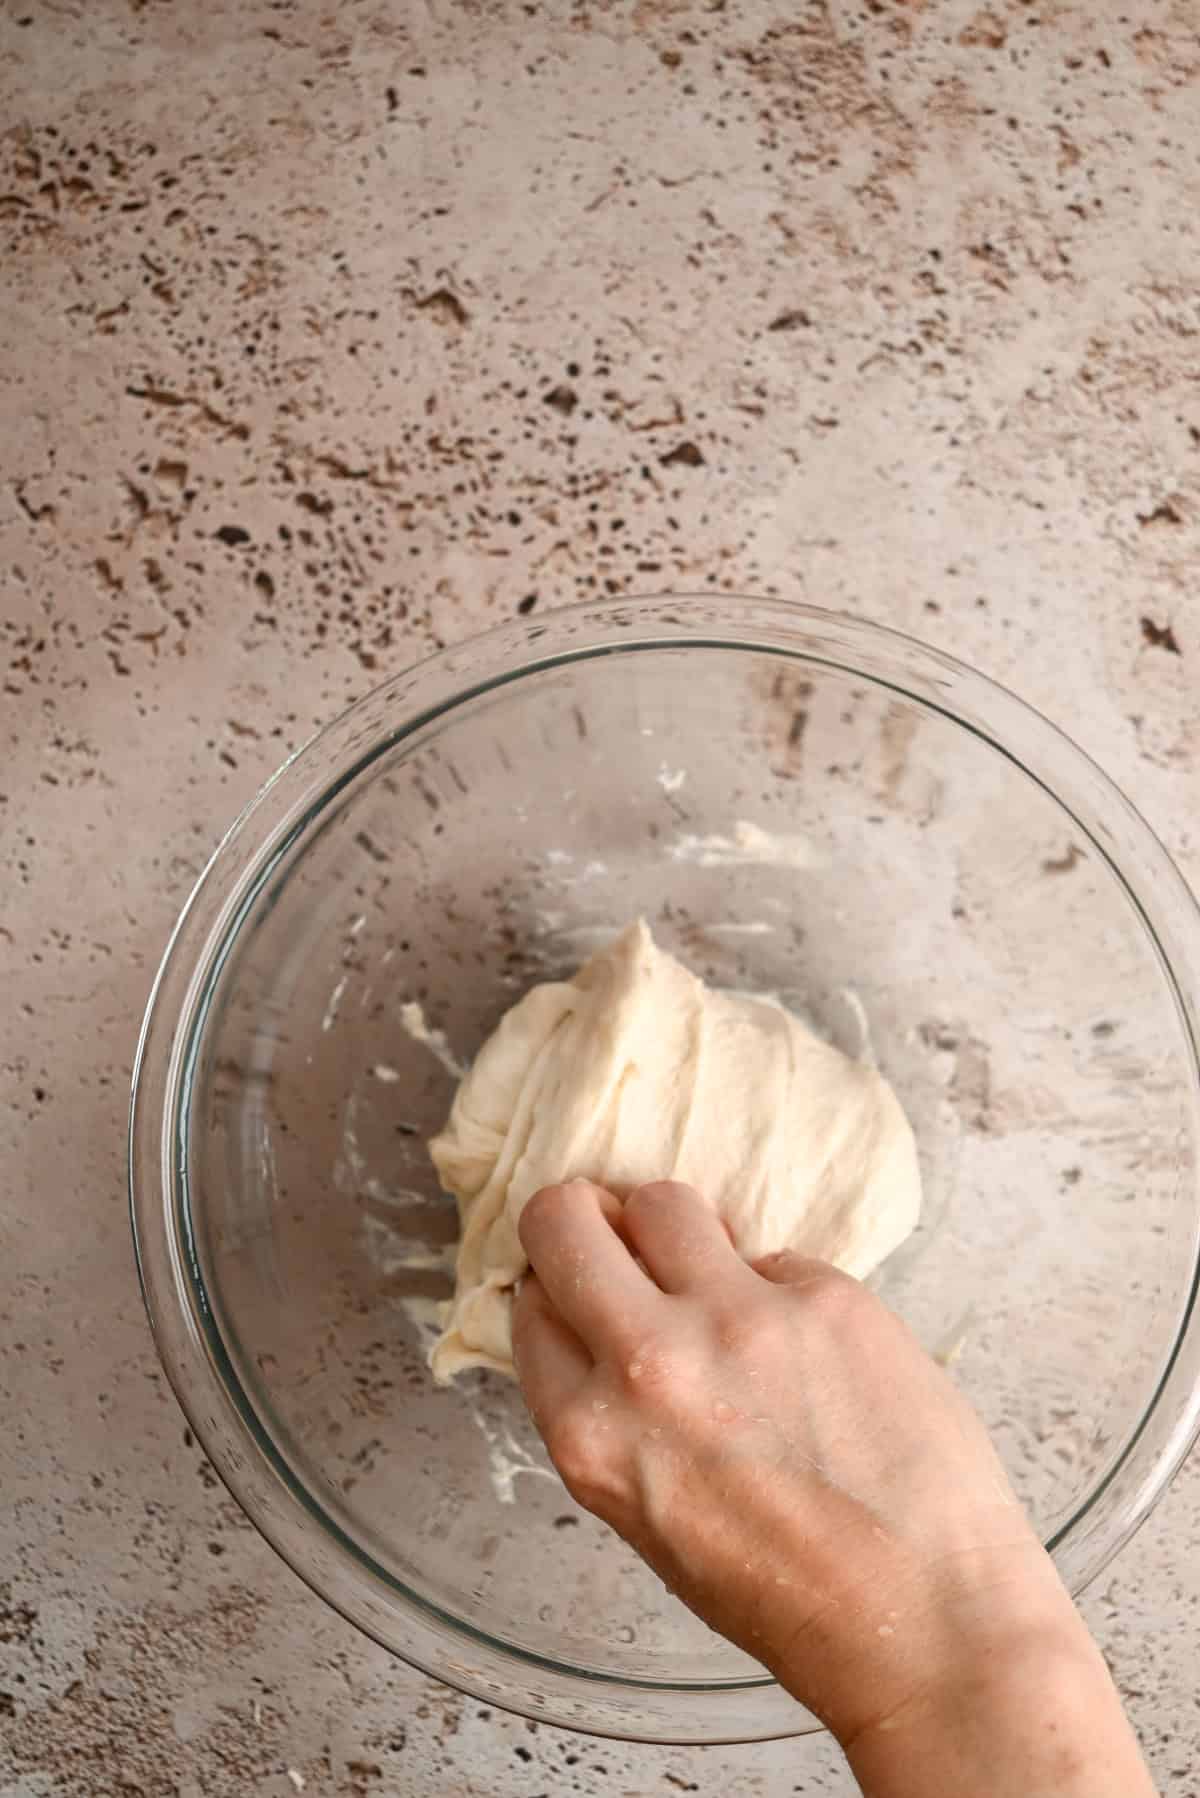
- Add starter and salt and stretch and fold the dough over about an hour.
- Alternatively, slap and fold the dough for around 6-8 minutes until it’s elastic.
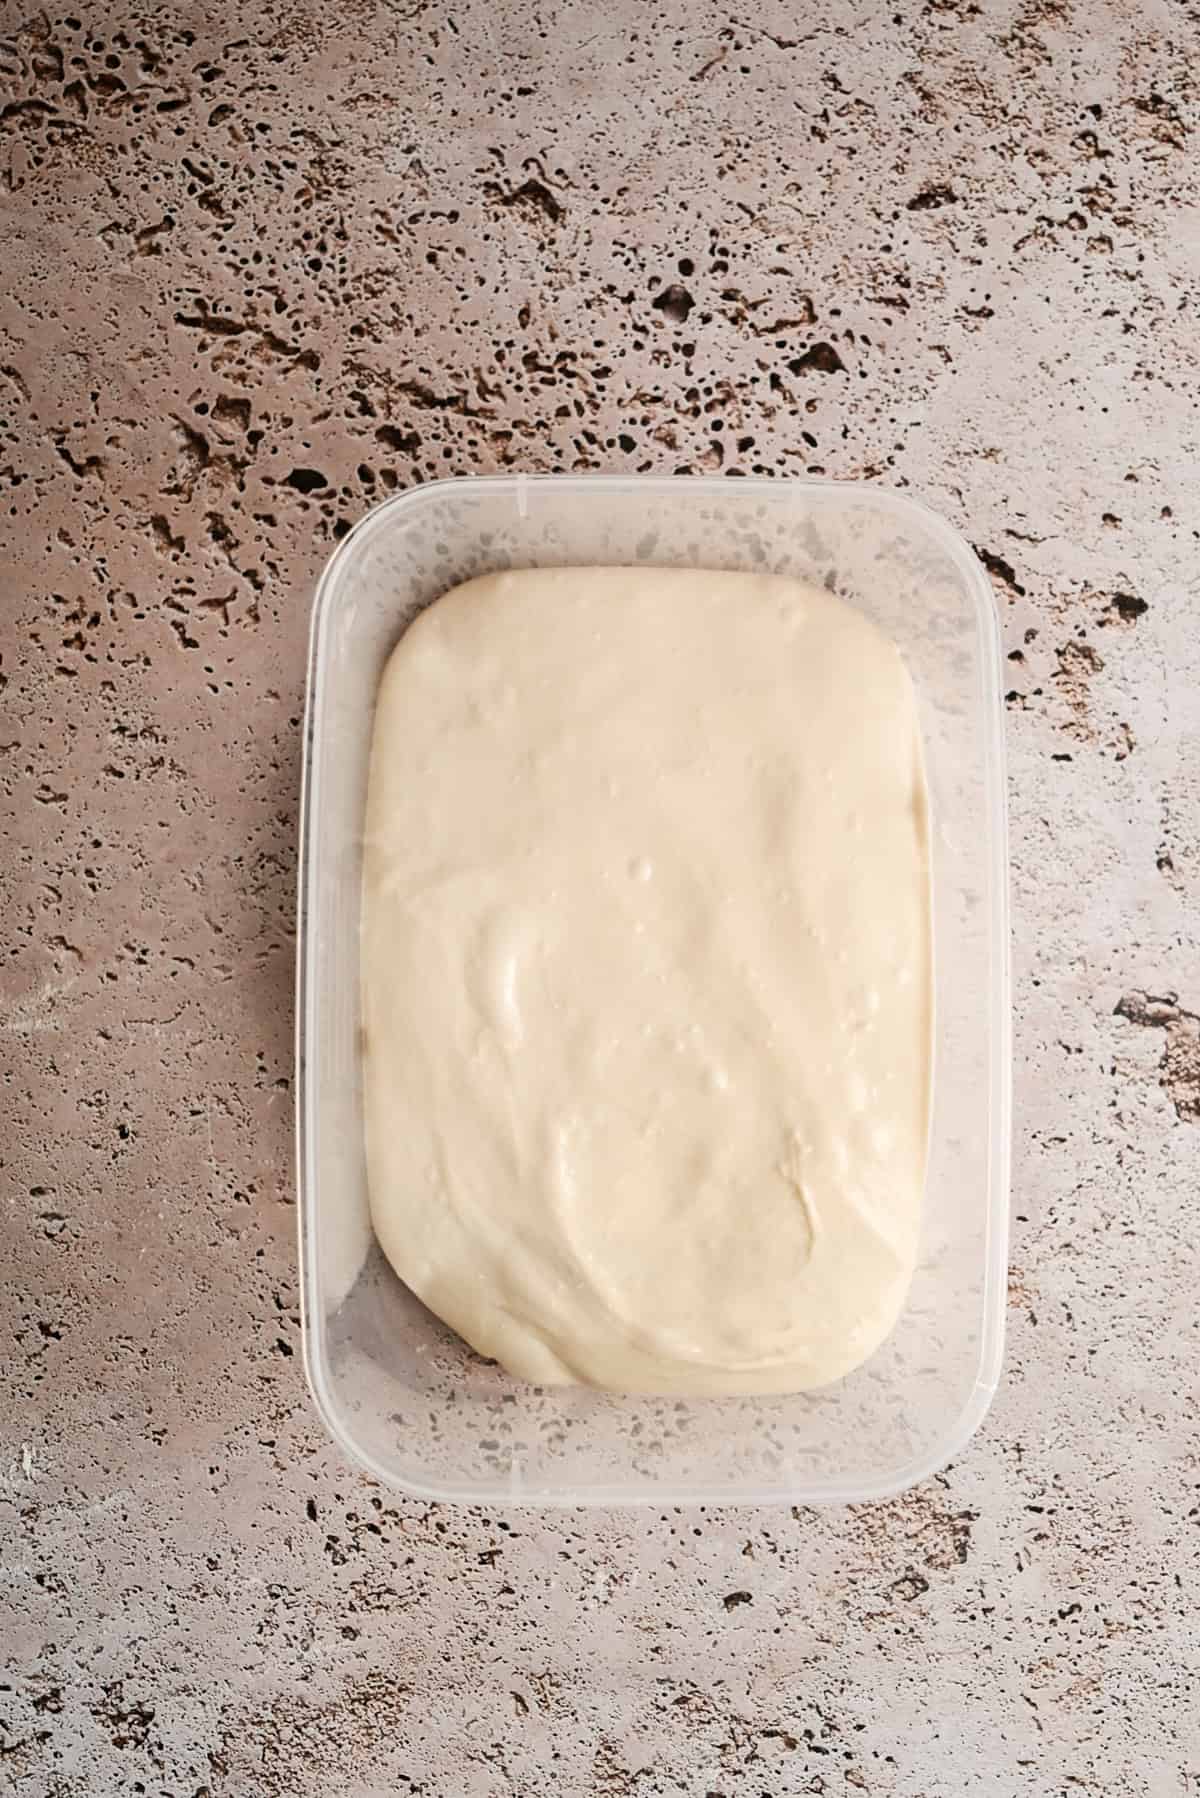
- Place the dough in a container with a lid and bulk ferment at room temperature. Then transfer to the fridge overnight.
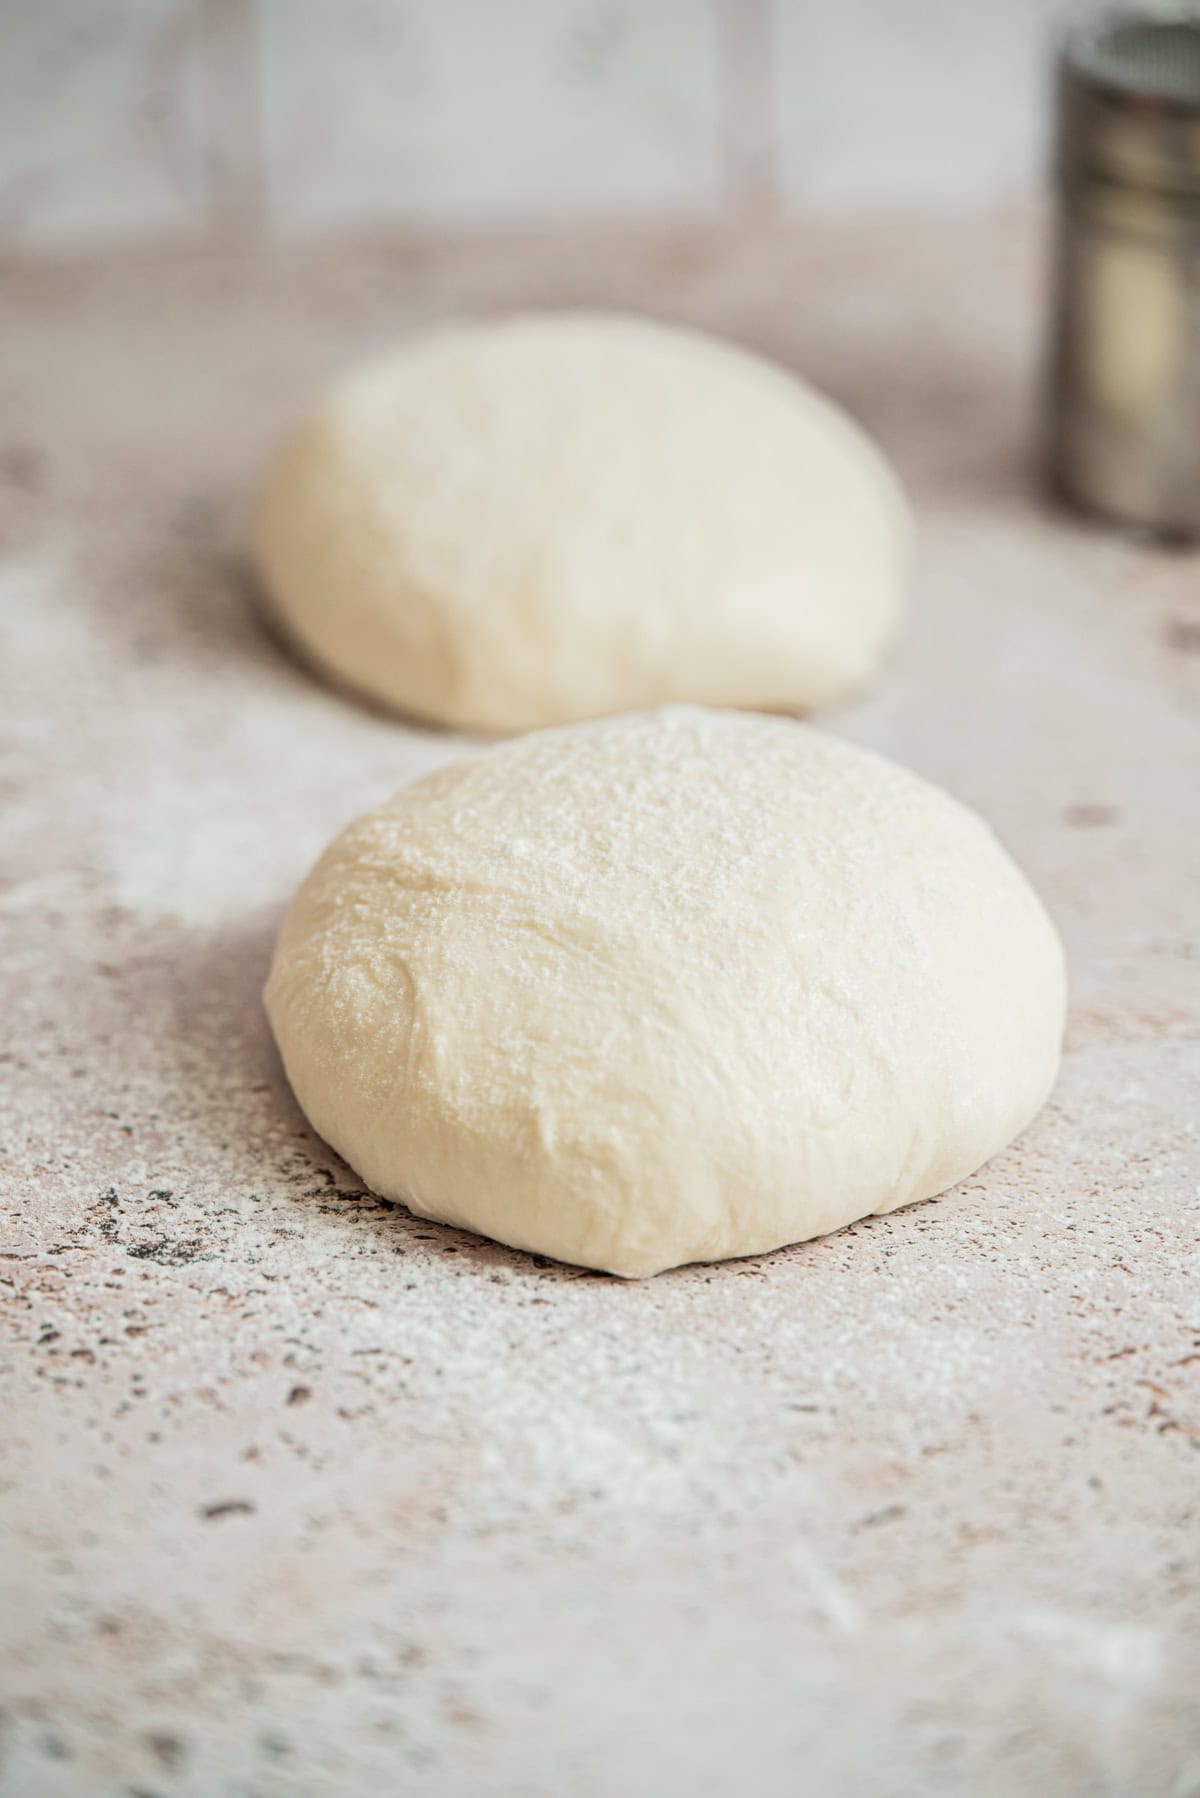
- Divide the dough then shape into rounds and let them rest for 20 minutes.
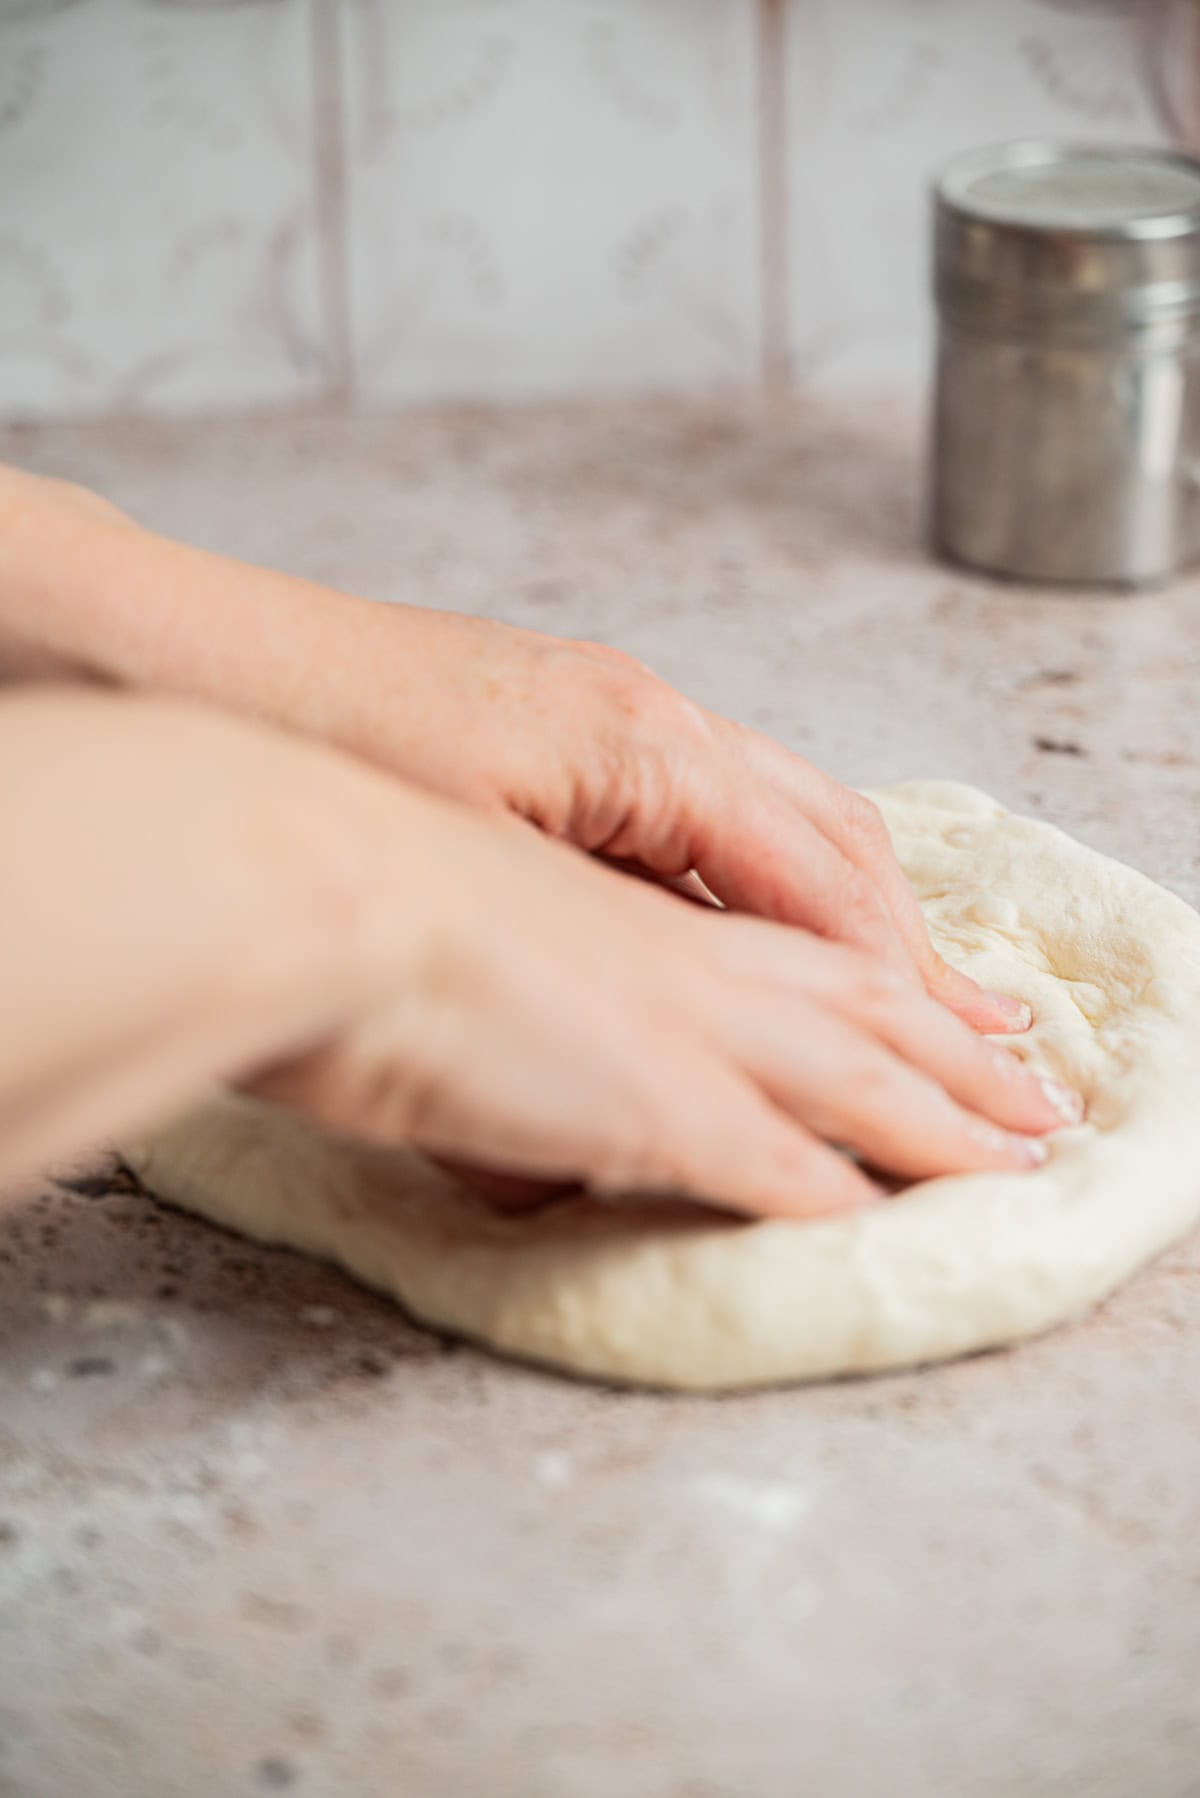
- Using your fingertips, gently press down in the centre of the dough, working outward in small presses.
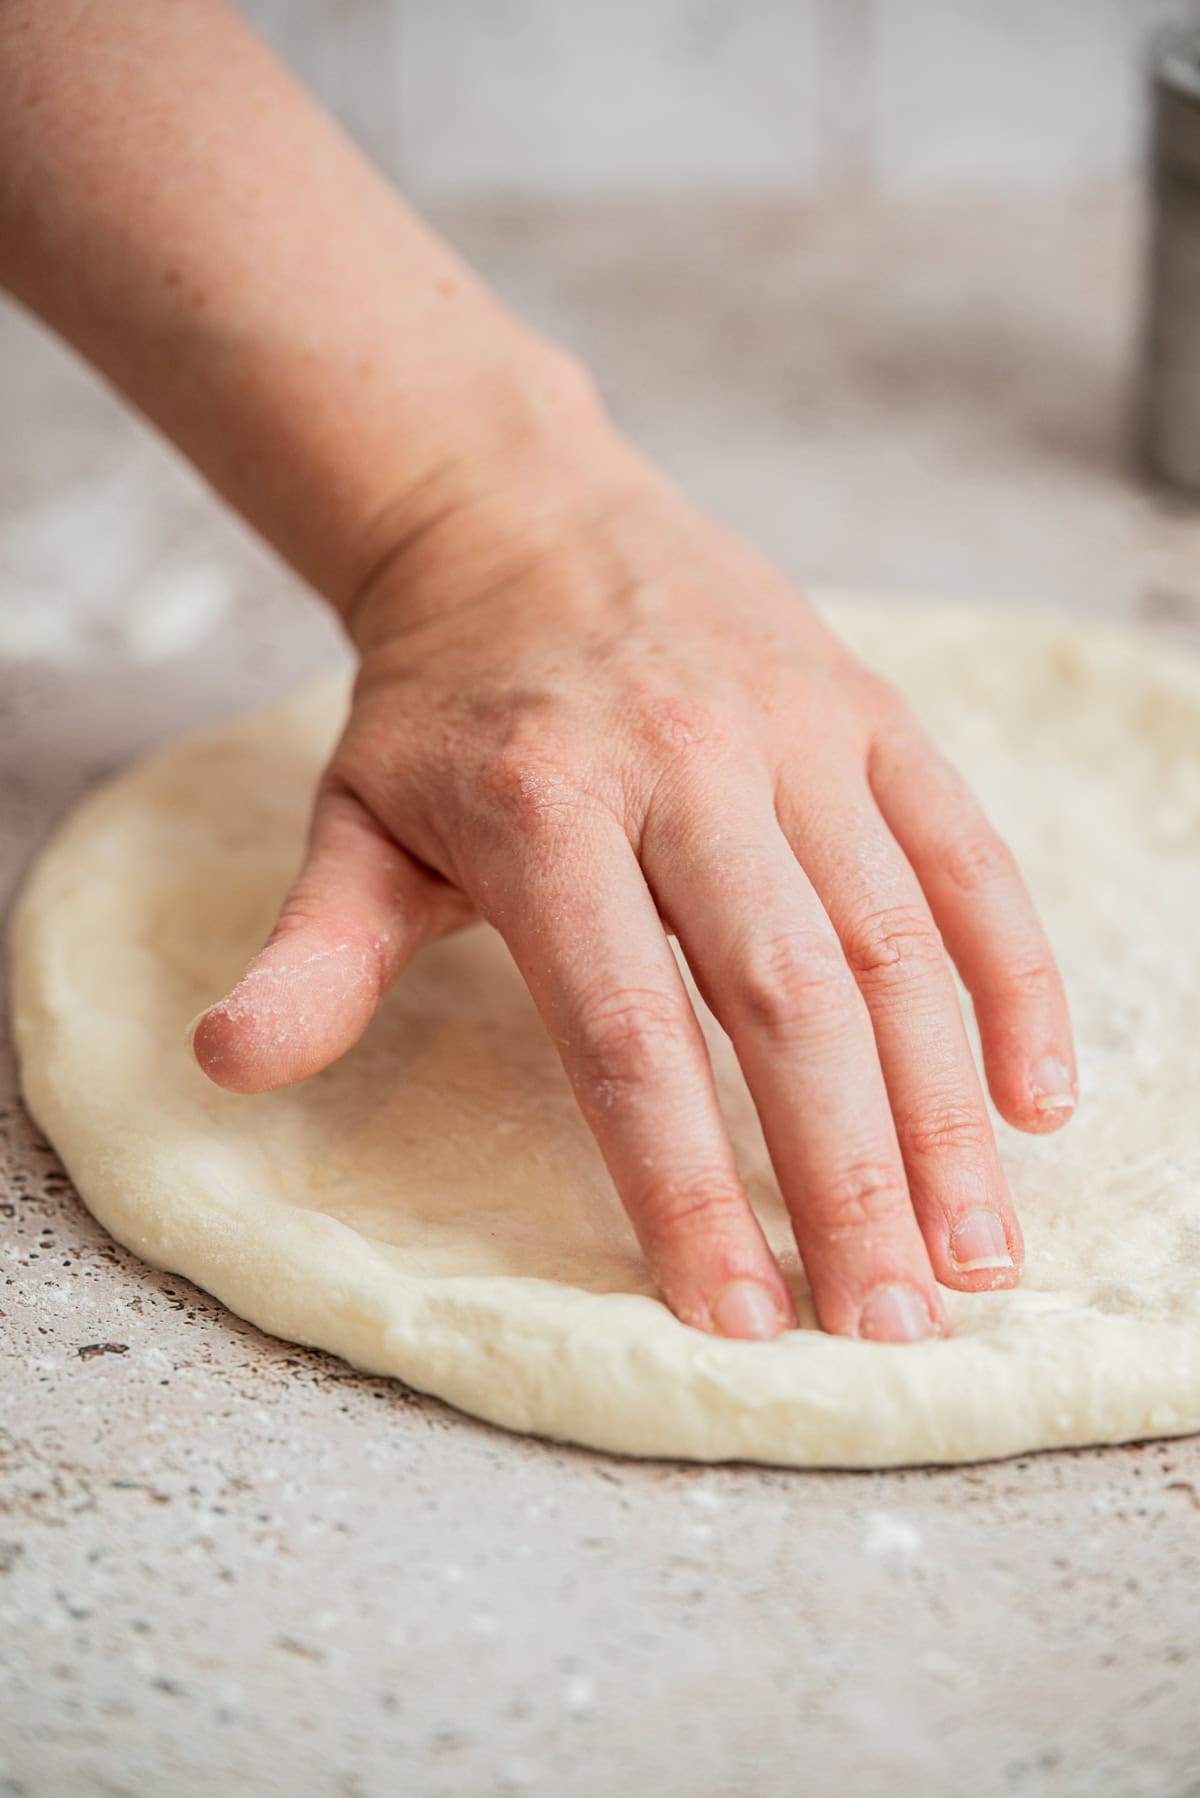
- Continue pressing and stretching the dough from the middle outwards, rotating it as you go, until it forms a round base. The centre should be thinner, with a raised rim around the edge.
Note: If the dough resists, let it rest for a few minutes, then continue shaping
- Transfer the dough to a floured pizza peel or board and add toppings quickly so the dough doesn’t stick, then slide the pizza onto the hot stone or steel.
Baking
- Use really high heat because a hot oven is key to a light, airy crust and good oven spring. Preheat the oven to its highest setting, ideally around 250 C, for at least 30 minutes.
- Bake one pizza at a time. This keeps the oven temperature steady and helps each base cook evenly.
- Keep toppings light. Too much sauce or cheese can weigh the dough down and stop it puffing properly.
- Bake quickly. The pizza should cook fast. A well fermented dough baked hot will puff and blister before it dries out.
- Let it finish on the rack if it’s needed. If the base looks pale underneath, you can slide it directly onto the oven rack for the last minute or two.
- Rest a bit before slicing. Let the pizza sit for a minute after baking so the crumb can settle and the cheese can set slightly.
If you enjoy simple savoury sourdough bakes, you might also like my sourdough focaccia or sourdough fougasse.
FAQs about sourdough pizza dough


Simple Sourdough Pizza Crust
Ingredients
Pizza Dough
- 300 g all-purpose flour with at least 11% protein, or bread flour
- 200 g water
- 100 g sourdough starter active or discard (see notes)
- 8 grams salt
Instructions
- Mix the flour and water for the dough in a bowl until no dry flour remains. Cover and rest for at least 30 minutes. 300 g all-purpose flour, 200 g water
- Add the sourdough starter to the dough, and then the salt. Use wet hands to squish and fold until well combined. 100 g sourdough starter, 8 grams salt
- Turn the dough out onto a clean bench and knead using slap and folds for about 6-8 minutes, until it feels smoother and elastic. You can also knead in a stand mixer fitted with a dough hook, or use stretch and folds every 15 to 20 minutes over one hour.
- Transfer the dough to a container with a lid and bulk ferment at room temperature for 3 to 4 hours, until lightly risen with some puffiness and visible bubbles. In warmer kitchens above 24°C / 75°F, this may take closer to 2 to 3 hours. In cooler kitchens allow up to 4-6 hours.
- Place the covered container in the fridge for 4 to 36 hours to develop flavour and make it easier to handle.
- Remove the dough from the fridge and on a floured bench, divide it into two even pieces. Shape each into a ball and rest at room temperature for about 20 minutes.
- Using your fingers, gently press each dough ball out into a circle about 20 cm wide. Start from the centre and work outward, keeping the middle thinner and the edges slightly thicker. Check that the bottom of the dough isn't sticking to the bench and sprinkle on more flour if needed.
- Lightly dust a pizza peel or board with flour.
- Once the dough is shaped, gently lift it and place it onto the floured peel. If needed, slide your hands underneath and support the dough as you move it so it does not stretch unevenly. Give the peel a small shake. The dough should move freely. If it sticks, lift the edge and add a little more flour underneath.
- Add toppings quickly to avoid the dough sticking, then slide the pizza onto the hot stone or steel.
- Bake quickly at very high heat. Use a pizza oven, or bake on a fully preheated pizza stone or steel at around 250 C/ 480 F until puffed and lightly charred.
- The pizza can also be baked in a preheated cast iron skillet. Press the dough into the hot pan, add toppings, and bake in a very hot oven until cooked through and golden.


Hi Ellen, if you’re adding to your ‘try this’ list, what about Banh Mi Tay buns! I love these and make them about twice a year, but would love to make a sour dough version.
Thanks, Sourdough bread is in the oven, pizza dough is resting on the bench!!
Merry, Merry!
Ooh what a great idea, thank you! I am so adding that to my list!
Merry Christmas ☺️
I have tried soooooo many sourdough pizza recipes and THIS is my all time favourite and is the ONLY one I use now. 99% of the sourdough recipes I do come from you – you are my sourdough guru and I recommend your page to everyone that I share my starter with.
Have you considered experimenting with Bao Buns? The ones that look like little steamed burger buns that you fill. There aren’t many recipes for sourdough ones out there and I’m too scared to try them, but if you were to create one I know I could trust yours.
Anyway, enough fan-girling. Just wanted to let you know how much you rock this sourdough lovin’ mumma’s world!!
Thanks so much Pene! that’s awesome to hear! Ohh I had not thought about sourdough Bao Buns before but that’s a good idea! I’m going to add it to my list of things to try 🤩
Can you double this recipe and follow all the same instructions?
Yup! 😊
I love your recipes. I am making your soft sourdough rolls and fruit loaf/ raisin bread. Making sourdough is my therapy. Thank you for sharing. I live in Australia. Would love to come to NZ one day.
I’m so glad you enjoy my recipes! Thank you!
I love your recipes – thank you so much. A question about the pizza dough, would I be ok to freeze them? Perhaps at the cold proof stage?
Thank you! I haven’t frozen the pizza dough before so I can’t be sure if it would bake well after freezing sorry!
Great post from a fellow sourdough nerd! I really like what you’ve done with your site how you’ve linked baking with the garden. It’s all about creating things from scratch right? Next step is to grow and mill your own wheat! (You’re probably already doing that 🙂
Milling my own wheat would be the dream! If I had the space I so would 😀
Check out the Mockmill. It’s a household appliance 🙂
Hello can u make this with a gluten free sourdough starter and gluten free flour??
Heya, I’m sorry I’ve not tried it with gluten free flour!
Mmmm, made these last weekend and can’t help myself, making them again this weekend. So delicious!! Thanks for another wonderful recipe and the sauce, well, I’m making that this time too! Thanks again.
Yay I loved reading this, thank you! So pleased you enjoyed them 😄
Is there a link to the kneading video?