Fig and Walnut Sourdough
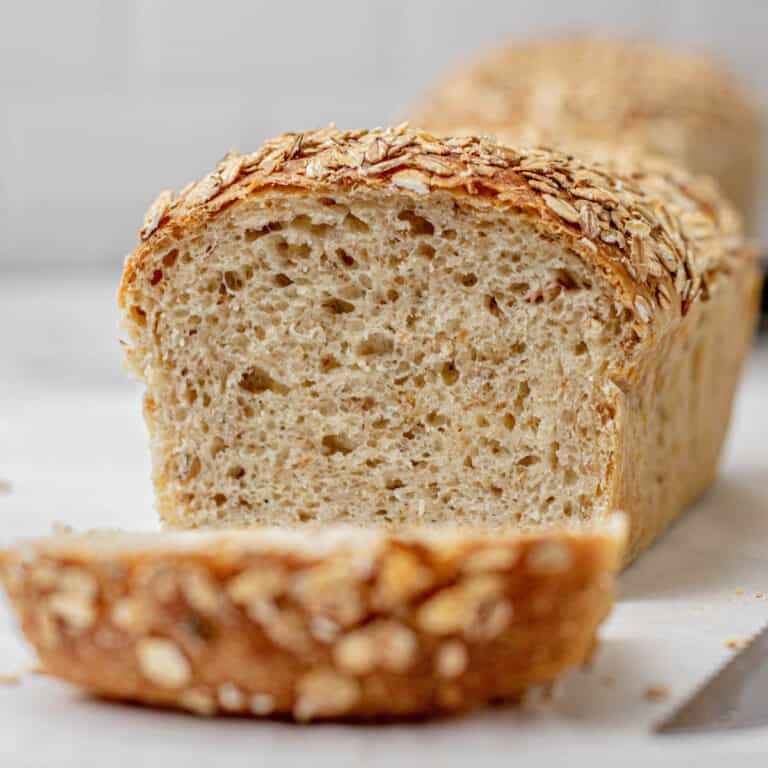
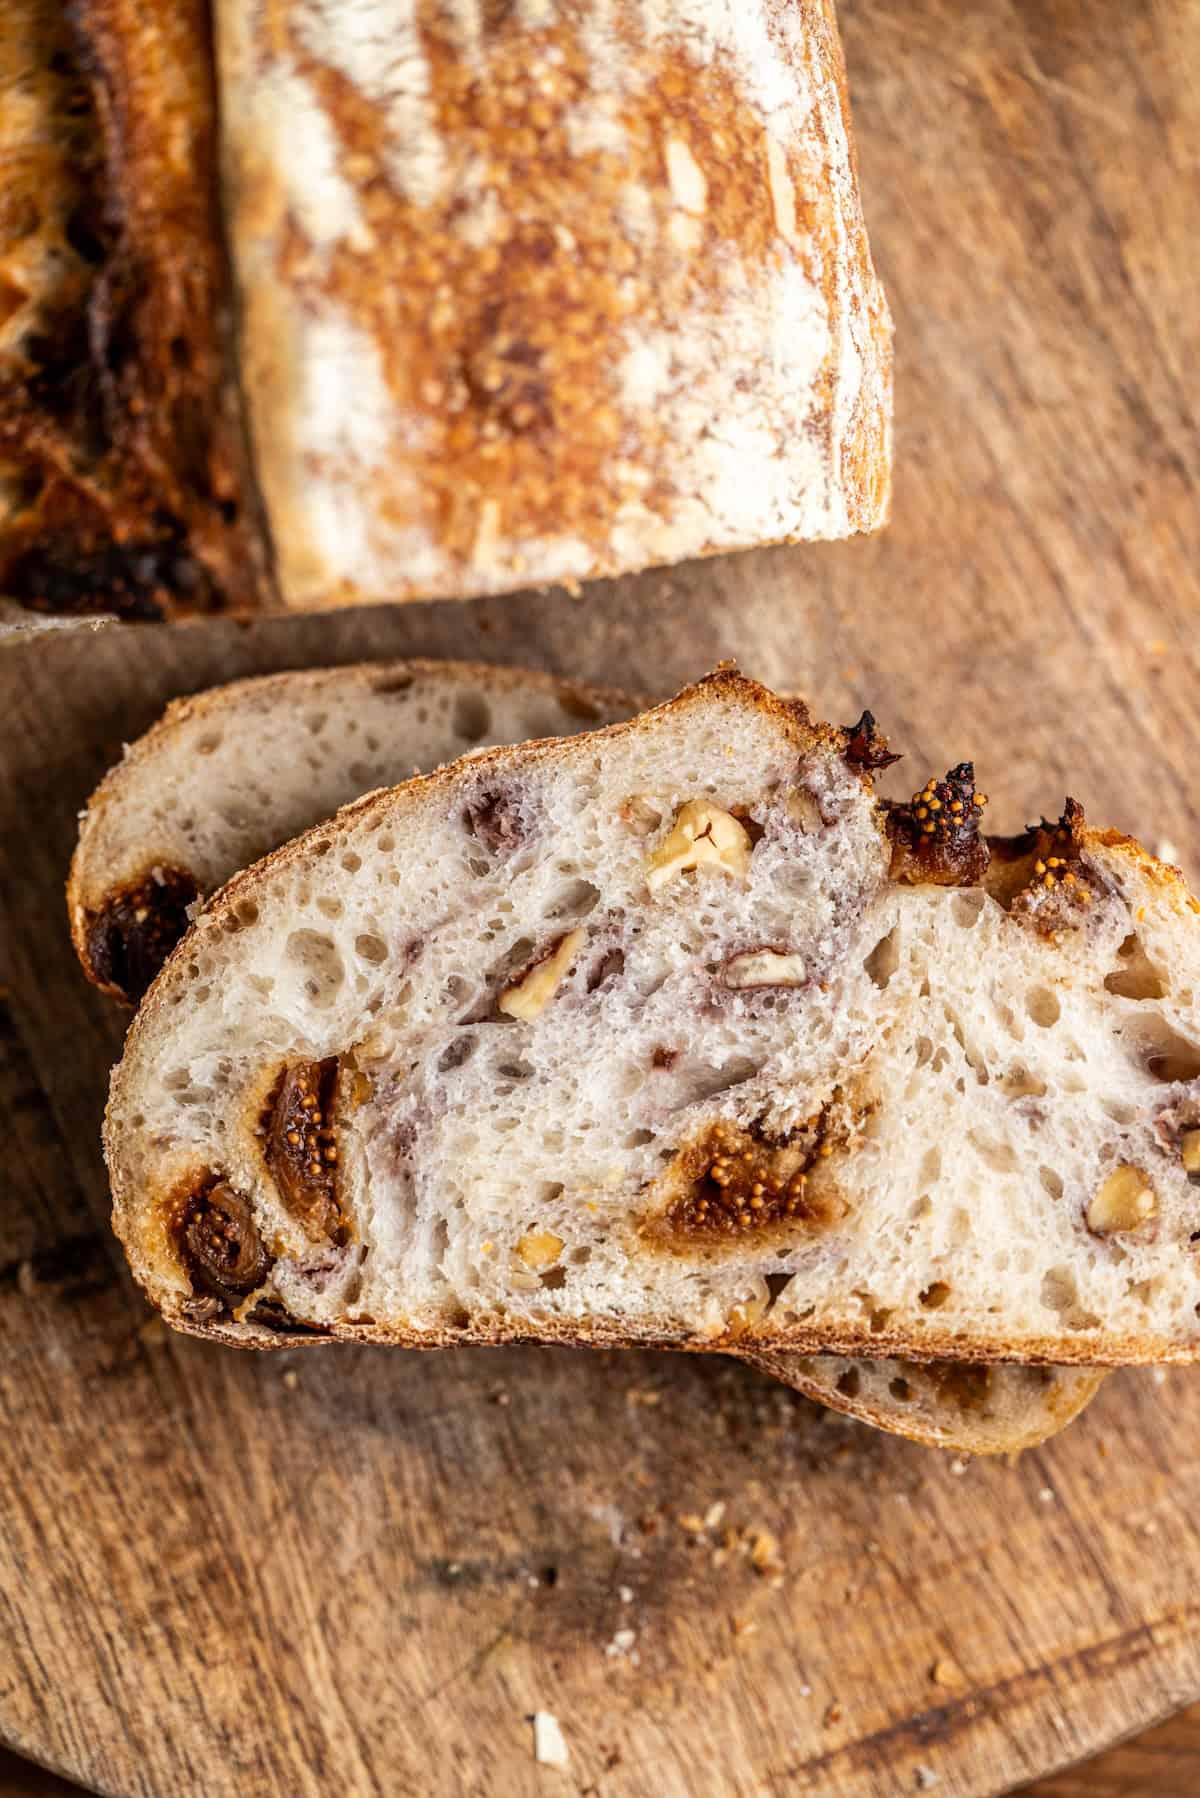
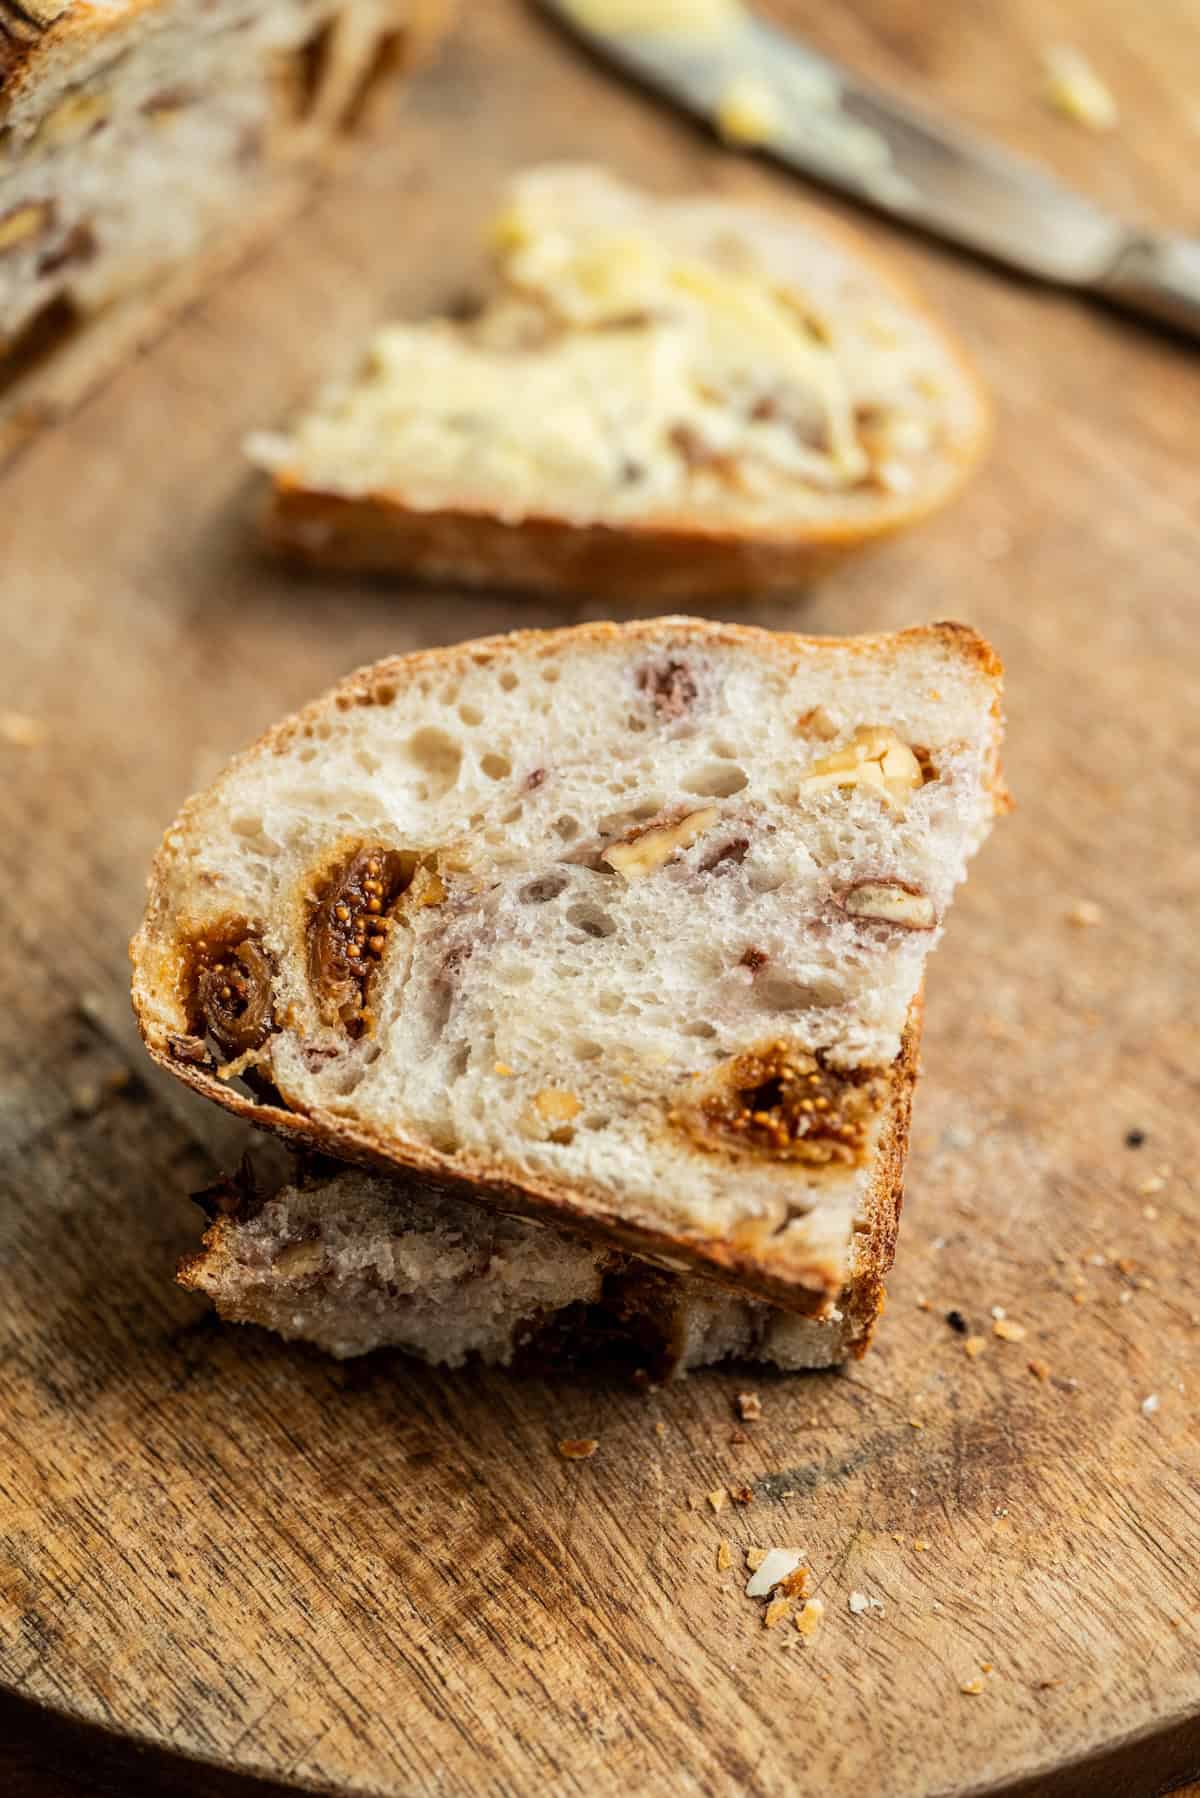
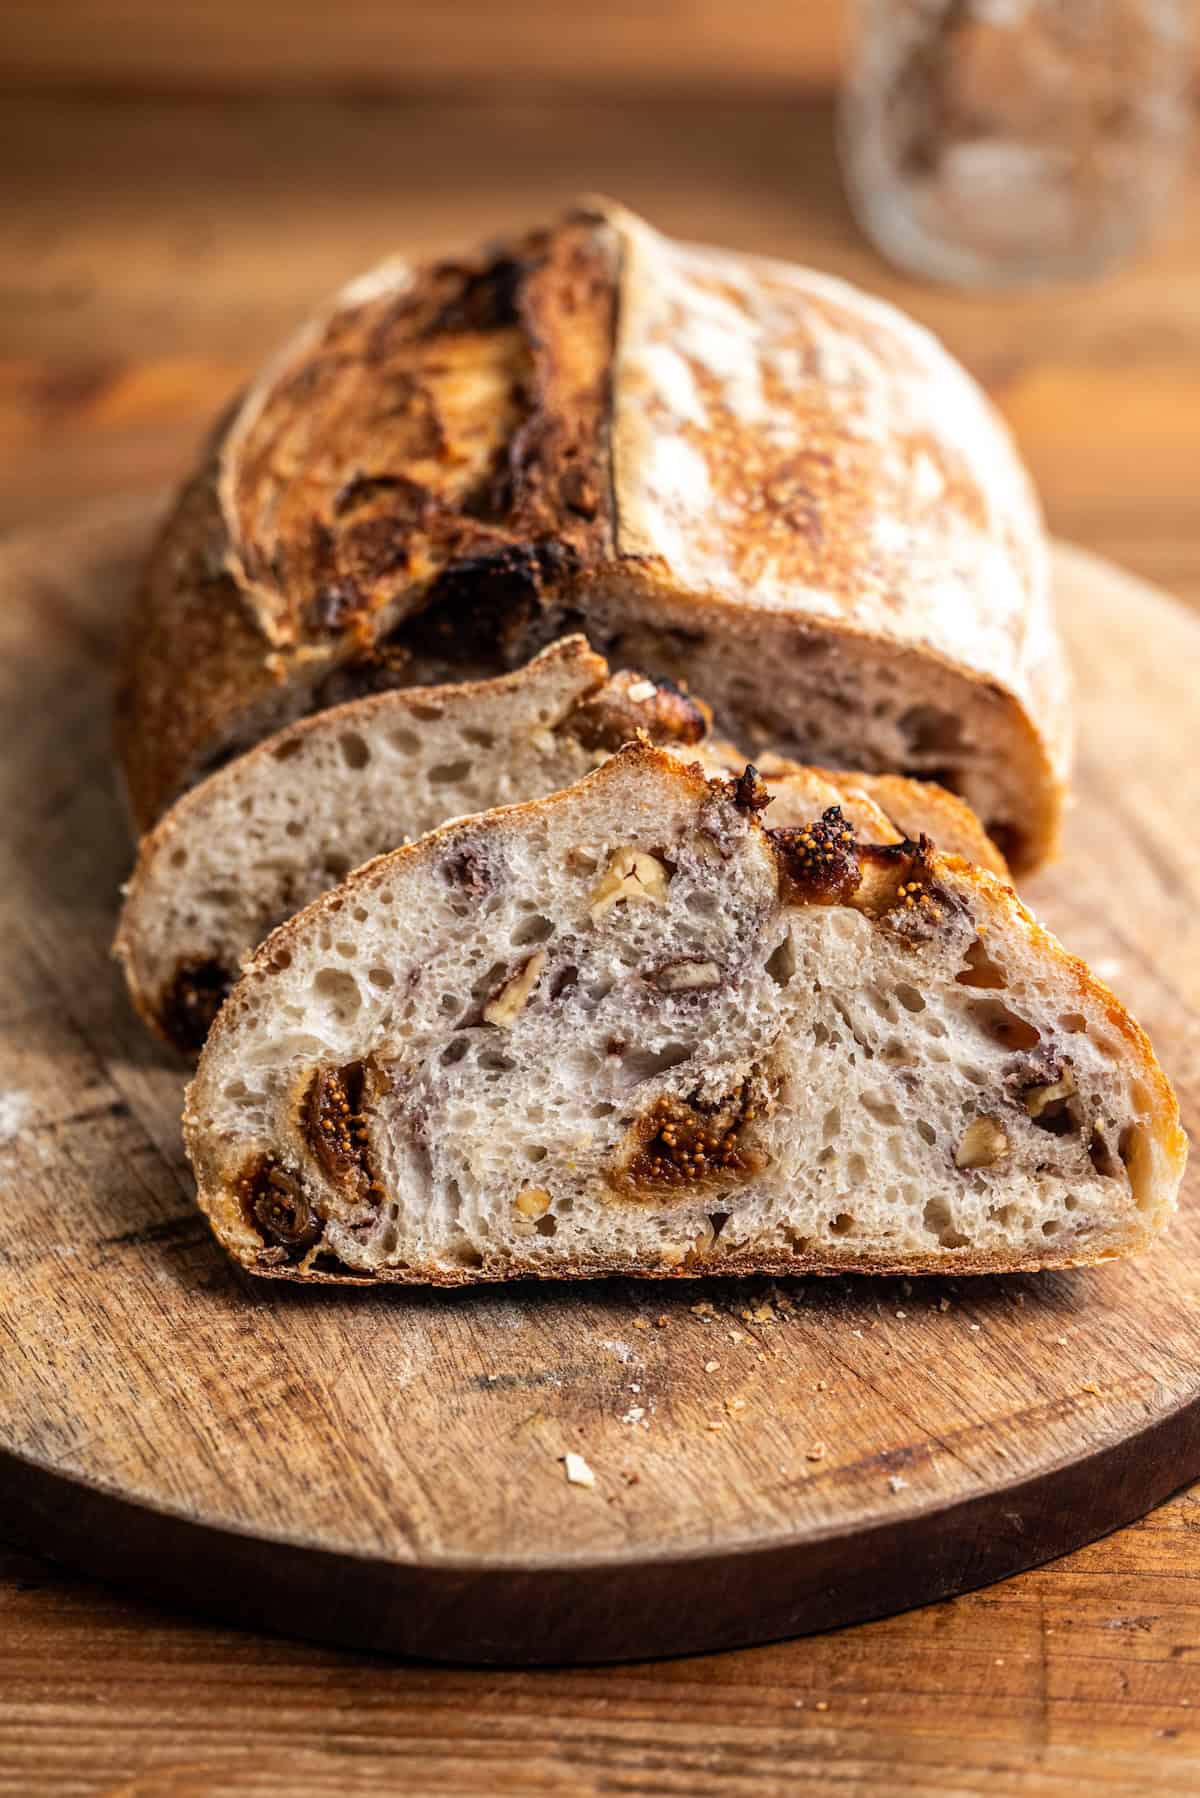
This fig and walnut sourdough is a hearty, open-crumbed loaf studded with sweet figs and toasty walnuts. The dough is enriched with a portion of wholemeal flour for a richer, nuttier flavour, and the fig and walnut combination makes it perfect alongside a hunk of cheese, slathered with butter and honey, or toasted for breakfast.
About this bread
The base of this loaf is a robust, moderately hydrated sourdough enriched with around 20% wholemeal flour. The wholemeal adds a depth of flavour and gentle nuttiness that pairs beautifully with the figs and walnuts. It’s not a super soft sandwich loaf, it’s more of a rustic, open-crumbed bread with a chewy crust and plenty of character.
I’ve shifted the ratio in this version to be more fig-forward, with 80g figs to 60g walnuts. The original version of this loaf was more walnut-led, but I find the figs really make this bread, so they get to be the star now. The walnuts are still there for crunch and a savoury balance to the figs’ sweetness.
The dough goes through stretch and folds with the figs and walnuts added partway through bulk, then bulk ferments until properly active, gets shaped, and cold proofs overnight. Day two is just bake and slice.
Key ingredients
- High-grade flour (or bread flour): This gives the dough the structure and chew of a proper sourdough loaf. You want a flour with around 11-12% protein.
- Wholemeal flour: Around 20% of the total flour is wholemeal, which adds a richer flavour and a slight rustic character without making the loaf heavy. Wholemeal also absorbs more water than white flour, so the dough hydration accounts for it.
- Active sourdough starter: As always with my sourdough recipes, the starter needs to be active, bubbly, and at its peak. A weak or overly acidic starter won’t give you good rise or flavour. I make a fresh leaven for this bread rather than using starter straight from the jar.
- Dried figs: Look for soft, plump dried figs. Hard, dry figs can stay chewy in the bread and pull moisture from the dough. If yours feel quite hard, give them a quick 10-15 minute soak in warm water, then drain and pat dry before chopping. Soft pliable figs can go in as they are.
- Walnut halves: Toasting them first really brings out the flavour and gives a deeper, more savoury crunch.
- Water and salt: Standard. The salt strengthens the gluten and seasons the loaf, and the dough sits at around 71% hydration including the starter.
Baker’s schedule
This is a two-day bake.
- Day 1 (morning): Mix the leaven and let it peak. Mix the dough, do stretch and folds with the figs and walnuts added partway through, and finish the bulk ferment.
- Day 1 (afternoon/evening): Shape the dough and cold proof overnight in the fridge.
- Day 2 (morning): Bake straight from the fridge in a Dutch oven.
Watch the dough rather than the clock. Fermentation times shift with your kitchen temperature, so trust the dough’s signs of activity (rise, bubbles, jiggle) over the times in the recipe.
Method
- Mix together the starter ingredients in a bowl and stir well until thoroughly mixed. Add it to a clean jar and loosely cover it. Leave it in a warm spot until it doubles in size.
- While it’s rising, toast the walnuts in a dry pan for 5 to 7 minutes until fragrant. Chop the figs into small pieces. If your figs are hard and dry, give them a quick soak in warm water for 10 to 15 minutes, drain, and pat dry. Soft pliable figs can go in as they are.
- Mix the flours and water into a shaggy dough with no dry flour left, then cover and leave to autolyse until the leaven is ready (around 30 to 60 minutes). The autolyse hydrates the flour fully and starts gluten development without any work from you. Once the leaven is at peak, squish it into the dough with wet hands and mix in the salt.
Bulk fermentation

- Over the next 3 hours, do a set of stretch and folds every 30 minutes. With wet hands, pull the dough up and over itself, turn the bowl a quarter, and repeat on all sides.

- Do this on all sides, and always use wet hands. You’ll feel the dough strengthen and smooth out as you go

- As the folds go on, I like to tuck them underneath the dough ball to create a smooth top.

- After about four sets of folds, add half the figs and walnuts and fold them in, then the rest. Adding them in two stages helps distribute them evenly without overworking the dough or clumping them in one spot.
- After the folds, leave the dough to finish bulk in a warm spot, ideally around 25°C / 77°F, until it’s bubbly, slightly puffed, and jiggles when you shake the bowl. Watch the dough rather than the clock here. If your kitchen is cool, place the bowl in a turned-off cold oven with a dish of just-boiled water at the bottom to make a warm proofing spot.

Shaping and cold-proof
- Turn the dough out gently onto a lightly floured bench and pat into a rough rectangle.

- Fold the bottom third up to meet the middle.

- Then fold the right side in, then the left side in. Bring the top third down over everything to make a parcel.

- Flip the parcel seam-side down and gently roll it towards you on the bench to build surface tension. Take care not to degas it, you’re firming the surface, not pressing the air out.

- Place the shaped dough seam-side up in a well-floured banneton or a bowl lined with a floured tea towel.
Cold proof and bake
- Cover the banneton and cold proof in the fridge for 8 to 16 hours. The cold proof develops flavour and firms up the dough so it’s easier to score.
- The next morning, preheat the oven and a Dutch oven to 230°C / 450°F for at least 30 minutes. Flip the dough straight into the hot Dutch oven, score with a razor or sharp knife, and bake with the lid on for 20 minutes, then lid off for another 20 until deeply browned.
- Let the loaf cool on a wire rack for at least 2 hours before slicing. Sourdough finishes baking as it cools, so slicing into a warm loaf gives you a gummy interior even if it’s perfectly baked.

Tips for success
Storage
Store the cooled loaf cut-side down on a board or in a paper bag at room temperature for up to 3 days. The crust will soften over time, which is normal.
For longer storage, slice the loaf and freeze the slices in an airtight bag for up to 3 months. You can toast directly from frozen.
FAQs about cheesecloth
Related recipes
You might like these too:
- Sourdough fruit bread
- Sourdough monkey bread
- Orange and chocolate sourdough
- Sourdough starter maintenance
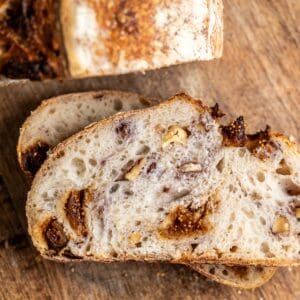
Fig and Walnut Sourdough
Ingredients
Starter/Leaven
- 25 g sourdough starter
- 50 g bread flour
- 50 g water
Dough
- 320 g bread flour
- 80 g whole wheat flour
- 295 g water
- All the sourdough starter Approx. 100g
- 7 g salt
- 80 g dried figs
- 60 g walnut halves
Instructions
- Mix the starter ingredients in a jar, cover loosely, and leave to peak (4 to 6 hours).
- Toast the walnuts in a dry pan over medium heat for 5 to 7 minutes until fragrant. Cool and break into rough pieces. Chop the figs. If figs are hard, soak in warm water for 10 to 15 minutes, drain, and pat dry before chopping.
- Combine the flours and water into a shaggy dough. Cover and autolyse for around 30 minutes.
- Add the leaven and squish in with wet hands. Add the salt and mix in.
- Over the next 3 hours, do a set of stretch and folds every 30 minutes. After about four sets, add half the figs and walnuts, fold in, then add the rest and fold in.
- Leave the dough to finish bulk in a warm spot (ideally 25°C / 77°F) until bubbly, puffed, and jiggly, another 1 to 2 hours depending on room temperature.
- Turn out the dough gently, pat into a rectangle. Fold the bottom third up to the middle, fold the right side in, then the left side in, then bring the top third down over everything to make a parcel. Flip seam-side down and gently roll towards you on the bench to build surface tension.
- Place seam-side up in a floured banneton. Cover and cold proof in the fridge for 8 to 16 hours.
- Preheat the oven and a Dutch oven to 230°C / 450°F for at least 30 minutes. Flip the dough into the hot Dutch oven (or onto baking paper to lower in). Score.
- Bake with the lid on for 20 minutes, then remove the lid and bake for another 20 minutes until deeply browned. Cool on a wire rack for at least 2 hours before slicing.