Sourdough Milk Bread
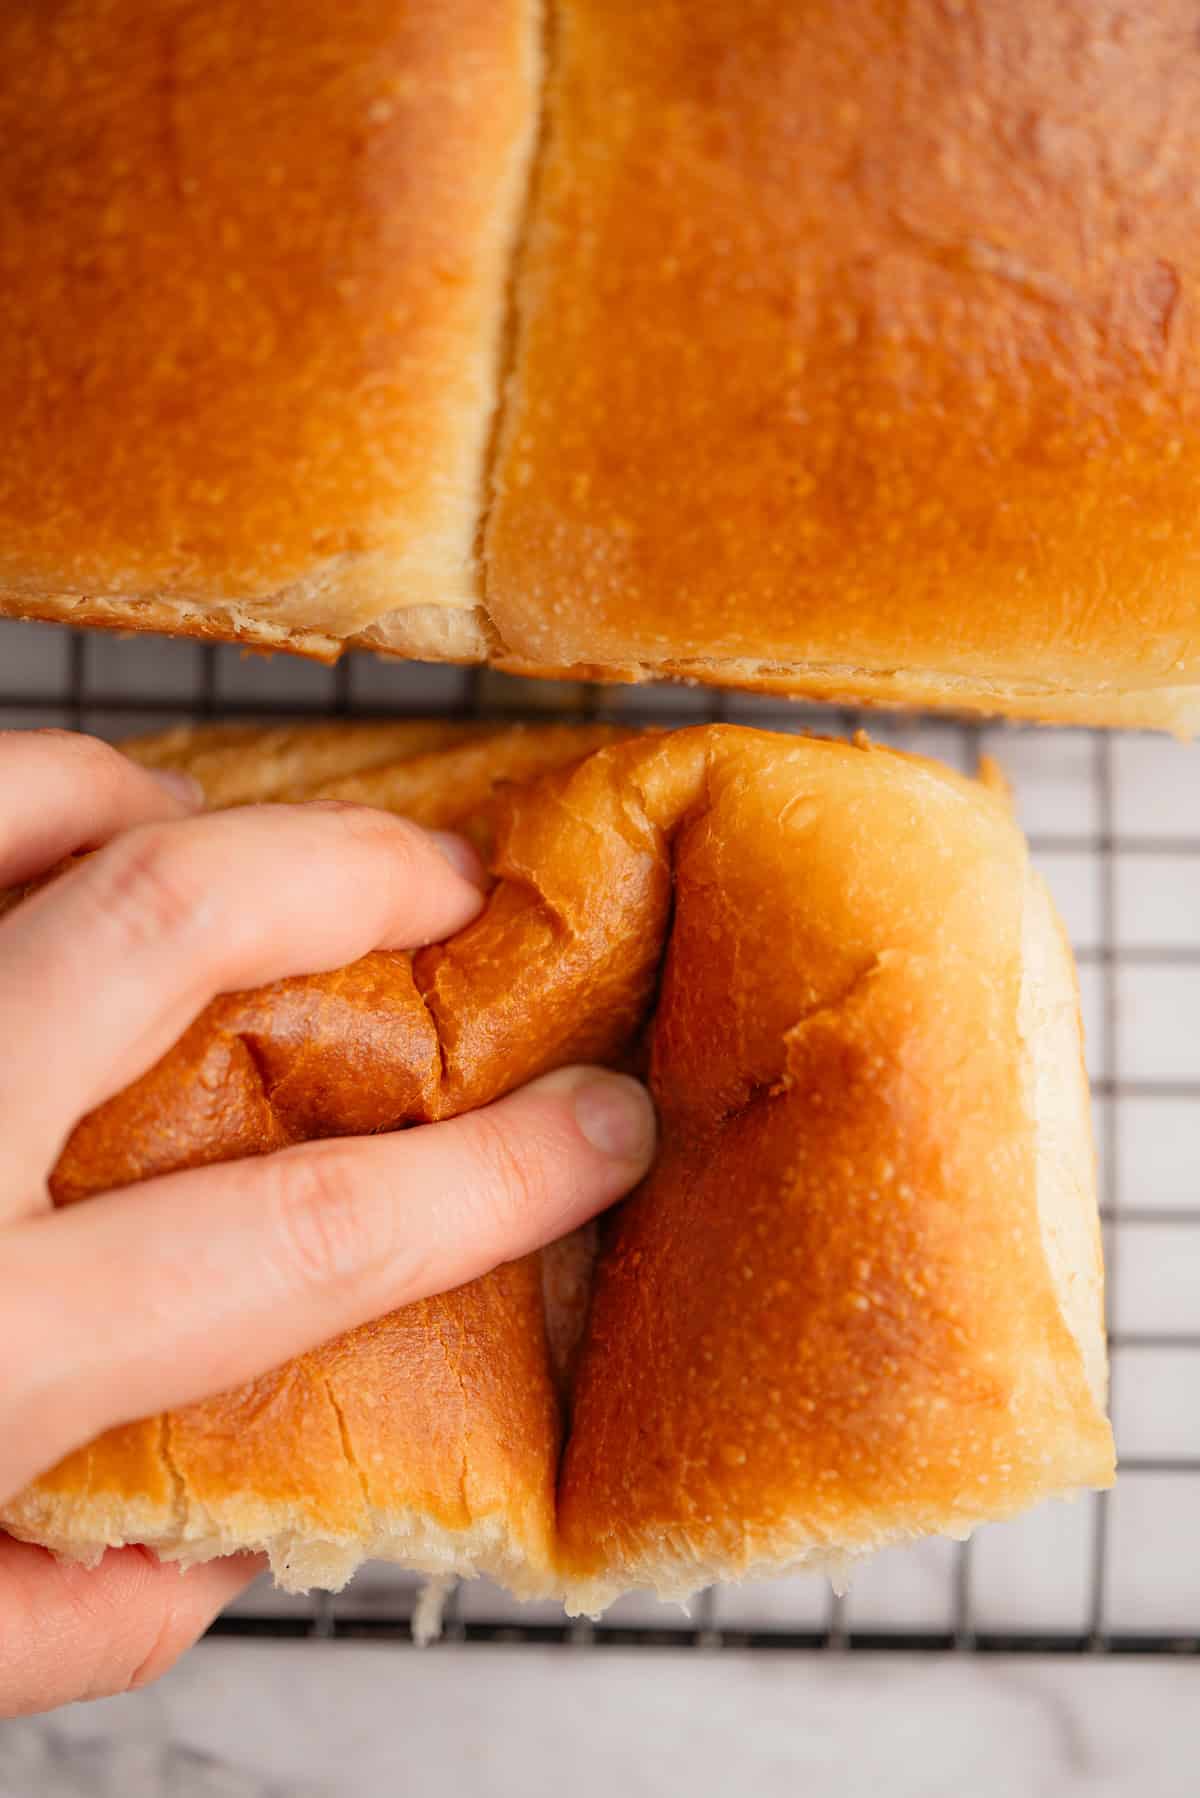
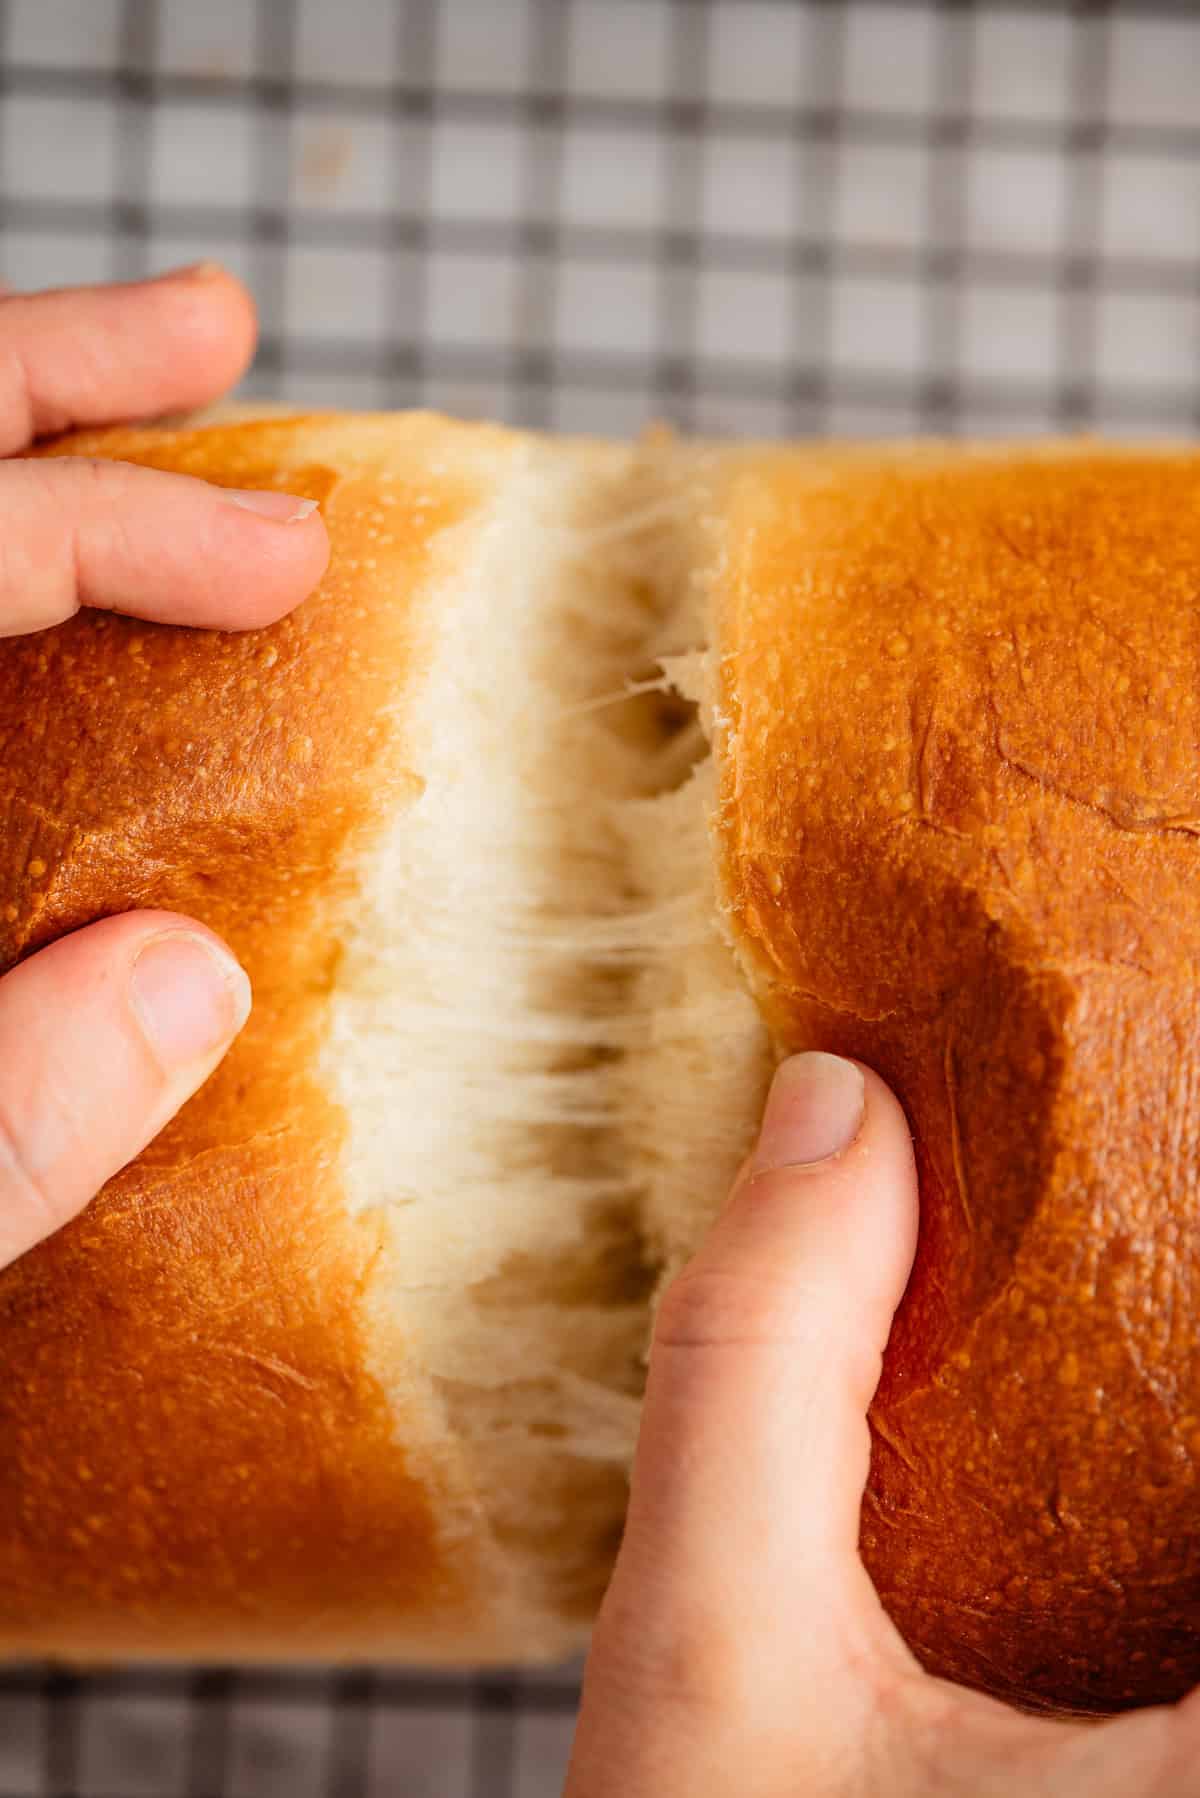
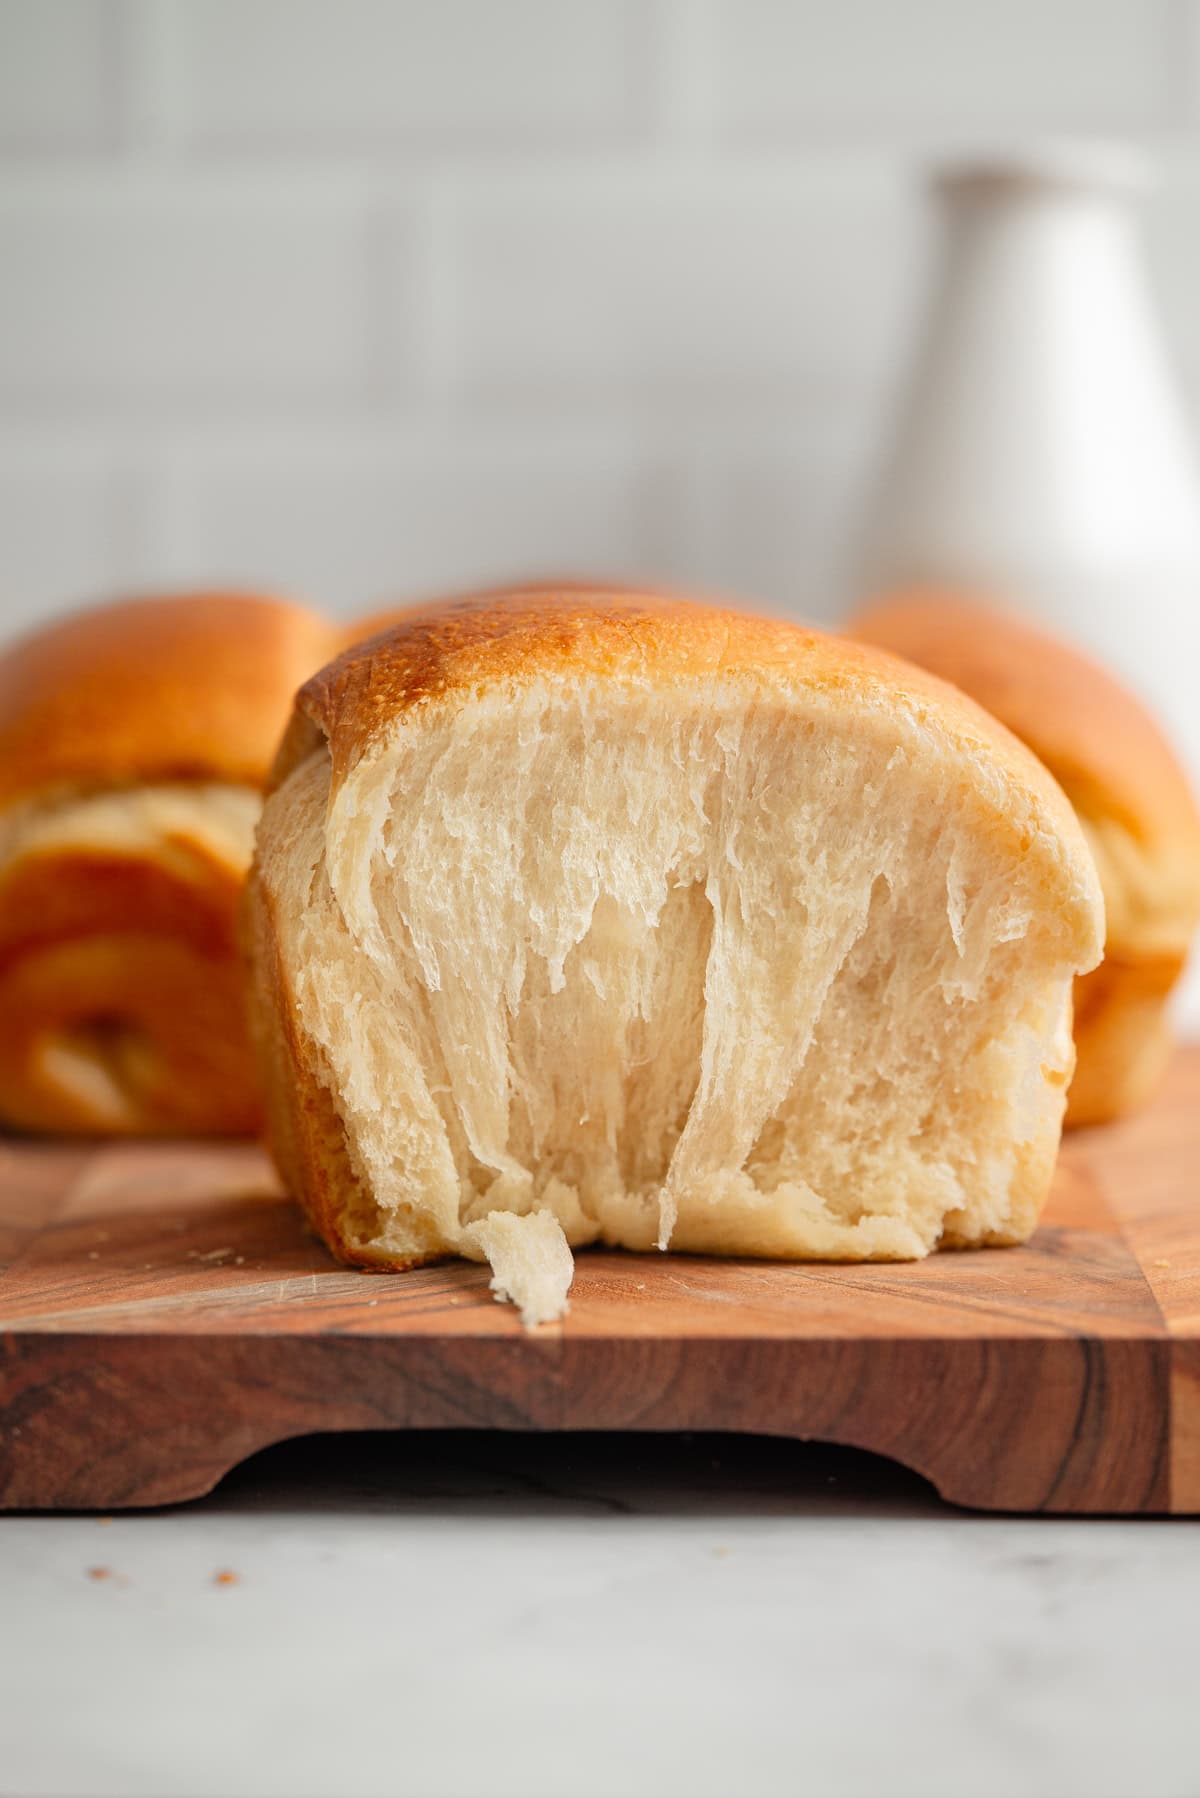
This sourdough milk bread is everything I love about soft enriched loaves. It is tender, slightly sweet, and incredibly fluffy. The dough uses a simple tangzhong paste for extra softness, and the long sourdough rise gives it a gentle flavour that stays fresh for days.

About this bread
This sourdough milk bread is the naturally leavened version of Japanese milk bread. It is soft, tender, and lightly sweet, with a fine crumb that stays fresh for days. The dough uses a simple tangzhong paste, where a small amount of flour is cooked with milk to form a thick gel. This lets the dough hold extra moisture without losing structure, which is what gives milk bread its signature softness.
Using sourdough starter adds a gentle tang and a slower, steadier rise. The timings in the baker schedule are flexible so you can fit the process around your day. The dough is enriched with egg, milk, and butter for flavour and a tender crumb. For the easiest results, make this dough with a stand mixer and dough hook. The dough is very sticky especially when the butter is worked in.
Ingredients
Find the exact ingredient amounts for this sourdough milk bread in the printable recipe card at the bottom of this post. Here is a rundown of what you will need.
Baker’s schedule
This is an example of the schedule I used. You can tweak it to fit your environment and timing.
- The night before – Feed sourdough starter
- 9 am next day – Make the tanghzong and let it cool.
- 9:15 am – Mix the dough
- 9:45 am – Bulk ferment at a warm room temperature for approximately 4 hours, then let it slightly firm up in the fridge for 30 minutes.
- 2 pm – Shape
- 2:30 pm – Rise at a warm room temperature until doubled in size.
- 6 pm – Bake.
Overnight option
After the first bulk fermentation has been completed and giving it the initial dough rise, the dough can be refrigerated overnight or up to 24 hours before shaping. This can give more flexibility in the timings but do bear in mind that the longer fermentation time will increase the sourdough tang.
Equipment
- Stand mixer. For the easiest results, use a stand mixer fitted with a dough hook. The dough is very sticky especially when the butter is worked in.
- Two 9×5 inch loaf pans.
Method
- Make your levain the night before so it is ready in the morning.
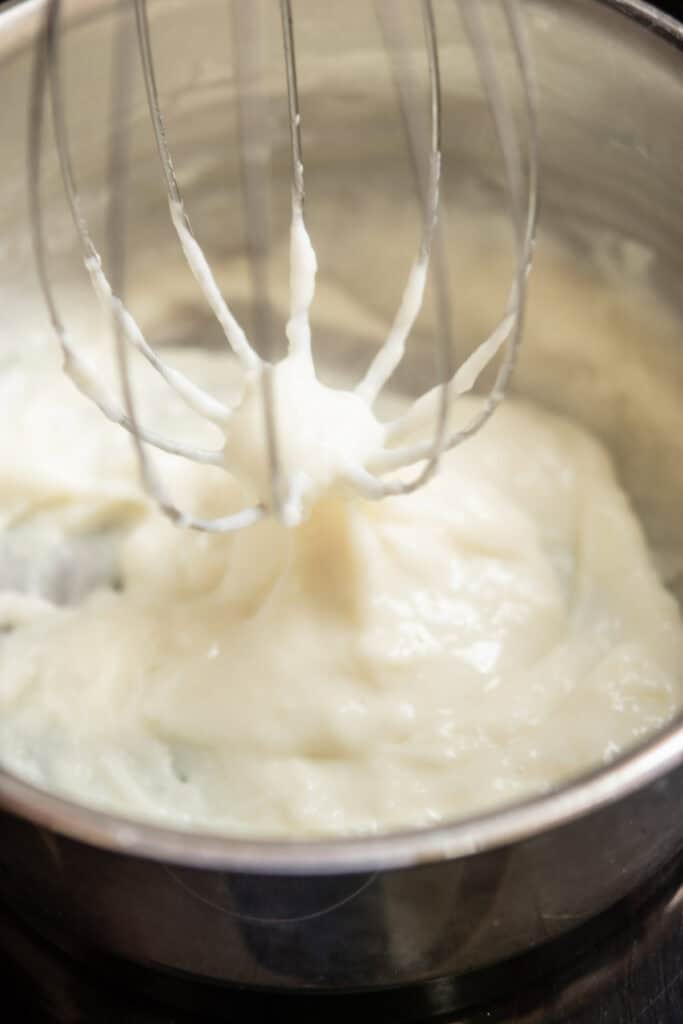
- Tangzhong: Whisk flour and milk together over low to medium heat until it thickens into a smooth paste.
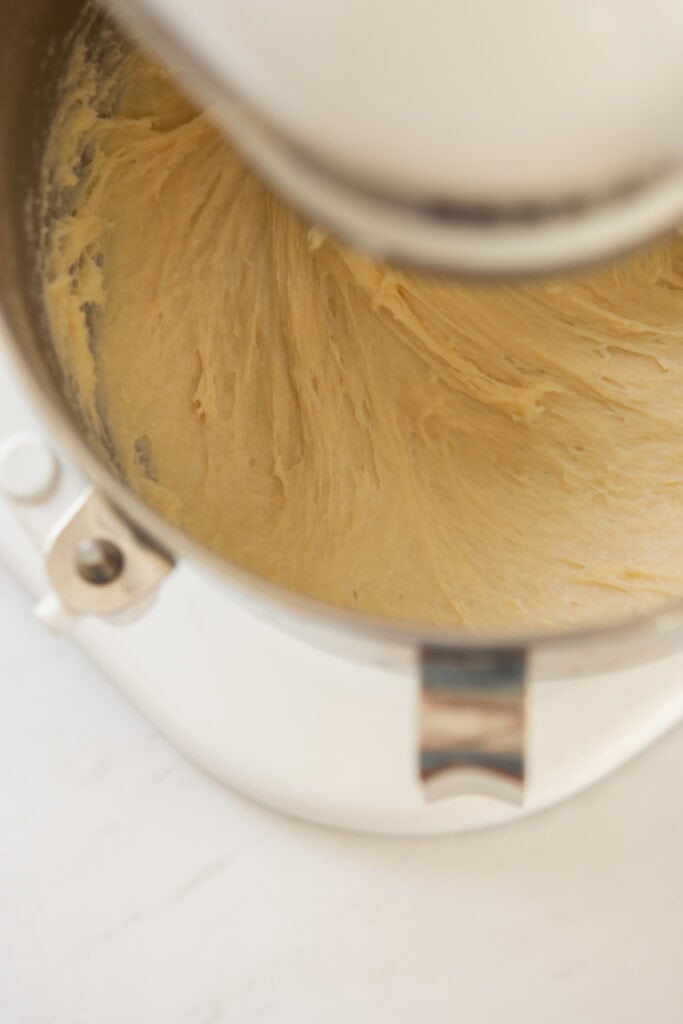
- Let it cool then add to a bowl with the rest of the dough ingredients except the butter. Mix for 5 minutes.
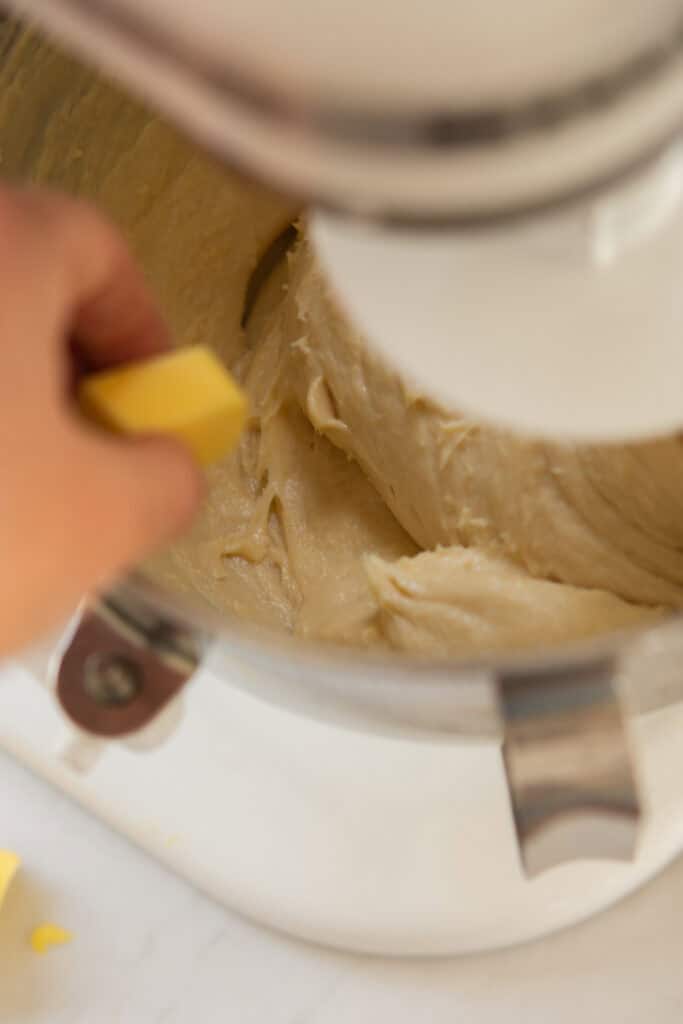
- Add in the butter a few cubes at a time
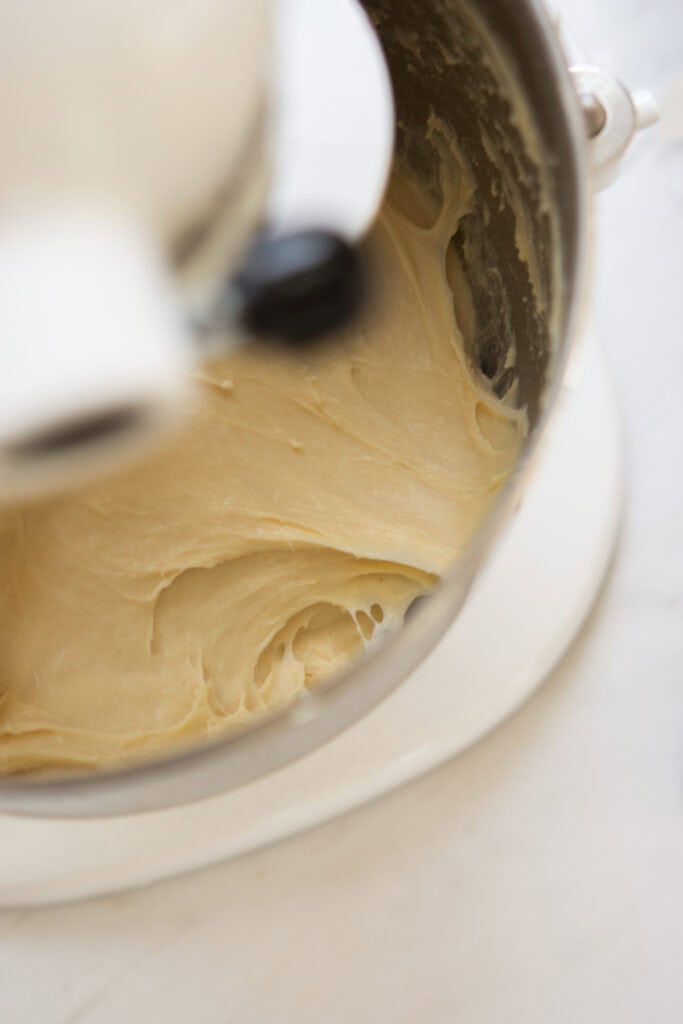
- Continue kneading for a further 10-12 minutes until the dough is strong and pulls away from the sides of the bowl.

Dough strength test: Let the dough rest for 5 minutes, then break off a piece and see if it can stretch out really thin without tearing. This is called the windowpane test and is a good way to see that the gluten has developed enough.
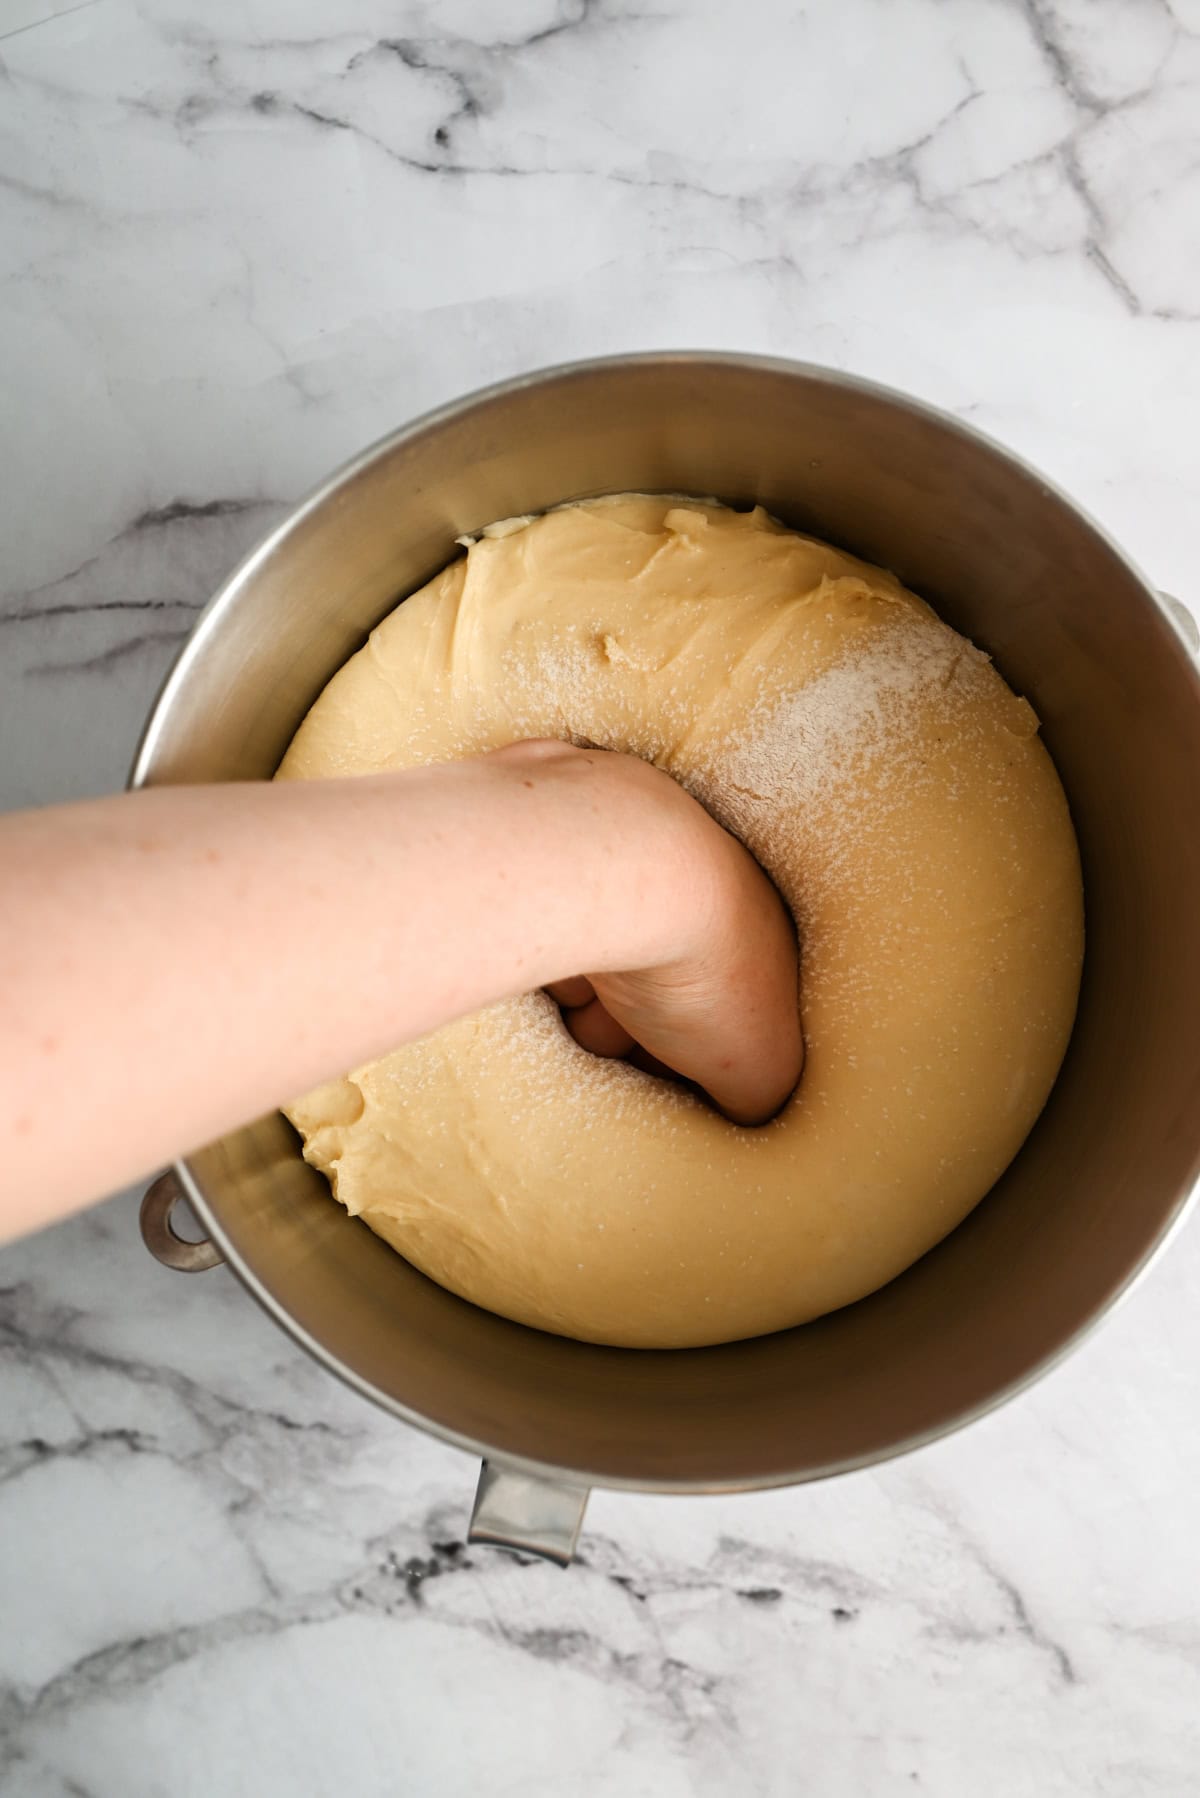
- Let the dough rise until almost doubled in size.
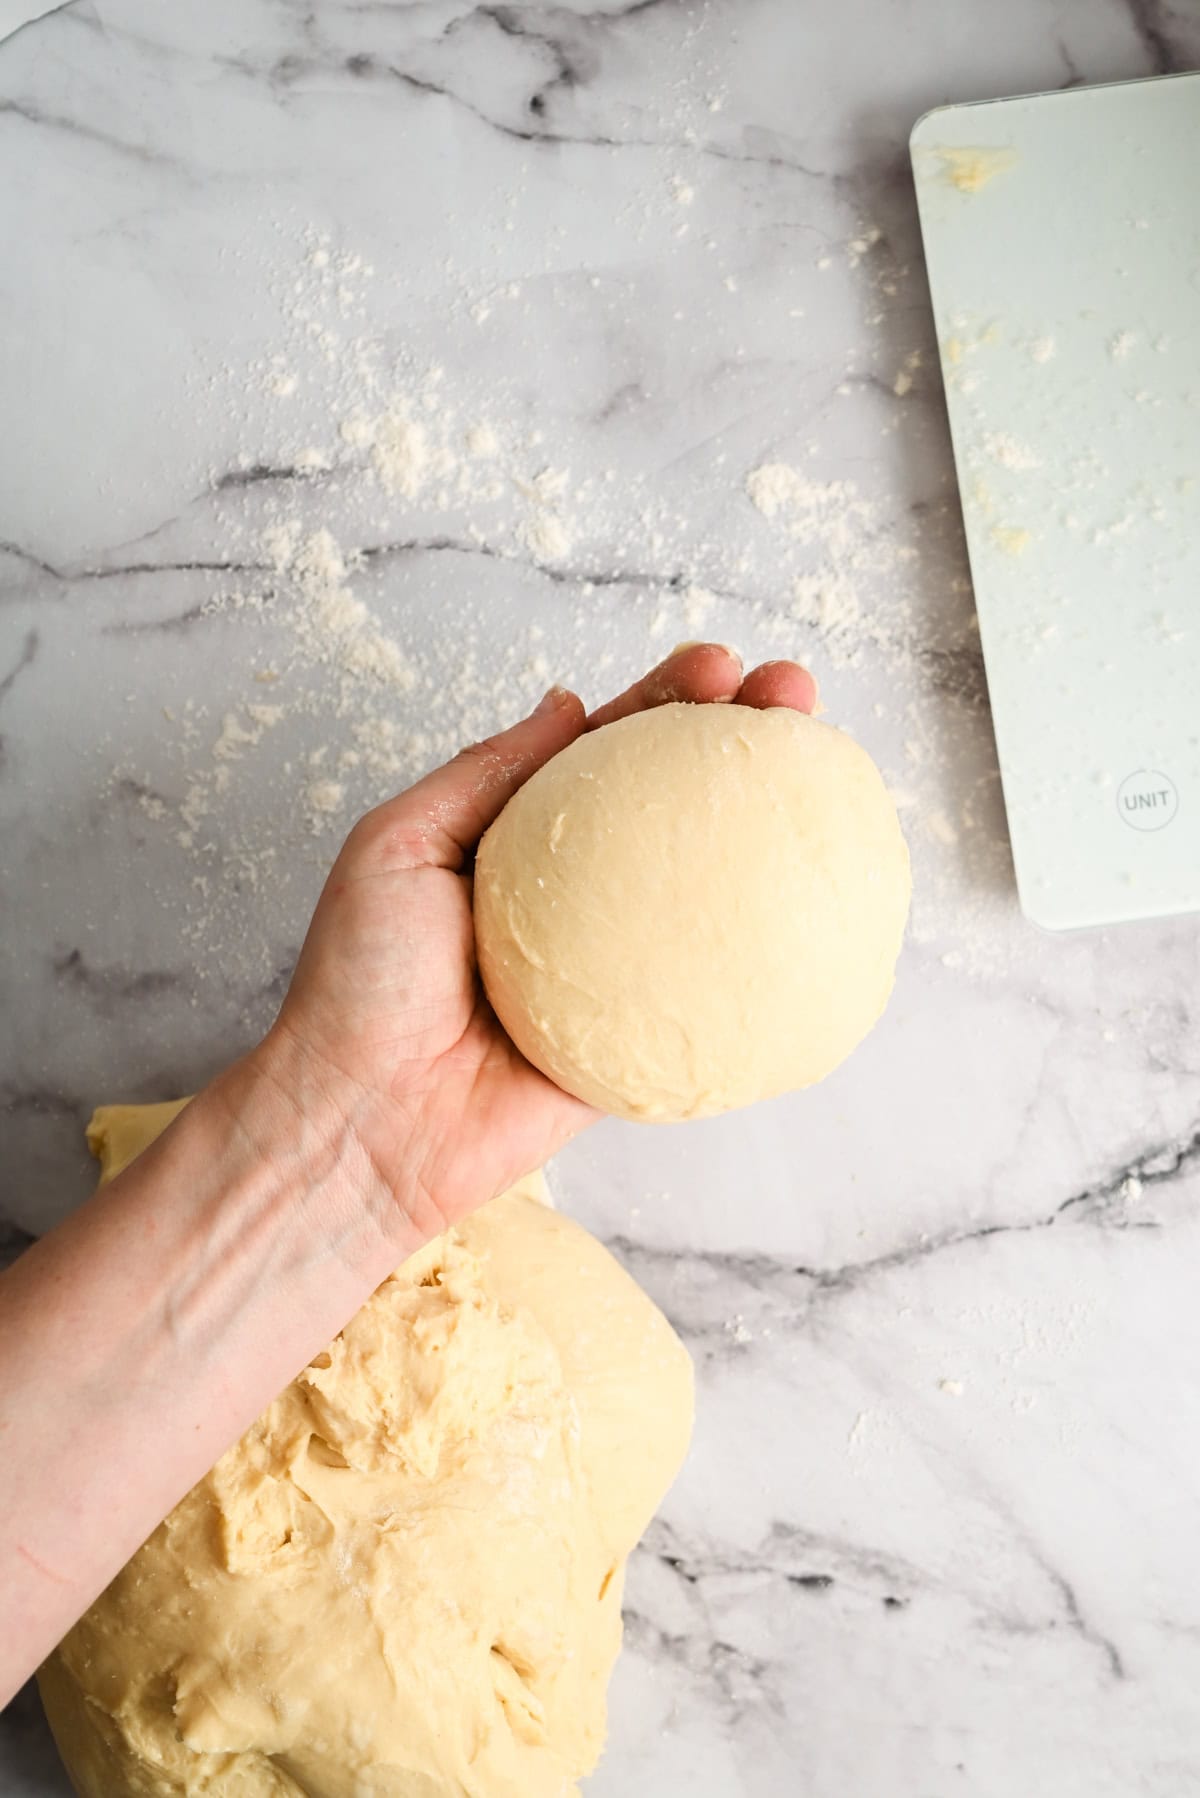
- Divide into equal pieces and shape into rounds.
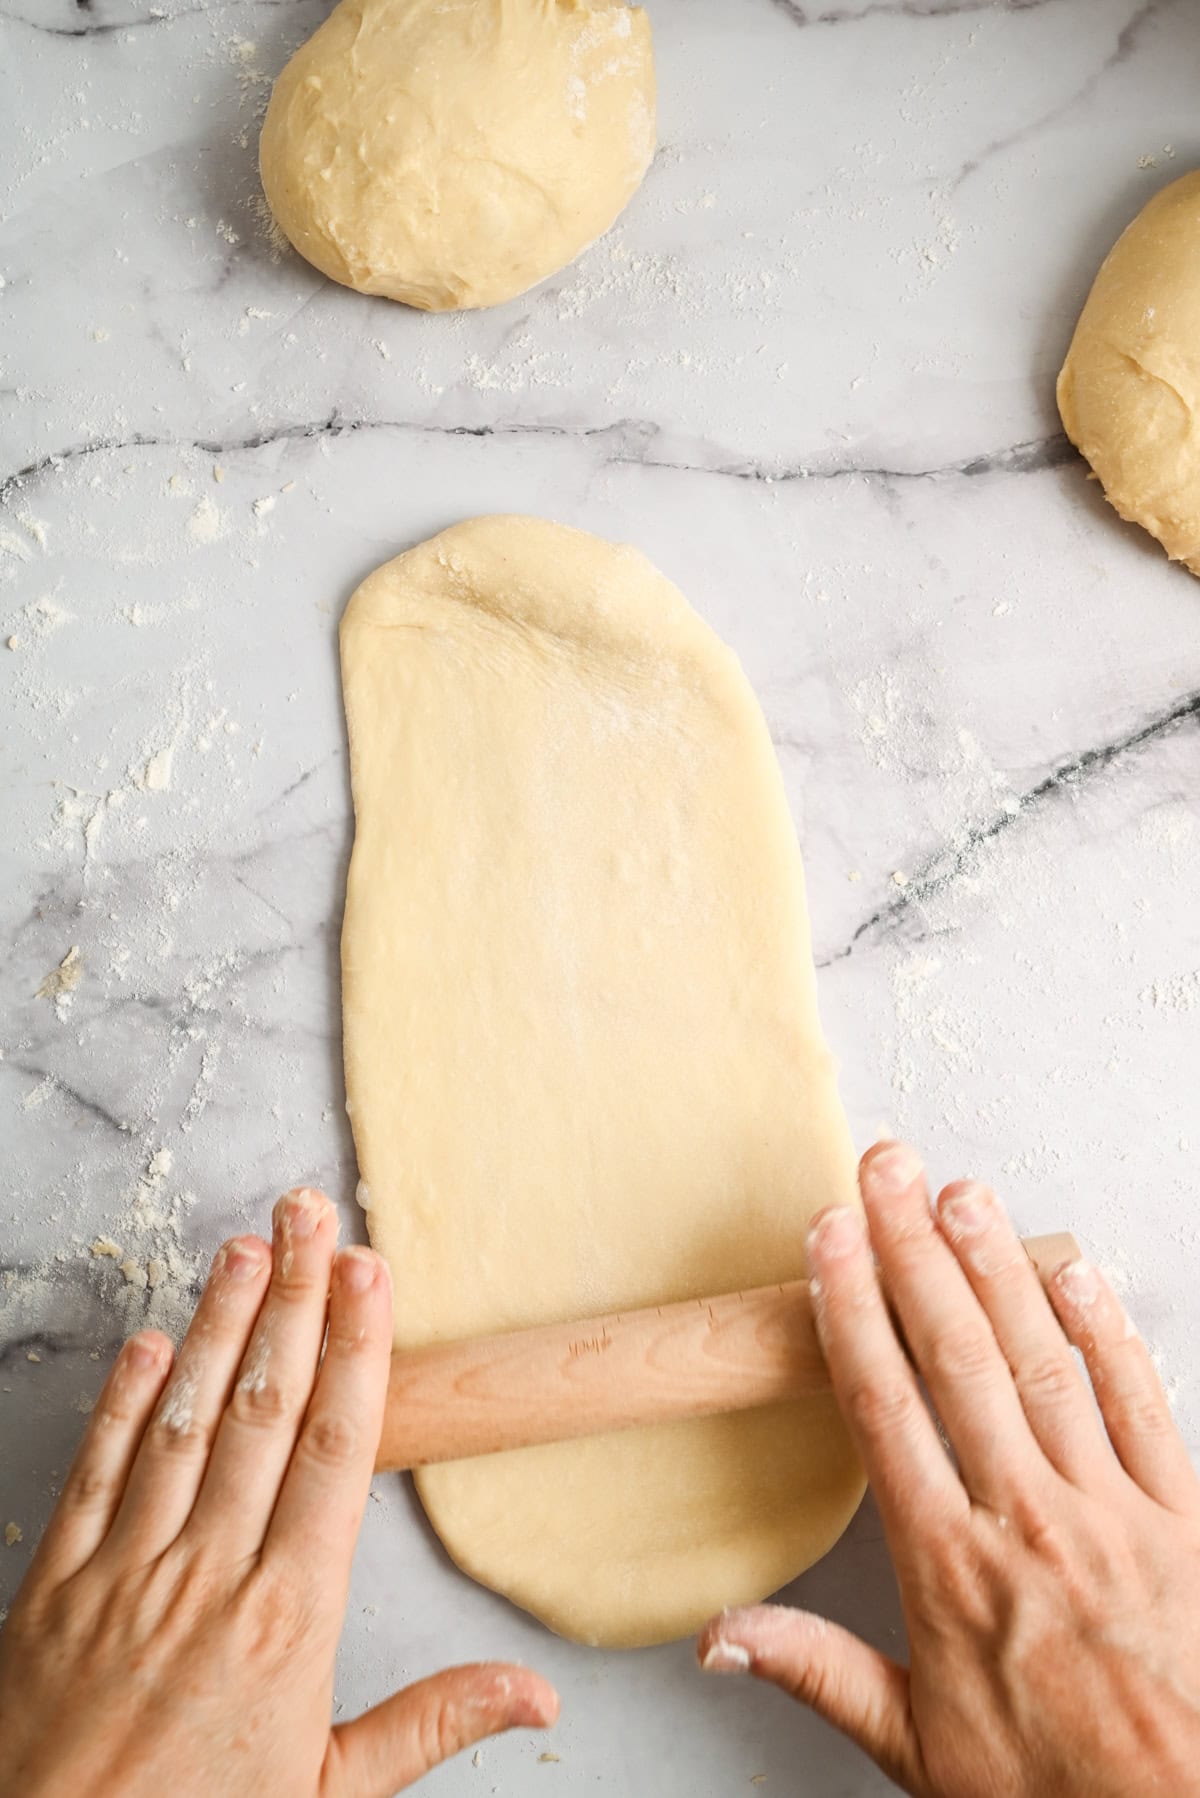
- Use a rolling pin to roll a dough round out into a long oval about 30 cm/ 11 inches long.
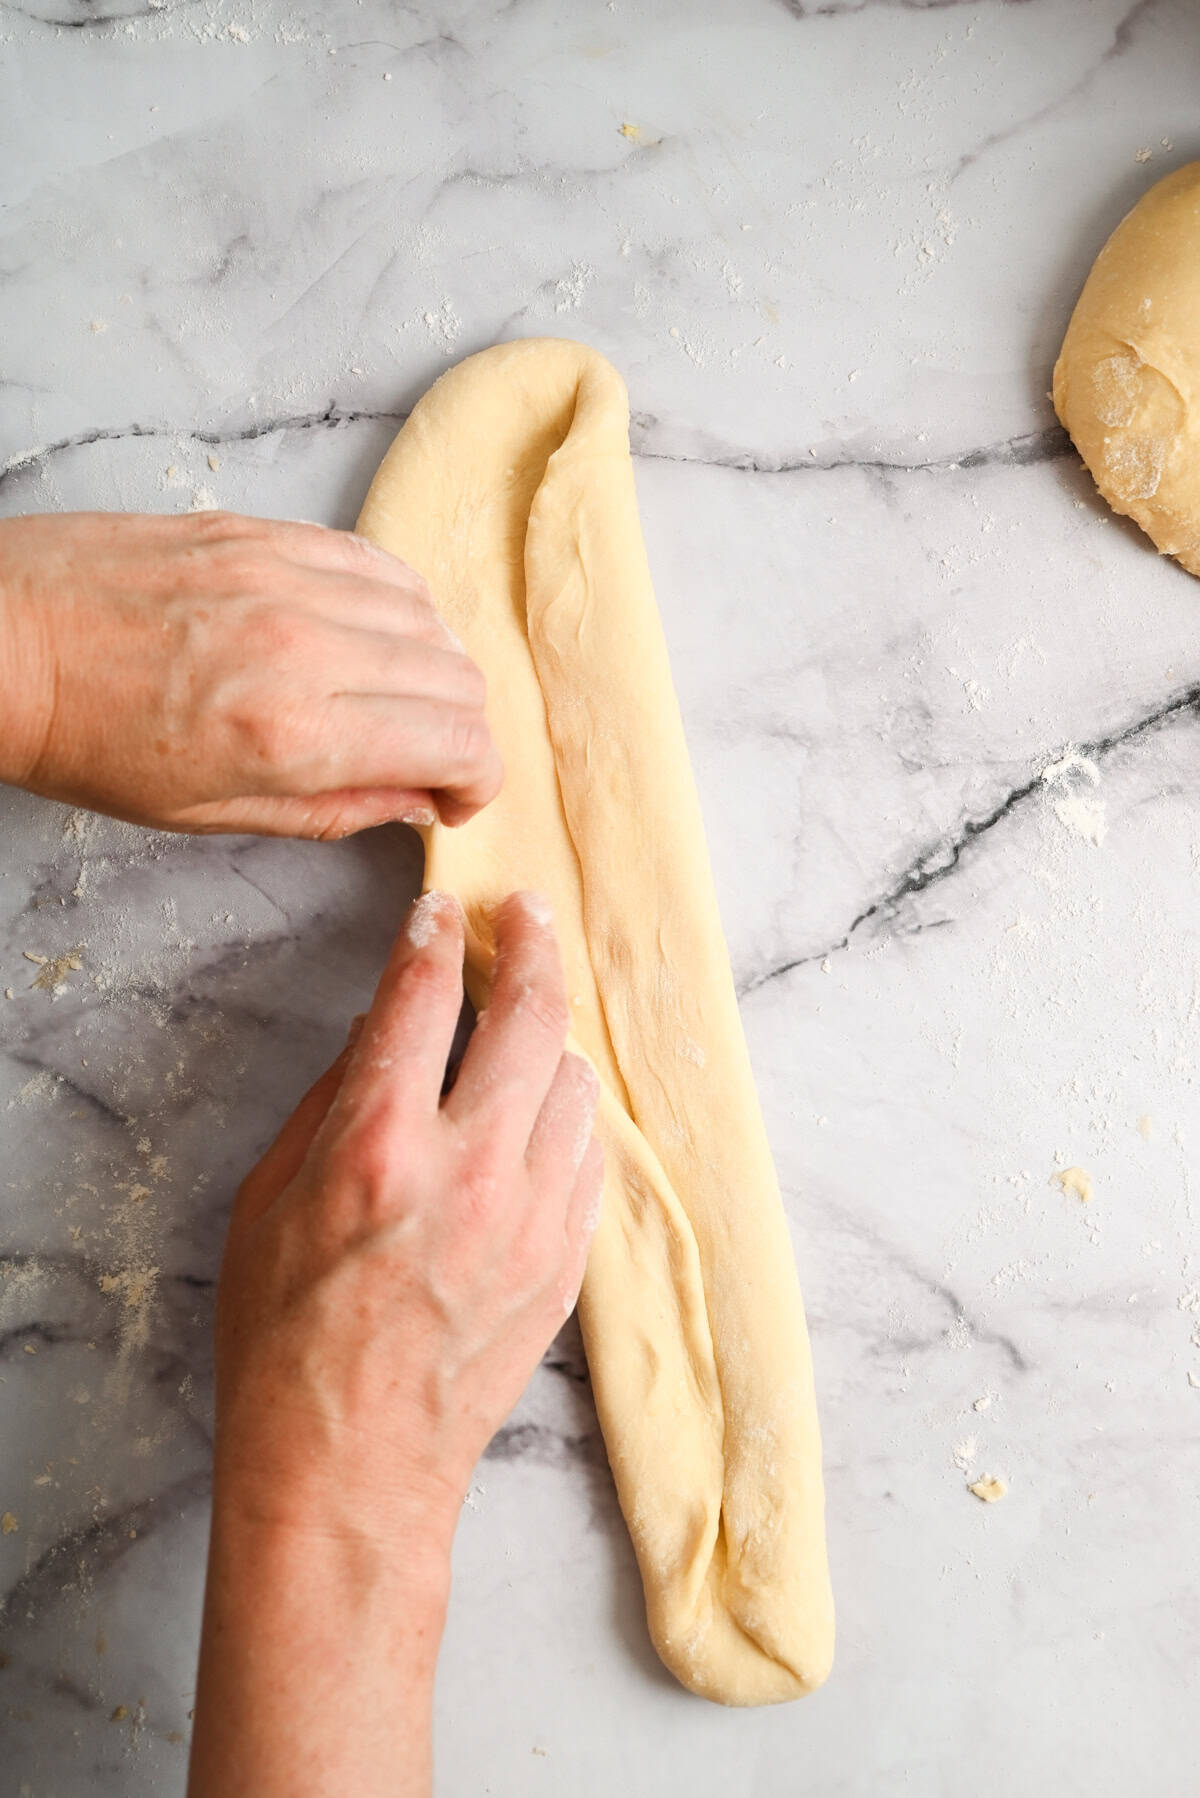
- Fold the long sides of the dough into the centre to make a neat rectangle.
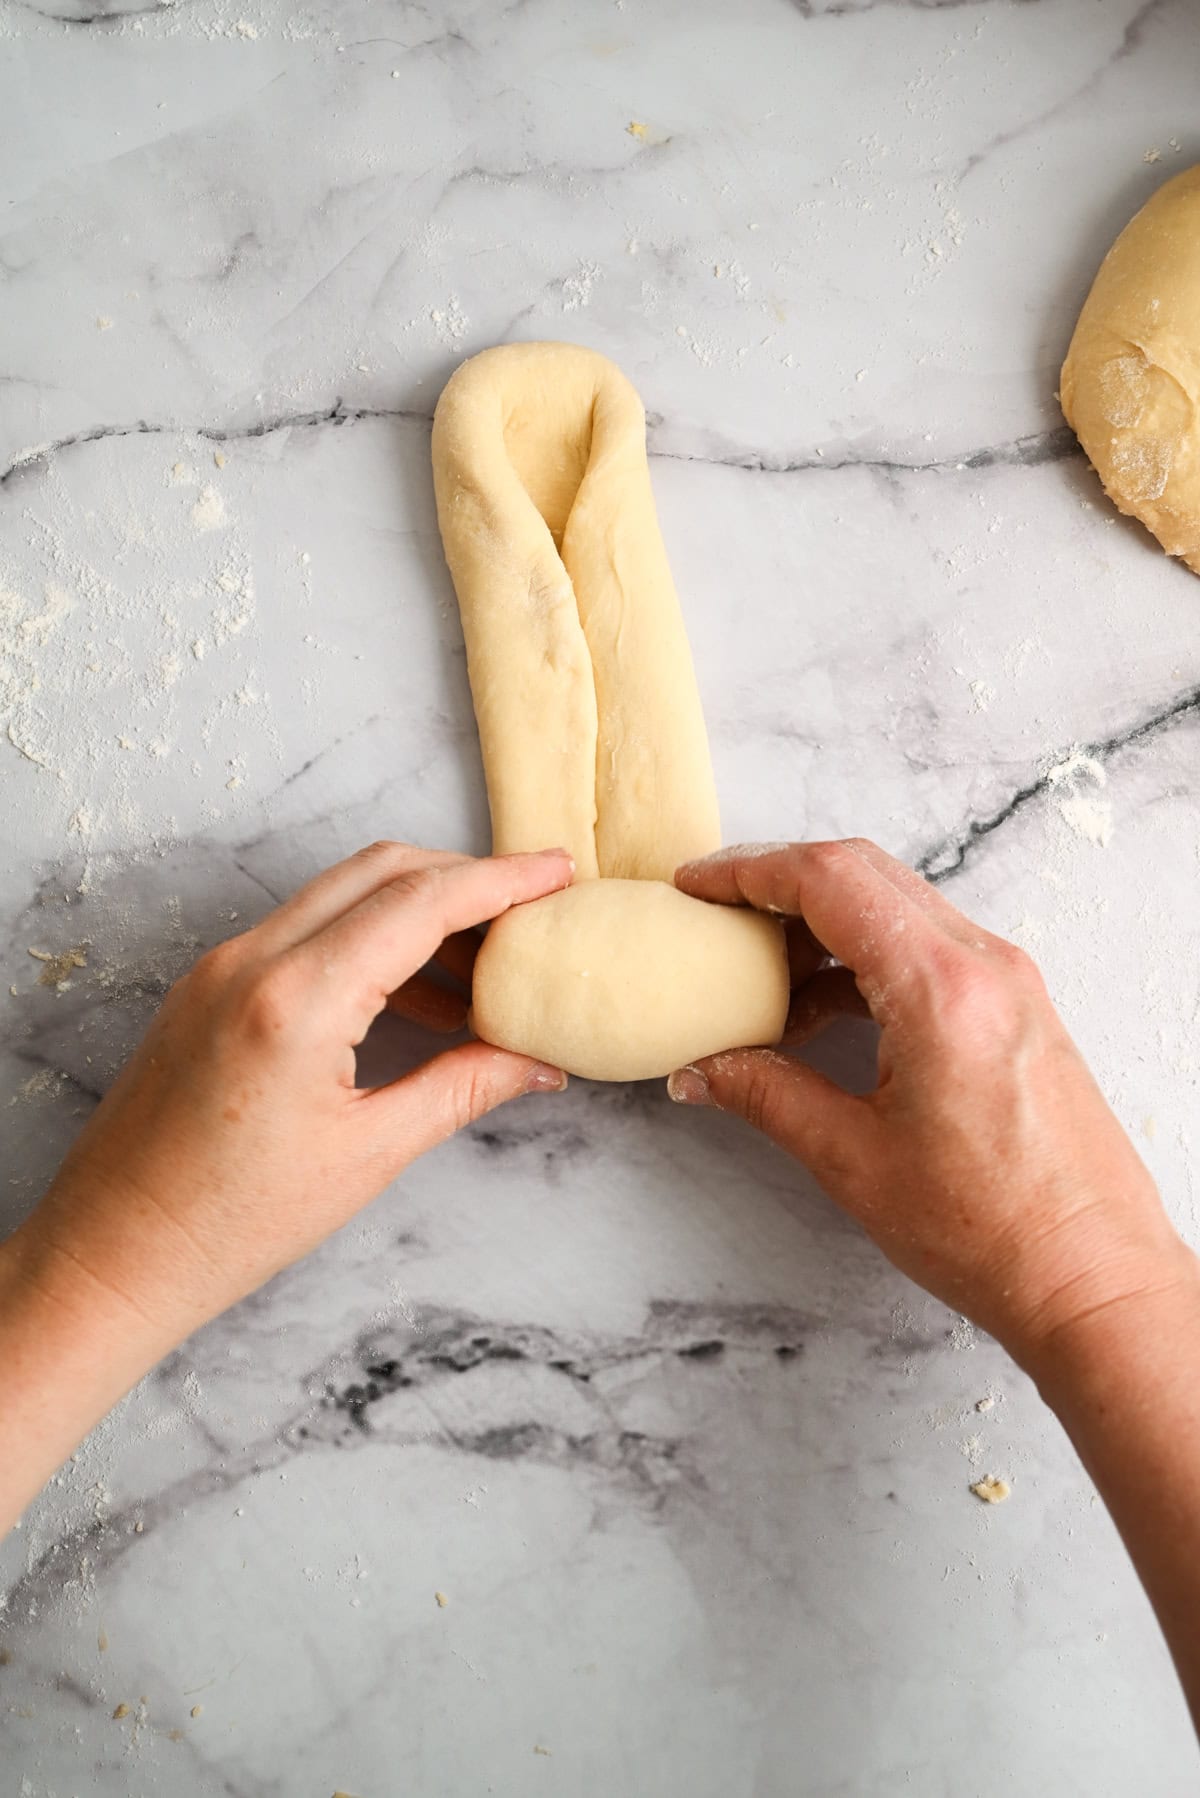
- Start rolling the dough up from the short end, keeping the roll snug and even.
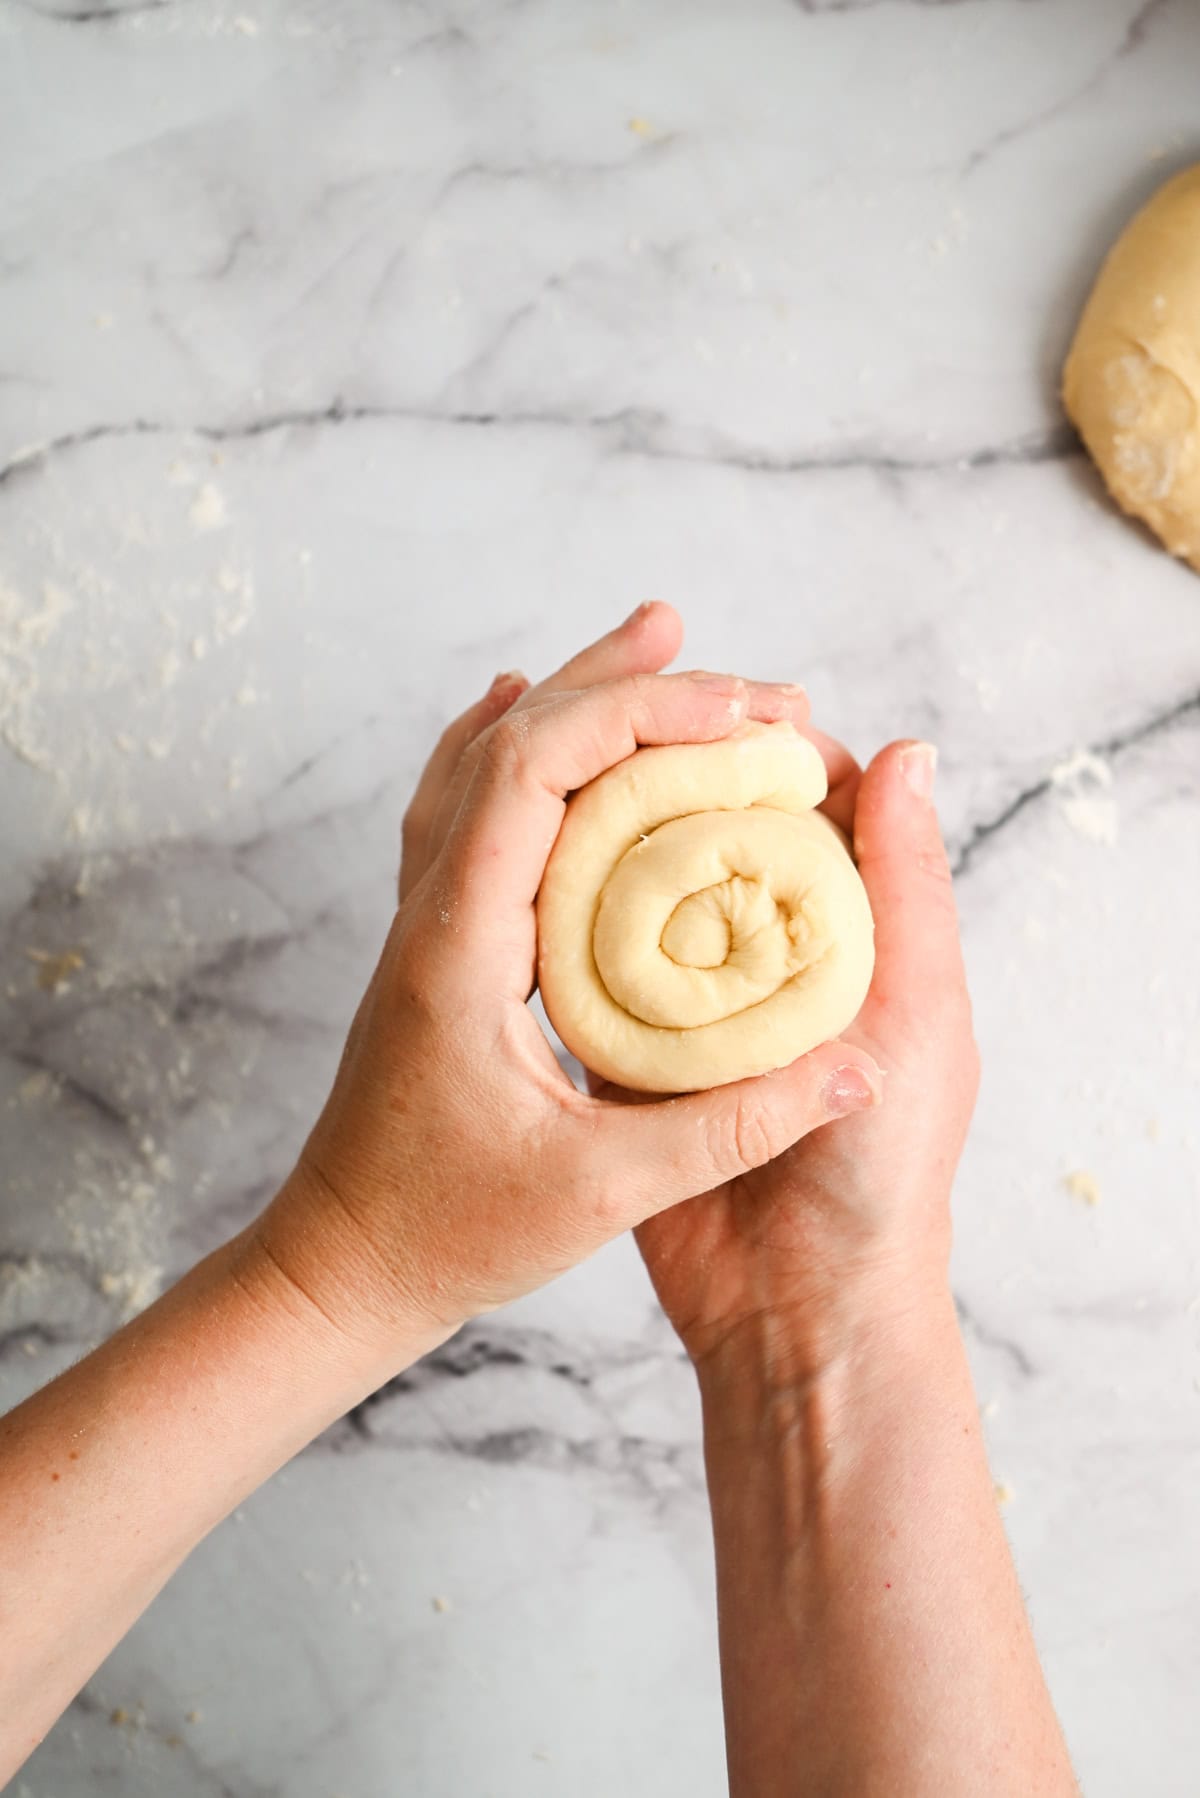
- Finish rolling the dough into a compact log and pinch the seam closed
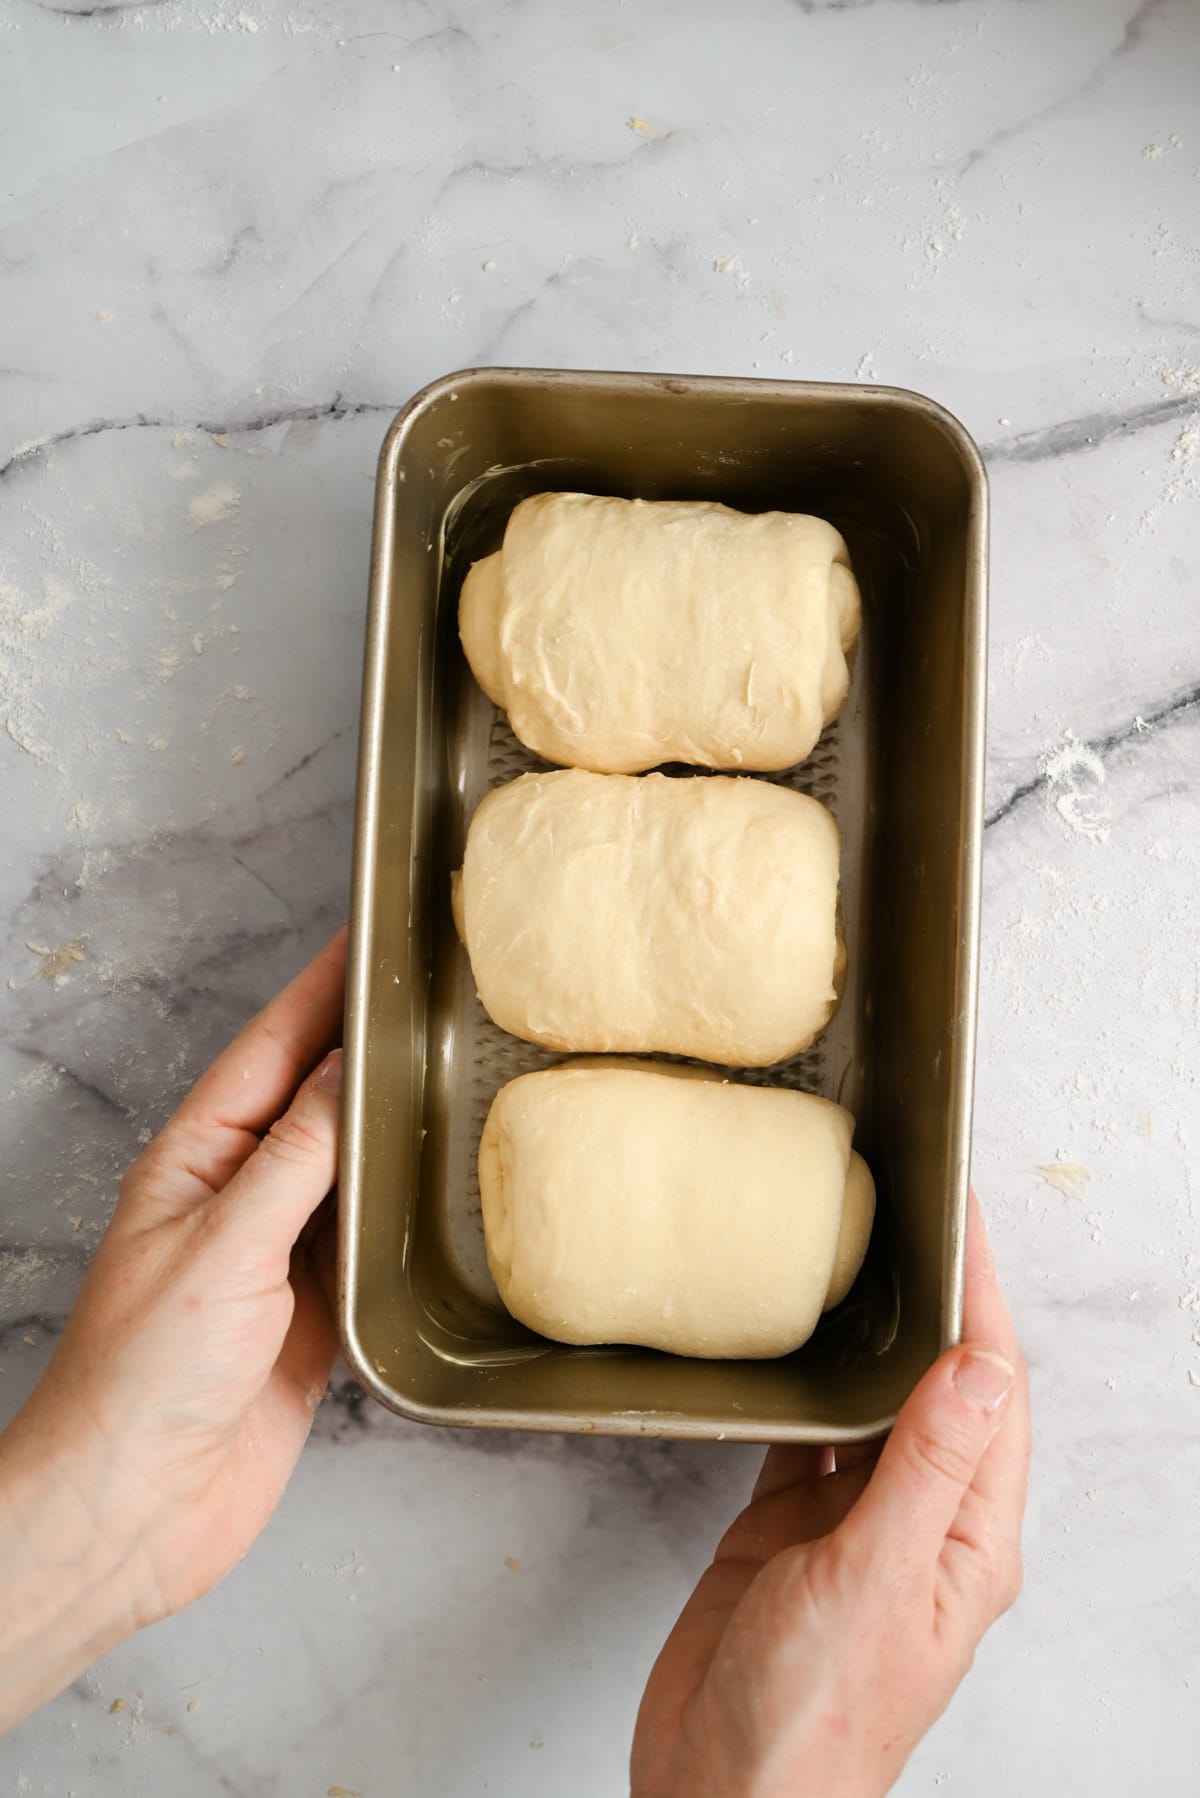
- Place shaped logs seam side down in a greased loaf pan.
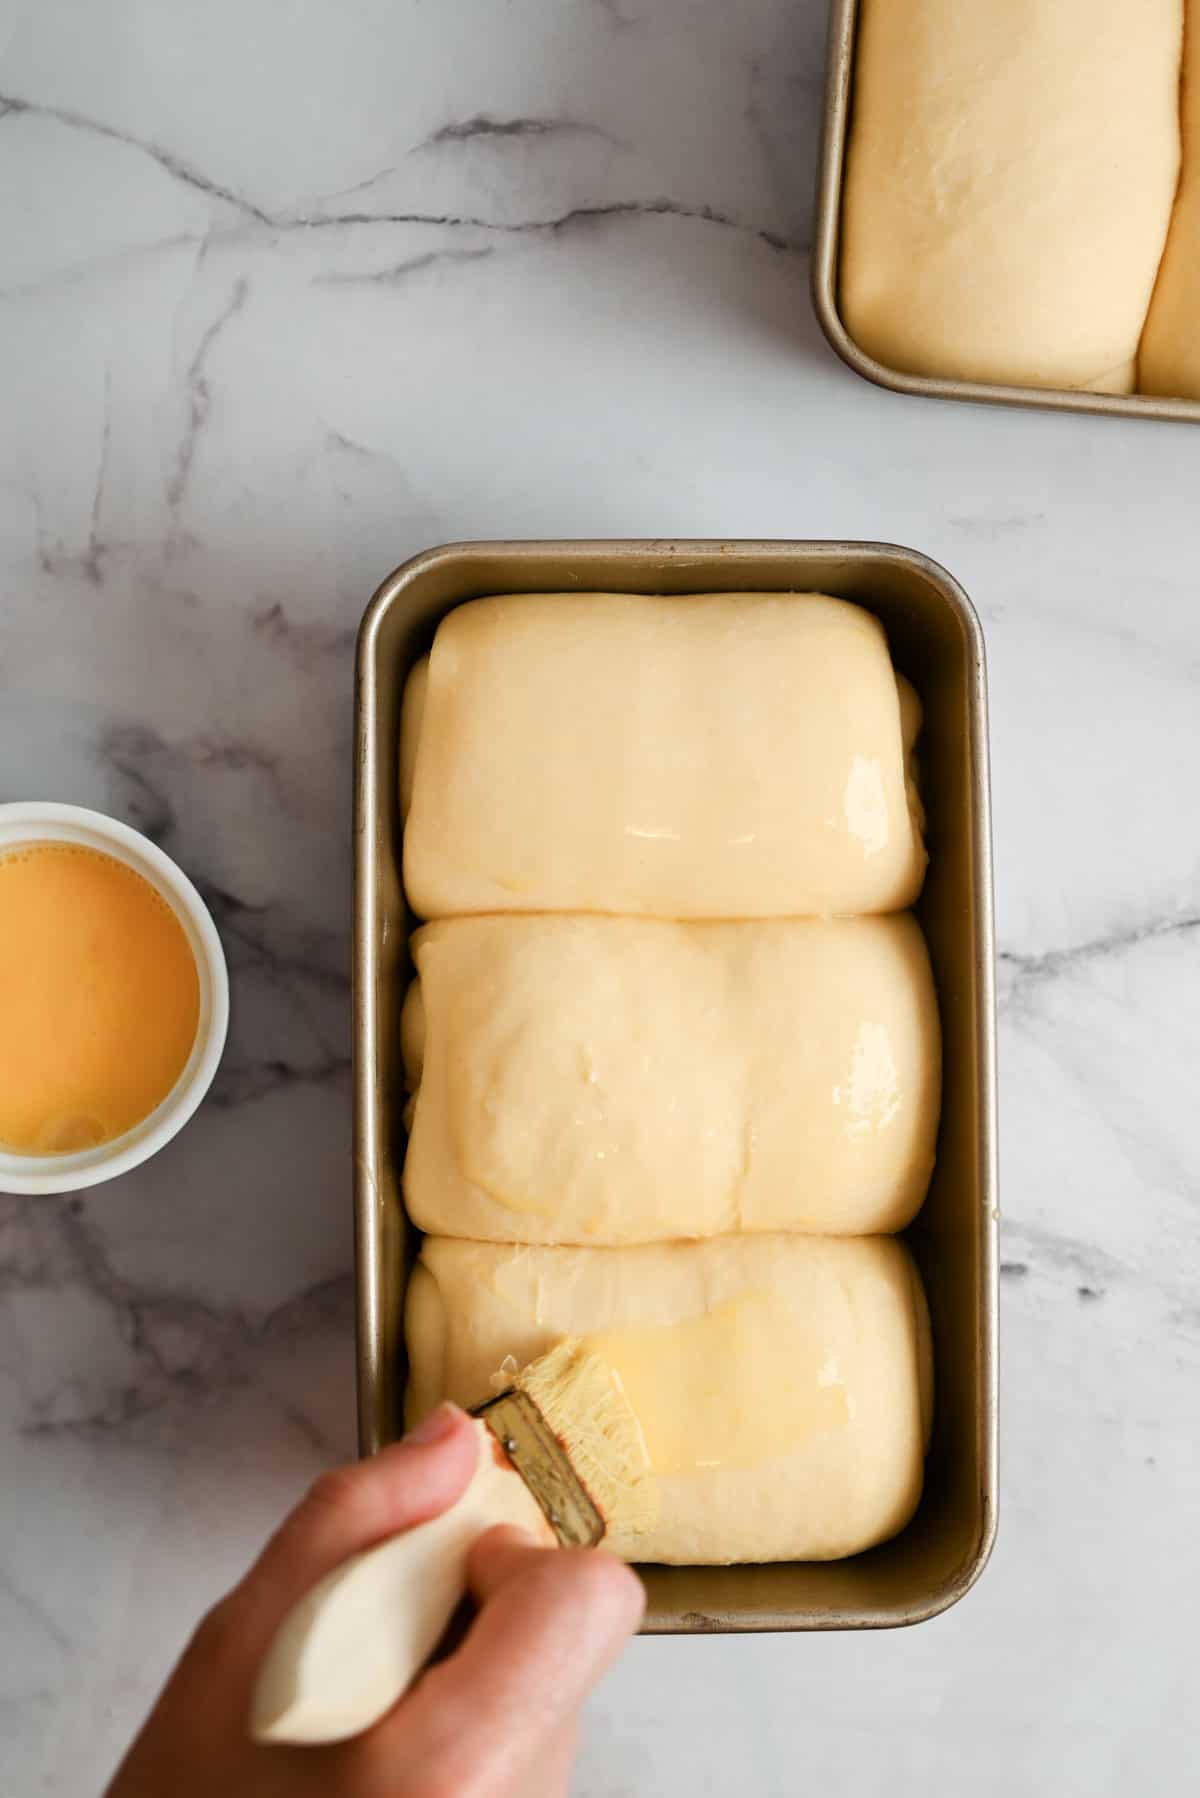
- Let them rise until doubled in size, then brush with egg wash before baking.
Tips
- Enriched dough ferments more slowly than lean dough so watch the dough and not the clock. The dough should rise by about half during the first rise and feel lighter and softer to the touch.
- A slightly warm environment helps keep fermentation moving. A switched off oven with a cup of boiled water works well as a warm proofing spot.
- A short chill after bulk rise gives cleaner shaping.
- Roll the dough into a short oval rather than a long one. This keeps the logs the right size for the tin.
- If the top colours too fast cover it with foil near the end of baking.
- Fully baked milk bread reaches about 94 C inside, but you can also judge by colour and how it sounds when tapped. It should sound hollow.
Storing
Store leftover bread in an airtight container, or tightly wrapped, at room temperature for up to a week. Leftover milk bread makes amazing French toast!
The bread can also be frozen for long-term storage, up to 3 months.
More sourdough recipes

Sourdough Milk Bread
Ingredients
Levain
- 70 g bread flour
- 70 g water
- 20 g sourdough starter
Tangzhong
- 48 g bread flour
- 240 g whole milk
Dough
- 600 g bread flour
- 200 g whole milk
- 70 g granulated sugar
- 24 g milk powder optional
- 2 large eggs
- 12 g salt
- all the levain from above approx. 140 g active sourdough starter
- 70 g unsalted butter room temperature
Egg wash
- 1 large egg
- 1 Tbsp water
Instructions
Make the levain
- Mix the flour, water, and starter in a small jar. Cover and leave at room temperature to rise overnight until doubled and bubbly. 70 g bread flour, 70 g water, 20 g sourdough starter
Make the tangzhong
- Whisk the flour and milk together in a small saucepan. Cook over low-medium heat, stirring, until it thickens into a smooth paste. 48 g bread flour, 240 g whole milk
- Scrape it into the mixer bowl and let it cool.
Mix the dough
- Add the flour, cold milk, sugar, milk powder, eggs, salt, and the ripe levain to the tangzhong. Mix to form a shaggy dough. Increase the speed and knead for 5 minutes until smoother. 600 g bread flour, 200 g whole milk, 70 g granulated sugar, 24 g milk powder, 2 large eggs, 12 g salt, all the levain from above
- Add the softened butter in small pieces and knead for around 12-15 minutes until the dough is glossy and elastic and pulling away from the sides of the bowl. 70 g unsalted butter
- Dough strength test: Let the dough rest for 5 minutes, then break off a piece and see if it can stretch out really thin without tearing. This is called the windowpane test and is a good way to see that the gluten has developed enough.
Bulk rise
- Place the dough in a lightly oiled bowl and let it rise in a warm spot, ideally at 24°C to 26°C / 75°F to 79°F until it has increased by about half. It should feel lighter and puffier. If your room is cold you can create a warm space in a switched off oven with a mug of boiled water in there too. Replace the mug when it cools to keep the space warm and humid but never hot enough to melt the butter. This can take 3-5 hours depending on temperature.
- Chill the dough for around 20 minutes so it is easier to shape.
Shape
- Grease or line two 9×5 inch loaf pans.
- Deflate the dough and pull it onto a floured workspace. Weigh it and divide it into 6 equal pieces. Shape each one into a smooth ball and let them rest for ten minutes.
- Roll each ball into a long oval about 30 cm / 11 inches long. Fold the long sides into the centre, then roll it up from the short end into a neat log. Pinch the seam closed. Place the logs seam side down into a loaf pan, 3 per pan.
Final rise
- Let the logs rise until puffy and doubled in size. Keep them somewhere warm but not too hot, at around 24°C to 26°C / 75°F to 79°F. They should look soft and full and touching. This can take 3-5 hours depending on temperature.
Bake
- Heat the oven to 180°C/ 350°F.
- Mix together the egg and water. Use a pastry brush to brush the tops of the loaves with egg wash. 1 large egg, 1 Tbsp water
- Bake for around 35 minutes until they are deeply golden and sounds hollow when tapped. Remove from the pans and cool completely before slicing.





Hello, what should I do if my bread is not pulling away after 15 minutes of kneading?
Hey, I would let it rest for a few minutes and then try the window pane test.Sometimes they won’t pull away cleanly depending on the bowl size or dough amount, so the window pane is the fairest test 🙂
This bread was 10/10!! I ended up using half of it to make cinnamon rolls and *chef’s kiss*
Make this!!
Thank you so much!! So happy you loved it!
Hi – do you bake your bread with a lid on the loaf pan or without? Thank you!
Hey I bake mine without a lid 🙂
Hey there, what should I do if I kneaded the dough for the 10-12 minutes and it’s still not pulling away from the sides?
Sorry I’m still learning
Hi Stephen,when this recipe was written as a single loaf, the dough amount was quite small, so it can be a bit hard to tell if it was pulling away from the sides of the bowl. The windowpane test is a much better way to check if the dough has enough strength. I have since updated the recipe to make two loaves, which gives you a bigger dough batch and makes it much easier to see the dough clean the bowl as it kneads.:)
can you use 3 smaller silicone bread pans instead of on regular pan, or will it not cook correctly?
Hey Darlene, you could give that a go and adjust the cooking time 🙂
My husband and I managed to let our first loaf of this bread cool completely before slicing into it. This recipe made the biggest, puffiest, soft, pillowy loaf of bread we have ever had the pleasure of eating! We quit buying bread from the grocery store quite sometime ago but, after making this bread, we will never buy bread from the store ever again! This was probably the best loaf of bread we have ever made and we thank you from the bottom of our bread box for sharing this recipe with us! God bless you and yours!
Ah yay thank you so much for this feedback!! So happy you loved it!