Basic Sourdough Sweet Dough
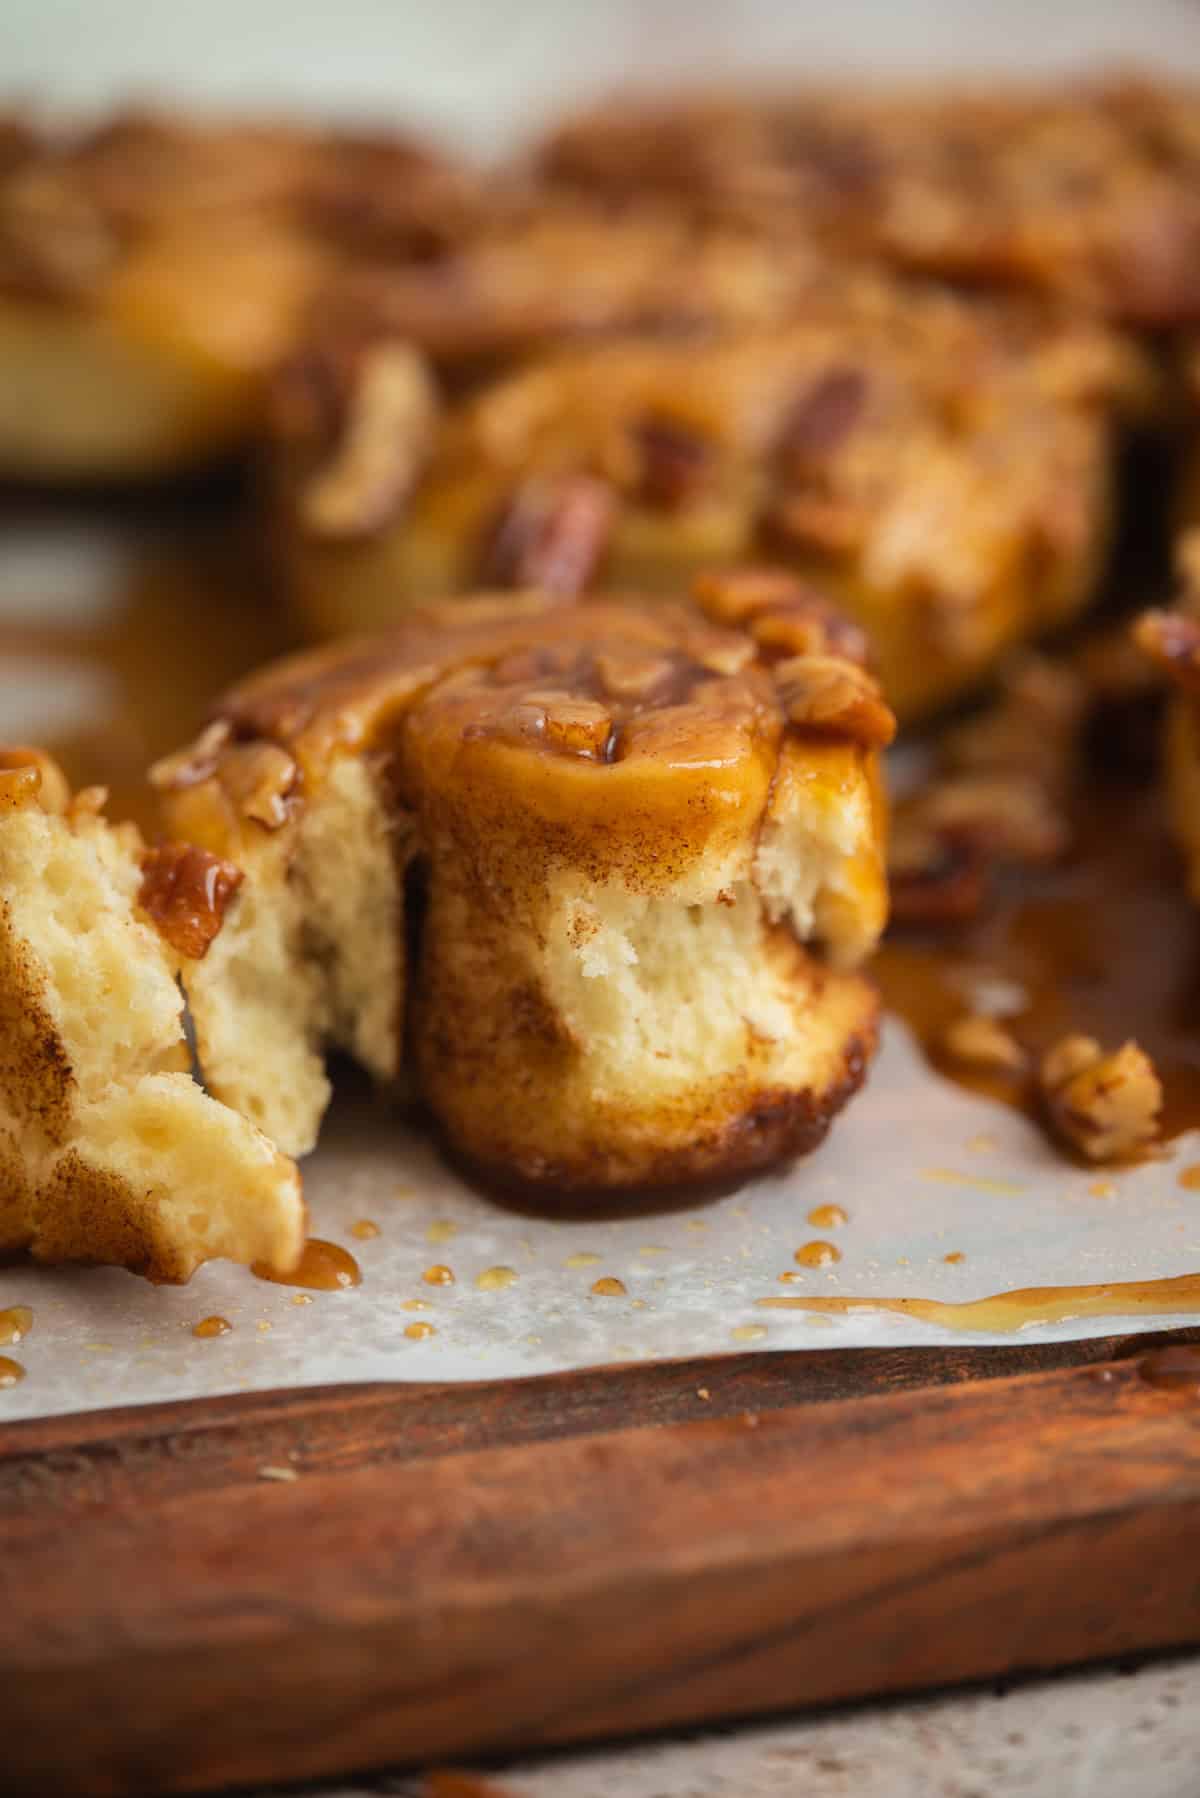
This basic sourdough sweet dough is soft, lightly enriched, and versatile. It is designed to be strong enough for shaping, rolling, and filling, while staying tender once baked or fried. The flavour is mild and balanced, with gentle sourdough depth.
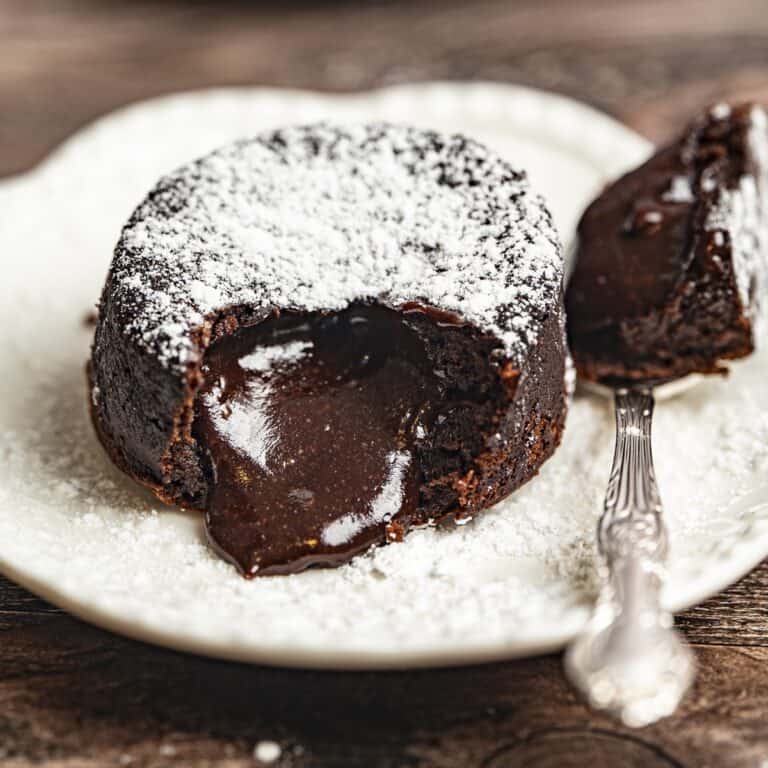
This is the dough I use as the base for lots of sweet bakes on this blog, including sourdough doughnuts, sticky buns, and Swedish cardamom buns.

About the sourdough sweet dough
This dough sits between a lean bread dough and a rich brioche. It contains milk, eggs, sugar, and butter, but not in such high amounts that the dough becomes heavy or fragile. It is soft and elastic, easy to handle after chilling, and pretty predictable to ferment.
The enrichment keeps the crumb tender, while the sourdough fermentation adds flavour and structure without overwhelming sweetness or tang.
If you haven’t got your sourdough starter yet, learn how to create a sourdough starter, or If you are new to baking with sourdough, my sourdough hub has guides on starters, fermentation, and enriched doughs.
Stiff sourdough starter
This sweet dough is made with a stiff sourdough starter. A stiff starter has a higher ratio of flour to water, which gives it a thick, dough like consistency rather than a pourable one.
Stiff starters ferment more slowly and tend to produce a milder acidity than liquid starters. This is especially helpful in sweet doughs, where too much acidity can weaken the dough. Using a stiff starter also helps the dough stay strong during rolling and shaping, which is important for recipes like doughnuts and layered buns.
Baker’s Schedule
The starter can be fed either the night before or earlier on Day 1, depending on room temperature. In hot weather, feeding the starter in the morning can work. In cooler weather, an overnight feed is more reliable. The key is to use the starter when it is active, domed, and near its peak.
Day 1
- Feed the stiff sourdough starter
- Mix and knead the sweet dough once the starter is ready
- Bulk ferment until the dough is lightly risen
- Refrigerate the dough overnight
Day 2
- Roll, fill, and shape the dough as needed
- Final proof until puffy
- Bake and finish
- The exact timing will vary depending on temperature.
Bulk fermentation and temperature
Bulk fermentation is the first rise after the dough is mixed.
In cooler kitchens, yeast activity slows down more than bacterial activity. This means the dough can take a long time to rise while acidity continues to build. For sweet doughs, this can lead to dough that tastes more sour than intended and feels weaker.
For this reason, the bulk ferment is kept relatively short. The goal is not to double the dough, but to give the yeast a head start. Placing the dough in a warm spot encourages yeast activity so the dough gains some volume without a long rise. Once the dough has increased in volume by about 30 to 40 percent, it is ready to be refrigerated.
Method
- Mix the stiff starter and let rise.

The dough
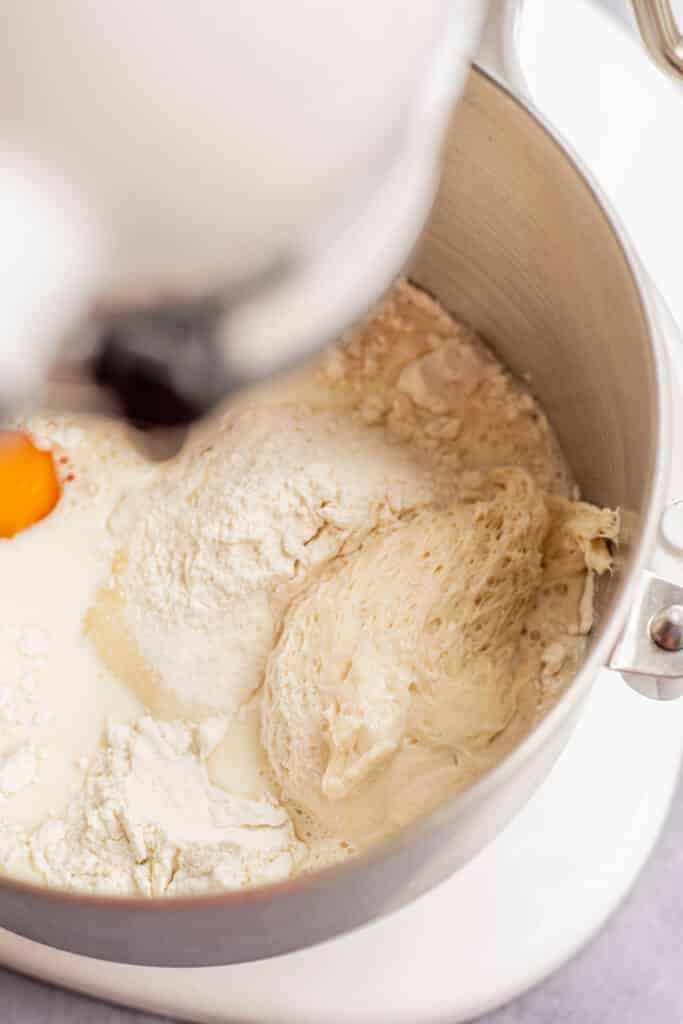
- Add all the ingredients except the butter in a stand mixer and mix for 5 minutes.

- Add butter a little bit at a time.
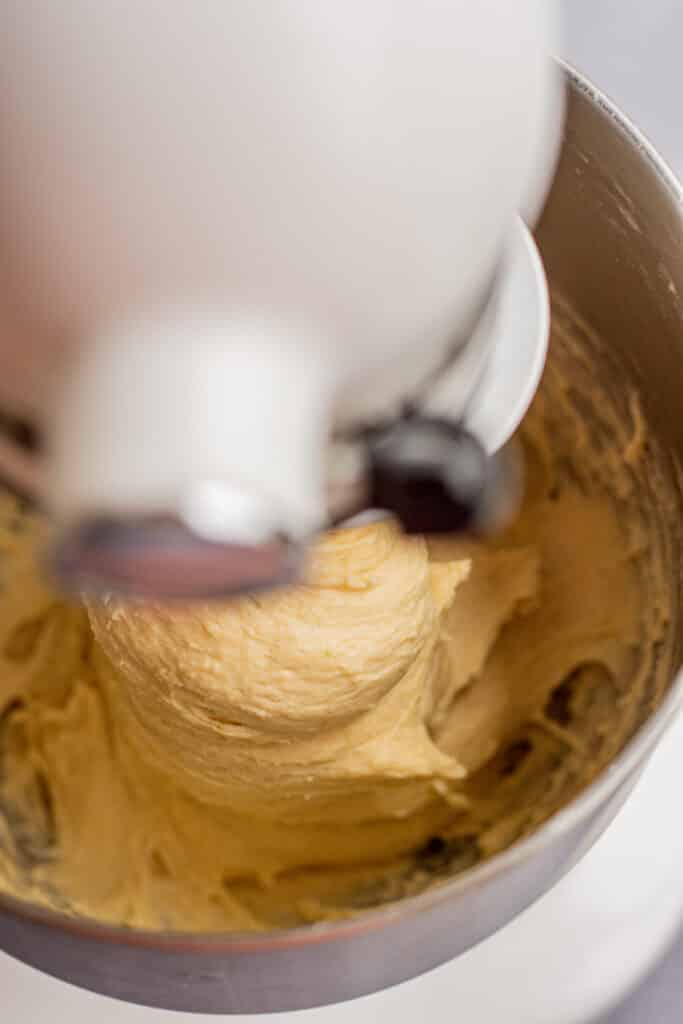
- Mix for around 15 minutes until the sticky and soft dough strengthens, comes together, and pulls away cleanly from the sides of the bowl.
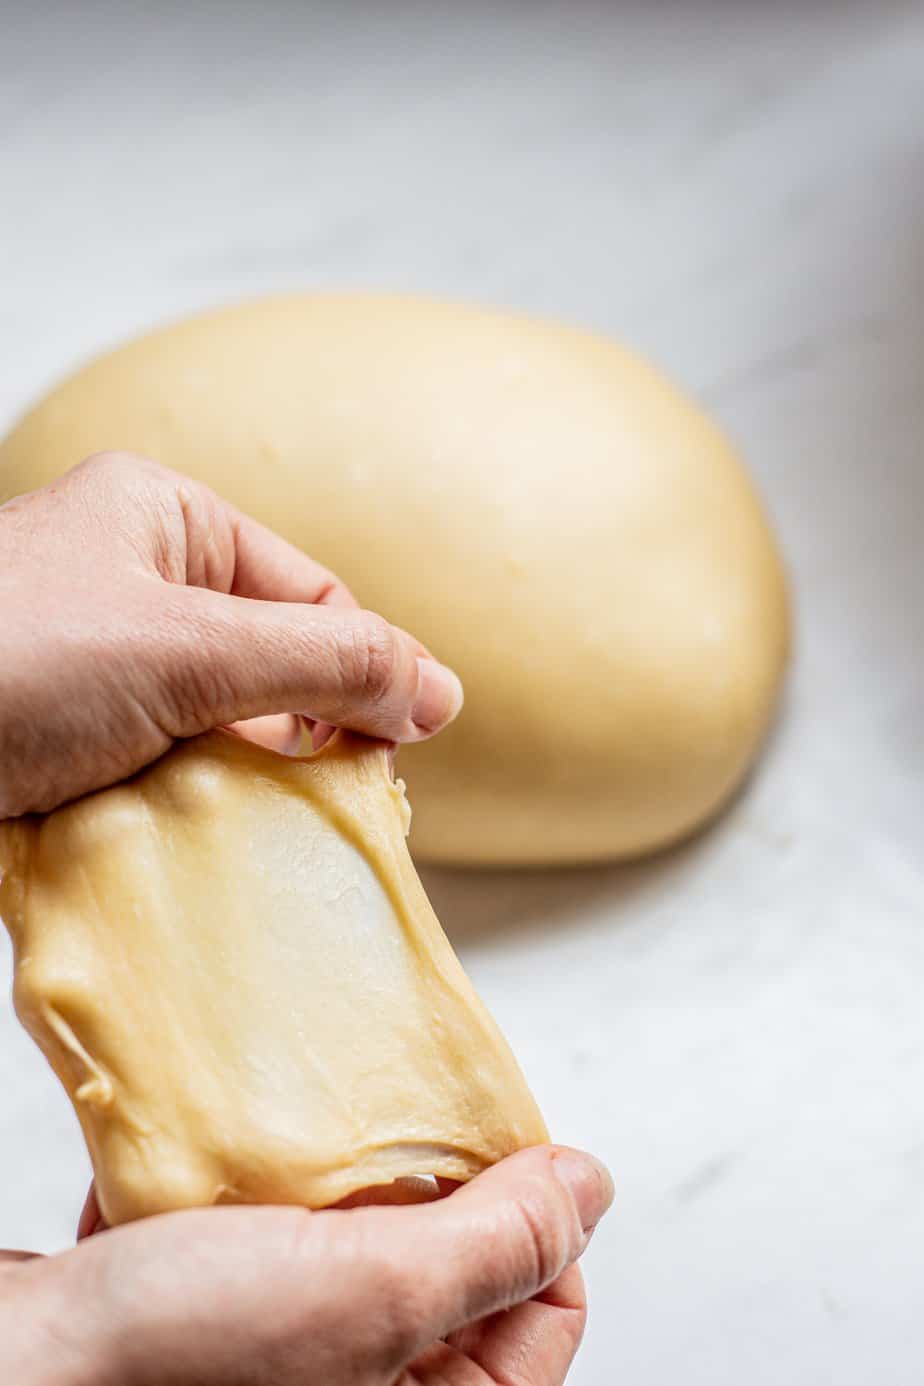
- See if you can stretch it out thin so it’s almost see-through, without it tearing. This is called the ‘window pane’ effect and shows proper gluten development.
Mixing by hand
- Mix all the ingredients except the butter into a thick and shaggy dough, then let it rest 5 minutes.
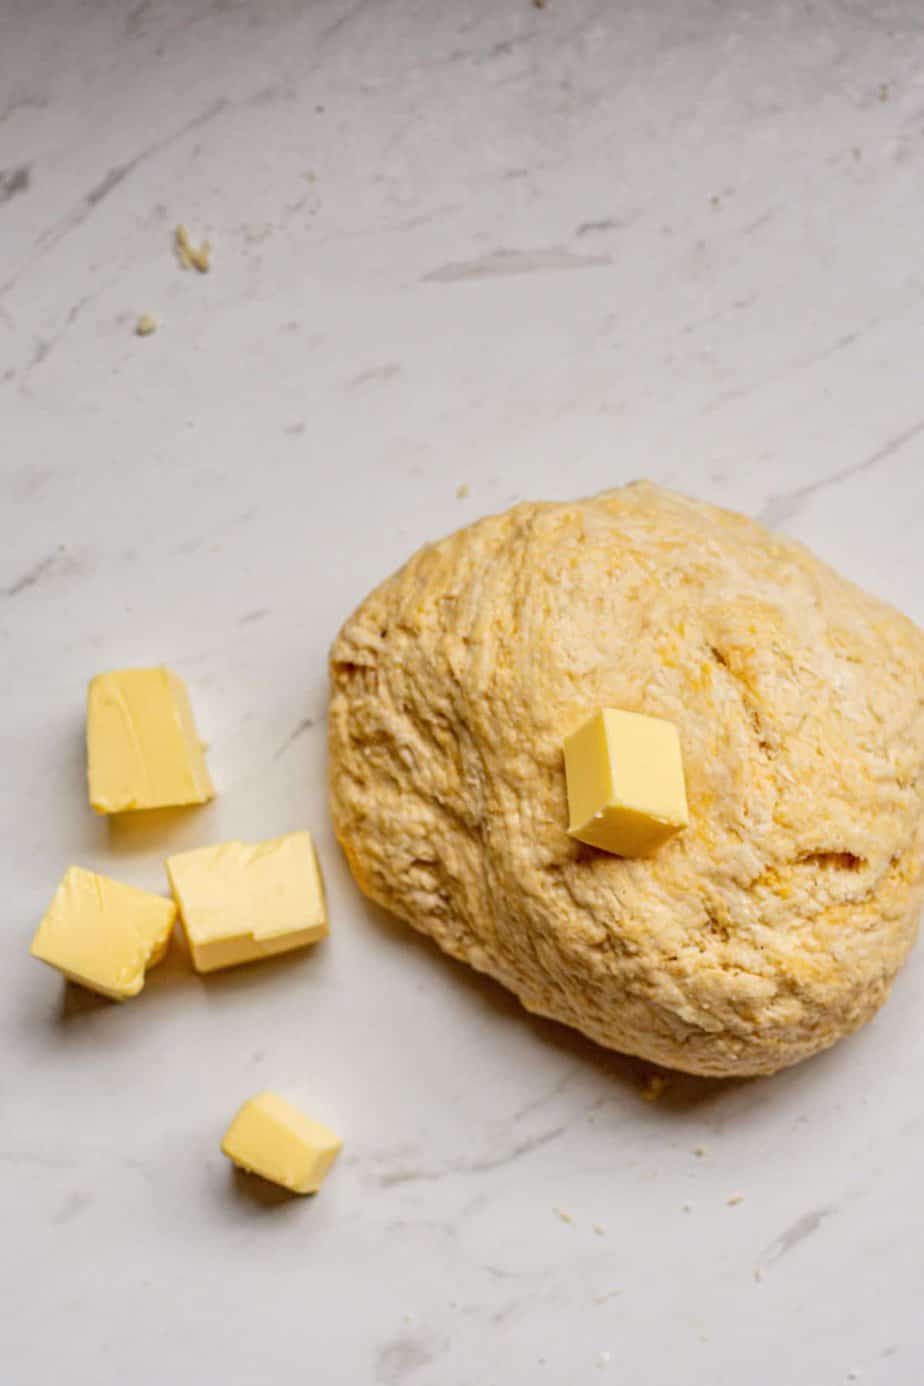
- Begin to knead in the butter, a few cubes at a time. Slap and fold the dough on the bench to create strength.
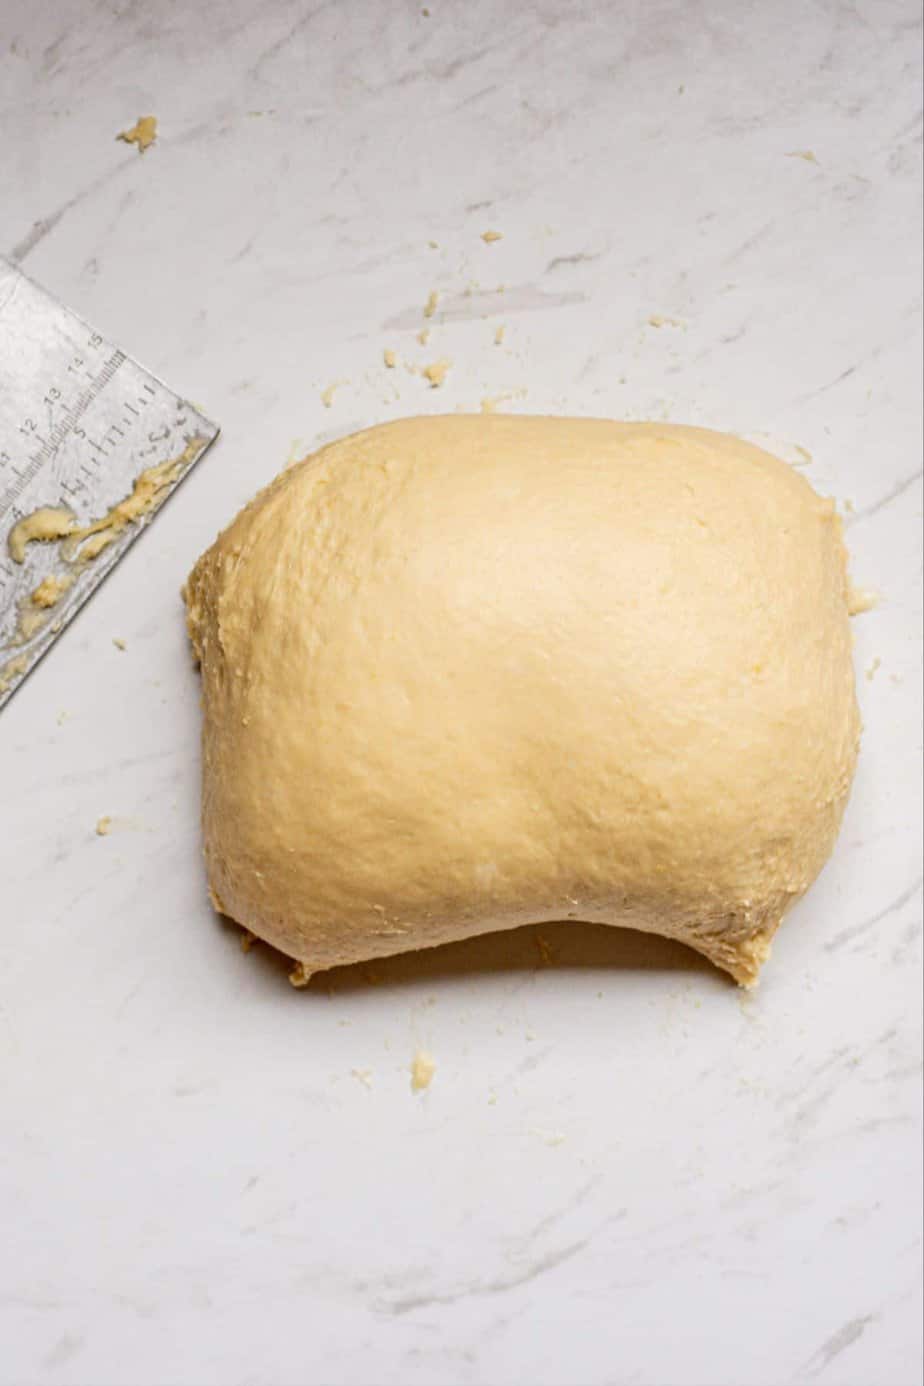
- Use a bench scraper to gather up any loose pieces of dough. If at any point you need a break, take it, the dough responds well to resting time.
Bulk fermentation
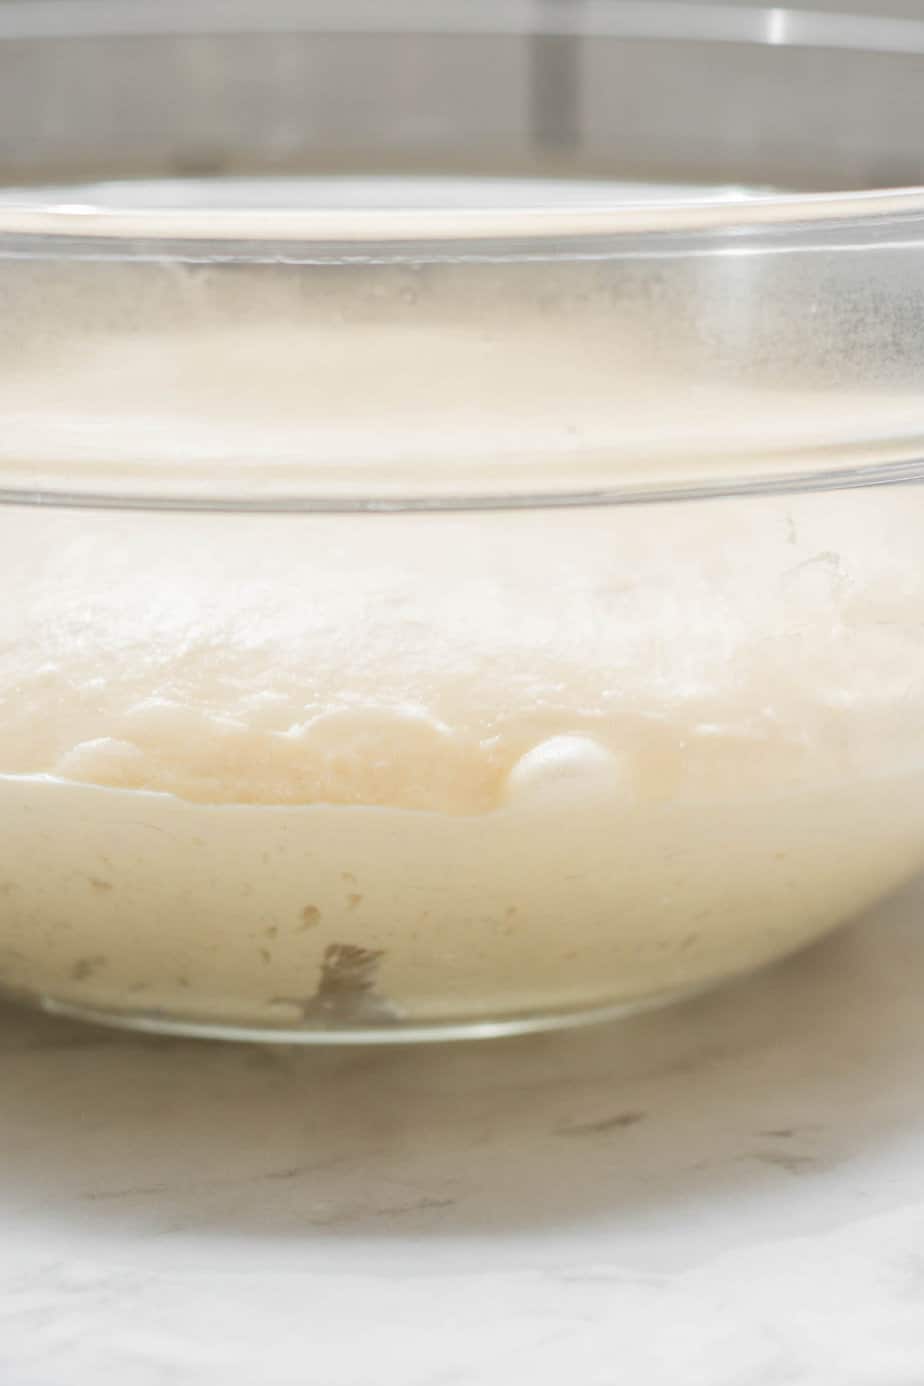
- Place the dough in a lightly greased bowl and let it rise until it has increased in volume by about 30 to 40 percent. Cover and refrigerate overnight until you’re ready to shape.
Once risen, tightly cover the dough or put in an airtight container and store in the refrigerator until you’re ready to shape it.
How to use this sourdough sweet dough
This dough is designed to be versatile. Once it has had its overnight rest, it can be shaped and baked in a number of different ways, depending on what you want to make.
Because this dough is lightly enriched rather than heavily buttery, it is easy to adapt. Small changes in shaping, filling, or finishing create very different results without needing a new dough recipe each time. If you are using this dough for a specific recipe, follow the shaping, proofing, and baking or frying instructions in that post for the best results.


Sourdough Sweet Dough Recipe
Ingredients
Stiff starter
- 30 g starter
- 60 g all-purpose flour
- 30 g water
Dough
- 500 g strong all-purpose flour with around 11% protein
- 50 g granulated sugar
- 2 large eggs
- 240 g milk
- All the stiff starter
- 8 g salt
- 85 g unsalted butter softened to room temperature, cut into cubes
Instructions
Stiff starter
- Combine the sourdough starter, flour, and water until a firm dough forms. Place it into a lightly oiled jar, cover loosely, and let it rise until domed and active. In cooler weather you can do this overnight the night before.
Make the dough
- Add all the ingredients except the butter to a stand mixer fitted with a dough hook. Mix on low speed for about 5 minutes to bring the dough together and begin gluten development.
- Add the butter gradually, a few cubes at a time. Increase to medium speed and continue mixing for 10 to 12 minutes, until the dough is smooth, strong, and glossy.
- Let the dough rest for 5 minutes, then stretch a small piece. It should stretch thin without tearing.
Bulk ferment
- Place the dough in a lightly greased bowl and let it rise in a warm spot at around 24 to 26°C or 75 to 79°F until it has increased in volume by about 30 to 40 percent. This usually takes 2 to 4 hours, depending on temperature.
- Cover and refrigerate overnight. The dough can be cold proofed in the refrigerator for 12 to 36 hours.
Shape and final proof
- The next day, shape the dough according to your recipe. Once shaped, let it proof in a warm spot until puffy and relaxed. Timing will vary depending on what you are making.


Have you ever used this to make a sweet bread loaf?
Hey I haven’t personally! But I’m sure it would be great, would love to know if you do!
This is a lot of time and work but the cinnamon rolls were fantastic.
So happy to hear you enjoyed the recipe! 🙂
Can I freeze this dough and if so when would I freeze before the cool proof?
Yup, after the overnight cold proof, the dough can be frozen in portions for up to 2 months 🙂