Brioche-Style Sourdough Raised Doughnuts
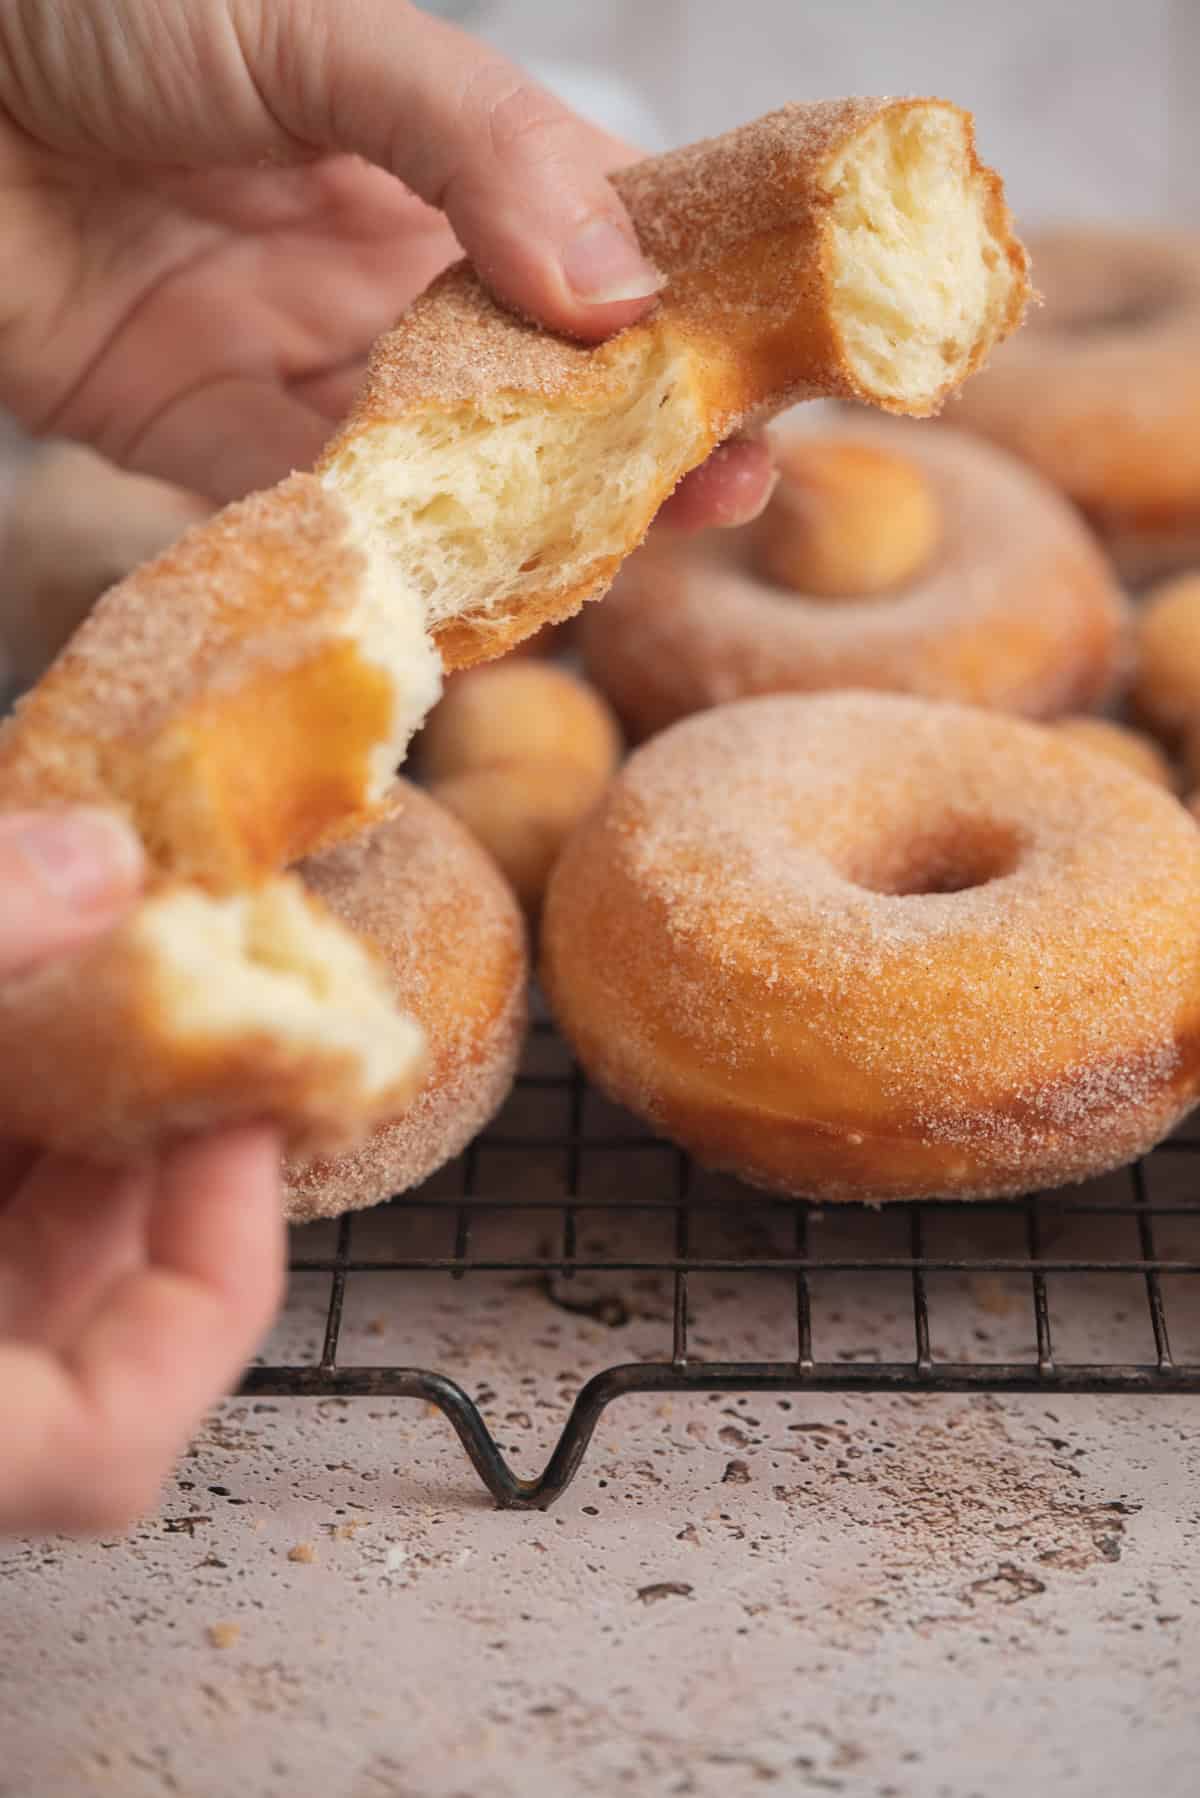
These sourdough doughnuts are soft, fluffy, and lightly sweet, with a tender crumb and a gentle sourdough flavour. Using a stiff sourdough starter helps control acidity, keeping the dough easy to work with and the finished doughnuts mild and balanced.

About these sourdough doughnuts
These are yeasted-style sourdough doughnuts, not cake doughnuts. The dough is enriched with milk, eggs, sugar, and butter, which gives the doughnuts their soft texture and rich flavour.
These are based on my basic sourdough sweet dough, with one small adjustment. For doughnuts, the milk is reduced slightly so the dough is a bit firmer and easier to handle. This helps the dough hold its shape during proofing and frying, while still keeping the crumb soft and tender.
The base sweet dough itself is very versatile and is also used in other recipes on the site, including sourdough sticky buns and Swedish sourdough cardamom buns. With some tweaks to shaping, or filling, the same dough can be used for heaps of sweet bakes. If you are new to baking with sourdough, my sourdough hub has guides on starters, fermentation, and enriched doughs
Why use a stiff sourdough starter
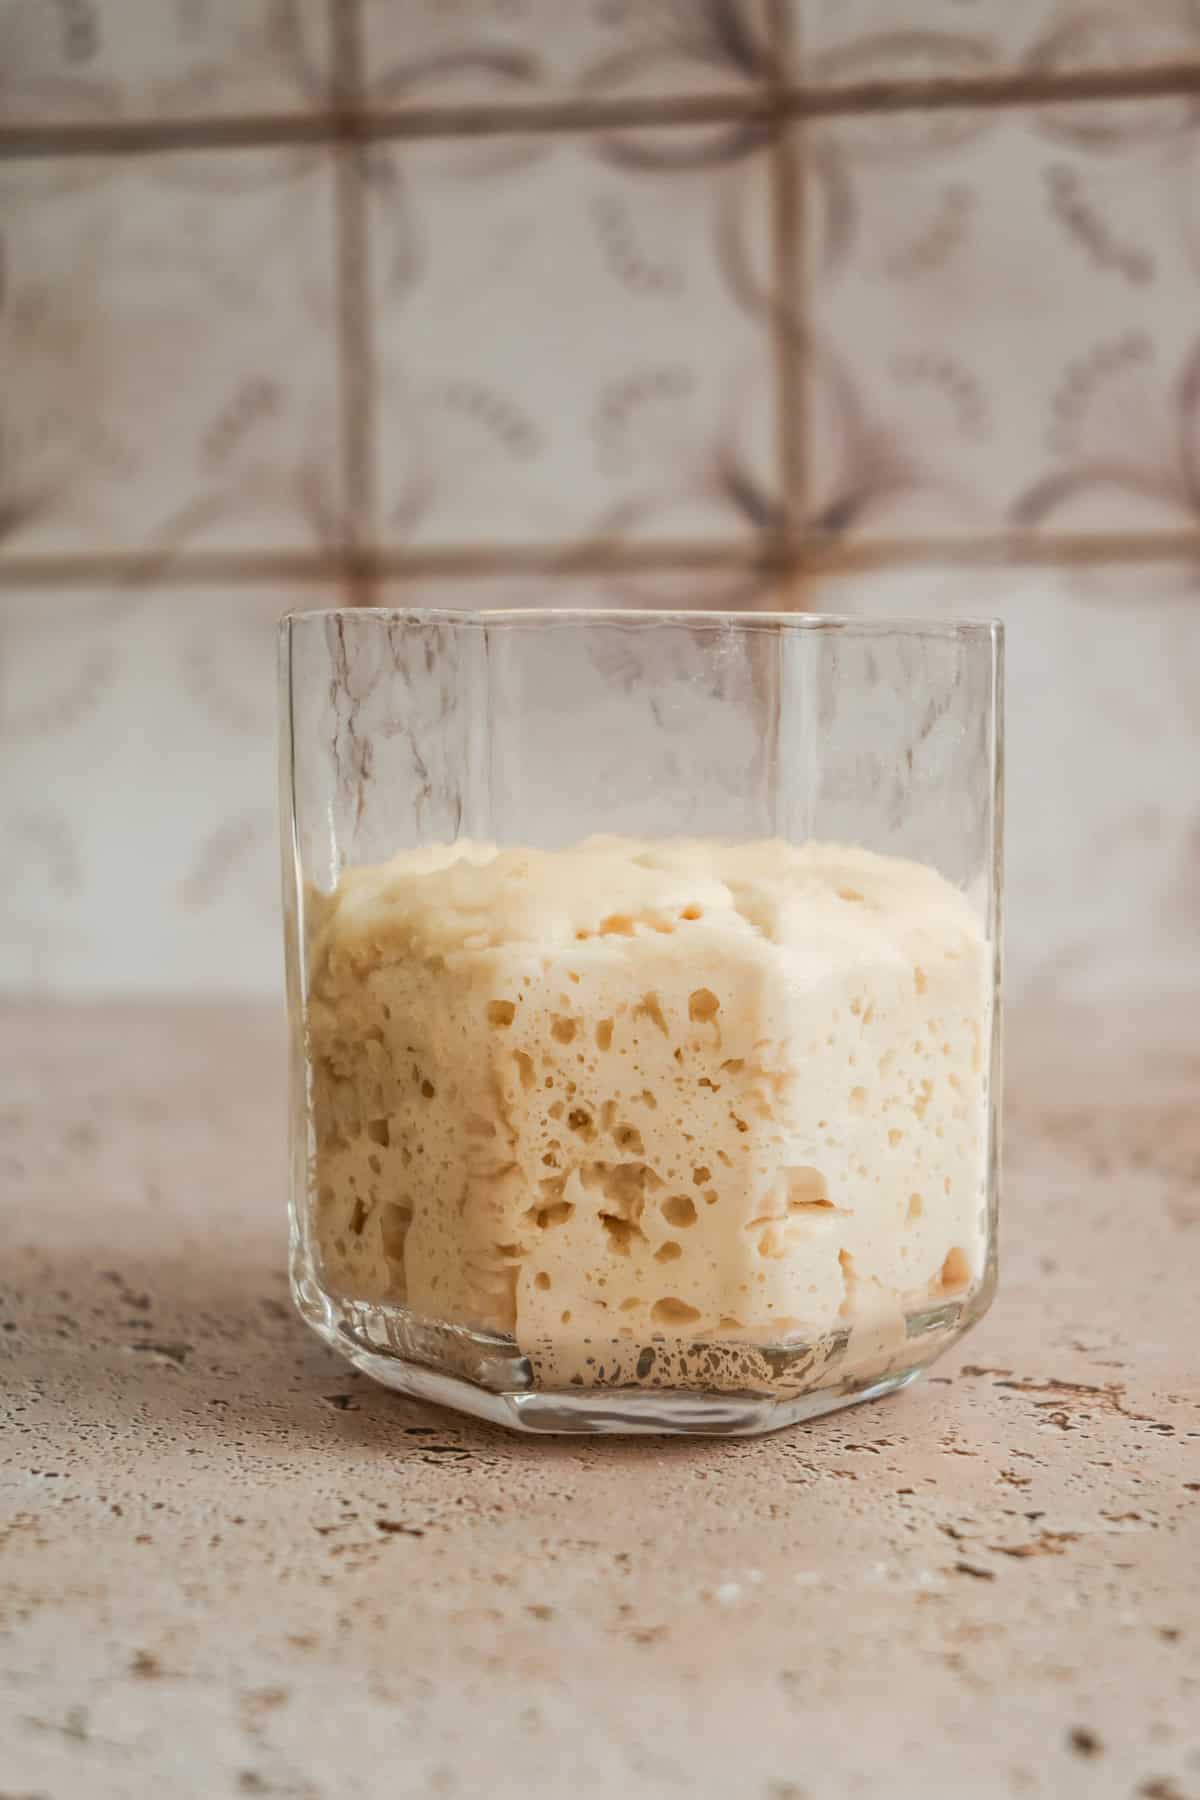
A stiff sourdough starter is a starter that has a higher ratio of flour to water, which gives it a thick, dough-like consistency rather than a pourable one. Because it ferments more slowly than a liquid starter, it produces a milder acidity and helps maintain better dough strength.
For sourdough doughnuts, this is especially helpful. The stiff starter keeps the flavour gentle, prevents the dough from breaking down during fermentation, and makes the dough easier to handle when shaping and frying. It allows the doughnuts to develop sourdough flavour without becoming overly sour or fragile.
If you don’t have a starter yet, learn to make your own sourdough starter with this step-by-step starter guide.
The key ingredients
Baker’s schedule
This is a two-day sourdough doughnut recipe. The stiff starter can be fed either the night before or earlier on Day 1, depending on room temperature. What matters most is that it is active and near its peak when the dough is mixed.
Day 1
- Feed the stiff starter: In warm weather, this can be done early in the day while in cooler weather you can feed it overnight.
- Mix and knead the dough once the starter is domed and active
- Bulk ferment until the dough has risen by about 30-40 percent
- Refrigerate the dough overnight
Day 2
- Roll and cut the doughnuts
- Final proof until puffy
- Fry and finish
The exact timing will vary depending on temperature.
Bulk fermentation in cooler weather
Bulk fermentation is the first rise after the dough is mixed. In cooler kitchens yeast activity slows down more than bacterial activity. This means the dough can take a long time to rise while acidity continues to build, which can lead to doughnuts that taste more sour than you might like.
To avoid this, it is important to help the dough rise efficiently during bulk fermentation. Even though this first rise is kept fairly short, it plays a really important role in waking up the yeast and building momentum in the dough. Placing the dough in a warm spot encourages the yeast activity so the dough can get some volume without needing a long rise. A turned-off oven with a mug of hot water inside creates a warm, slightly humid environment that works well. Once the dough has increased in volume by around 30 to 40%, refrigerate it.
Method
Make the dough
- Make and ferment a stiff starter so it’s domed and ready to go.
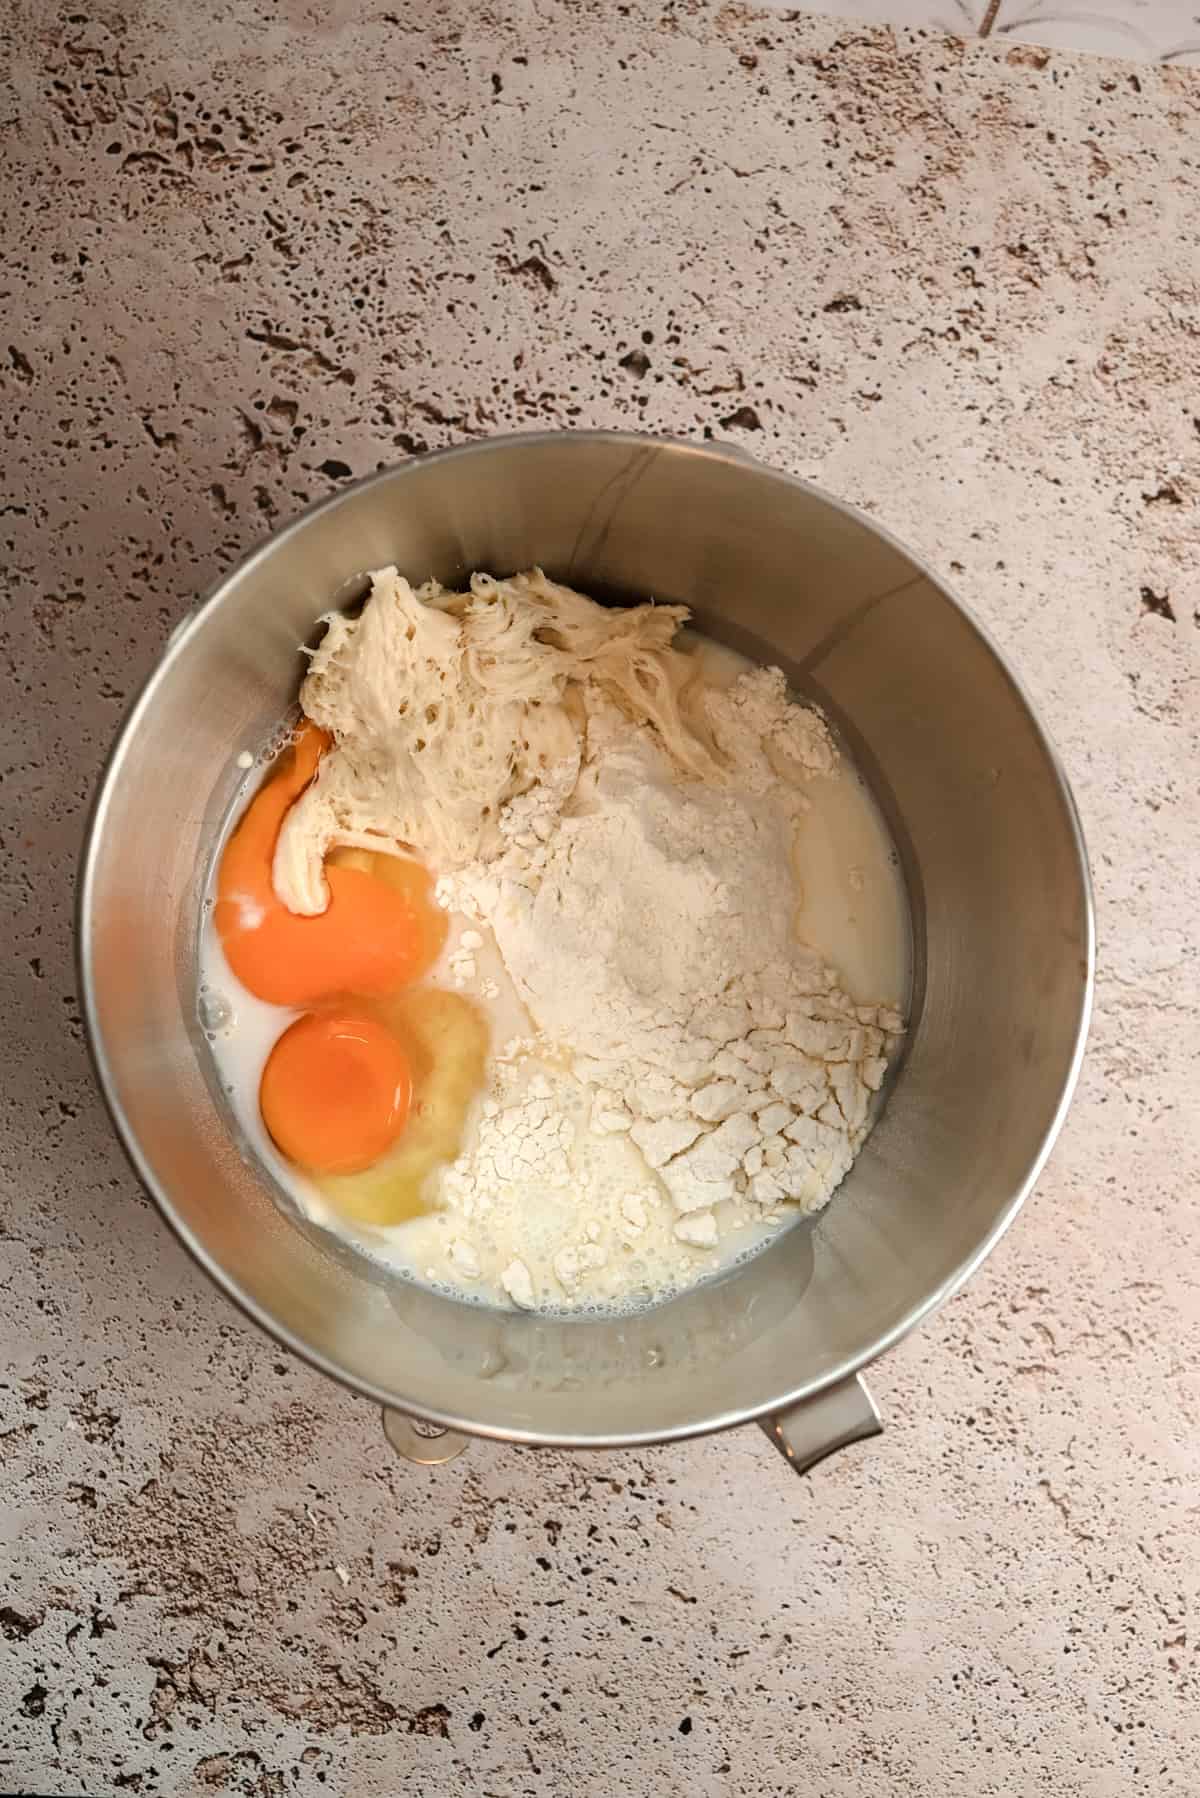
- Add all the ingredients except the butter into a stand mixer and mix on low for 5 minutes to begin the gluten development.
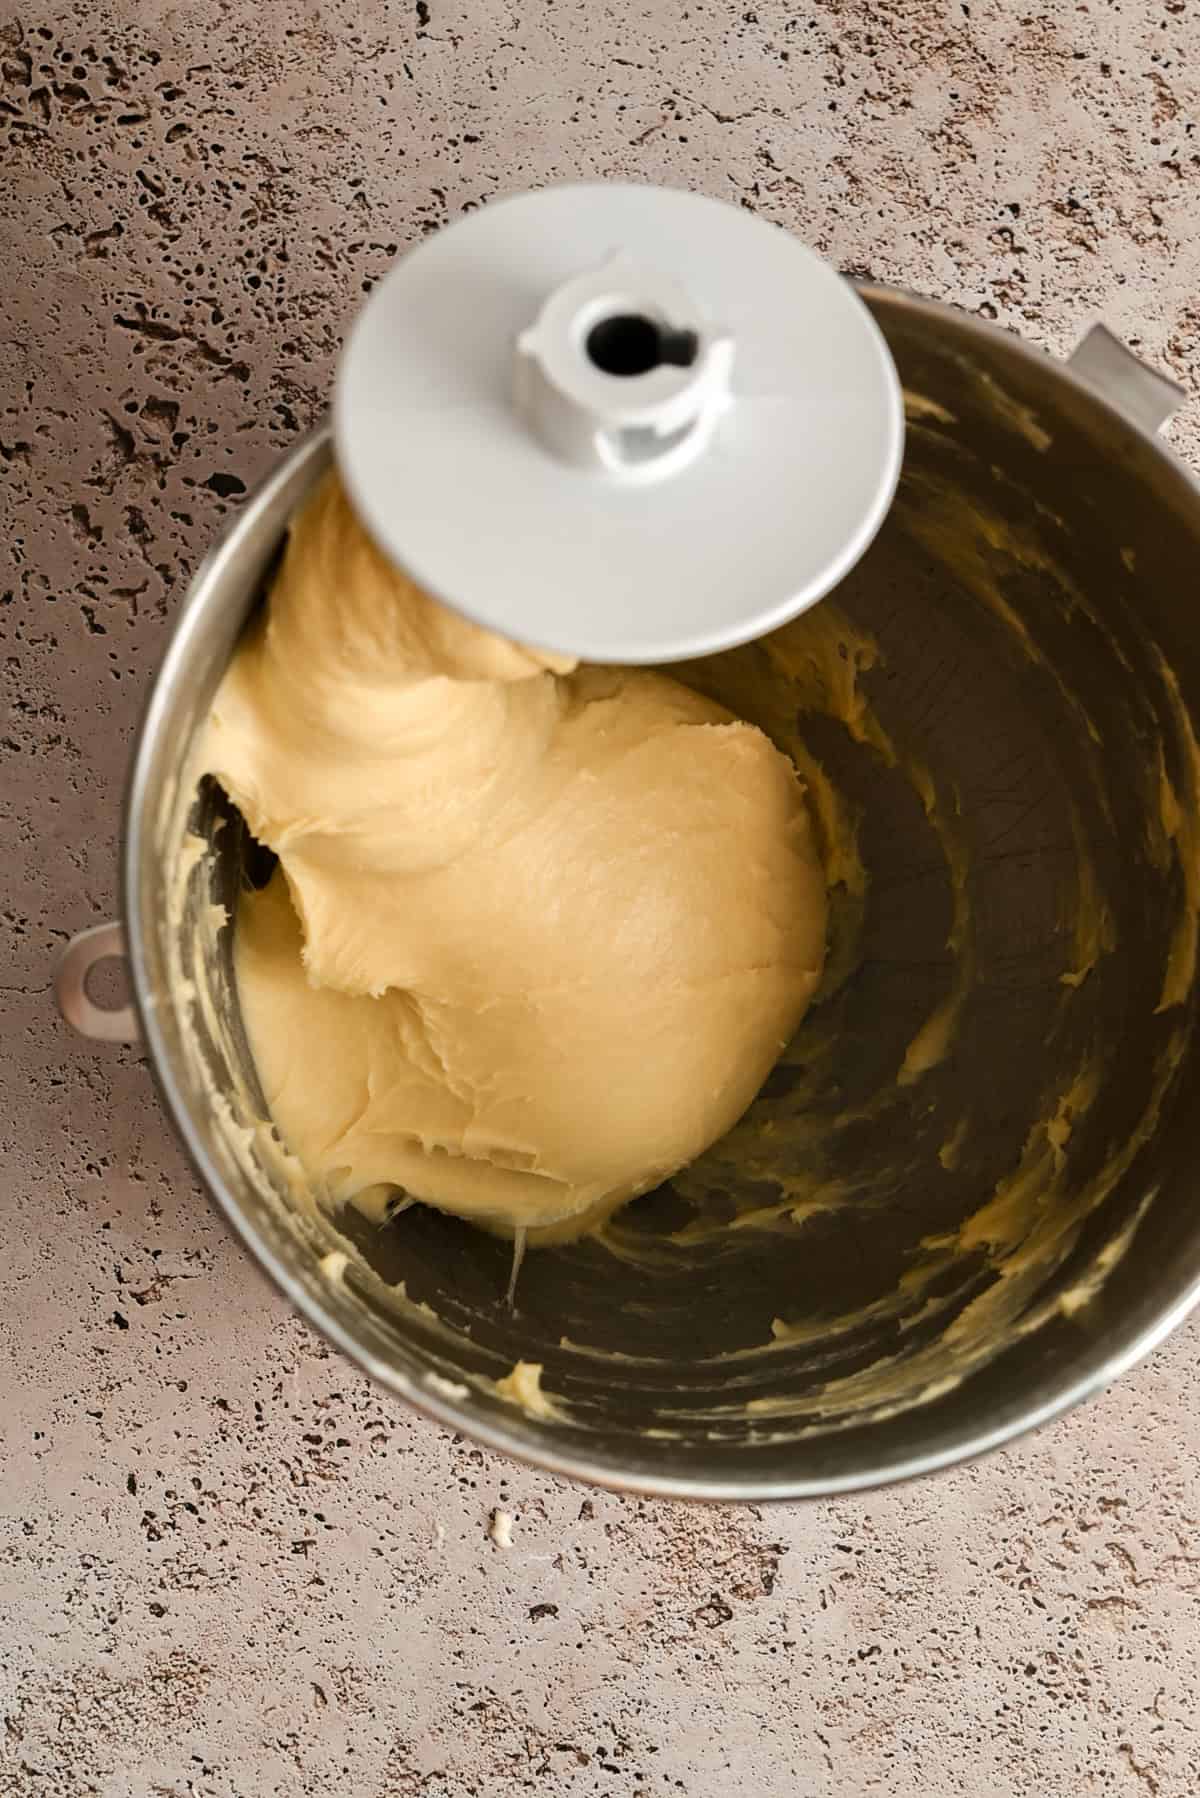
- Add in the butter gradually and mix until strong and glossy and elastic.
Note: To check gluten development, let the dough rest for 5 minutes, then stretch a small piece gently. It should stretch thin without tearing.
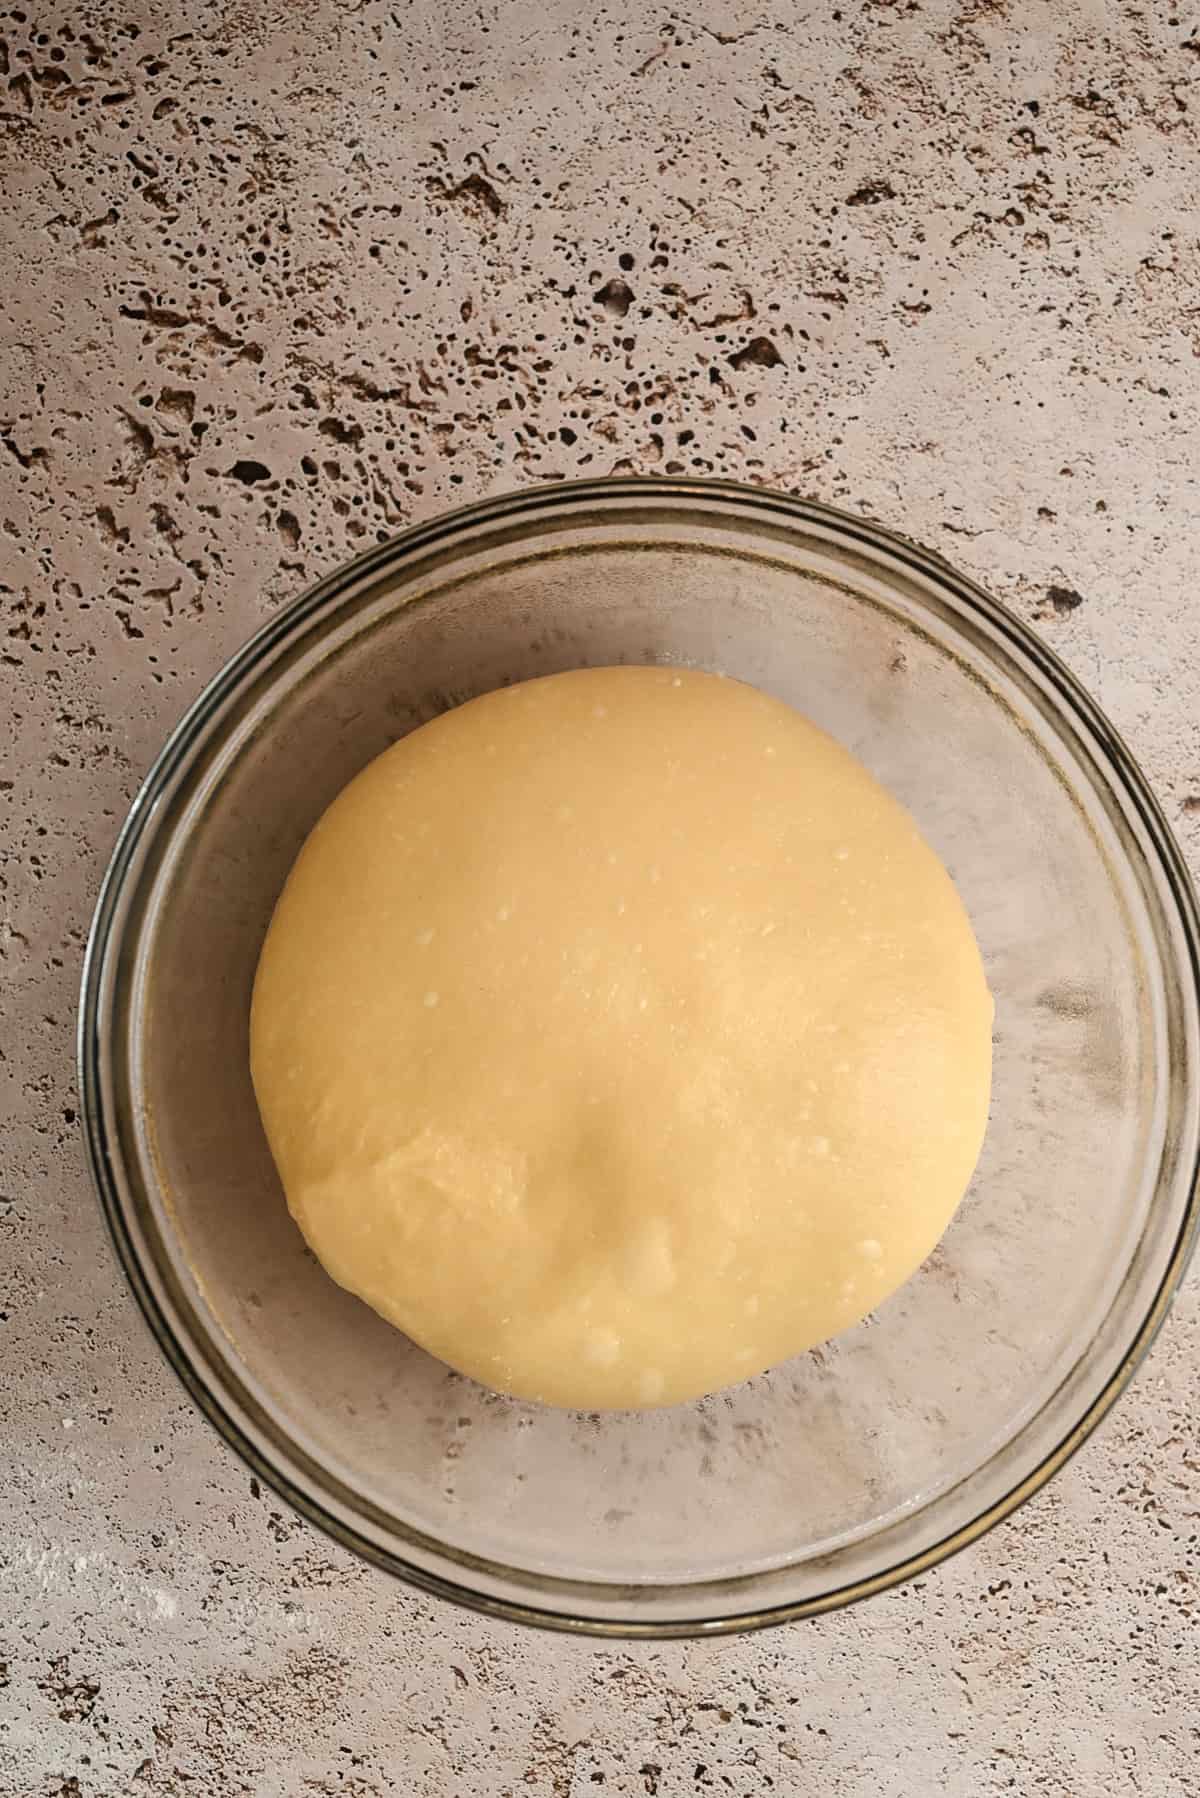
- Place the dough into a lightly greased bowl and rise at warm room temperature until it has increased in volume by about 30-40%, then refrigerate.

- Roll the dough to about 1–1.2 cm thickness.
Cut the doughnuts
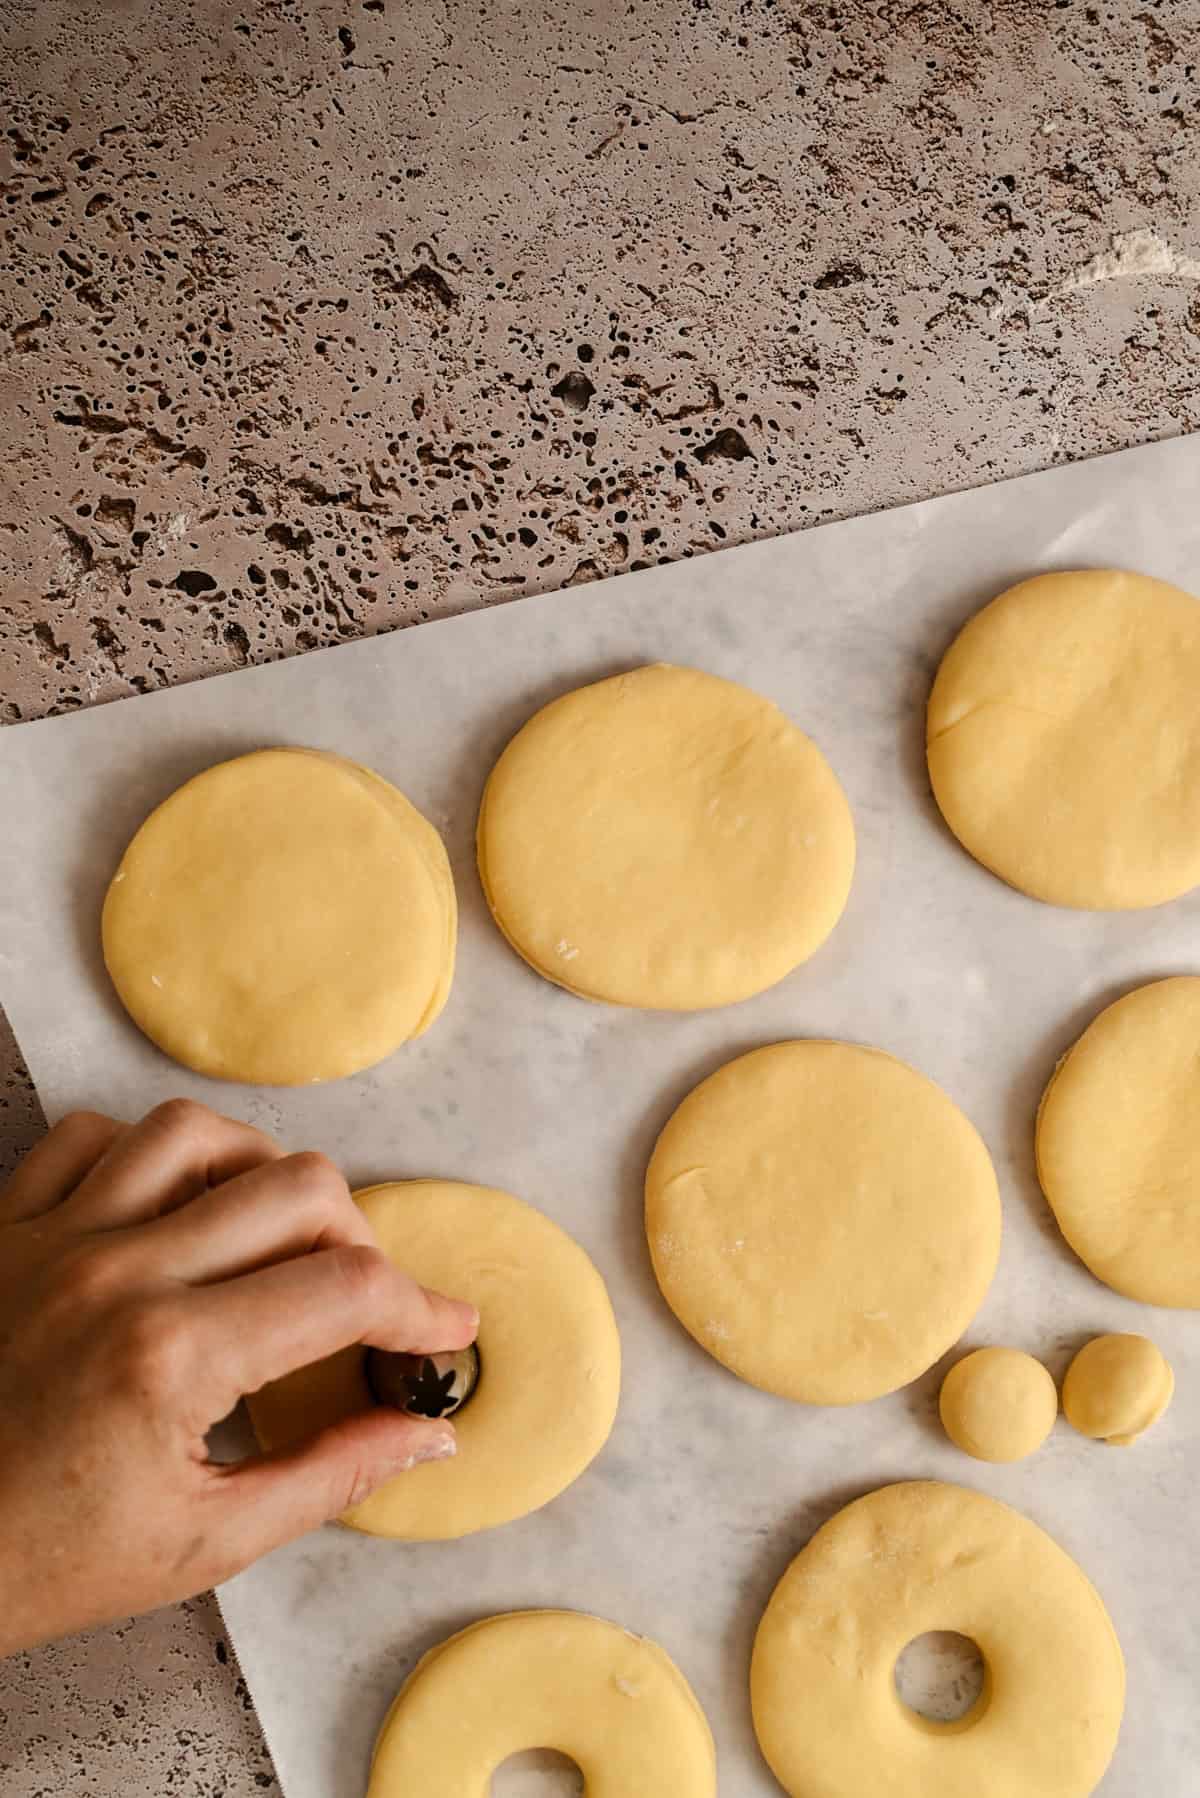
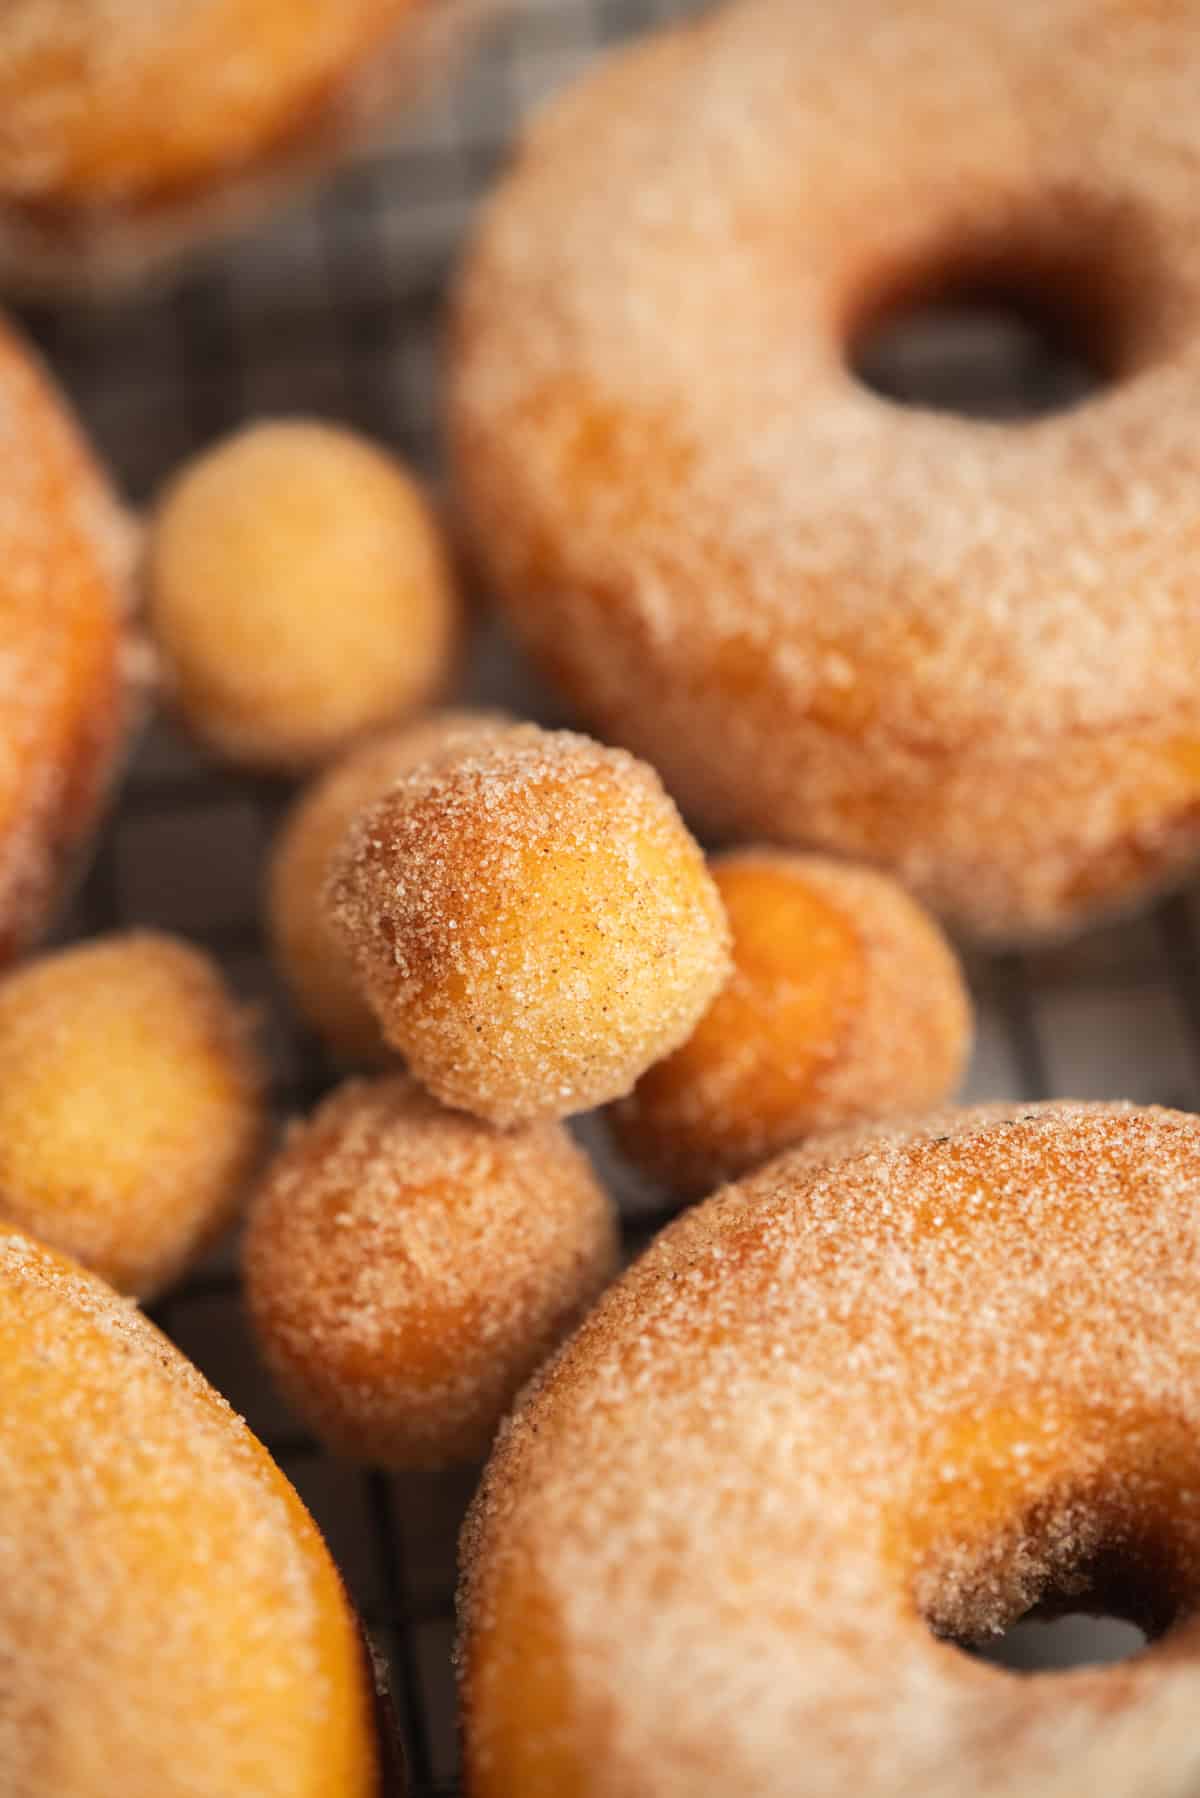
- Cut doughnuts using a doughnut cutter, biscuit cutter, or glass. For bomboloni, cut rounds without a hole.
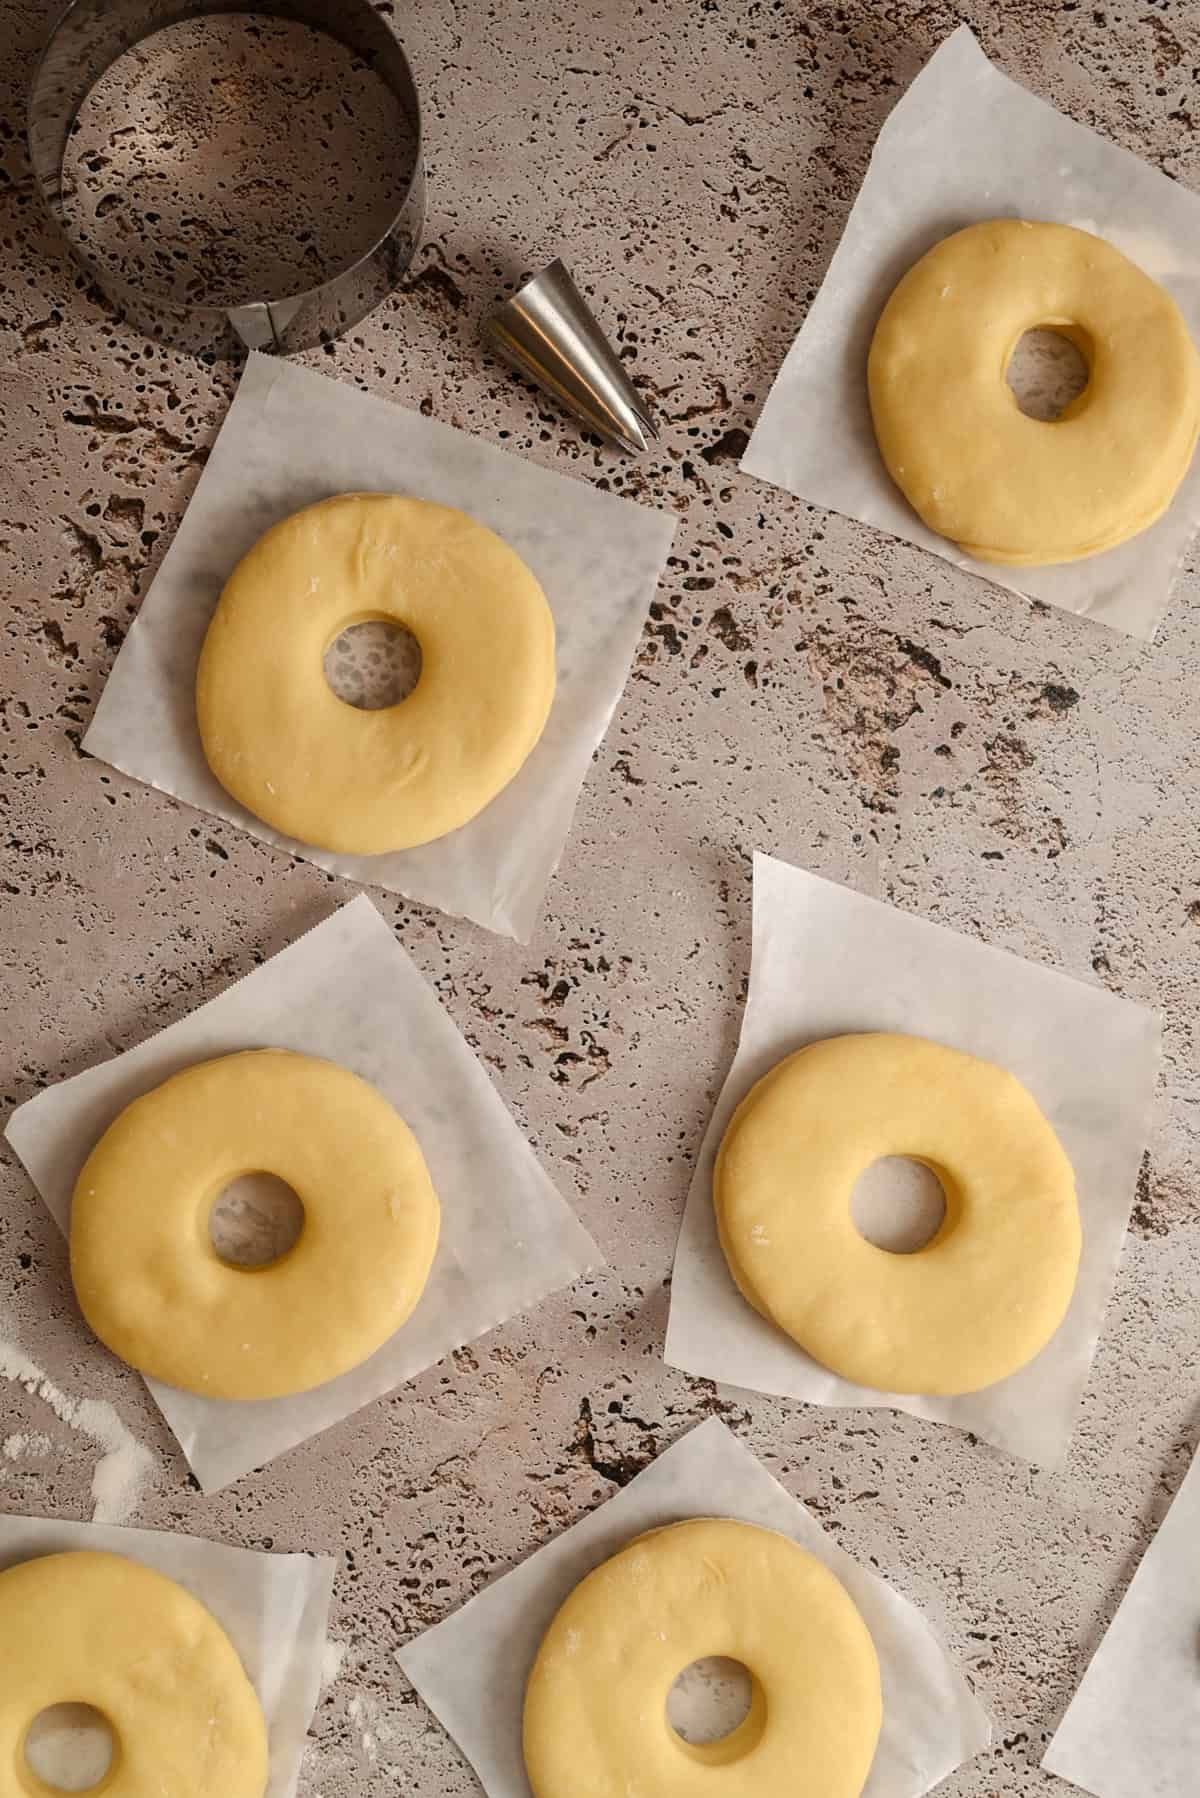
- Place on pieces of parchment paper an let them rise and puff.
Tip: To check readiness, gently press a floured finger into the dough. If the indentation slowly springs back but does not disappear, they are ready to fry.
Fry and coat
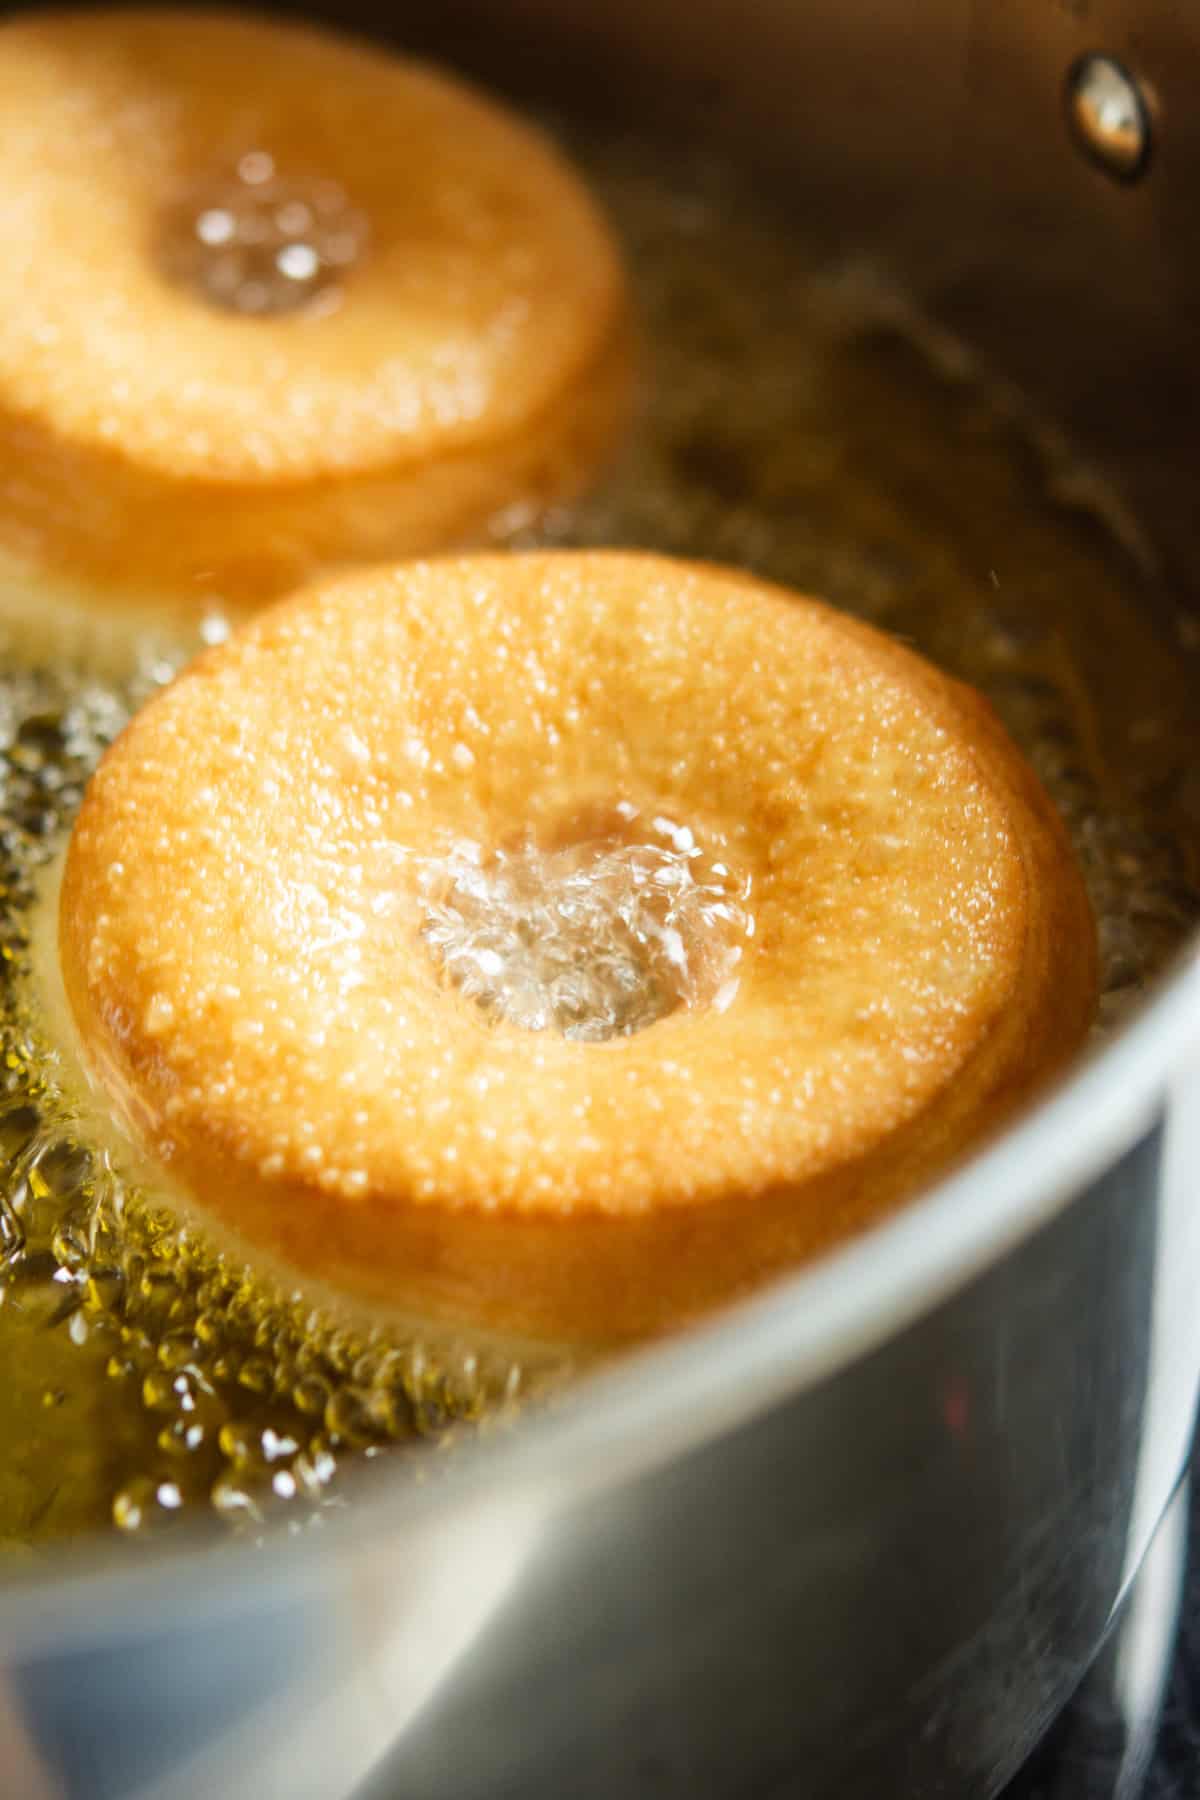
- Fry the doughnuts in small batches, without overcrowding, for 1½ to 2 minutes per side, until evenly golden.
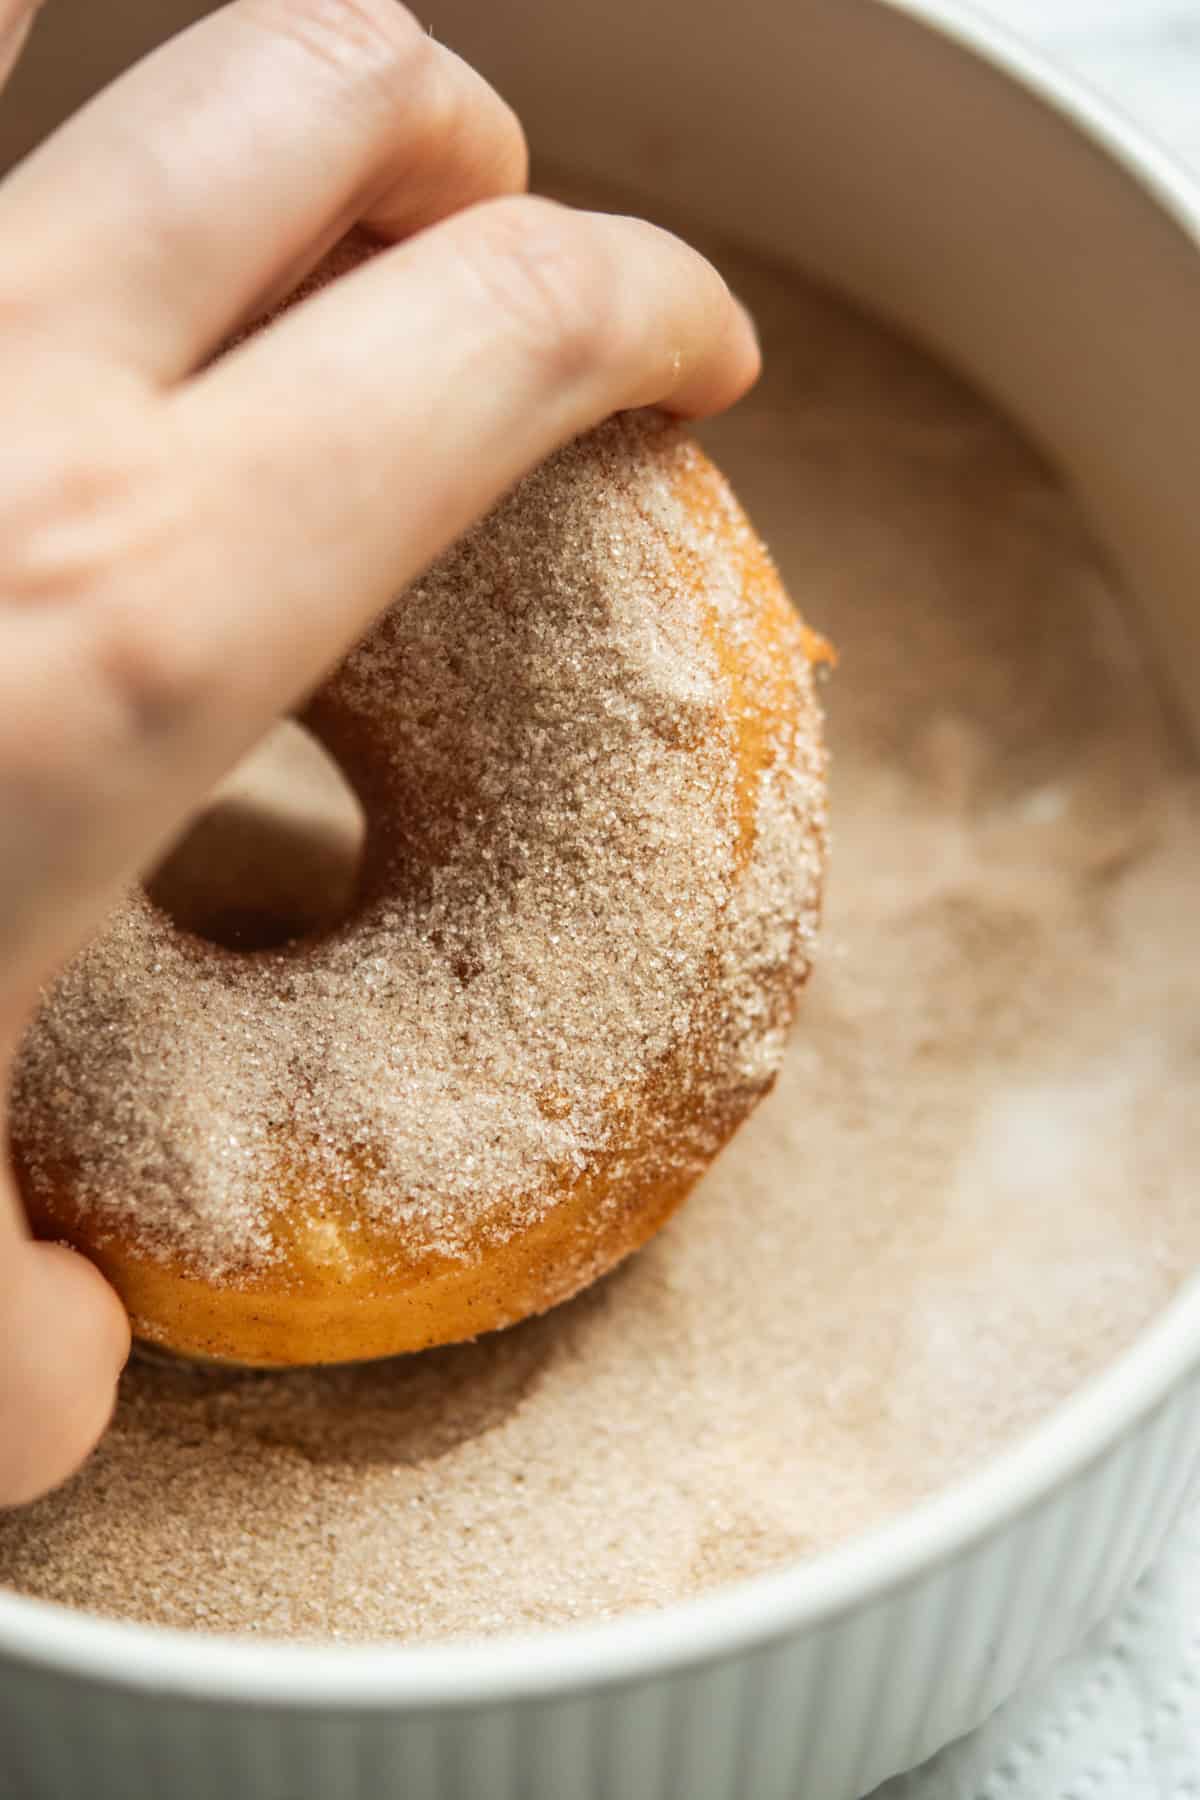
- While warm, coat the doughnuts in cinnamon sugar.
FAQs about sourdough doughnuts

Brioche-Style Sourdough Raised Doughnuts
Ingredients
Stiff Sourdough Starter
- 30 g starter
- 60 g all-purpose flour
- 30 g water
Dough
- 500 g strong all-purpose flour with around 11% protein, or bread flour
- 50 g granulated sugar
- 2 large eggs
- 200 g milk
- All the stiff starter
- 8 g salt
- 85 g unsalted butter softened to room temperature, cut into cubes
Frying and Coating
- Neutral oil such as canola, sunflower, or rice bran, enough to fill a pot to 5–6 cm (2–2½ inches) deep
- 1 cup granulated sugar
- 2 tsp ground cinnamon
Instructions
Make the stiff starter
- Combine the sourdough starter, flour, and water until a firm dough forms. Place it into a lightly oiled jar, cover loosely, and let it rise until domed and active. In cooler weather you can do this overnight the night before. 30 g starter, 60 g all-purpose flour, 30 g water
Mix the dough
- Add the flour, sugar, salt, milk, eggs, and stiff starter to the bowl of a stand mixer fitted with a dough hook. Mix on low speed for 5 minutes until a thick dough forms.n500 g strong all-purpose flour, 50 g granulated sugar, 2 large eggs, 200 g milk, All the stiff starter, 8 g salt
- With the mixer still running on low, add the butter gradually, a little at a time, allowing each addition to incorporate before adding more. 85 g unsalted butter
- Once all the butter is added, mixing on medium speed for 12-15 minutes, until the dough is smooth, elastic, and glossy. The dough should feel soft and slightly tacky but not sticky.
Bulk ferment
- Place the dough into a lightly greased bowl and cover. Let it rise in a warm spot at around 24-26°C (75-79°F) until it has increased in volume by about 30-40%. This usually takes 2-4 hours, depending on temperature. The dough should look slightly puffy and relaxed, not doubled.
- Once the dough has risen, cover it well and refrigerate overnight.
Shape the doughnuts
- The next day, turn the dough out onto a lightly floured bench. Roll it to about 1-1.2 cm (½ inch) thick.
- Cut doughnuts using a doughnut cutter or round cutters. For filled doughnuts, cut rounds without a hole. Place each cut doughnut on its own small square of parchment paper to proof. Gently re-roll scraps once if needed.
Final proof
- Cover the doughnuts lightly and let them proof in a warm spot at 24-26°C (75-79°F) for 3-4 hours, until visibly puffy.
- To test readiness, gently press a floured finger into the dough. If the indentation springs back slowly but does not disappear, they are ready to fry.
Fry the doughnuts
- Heat the oil to 170-175°C (340-350°F). Neutral oil
- When ready to fry, carefully lower the doughnut into the hot oil parchment-side up, then remove and discard the parchment using tongs once it releases. Fry the doughnuts in small batches, without overcrowding, for 1½-2 minutes per side, until evenly golden. Maintain the oil temperature between batches.Doughnut holes will need less time.
- Remove the doughnuts with a slotted spoon and drain briefly on a wire rack.
Coat
- Mix the sugar, cinnamon, and salt in a shallow bowl. Toss the doughnuts in the cinnamon sugar while still warm so the coating sticks well. 1 cup granulated sugar, 2 tsp ground cinnamon

Do this this is day of fridge I like doing baking at evening or later in the night…keeps house warmer I live in mountains so less wood to load in stove lol. My only heat source! Can’t wait to let you know the expressions for warm doughnuts in the morning! I love freezing the sourdough ones after they are glazed. This will be my third recipe but as you know we inventers always throw in a sumpthin sumpthin of our own.!!
Krista Kletke
It took time really but it worth to do that. Doughnut were slightly sour but in the nice way. Especially my German husband loves it! Thank you for the nice recipe 🥰
It took time really but it worth to do that. Doughnut were slightly sour but in the nice way. Especially my German husband loves it! Thank you for the nice recipe 🥰