Brioche Sourdough Cinnamon Rolls
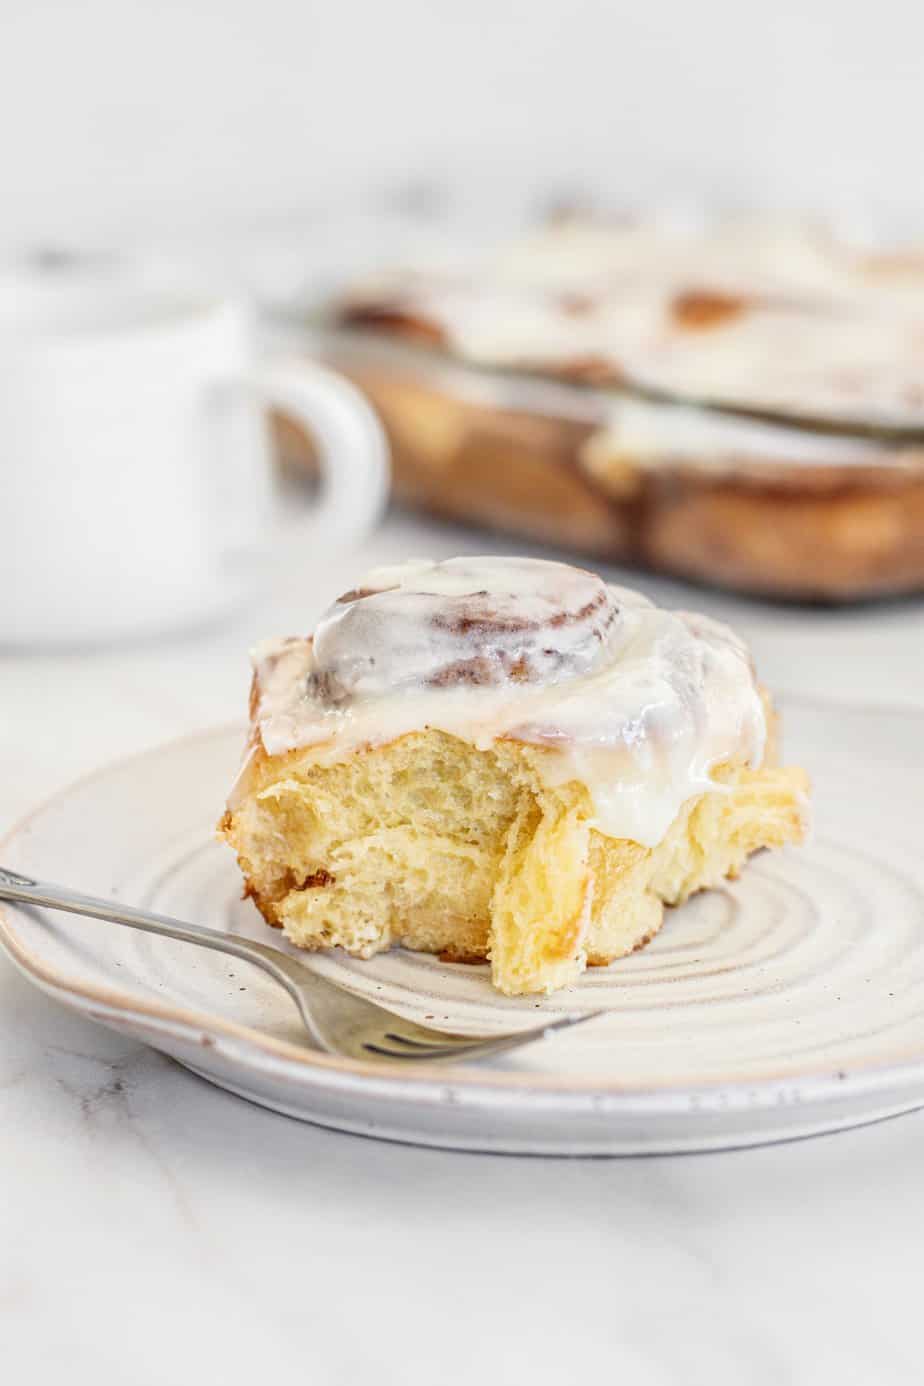
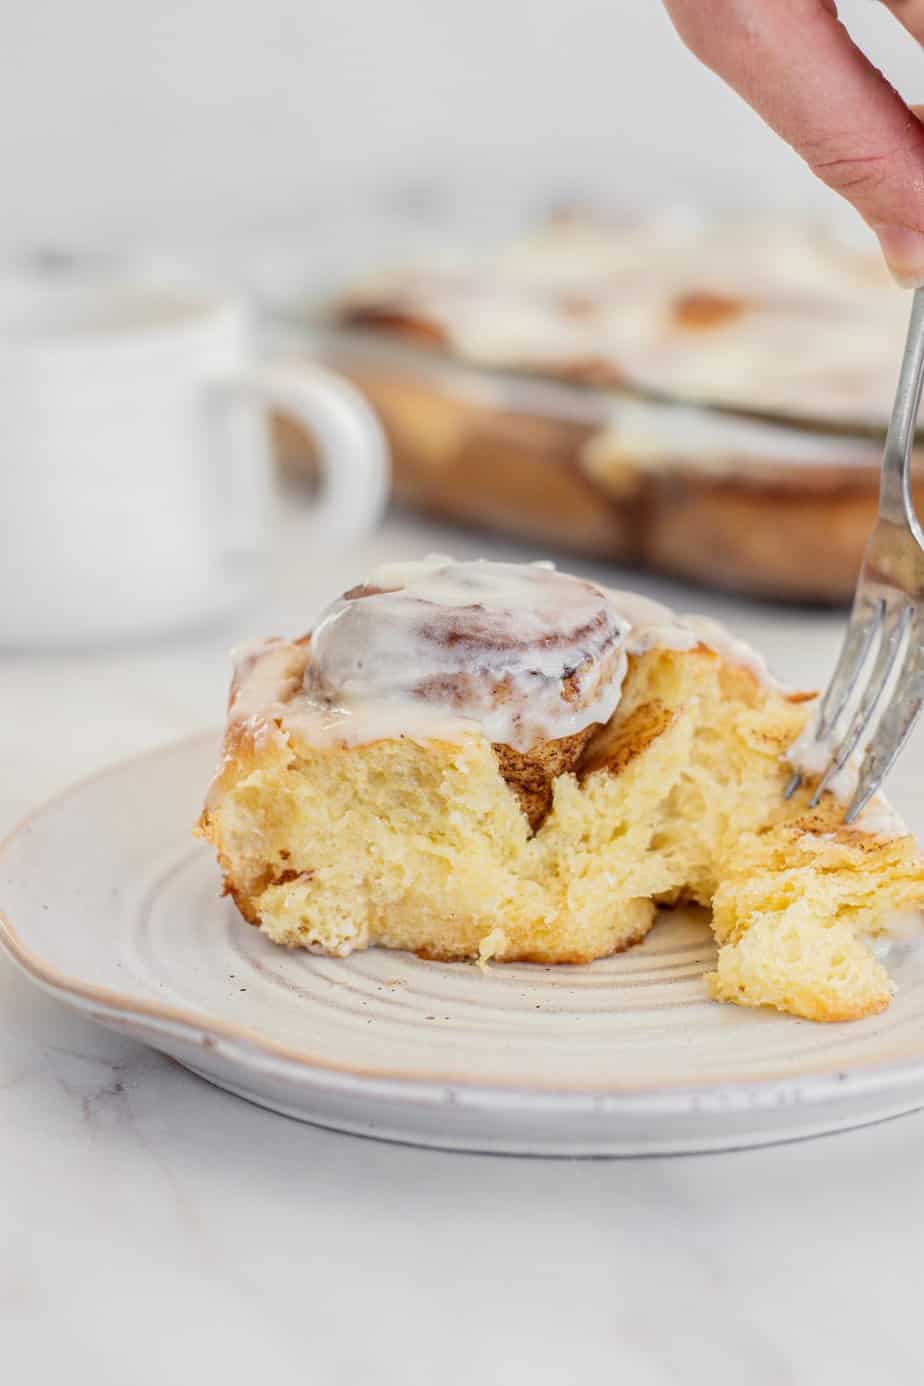
Soft, fluffy, buttery sourdough cinnamon rolls made with a tender brioche dough, filled with cinnamon sugar, and finished with a tangy cream cheese frosting. The dough is enriched with eggs, butter, and milk, which gives these rolls their rich, pillowy crumb. They can be made on a same-day schedule or prepped the night before for fresh, warm cinnamon rolls in the morning.
About these sourdough cinnamon rolls
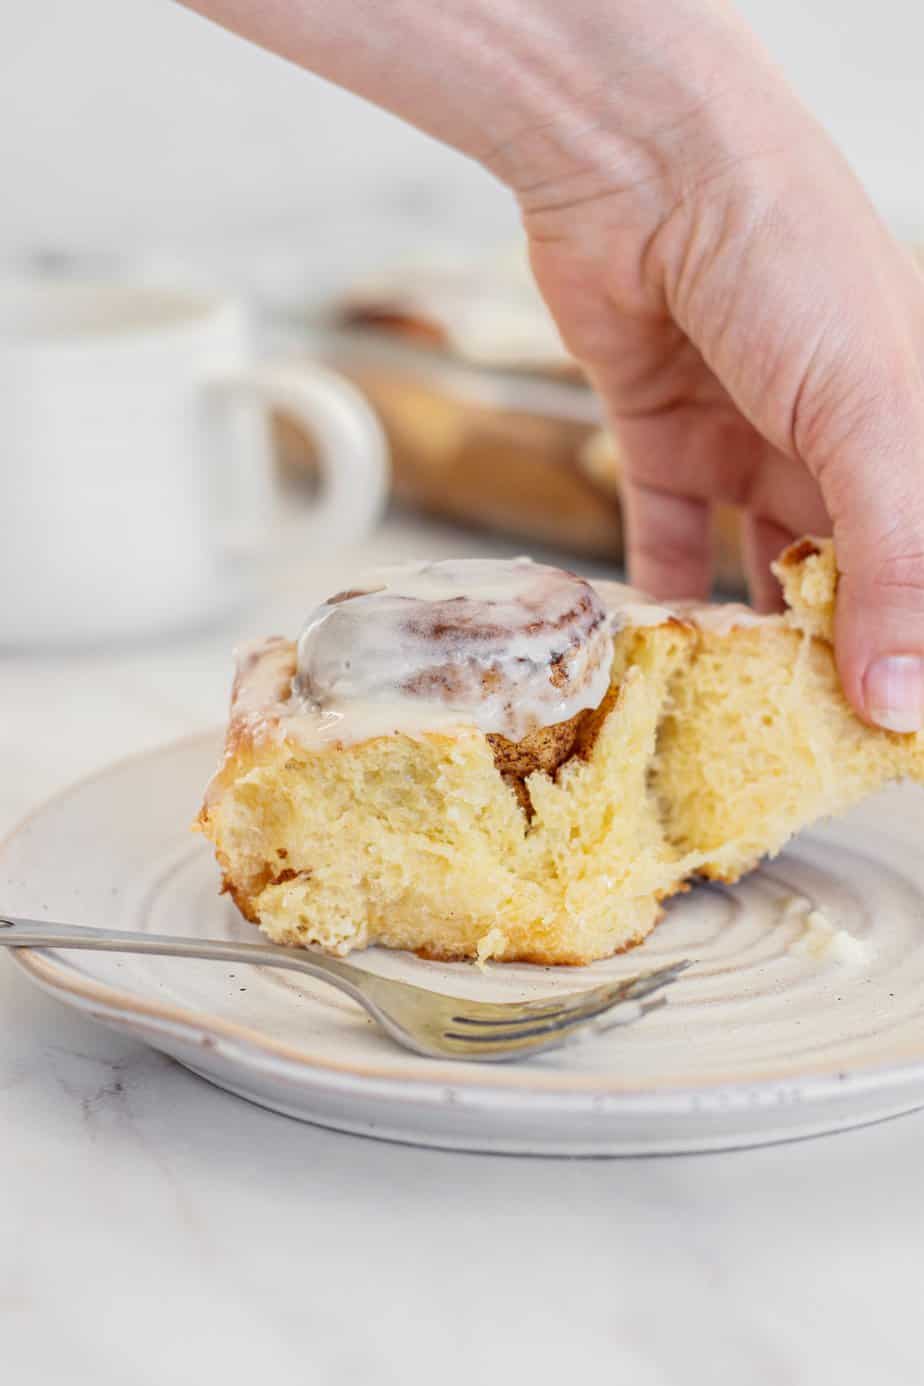
These cinnamon rolls are made with the same enriched brioche dough as my sourdough brioche bread, just rolled out, filled with cinnamon sugar, and shaped into spiralled rolls. The brioche base is what makes these rolls so different from a standard sourdough cinnamon bun. The high butter and egg content gives them a tender, almost cake-like crumb while still being properly pull-apart.
I use a stiff sourdough starter for this dough rather than a 100% hydration starter. A stiff starter ferments more slowly and produces a milder acidity, which suits an enriched dough like this much better. It also lets me pack more starter into the dough without making it too wet, which gives the rolls a slightly stronger rise.
The recipe makes 12 rolls in a 9 x 13 inch (22 x 33 cm) baking tray and works with either a same-day or overnight schedule. The overnight version is my favourite when I want fresh rolls for breakfast, because all the shaping is done the night before and you just need to bake them in the morning.
If you are new to baking with sourdough, my sourdough hub has guides on starters, fermentation, and enriched doughs.
Key ingredients and why
The full ingredient amounts are in the recipe card at the bottom of the post. Here is a breakdown of what each ingredient is doing and why it matters.
- Strong all-purpose flour or bread flour (around 11% protein): Provides the structure to support all the butter and eggs in the dough.
- Stiff sourdough starter: The natural leavening agent. A stiff starter is fed at a ratio of 1 part starter, 2 parts flour, 1 part water (so it has half the water of a regular starter). This keeps the dough strong and the flavour mild.
- Eggs, milk, and granulated sugar: The eggs and milk give the soft, tender crumb, and a little sugar in the dough tenderises it further.
- Butter: Worked into the dough in stages to make the brioche rich and tender, then used again in the filling and the frosting. Either salted or unsalted butter works.
- Cinnamon and soft brown sugar: The filling. Brown sugar gives a deeper, more caramel-like flavour than white sugar, and the cinnamon needs to be good quality and fresh. If your cinnamon has been sitting in the cupboard for a year, replace it before making these.
- Cream cheese, powdered sugar, milk, vanilla: The frosting. The cream cheese adds a tangy edge that balances the sweetness perfectly.
Baker’s schedule
There are two ways to make these rolls. The same-day version has you baking the rolls in the afternoon, and the overnight version has you waking up to fresh rolls in the morning.
Same-day schedule
Night before
- 9:00 PM: Feed the stiff starter at a 1:2:1 ratio
Day of baking
- 9:00 AM: Mix the dough and knead in the butter
- 9:30 AM: Bulk ferment in a warm spot until risen by 30 to 40% (around 4 to 6 hours)
- 1:30 PM: Refrigerate the dough for at least 4 hours
- 5:30 PM: Roll out, fill, and shape into rolls
- Final proof for 2 to 3 hours in a warm spot
- Bake when puffy and almost doubled
Overnight schedule (fresh rolls for breakfast)
This one only really works if your kitchen is under 20°C / 68°F at night, otherwise the dough can overproof.
Day before
- 8:00 AM: Feed the stiff starter
- 1:00 PM: Mix the dough and knead in the butter
- Bulk ferment until risen by 30 to 40% (around 4 to 6 hours)
- 6:00 PM: Refrigerate the dough for a short cold rest (2 to 3 hours is enough here)
- 9:00 PM: Roll out, fill, shape into rolls, and place in the greased baking tray. Cover well and leave at room temperature overnight.
Morning of baking
- 7:00 AM: Check the rolls. They should be puffy and almost doubled. Bake fresh.
Bulk fermenting in winter
Bulk fermentation is the first rise after the dough is mixed. In cooler kitchens, yeast activity slows down more than bacterial activity. This means the dough can take a long time to rise while acidity continues to build, which can leave the finished rolls tasting sharper than they should.
For an enriched dough like this, it’s important to help the dough rise efficiently during bulk fermentation. Placing the dough in a warm spot encourages yeast activity so the dough gains volume without needing a long rise. A turned-off oven with a mug of hot water inside creates a warm, slightly humid environment that works well. Replace the water with freshly boiled water if it cools down.
Once the dough has increased in volume by about 30 to 40%, it’s ready for the next step.
What about the cold proof in the fridge? A common worry is that if a cool kitchen during bulk fermentation can make the dough sour, then a fridge proof must make it even more sour. It actually doesn’t. Below around 4°C / 39°F, both yeast and bacterial activity slow right down, so the dough barely ferments at all in the fridge. The cold proof develops a small amount of complexity and flavour without building sharp acidity. The sour-from-cool-kitchen issue only happens in that in-between zone of around 12 to 18°C, where the bacteria stay active but the yeast slows down.
Method
The evening before
- Feed the stiff starter and leave it to rise until more than doubled and domed on top.
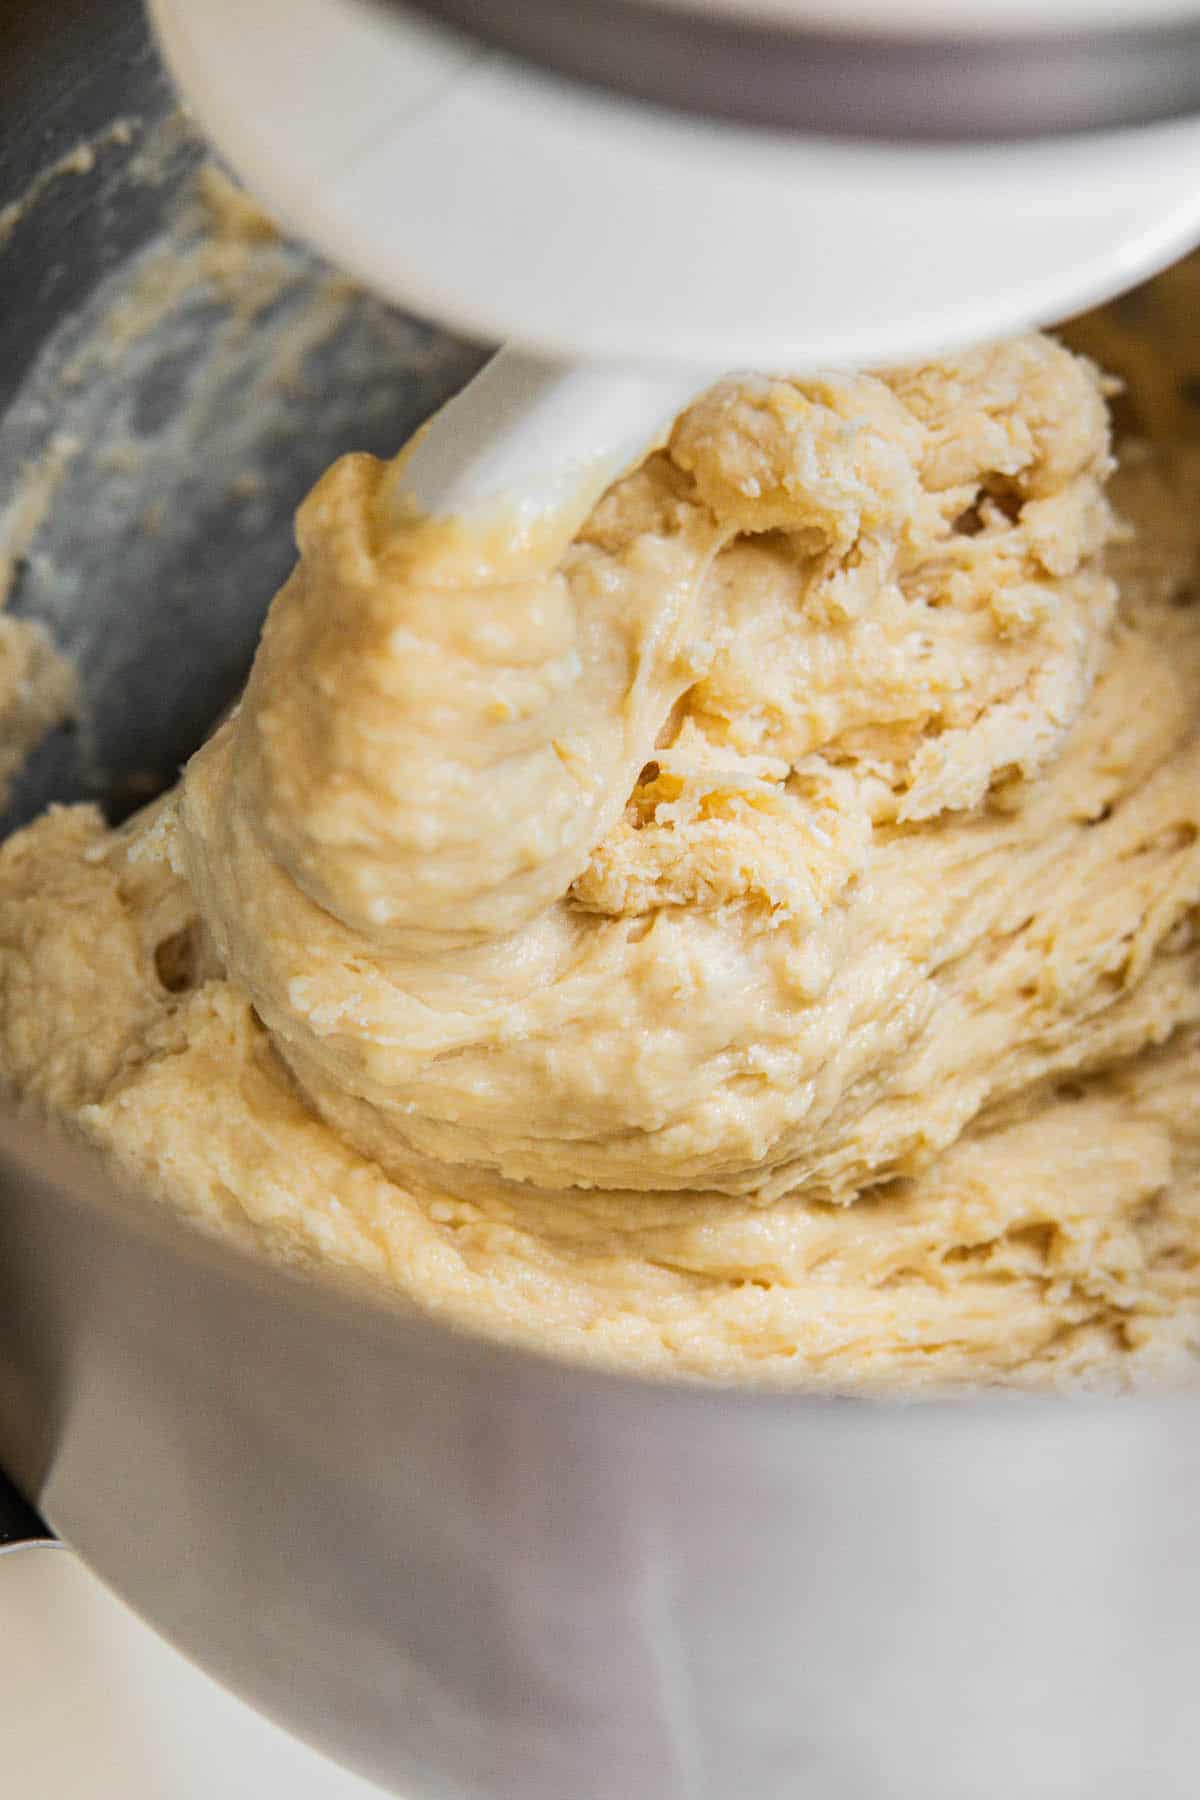
- Add the flour, sugar, salt, eggs, starter, and milk to a stand mixer fitted with a dough hook. Mix on low speed for around 5 minutes to bring the dough together and begin gluten development.
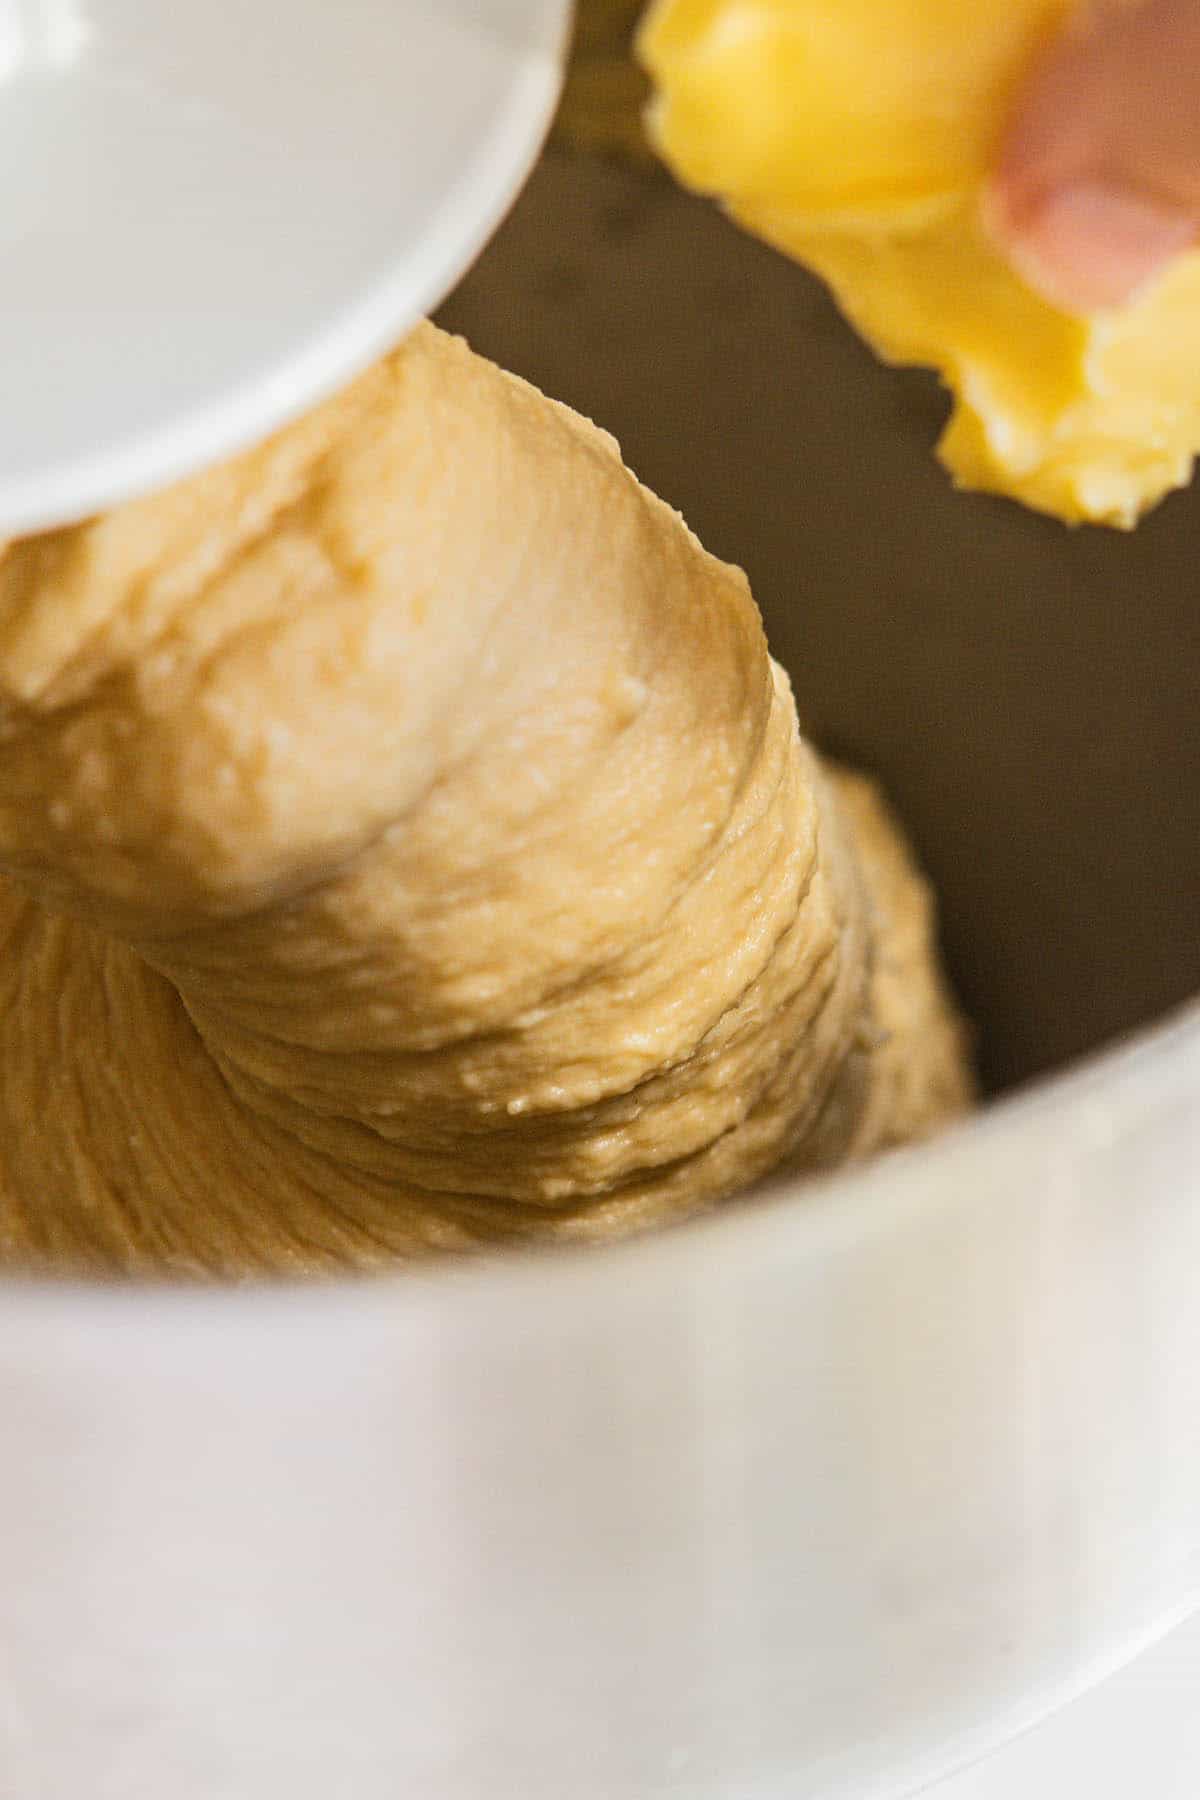
- Gradually add the soft butter, a tablespoon at a time, on medium speed. Wait for each piece to fully incorporate before adding the next.
A note on dough temperature: If the dough gets too warm during kneading, the butter can separate out and the dough will struggle to come together no matter how long you keep mixing. You will notice it looking greasy rather than silky. If this happens, stop the mixer and pop the whole bowl into the fridge for 20 to 30 minutes to cool everything back down, then go back to mixing.
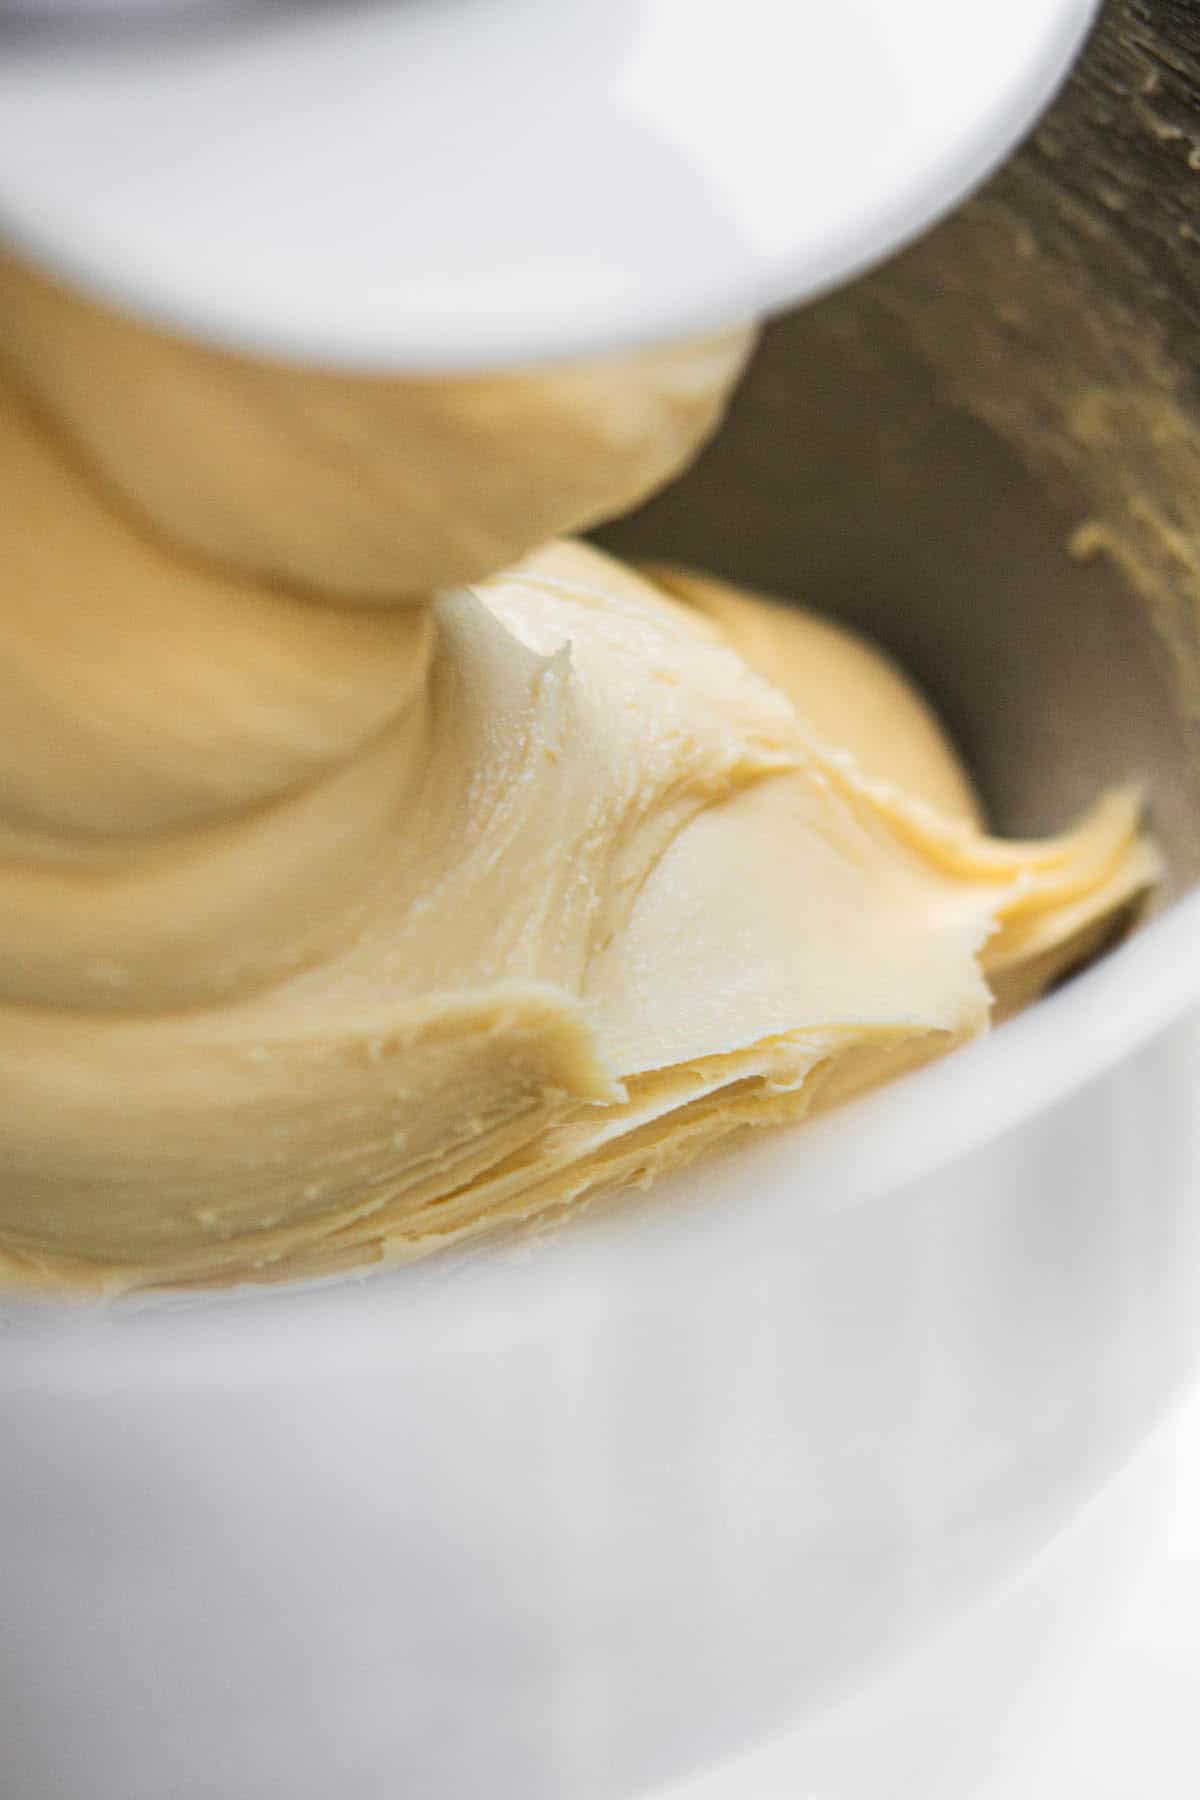
- Keep mixing for around 15 minutes total, until the dough is smooth, glossy, and pulls cleanly away from the sides of the bowl
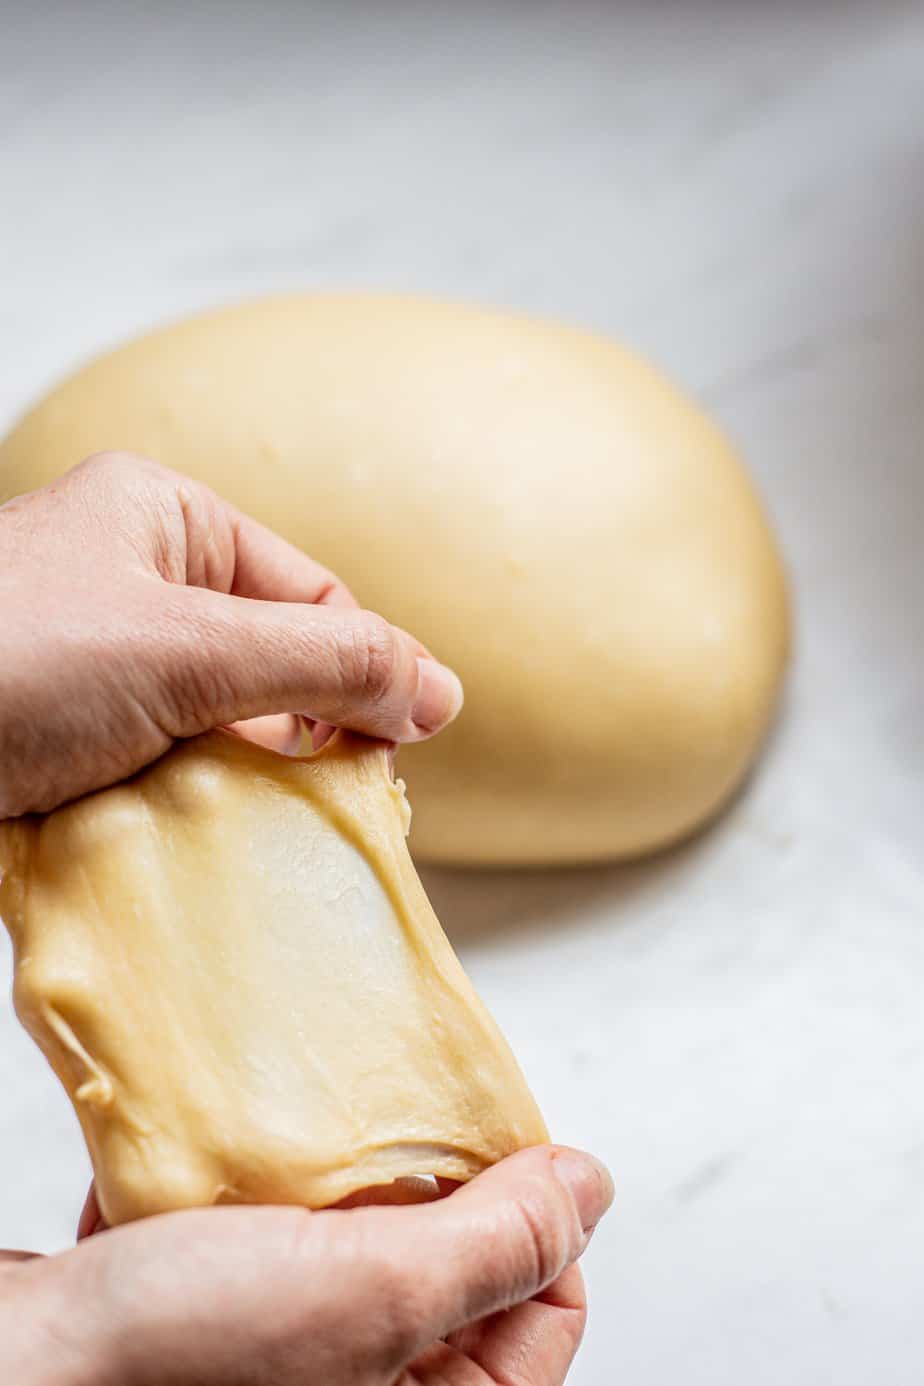
- Check for the window pane. Let the dough rest for a few minutes, then stretch a small piece between your fingers. It should stretch thin enough to see light through without tearing.
- Place the dough in a greased bowl, cover, and let it bulk ferment in a warm spot at around 25°C (76°F) until risen by 30 to 40%. This usually takes 4 to 6 hours.
- Transfer the dough to the fridge for a cold rest of at least 4 hours, or up to 24 hours. The cold rest firms up the butter so the dough is much easier to roll out.
Shaping
- Turn the cold dough out onto a lightly floured surface and roll into a 30 x 45 cm (12 x 18 inch) rectangle.
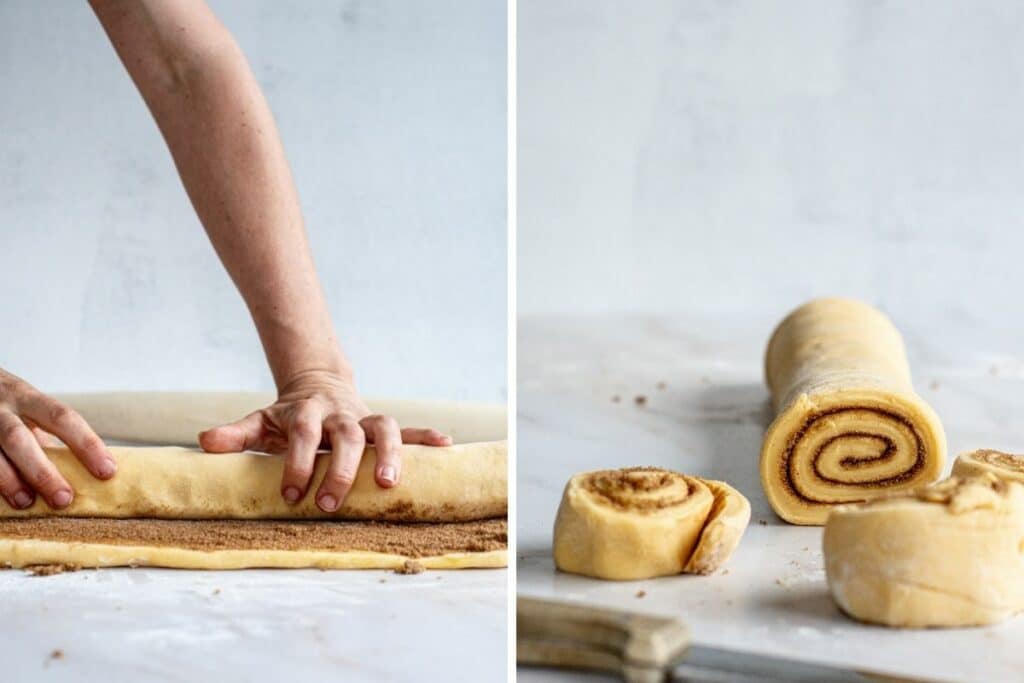
- Spread the softened butter for the filling evenly over the dough, then sprinkle with the cinnamon sugar. Tightly roll up the dough from one of the long sides, working towards you, to form a log around 45 cm (18 inches) long.
- Slice the log into 12 even pieces.
Proofing and baking
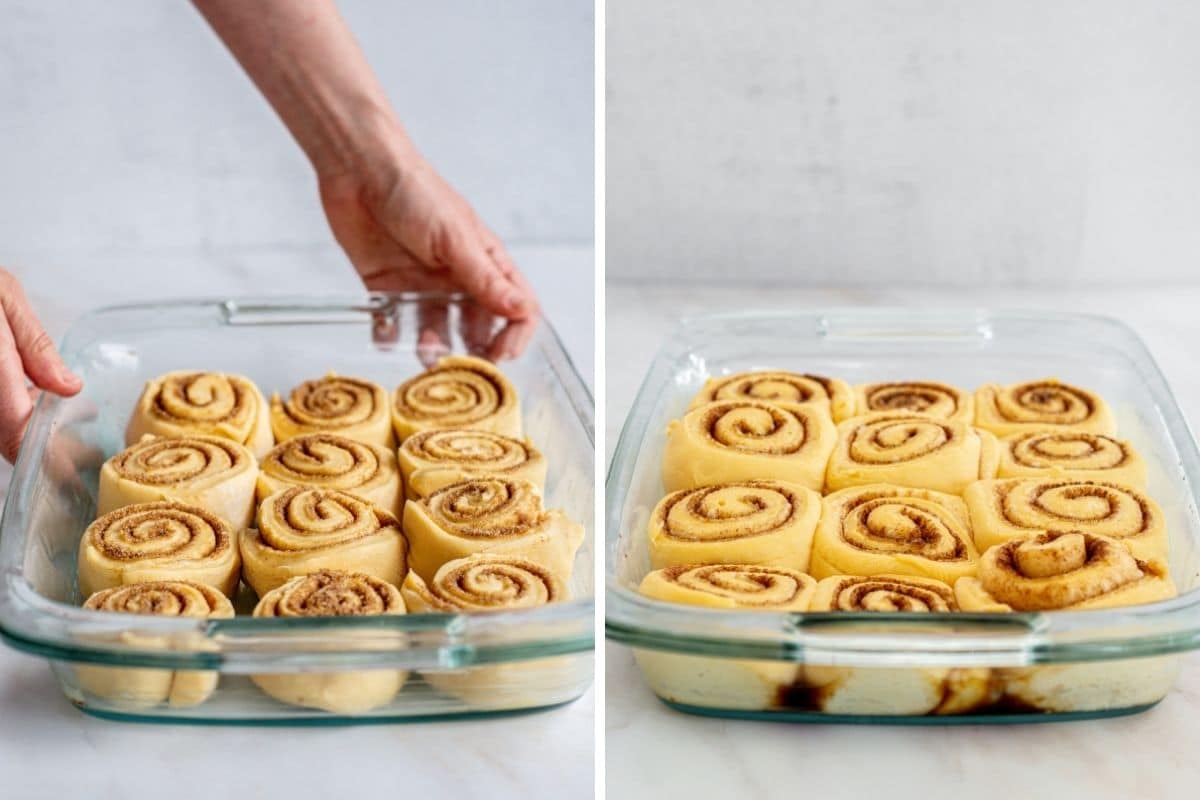
- Place the rolls cut-side up in a greased 9 x 13 inch (22 x 33 cm) baking tray, leaving a little space between each one for spreading.
- Cover the tray with a lightly damp tea towel and let the rolls proof in a warm spot until almost doubled in size and very puffy.
- Bake until puffed up and deeply golden brown. If the tops are browning too quickly, loosely tent with foil.
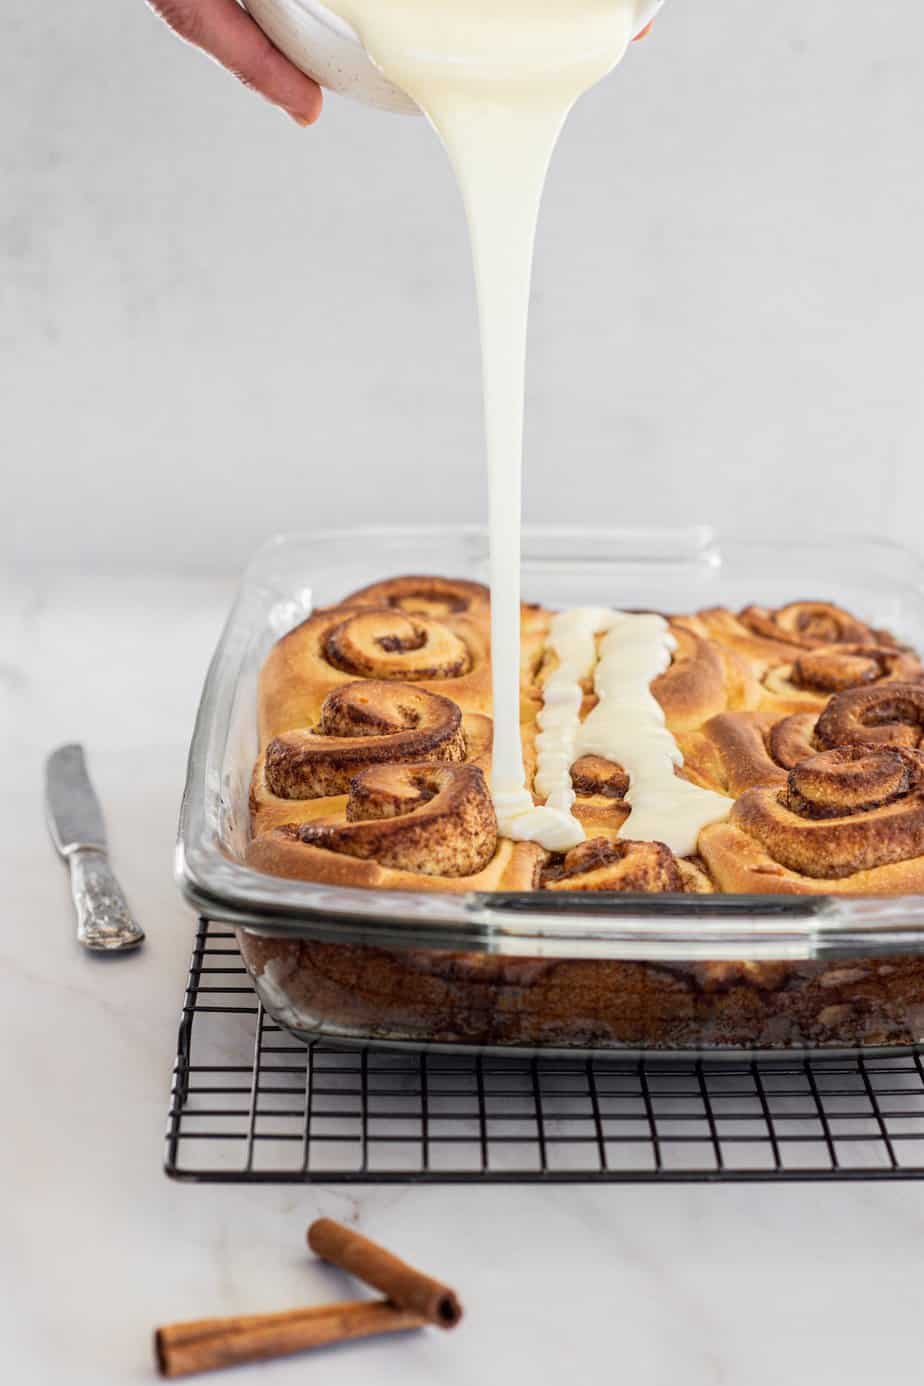
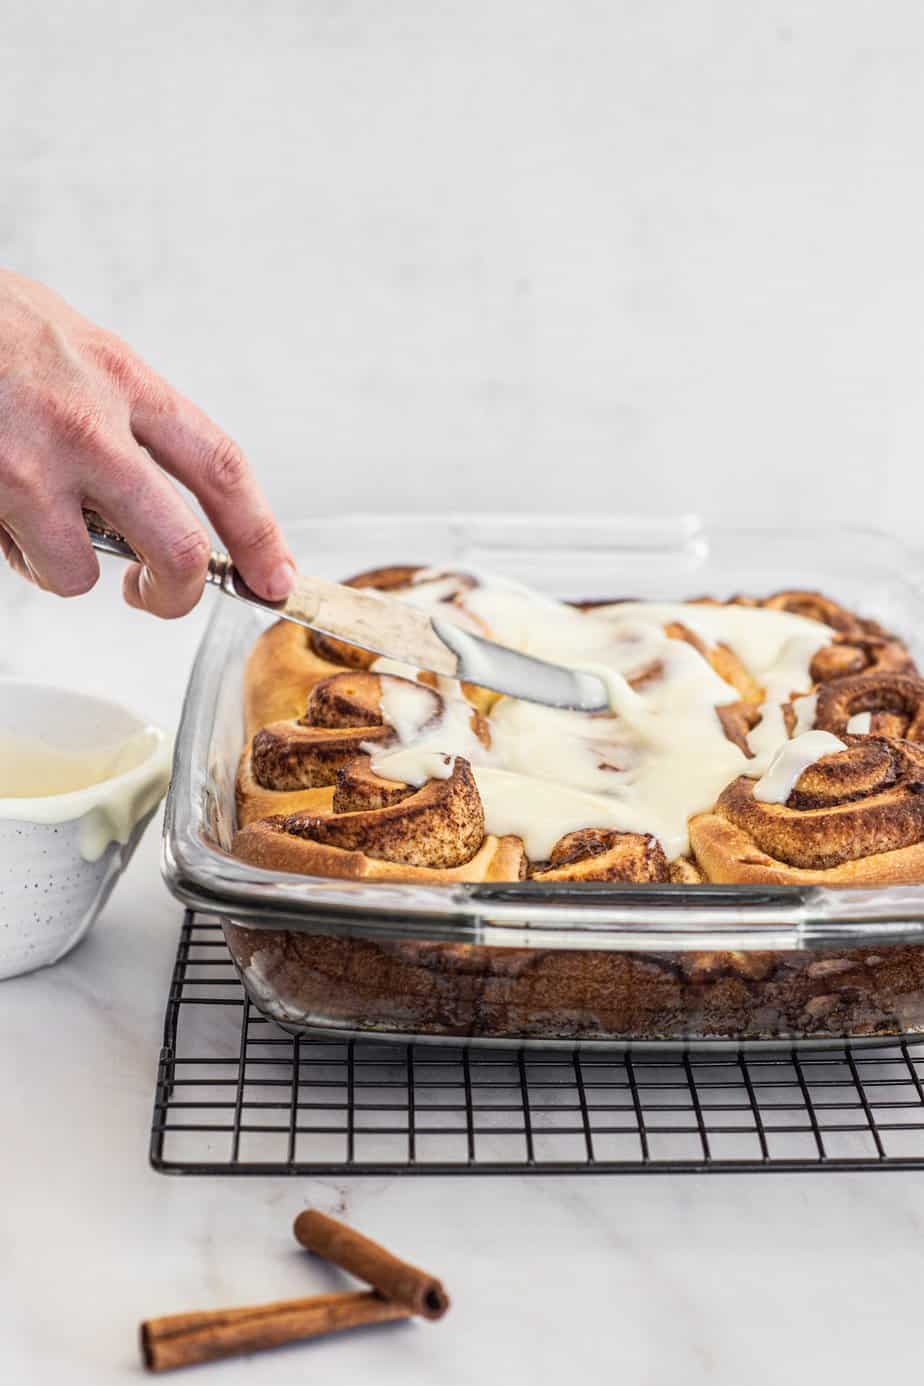
- While the rolls are baking, beat the cream cheese frosting ingredients together until smooth and creamy. Spread the frosting over the still-warm rolls and serve.
Tips for the best sourdough cinnamon rolls
- Add a touch of sugar to the stiff starter for extra mildness. If you find your rolls still come out too tangy, try adding 5g of sugar to the stiff starter when you mix it the night before. The yeast will use the sugar quickly, which keeps acidity production lower. The ratio I use is 20g starter, 80g flour, 40g water, and 5g sugar.
- Keep the dough cool when kneading. Brioche dough warms up fast in the mixer thanks to friction. If it feels warm or greasy at any point, pop the bowl in the fridge for 15 to 20 minutes before continuing.
- Don’t skip the cold rest. The dough is far too soft and sticky to roll out neatly when it’s warm. The cold rest firms up the butter and makes the rolling and filling step actually pleasant.
- Roll the log tightly. Loose rolls unravel during proofing and baking. Roll firmly but not so tight that you squeeze the filling out the ends.
- Use unflavoured dental floss to slice the log. Slide a length of floss under the log, cross it over the top, and pull. It cuts cleanly without squashing the dough the way a knife can.
- Watch the proof, not the clock. Final proof times vary hugely depending on the temperature of your kitchen. The rolls are ready when they have visibly puffed up and feel soft and pillowy. A gentle press should leave a slow, slowly-rebounding indentation.
Storage and freezing
Sourdough cinnamon rolls are best eaten warm on the day they’re baked. The brioche crumb is at its softest within a few hours of baking.
Room temperature: Cover the rolls tightly and store at room temperature for up to 3 days. Microwave individual rolls for 15 to 20 seconds to soften and warm them back up.
Freezing baked rolls: Cool completely, wrap each roll in plastic wrap, then place in a freezer bag. Thaw at room temperature and microwave briefly to refresh.
Freezing unbaked rolls: This is my favourite way to get ahead. Shape the rolls and place them in a greased baking tray. Let them proof until just starting to puff, then cover well and freeze in the tray. Once solid, transfer to a freezer bag. To bake, return them to the greased tray, cover, and let them thaw and proof at room temperature (this will take several hours, ideally overnight), then bake as usual.
FAQs about sourdough brioche cinnamon rolls
Related recipes
If you enjoyed these brioche cinnamon rolls, you might also like:
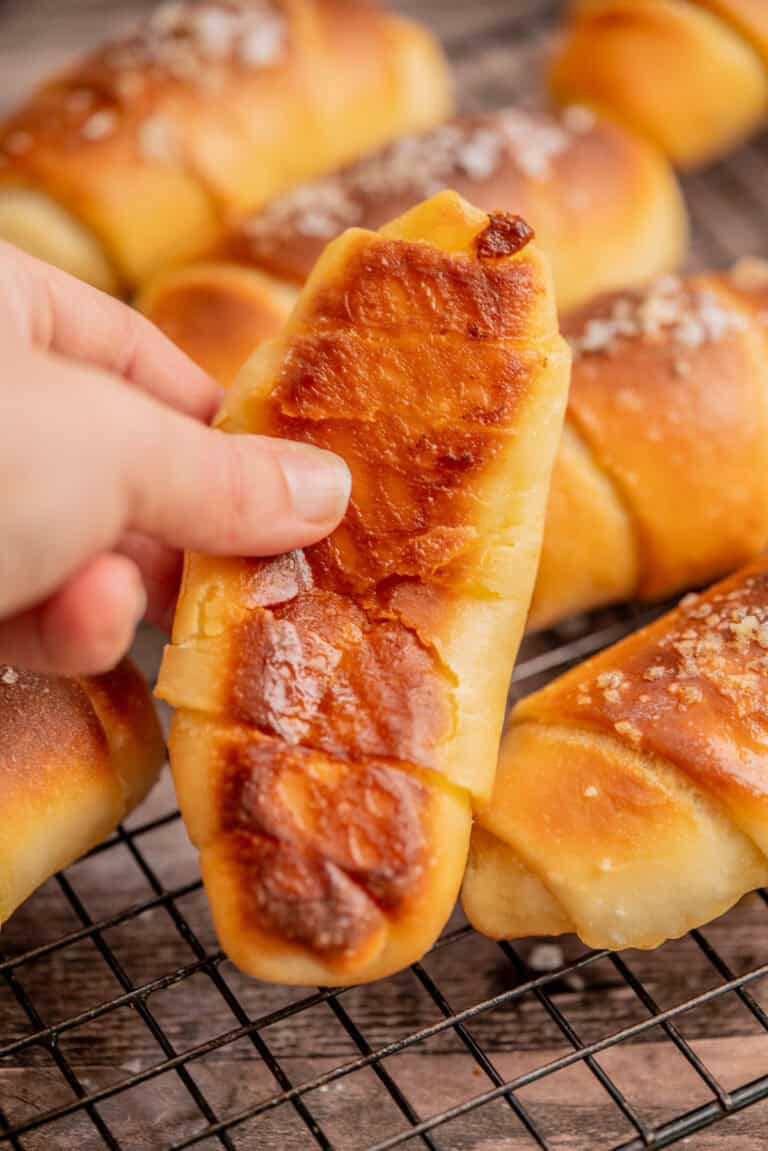
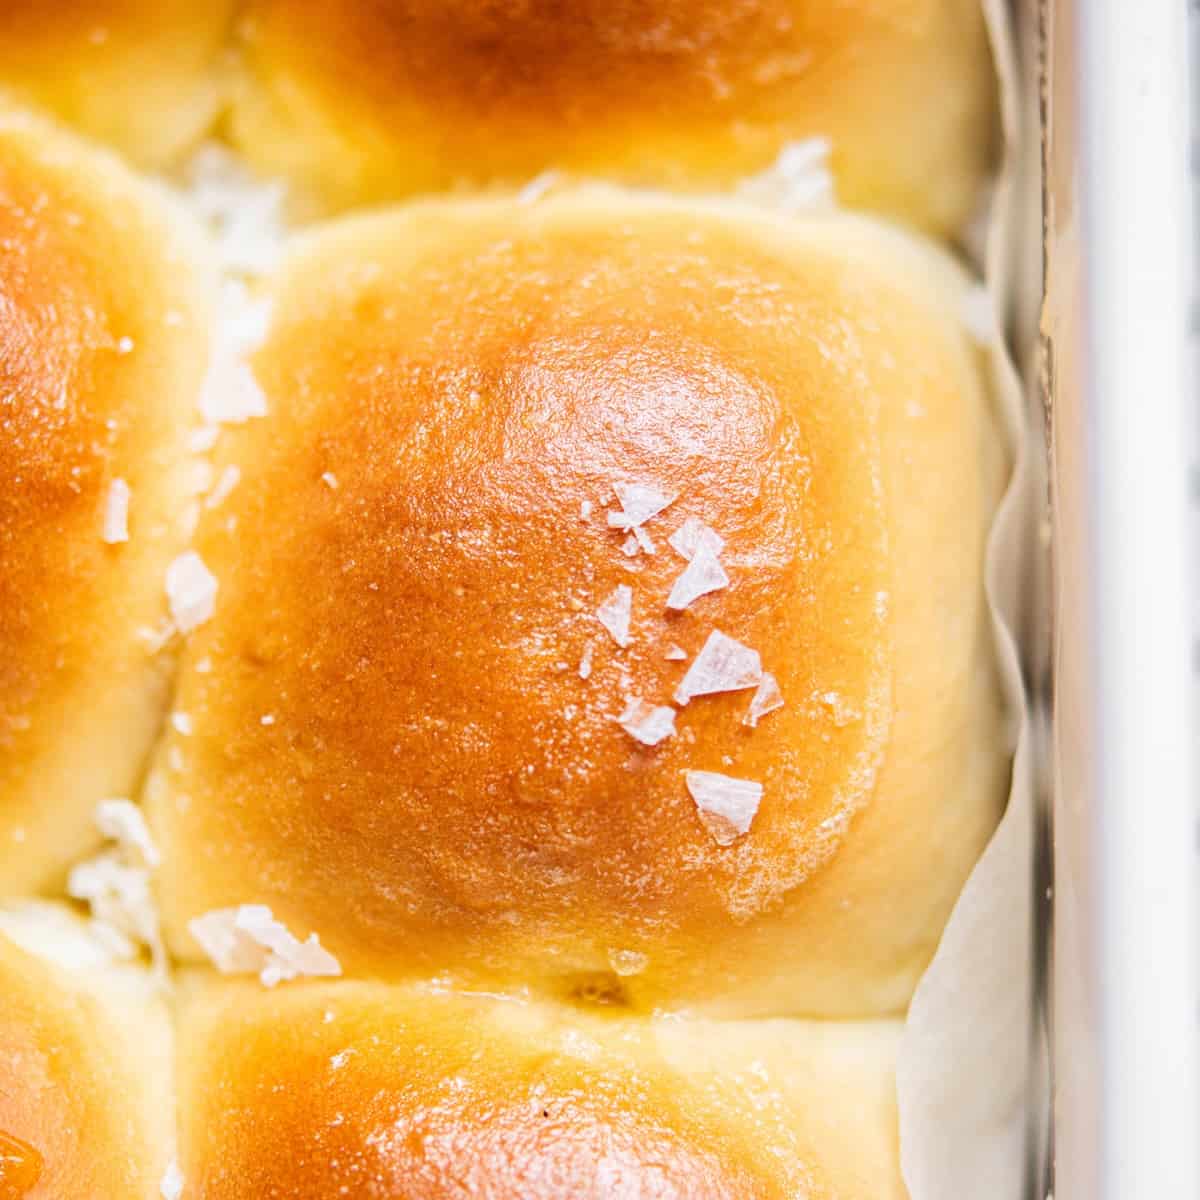
- Sourdough brioche bread, the dough this recipe is based on
- Sourdough chocolate babka, the same brioche dough swirled with chocolate
- Sourdough cinnamon babka, babka but with a cinnamon filling
- Sourdough monkey bread, pull-apart cinnamon balls in a bundt tin
- Sourdough sticky buns, brioche rolls with a sticky pecan caramel topping
- Sourdough Swedish cardamom buns, the same kind of enriched dough with cardamom
Looking for these without sourdough? Here is my brioche cinnamon rolls recipe on Baking With Butter.
For more enriched sourdough recipes, browse my enriched sourdough hub or the main sourdough hub.

Brioche Sourdough Cinnamon Rolls
Ingredients
Stiff starter* (See notes)
- 30 g starter
- 60 g flour
- 30 g water
Brioche dough
- 550 g strong all-purpose flour with around 11% protein
- 50 g granulated sugar
- 4 large eggs
- 125 g milk
- All the stiff starter
- 8 g salt
- 180 g unsalted butter room temperature, cut into cubes
Cinnamon filling
- 75 g unsalted butter softened
- 100 g soft brown sugar
- 2 1/2 tsp ground cinnamon
Frosting
- 60 g cream cheese at room temperature
- 150 g powdered sugar
- 2 Tbsp milk at room temperature
- ½ tsp vanilla extract
Instructions
The night before, feed the starter
- Mix 30g starter with 60g flour and 30g water. Knead into a soft dough ball.
- Place into a lightly oiled jar. Brush the top with a little water so it doesn’t dry out overnight. Loosely cover with a lid and leave to rise for 8 to 12 hours, until more than doubled and domed on top.
The dough
- Add the flour, sugar, salt, eggs, milk, and stiff starter to the bowl of a stand mixer fitted with a dough hook. Mix on low until you have a thick, shaggy dough.
- Mix on medium-low for around 5 minutes to begin developing the gluten.
- Add the cubed butter a tablespoon at a time, on medium speed. Wait for each piece to fully incorporate before adding the next.
- Continue mixing on medium for around 15 minutes total, until the dough is smooth, glossy, and pulls cleanly away from the sides of the bowl. Don’t be tempted to add more flour.
- Let the dough rest for a few minutes, then check the window pane. Stretch a small piece of dough between your fingers. If it stretches thin enough to see light through without tearing, it’s ready.
- Shape the dough into a smooth ball and place into a large greased bowl.
Bulk fermentation
- Cover the bowl and place in a warm spot, ideally around 25°C / 76°F. Let the dough bulk ferment until risen by 30 to 40%. This usually takes 4 to 6 hours but will change depending on temperature.
Cold rest
- Cover the bowl tightly and place in the fridge for at least 4 hours, or up to 24 hours.
Shaping
- Turn the cold dough out onto a lightly floured surface and roll into a 30 x 45 cm (12 x 18 inch) rectangle.
- Spread the softened butter for the filling evenly over the dough. Mix the brown sugar and cinnamon together and sprinkle evenly over the butter.
- Tightly roll up the dough from one of the long sides to form a 45 cm (18 inch) log. Slice into 12 even pieces (using unflavoured dental floss gives the cleanest cut).
Final proof
- Place the rolls cut-side up in a greased 9 x 13 inch (22 x 33 cm) baking tray, leaving a little space between each. Cover with plastic wrap or a dampened towel and let proof in a warm spot until almost doubled and very puffy.
Bake
- Preheat the oven to 190°C (375°F).
- Bake for around 30 minutes, until puffed up and golden brown. If they are browning too quickly, loosely cover with foil.
Frosting
- Beat the cream cheese in a mixer until smooth. Add the powdered sugar, vanilla, and milk and beat until creamy.
- Spread the frosting over the still-warm rolls and serve.


How long do you proof the cinnamon rolls before you bake them? The recipe mentions when they are doubled in size. Do you know roughly how long that takes?
Hey this really depends on room temperature, it can take anywhere from 4 hours or up to 8
Hi 👋🏻😊 I’m currently working on your recipe, I have a couple of questions. Do you need to proof in the refrigerator or can the dough stay on the counter until I see a change in growth ? My other question is have you ever poured heavy cream on top of these cinnamon rolls just before you place them in the oven to bake?
The dough proofs on the counter to do the main rise then has the fridge proof for a more nuanced flavour and i think better texture. You can just leave it at room temp but it can get a bit more tangy because it’ll produce more lactic acid at warmer temps, and it will be a bit harder to shape it the butter in the dough is warm. I’ve not tried the heavy cream trick myself but I’d give it a go 🙂
I have a question. What do I do if I don’t get the recipe started in time. I made the thickened/sweetened starter from my mature sourdough starter last night then didn’t get the time today to begin. Do I feed that starter again? And hope to begin in the morning?
Hey Michelle, yes I would feed it again in the evening and start in the morning
Hi Eileen, I am trying to plan ahead for these at a friend’s birthday breakfast. We are staying away the night before. So, if I was to freeze once shaped, then remove from freezer just before we leave, say 2pm. Would they thaw, then rise overnight ok to bake in the morning? If i froze after the rise and then take frozen they would probably be deflated by the morning, i think. Hope this makes sense.
Thanks
😊
Hey Katie,
I’ve not tried that before so I can’t say for sure that it would work, I think that would be okay! It’s how I would try to do it too 🙂
What temperature do you bake at and for how long?
Hey Nina, sorry I accidentally deleted that line when I edited the this post the other day! 375°F (190°) for around 30 minutes until puffed up and golden brown. If they are browning too quickly, loosely cover them with aluminum foil.
Can you use Einkorn flour? If so are any adjustments needed?
I have never used einkorn flour for this recipe sorry so I’m not sure
These were a huge hit! So soft and tasty. The directions were very clear. I am new to sourdough, and they turned out perfect.
Tried this recipe. It’s ok. The texture was lovely soft right out of the oven, but the rolls seem to dry out very quickly. Also, I’m not sure if it’s the process or starter, but my rolls came out pretty sour, which threw me off. I think if I try this recipe again, I might use less starter and a buttercream frosting to counter the sour flavor.
Hey Elle,
The rolls are definitely best served warm from the oven as brioche bread does tend to try out a bit on following days. Popping the rolls in the microwave for 15-20 seconds can soften them back up though. As for the sour flavor, these rolls have a long rising time so it can be quite pronounced. You can try control the tang a bit by adding a little sugar, a teaspoon or two to to the stiff starter as you mix it, and lessen the seed starter amount in the stiff starter mixture. For example 20g starter, 80g flour, 40g water and 5g sugar.
This recipe looks lovely, have you tried freezing them before baking? I am interested in making a larger amount to freeze and then be able to defrost a few at a time.
Heya, yup you can freeze the unbaked rolls. I would let them proof before freezing them, then you can bake them once thawed :).