A Beginner’s Sourdough Bread Recipe
This is a simple, reliable sourdough bread recipe, perfect for beginners. The process gives you a golden, crusty loaf with a soft, open crumb. If you’re new to sourdough, read through the steps before you begin so you understand the timing and rhythm. Once you’ve got the hang of it, this method honestly becomes second nature.

Sourdough bread
Sourdough bread rises naturally with no commercial yeast needed. Instead, it uses wild yeast and beneficial bacteria (lactobacillus) from a sourdough starter.
The yeast produces carbon dioxide to lift the dough, while the bacteria create lactic and acetic acids that give sourdough its flavour. The long fermentation makes sourdough easier to digest and develops that classic tang.
The sourdough starter & levain
You’ll need an active sourdough starter before you begin. I keep mine at 100% hydration which means equal parts flour and water by weight. Keeping the acid levels balanced helps the dough stay strong and easy to handle and regular feeding keeps your starter healthy and reduces excess acidity. Read more on how to maintain a sourdough starter.
Feeding ratios
I usually feed my starter at
- 1:2:2 doubles within about 6 hours at 21 to 26 °C (70 to 78 °F).
- 1:3:3 takes longer to rise and is useful for overnight feeds.
Both are 100% hydration (equal flour and water by weight).
Creating a levain
A levain is a portion of your active starter fed and grown specifically for the loaf you’re making. To make one:
- Take a small amount of your active starter.
- Mix it with fresh flour and water (for example, 1:2:2).
- Let it rise at room temperature until it doubles and looks bubbly and domed.
Use the whole levain in your bread dough. It’s essentially your freshly-fed, ready-to-use starter. After taking out what you need, feed the remaining starter (about 30g but it can be less) and store it in the fridge for next time. Even a small amount can be built back up again. Save any leftover discard for sourdough discard recipes.
Tools you’ll need
Baker’s schedule (example)
You can adjust these times to suit your day.
| Time | Step |
| 8 am | Feed your starter and create levain |
| 1 pm | Autolyse (mix flour and water) |
| 2 pm | Add levain and salt |
| 2:30-7:30 pm | Bulk ferment with folds |
| 7:30 pm | Shape, then cold-proof overnight |
| Next morning | Bake |
If you run into problems, see my Sourdough Troubleshooting Guide or watch my step-by-step video.
Method (overview)
- Feed your starter so it’s ready to go.
- Mix the flour and water until no dry bits remain, then cover and rest for at least 30 minutes (up to 2 hours). This allows the flour to hydrate and start forming gluten naturally.

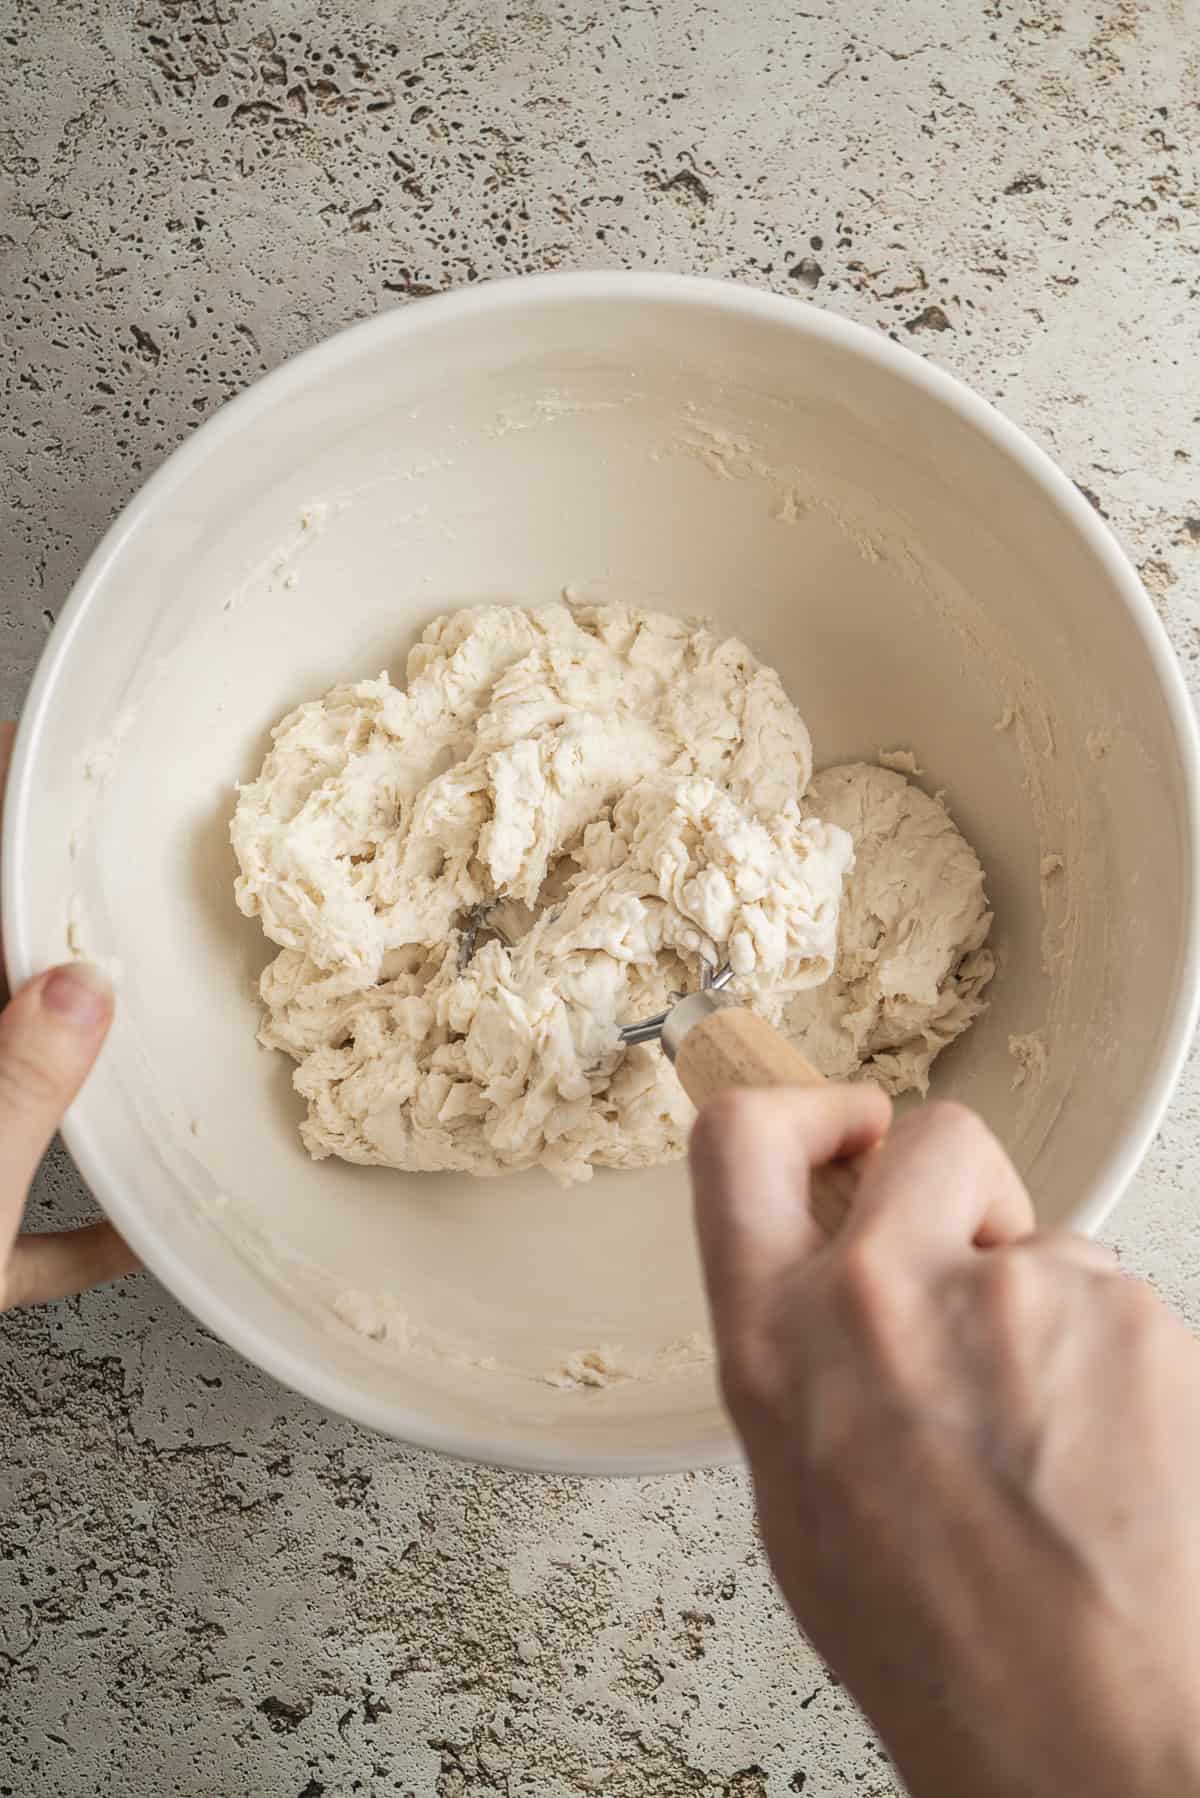
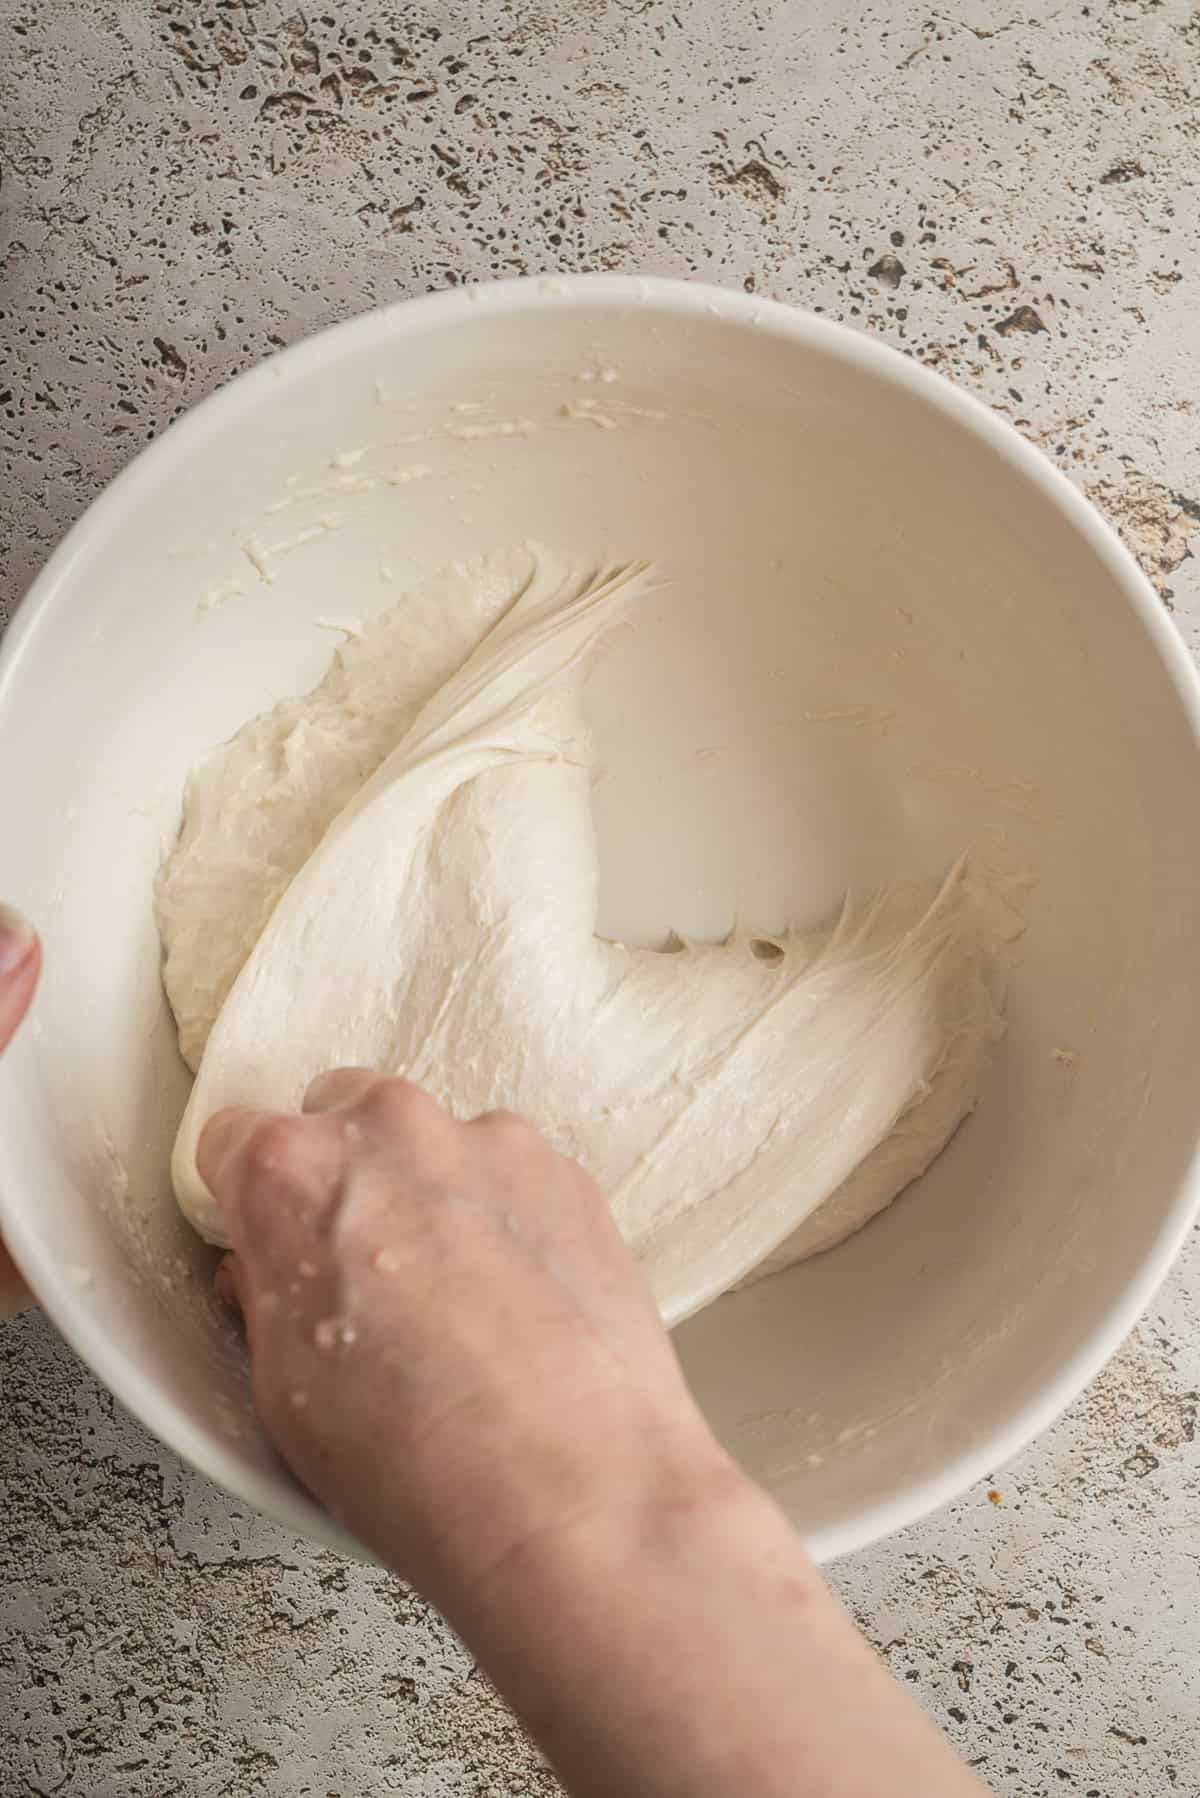
- Add your bubbly levain and salt to the dough. Use wet hands to mix until it forms a sticky, rough ball and knead it in the bowl for 5 minutes. Cover again.
Folding and bulk ferment
- Stretch and fold the dough every 30 minutes for 3 hours. Each fold builds strength and structure. You could do this with coil folds or traditional stretch and folds.
Stretch and folds
Coil folds
Bulk fermenting continued
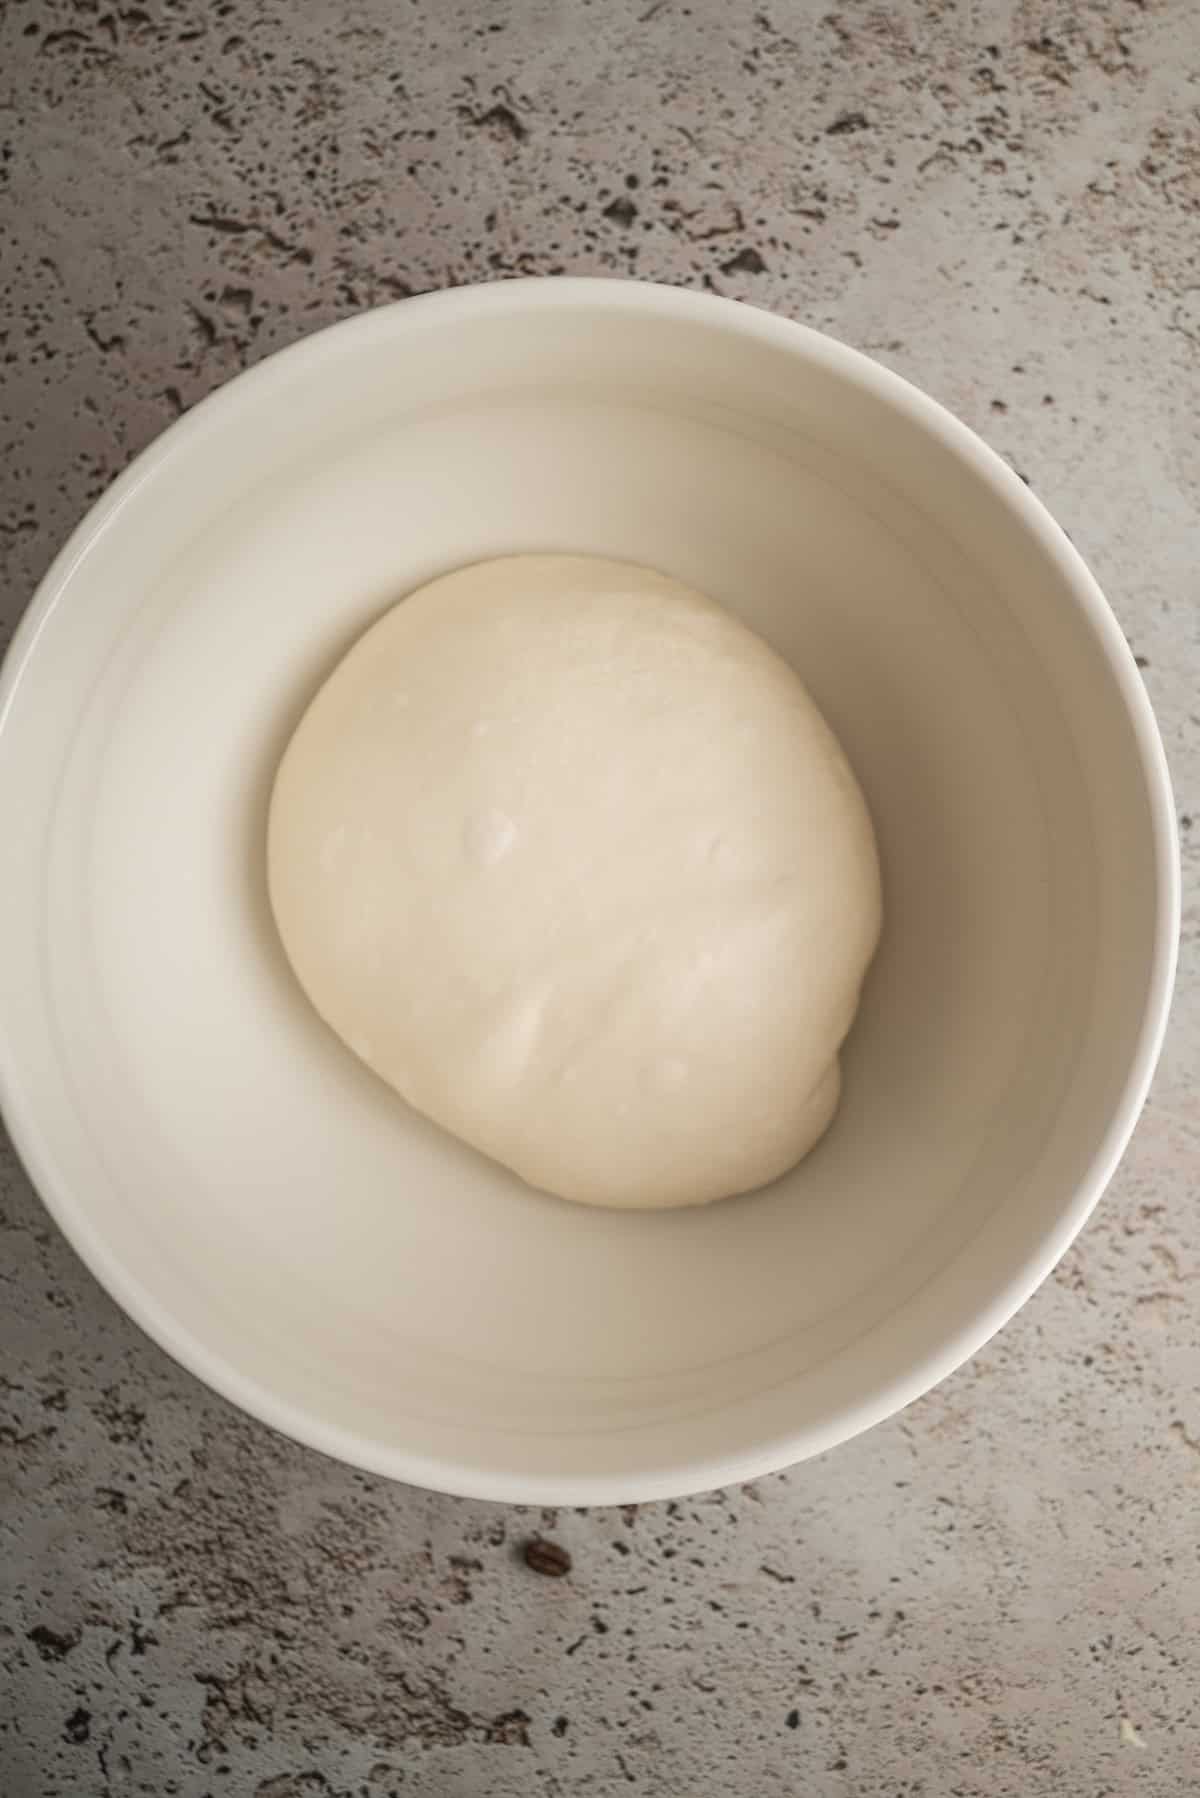
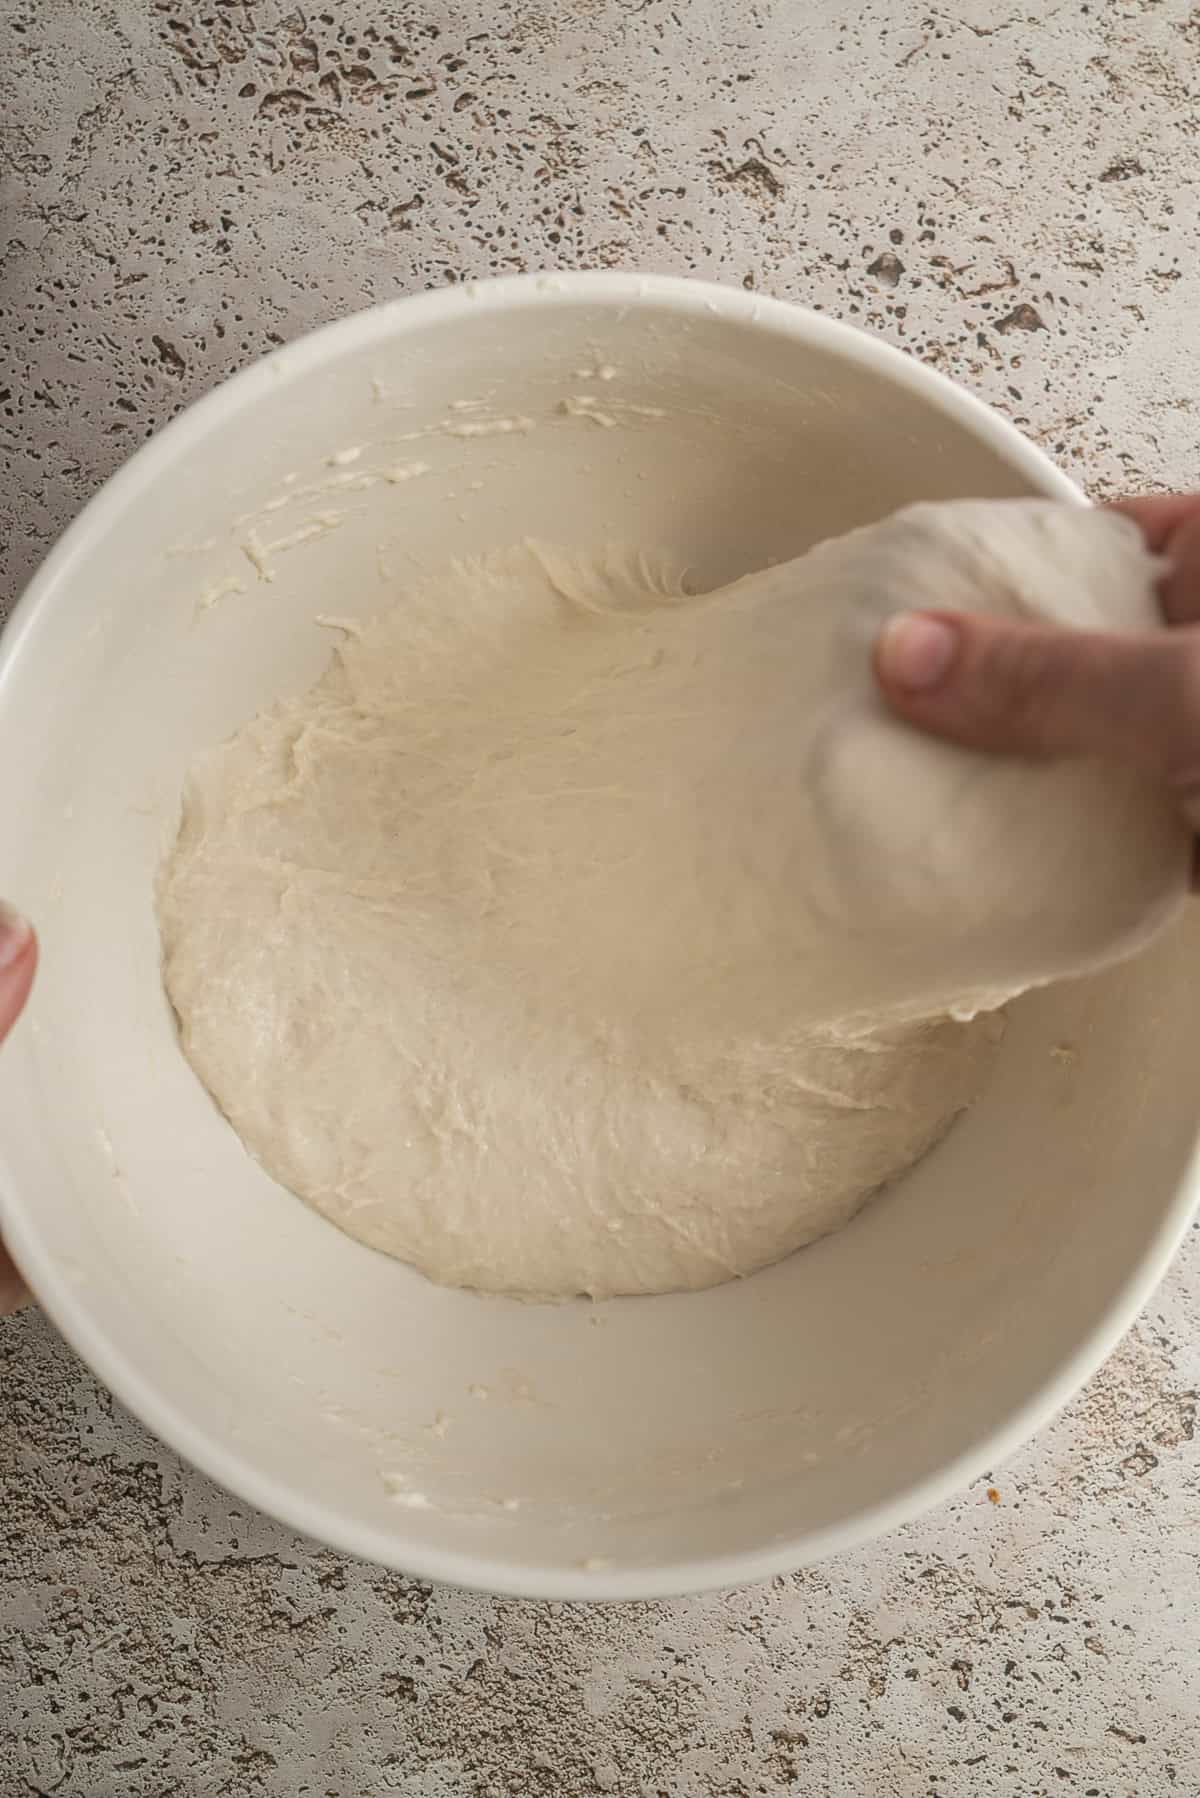
- After your last fold, place the dough in a clean bowl. Keeping the bowl clean stops dried dough from gluing itself on and makes it much easier to clean up later.
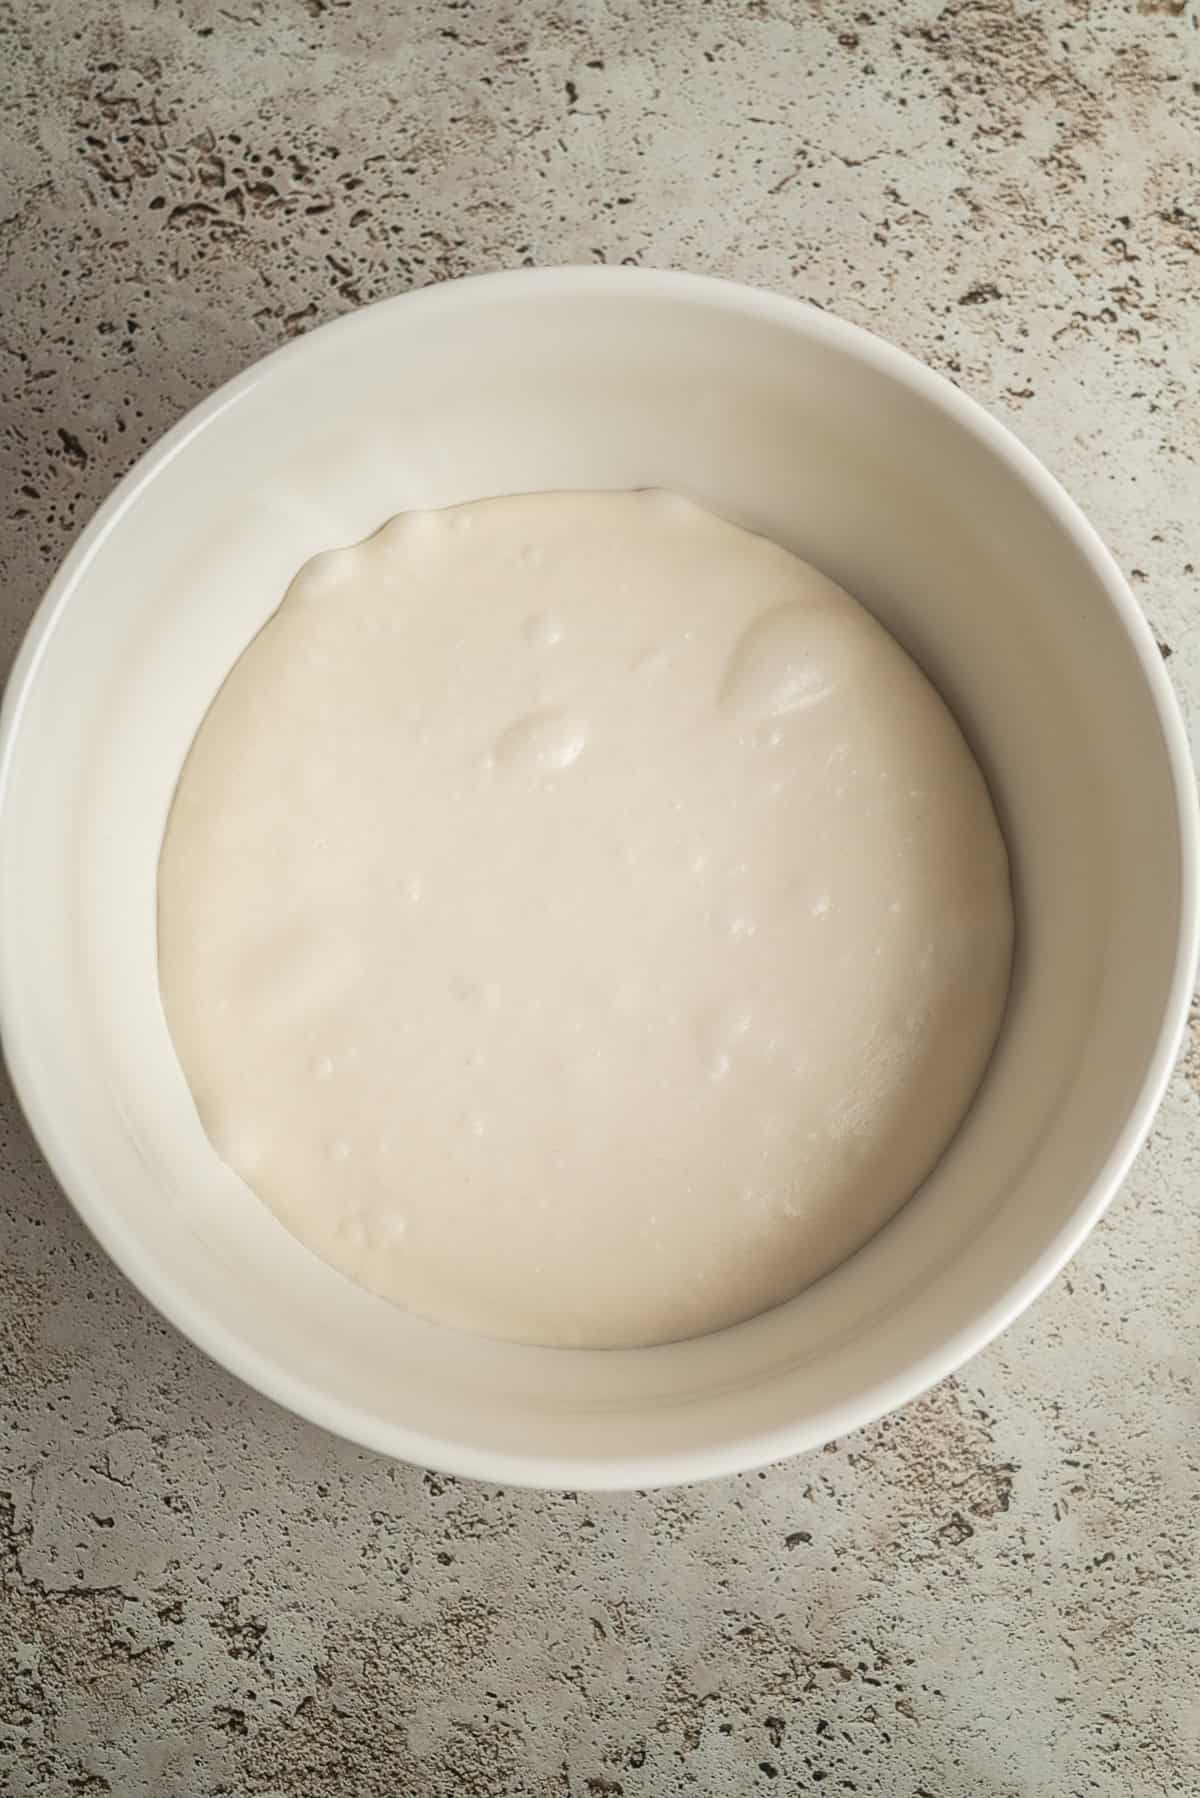
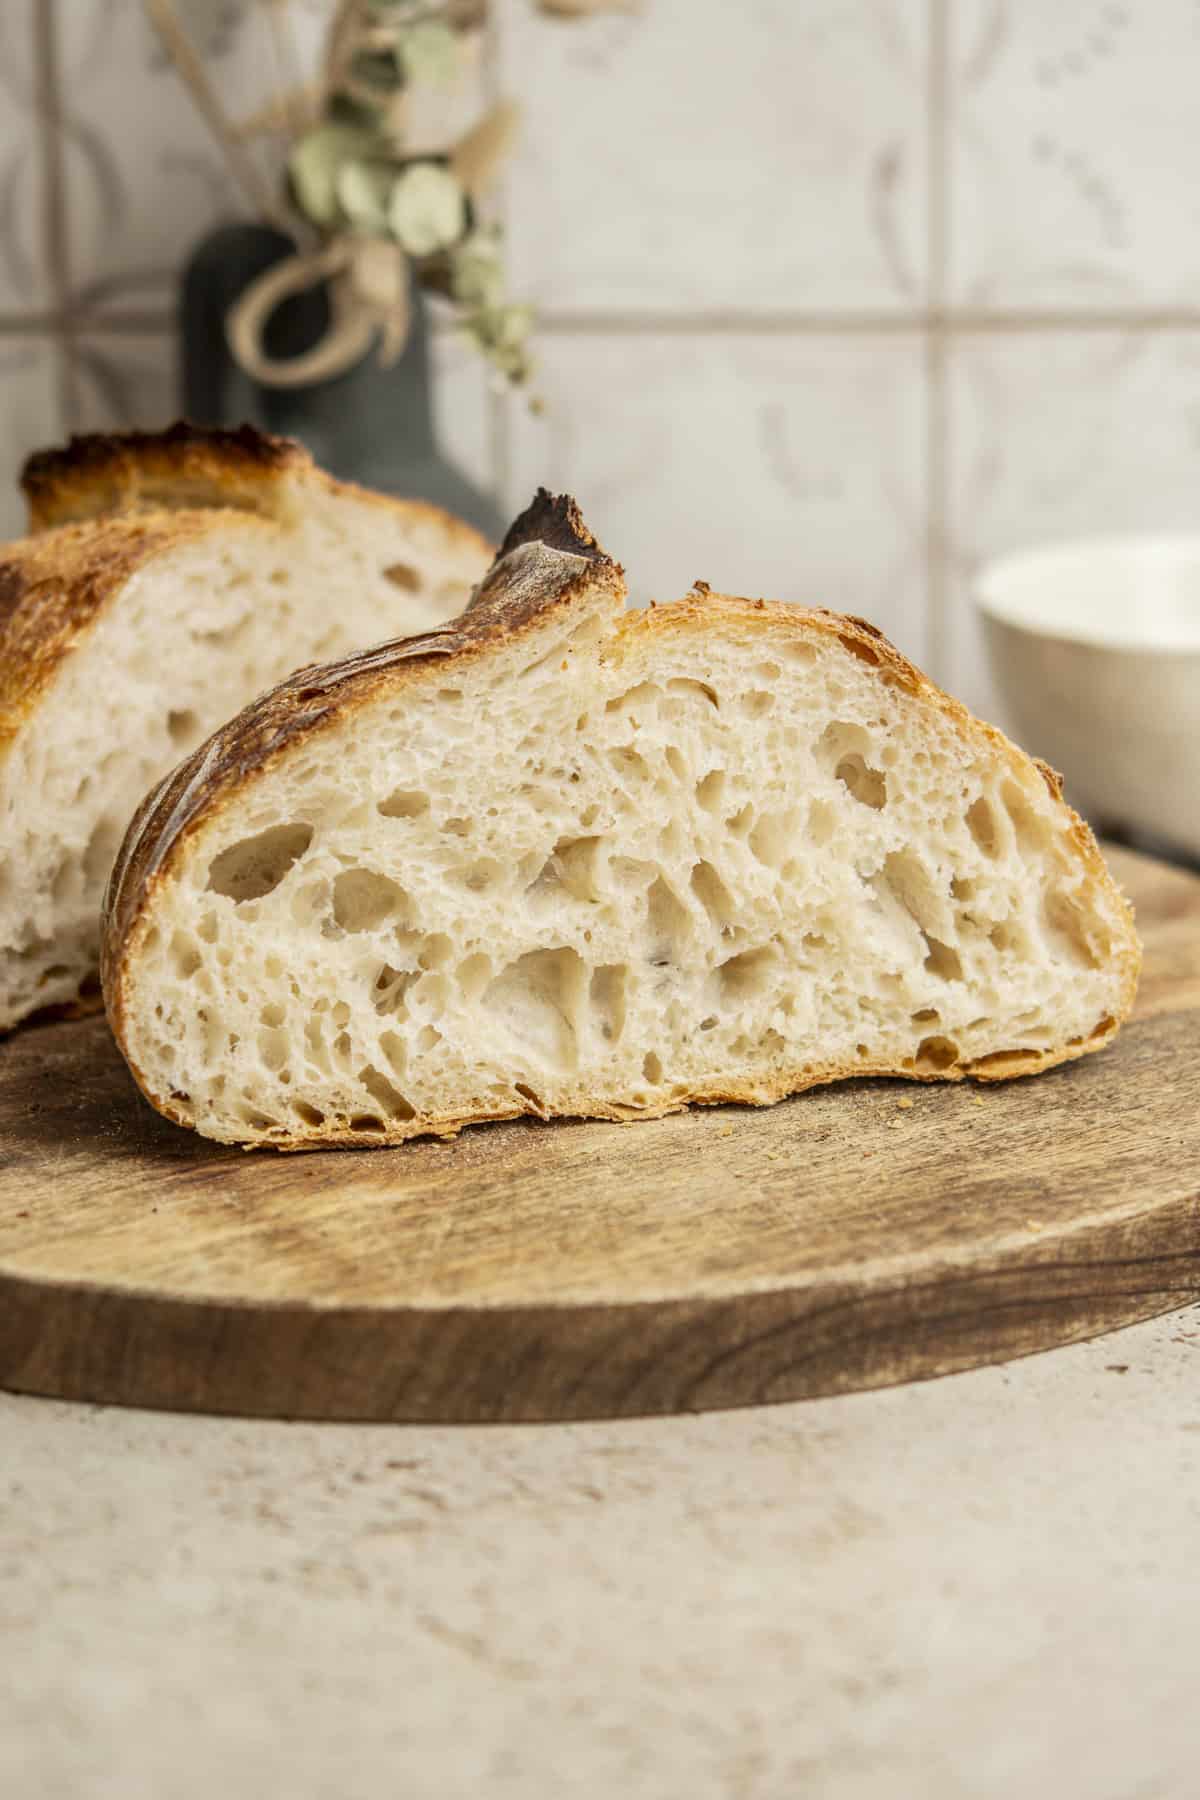
- Let the dough continue bulk fermentation until it’s about 40-50% larger than when it started. It should feel lighter and airier, with some bubbles forming.
Note: Ideal bulk ferment temperature is around 24 °C (75 °F). Cooler rooms take longer and in warmer ones the dough move faster.
Shaping and cold proofing
If you’ve made this recipe before, you might notice I’ve simplified my shaping method. I now use an easier fold-and-roll approach that still builds great structure without being too technical. If you’d prefer to follow my original, more detailed shaping method, you can still find it in my YouTube video here.
- Lightly flour your bench. Tip the dough out gently.

- Gently stretch the dough into a loose rectangle.

- Do a pamphlet fold and fold the bottom third up, then the top third down.

- Turn the dough dough 90 degrees.

- Roll the dough up, gently pressing down with each roll to keep tension as you go.

- Pull it toward you gently to build surface tension and tuck in the sides.

- Place seam-side up in a floured basket. Stitch the top lightly to help it hold height.
- Cover and refrigerate for 12–24 hours to proof slowly.
Note: Dust your basket or floured cloth with rice flour or a 50/50 mix of rice and bread flour. Rice flour doesn’t absorb much moisture, so it’s the best way to stop dough from sticking during long proofing.
Baking

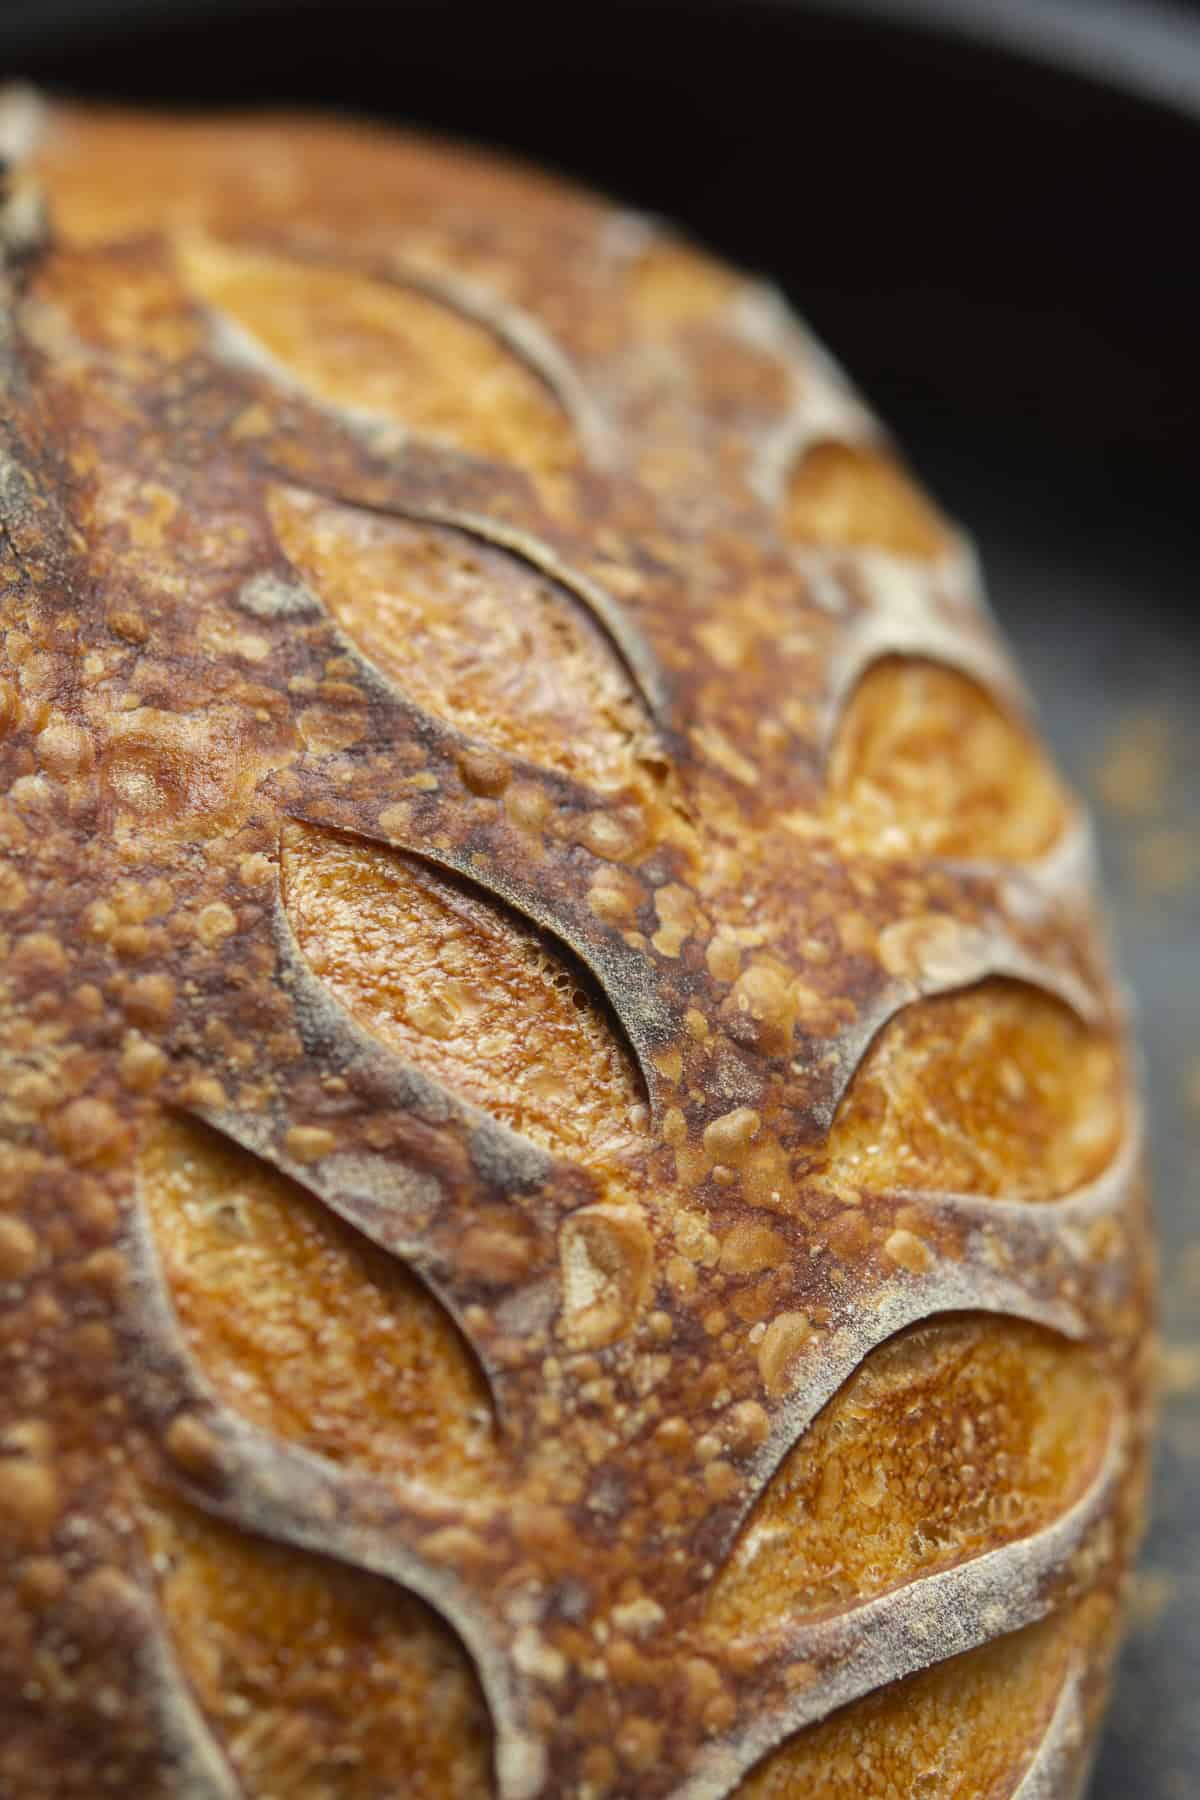
- Flip your dough into it (seam-side down) into your dutch oven and score the dough with a razor or sharp knife.

- Bake covered for 20 minutes, then uncover and bake another 15 to 20 minutes until deep brown.

Dough proofing
Under-proofed dough
An under-proofed dough hasn’t fermented long enough. It will feel tight and dense, and won’t hold its shape when you try to stretch it. After baking, the crumb will be heavy with small, uneven holes and a chewy thick crust. The loaf might burst where the dough tried to expand too late in the oven.
If this happens, extend your bulk ferment next time. The dough should feel lighter and slightly puffy before shaping.
Over-proofed dough
An over-proofed dough has gone too far. It looks very soft and airy, but it feels weak and sticky when you try to shape it. In the oven, it can collapse or spread out rather than spring up. The crust may brown unevenly and the crumb can seem gummy or flat.
If this happens, reduce your ferment time or keep the dough somewhere cooler next time. Aim for a dough that’s risen about 40 to 50% and feels elastic but not fragile.
Trouble shooting tips
- Dough sticking to your hands: Wet your hands during folds to stop it sticking.
- Dense loaf: Under-fermented. Let bulk go longer next time.
- Flat loaf: Over-proofed; shorten the proofing stage.
- Runny starter: Feed a higher ratio (1:3:3 or 1:4:4) to strengthen it.
Adding inclusions (seeds, nuts, cheese, etc.)
Add inclusions after completing the folds during bulk fermentation. This lets the dough build some strength before you mix in anything heavy or textured.
How to add:
- Lightly flatten the dough into a rectangle with wet hands.
- Evenly sprinkle half your inclusions over the surface.
- Fold the dough up like a letter (bottom third up, top third down).
- Turn the dough 90 degrees, then sprinkle on the rest of the inclusions.
- Roll it up into a log, then gently shape it into a ball. Let the dough continue bulk fermentation.
How much to add:
- Around 15-25% of the total flour weight works well for seeds, nuts, or grains.
- For cheese or dried fruit, use a bit less like 15-20%, as they release moisture or sugar.
More sourdough recipes

A Beginner’s Sourdough Recipe
Ingredients
Levain (this will all be used in the dough)
- 20 g sourdough starter
- 40 g all-purpose flour
- 40 g water
Dough
- 400 g bread flour or all-purpose flour, at least 11% protein
- 285 g water
- All the levain
- 8 g salt
Instructions
Levain
- In a small bowl, mix the levain ingredients until well combined and smooth.
- Transfer to a clean jar or glass and cover with a loose lid or damp towel.
- Let it sit at room temperature (around 22-26 °C / 72-79 °F) until it has at least doubled and looks bubbly and domed. This usually takes 4 to 6 hours, depending on room temperature.
Dough
- About an hour before the levain is ready, combine the flour and water in a large bowl. Use wet hands to mix until no dry bits remain. Cover with a plate or damp towel and rest for 30 to 60 minutes.
- Add all the levain and salt. Mix with wet hands until the dough is sticky and roughly combined. Give it a few slap and fold kneads in the bowl to begin creating structure. This is when you lift the dough slightly and slap it back down into the bowl, folding it over itself. After this, cover the bowl and let the dough rest for 20 minutes.
- Over the next 3 hours, perform stretch and folds (or coil folds) every 30 minutes to build strength. Keep your hands damp to prevent sticking. It’s 5 to 6 sets total. After each fold, cover the dough and let it rest until the next one.
- After the final fold, transfer the dough to a clean bowl and cover it to finish fermenting.
- Let it rise in a warm spot until it looks puffy, jiggles slightly when you move the bowl, and has grown about 40-50% (not doubled). This might take between 1-3 hours, depending on your room temperature, so watch the dough, not the clock.
- Tip: Ideal bulk fermentation temperature is around 24 °C (75 °F). Cooler kitchens take longer, warmer ones the dough will rise faster.
Shaping
- Line your banneton with a towel and flour it well with rice flour or a 50/50 rice and bread flour mix.
- Turn the dough out onto a lightly floured surface and gently shape it into a rectangle.
- Fold the bottom third up, the top third down, then turn it 90 degrees. Roll the dough up, gently pressing down with each roll to keep tension as you go.
- Pull it gently toward you to build surface tension and tuck in the sides.
- Place seam-side up in the floured basket and lightly stitch the top to help it hold height.
Cold Proof
- Cover the basket with a floured tea towel or slip it into a large plastic bag to prevent drying out and refrigerate for 12-24 hours.
Baking
- Preheat your oven and Dutch oven to 230 °C (450 °F) for at least 30 minutes.
- When hot, carefully remove the Dutch oven and flour the base.
- Take the dough from the fridge, flip it gently out of the basket, and place it seam-side down into the pot.
- If using a large pot, transfer it on parchment paper to lower it in easily.
- Lightly dust the top with flour and score the surface with a razor or sharp knife.
- Bake covered for 20-25 minutes, then uncover and bake another 15-20 minutes until deep brown.
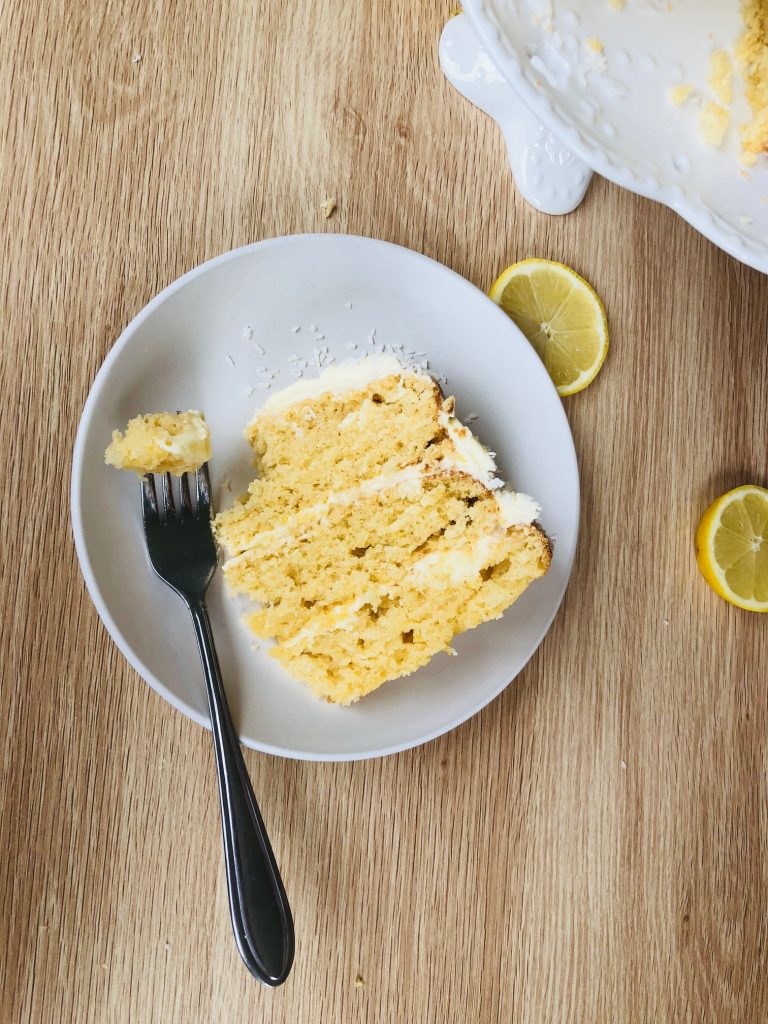
- Cool for at least 2 hours before slicing to let the crumb set.
Notes
Tip for cooler weather sourdough
Sourdough rises more slowly in cool rooms. To help it along, keep your dough somewhere slightly warm, like inside your oven that’s off but with the light on or beside a cup of boiled water. You can also use slightly warm water (around 30 to 35 °C / 85 to 95 °F) when mixing your dough to give fermentation a gentle boost.Dough proofing
Under-proofed dough
An under-proofed dough hasn’t fermented long enough. It will feel tight and dense, and won’t hold its shape when you try to stretch it. After baking, the crumb will be heavy with small, uneven holes and a chewy thick crust. The loaf might burst where the dough tried to expand too late in the oven. If this happens, extend your bulk ferment next time. The dough should feel lighter and slightly puffy before shaping.Over-proofed dough
An over-proofed dough has gone too far. It looks very soft and airy, but it feels weak and sticky when you try to shape it. In the oven, it can collapse or spread out rather than spring up. The crust may brown unevenly and the crumb can seem gummy or flat. If this happens, reduce your ferment time or keep the dough somewhere cooler next time. Aim for a dough that’s risen about 40-50% and feels elastic but not fragile.Levain
A levain is a small offshoot of your main starter, fed and grown just for this loaf. The whole thing goes into your dough. When you feed your starter, split it into two portions:- One for the levain: feed it fresh flour and water in a clean jar and leave it to rise until bubbly and doubled.
- One to keep: feed the remaining starter as usual and store it in the fridge for next time.


HI – great video. Where di you get your cast iron dutch oven as love to get one the same with a handle.
Thanks
Hey! I got it from https://lodgecastiron.co.nz/ 🙂 it’s the combo cooker
You mentioned fan bake and convection oven times and temperatures, but what about a very regular oven without a fan or convection settings, what temp and time would you recommend?
Thanks from Canada!
Hey thanks for pointing that out, I have updated it 🙂
Love the recipe and how you explain it in detail. The bread looks amazing!
Hi there
I’m wondering what size Banneton you use for the basic recipe
Heya I use a 750g banneton 😊
Bread turned out awesome! Your recipes are fabulous! The bread turns out quite a bit darker than I’d like. Should I bake it at a lower temperature, and/or for less time?
Bread turned out awesome! Your recipes are fabulous! The bread turns out quite a bit darker than I’d like. Should I bake it at a lower temperature, and/or for less time?
Hey! Thank you! You can turn down the temperature for the uncovered bake ☺️
Your recipe is literally the best I’ve tried! I am getting wonderful open crumb, thin crust and very consistent results! One question I have is when I leave the Boyle overnight in the fridge, I feel like it’s getting stuck to the banneton and I put a lot of flour to prevent it. But then the flour stays as a thick unattractive layer on top. Do you use rice flour for that? Or is my dough not strong enough and that’s why it sticks? Thank you for your recipe!
Your recipe is literally the best I’ve tried! I am getting wonderful open crumb, thin crust and very consistent results! One question I have is when I leave the Boyle overnight in the fridge, I feel like it’s getting stuck to the banneton and I put a lot of flour to prevent it. But then the flour stays as a thick unattractive layer on top. Do you use rice flour for that? Or is my dough not strong enough and that’s why it sticks? Thank you for your recipe!
I would definitely give rice flour a go! Your bread sounds like it’s working very well, so your dough shouldn’t be the problem. I have to use a heap of regular flour too to stop the sticking, but need much less with rice flour. Thanks for your lovely feedback!
Thank you for this recipe! It’s my favourite one beCause it never fails me!
I love it!
Yay that’s so cool to hear! 😄 you’re so welcome!
Hi Elien! I love this recipe – it works so well! Just wondering whether you’ve used this recipe with add-ins (cheese / herbs / dried fruit etc), and what sorts of adjustments you’d recommend making when doing so?
That’s great to hear! I have experimented with adding dried herbs, fruit and nuts, and I add them at the autolyse stage. ☺️ Haven’t tried cheese though!