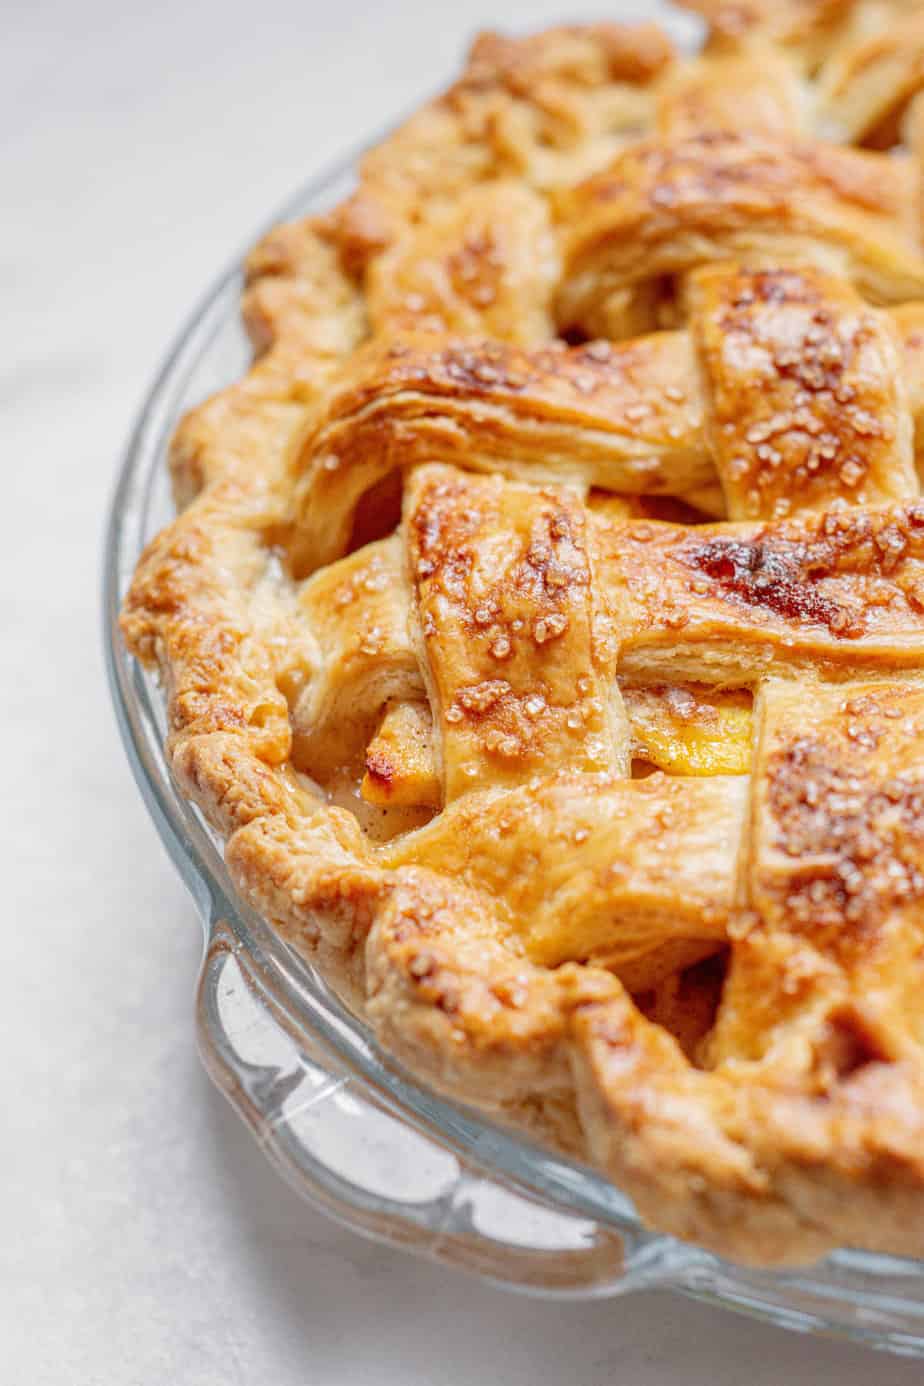
Flaky Sourdough Pie Crust
This all-butter, flaky sourdough pie crust is buttery and tender. It makes the perfect pie dough for sweet pies and savory pies. This recipe makes enough for a double 9-inch pie crust.
The sourdough starter
This sourdough shortcrust pastry uses a cold discard starter mixed with water to bind the pastry. Using a discard starter straight from the fridge helps to keep the butter cold in the dough.
The amount of liquid in the sourdough starter will depend on how old the discard starter is. A starter that has not been fed for a long time is often quite runny. A runny starter means less water will be needed in the dough to bind it. A younger starter won’t be so liquid, and the dough will need more water. The sourdough discard starter’s acid helps create an extra tender pastry. If you don’t have one yet, learn to make your own sourdough starter.
A few key ingredients
Top tips for a flaky crust
When making sourdough pie crust dough, there are five things to pay attention to.
- It’s important not to overwork the pastry dough. Overworking the dough will make the pastry tough. Once it makes a cohesive dough, roll it out into a small rectangle, then fold the dough into layers like a pamphlet. Repeat. This process is similar to lamination in sourdough puff pastry and makes a flakier crust. It will make it smoother without developing the gluten as much as kneading.
- Keep the butter in the cold pastry, coarse bread-size pieces and a few pea-sized pieces. Letting the butter melt or become too small means there won’t be any layers in the pastry once baked. . If you are in a warm environment you may want to swap half the butter for shortening. Butter makes a flakier crust with more flavor, but shortening is easier to work with as it has a higher melting point than butter.
- Don’t add too much or too little water. It should hold together easily but not be sticky. Adding too much water to the dough will overdevelop the gluten in the flour and create a chewy pastry.
- Let the dough rest. Once the pastry is mixed, let it rest in the refrigerator so the gluten can relax. This will help roll the pie crust and avoid shrinking in the oven.
- Bake the pie crust properly. An underbaked pie crust will be soft, not flaky.
How to make
- Mix together your dry ingredients.
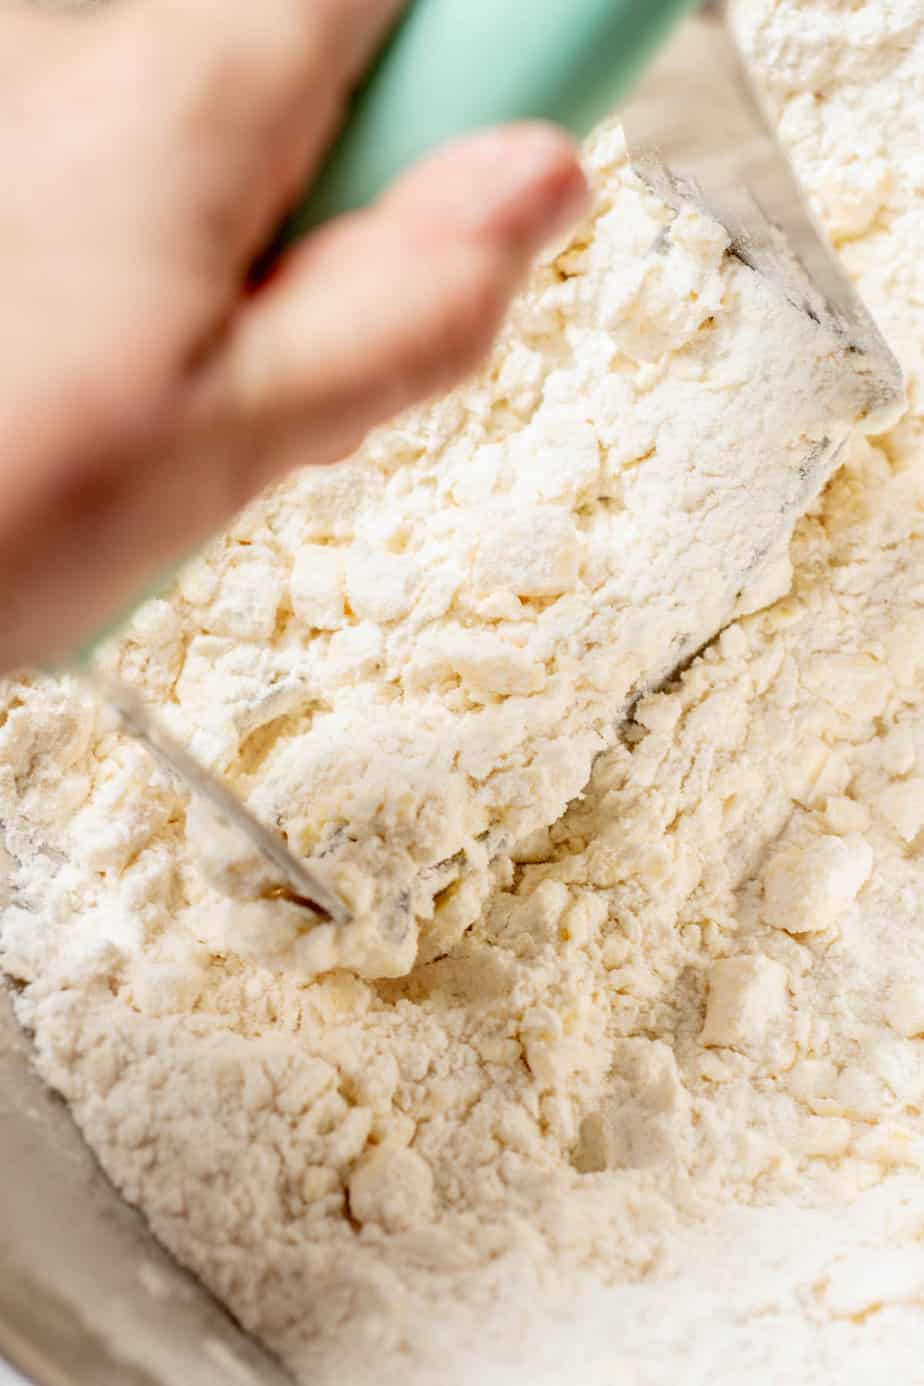
- Add in cold butter and cut ir into small pieces into the flour, or use a food processor to pulse it a few times to break it up.
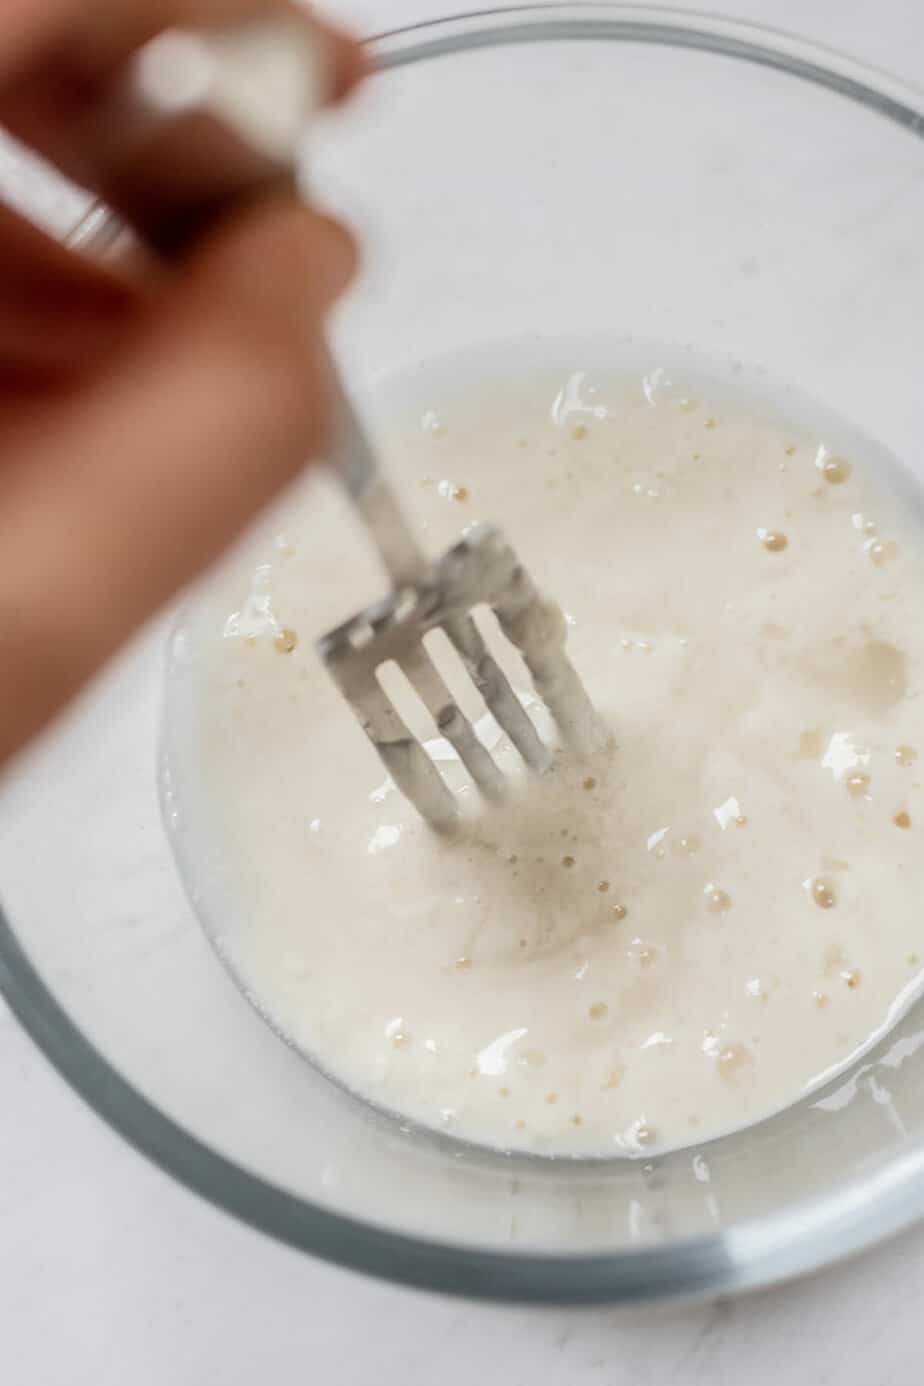
- In a small bowl whisk together the discard starter and 3 tablespoons of ice water.
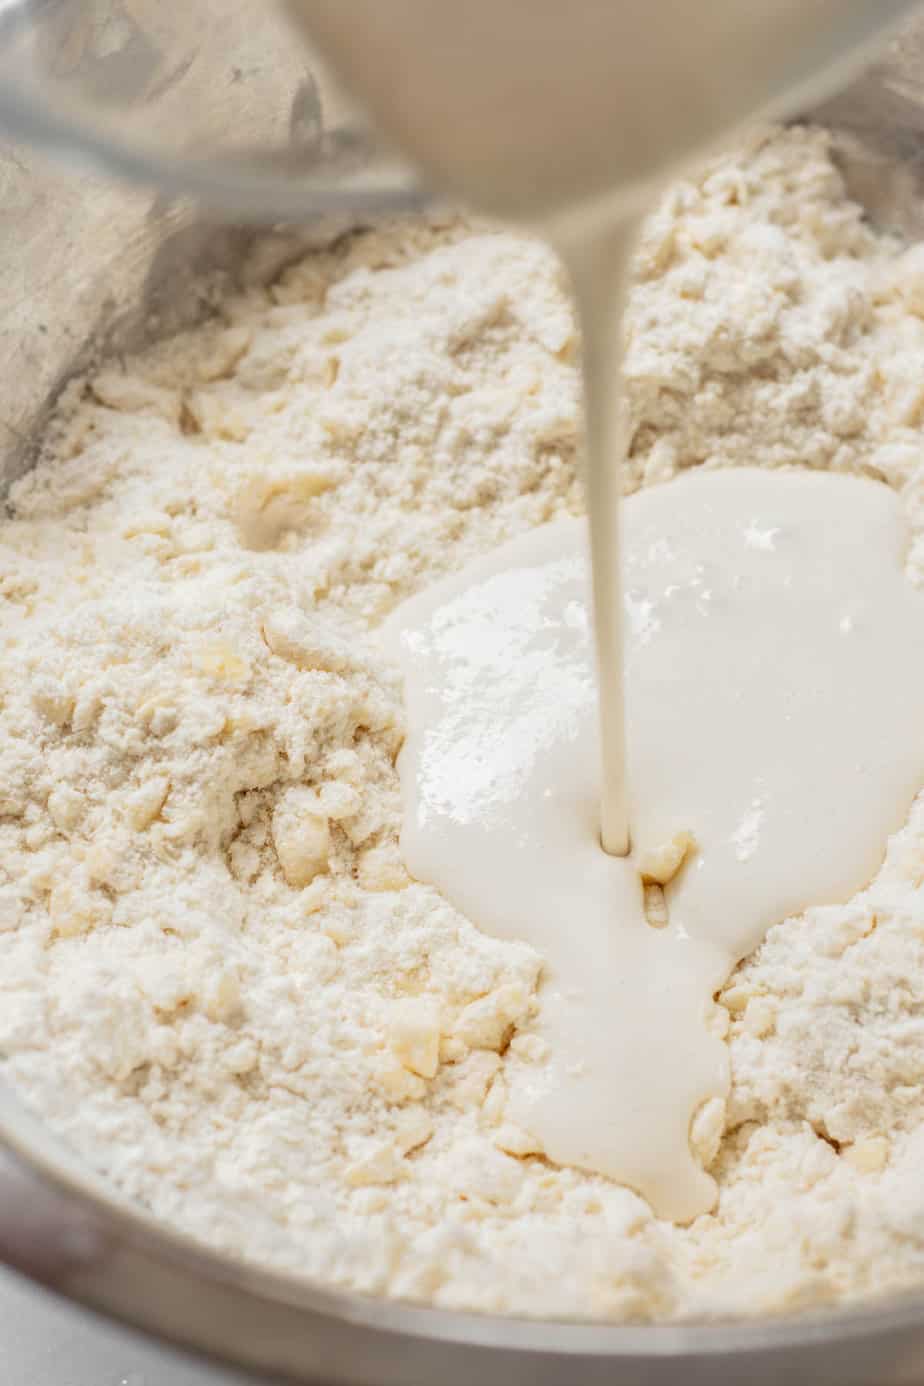
- Make a well in the middle of the butter mixture and add the sourdough starter mixture. Use a fork to combine it to form a thick dough.
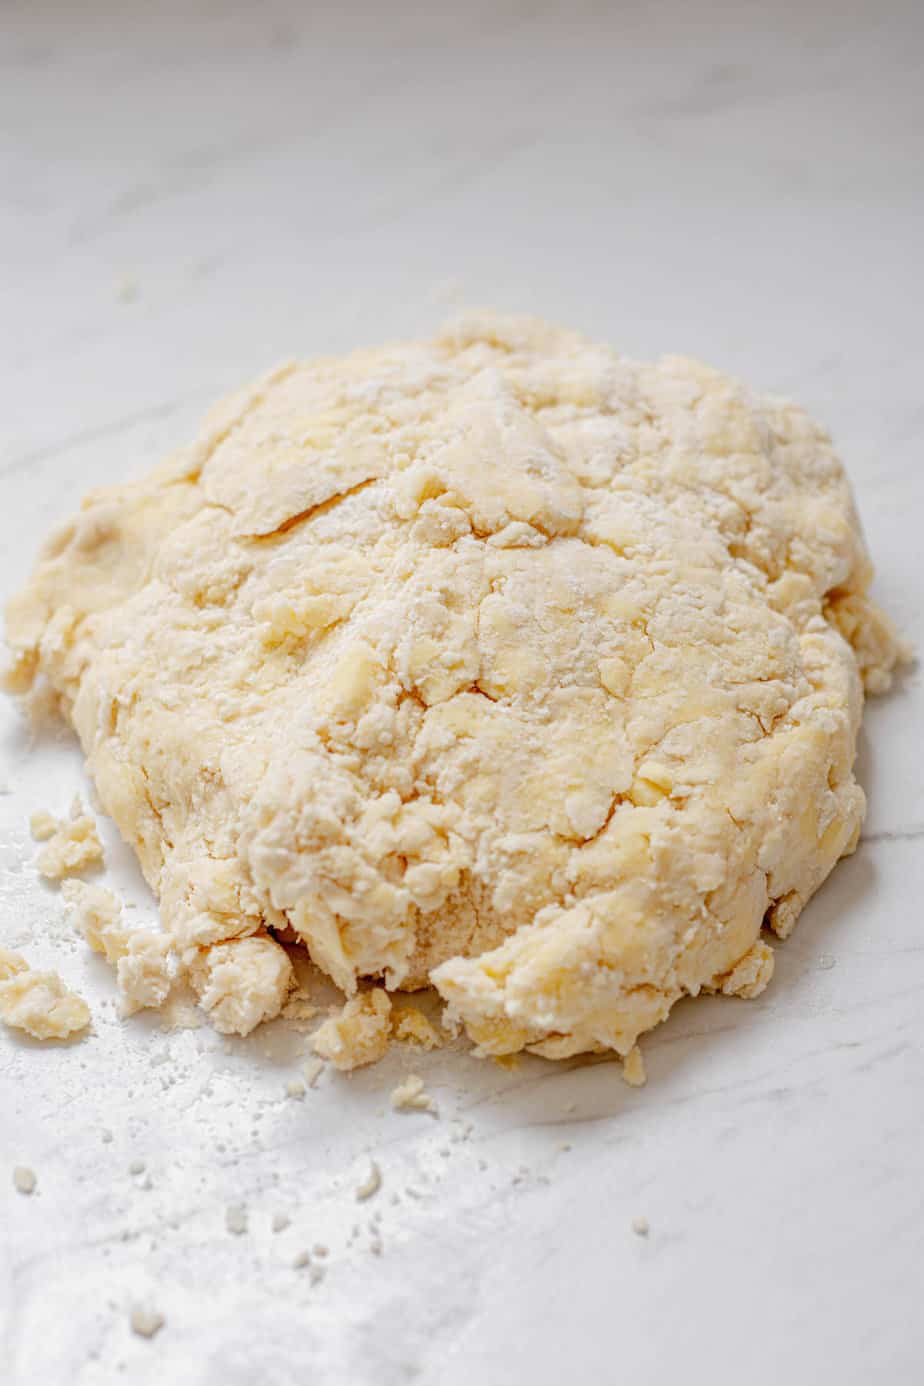
- It needs to hold together easily but not be wet.
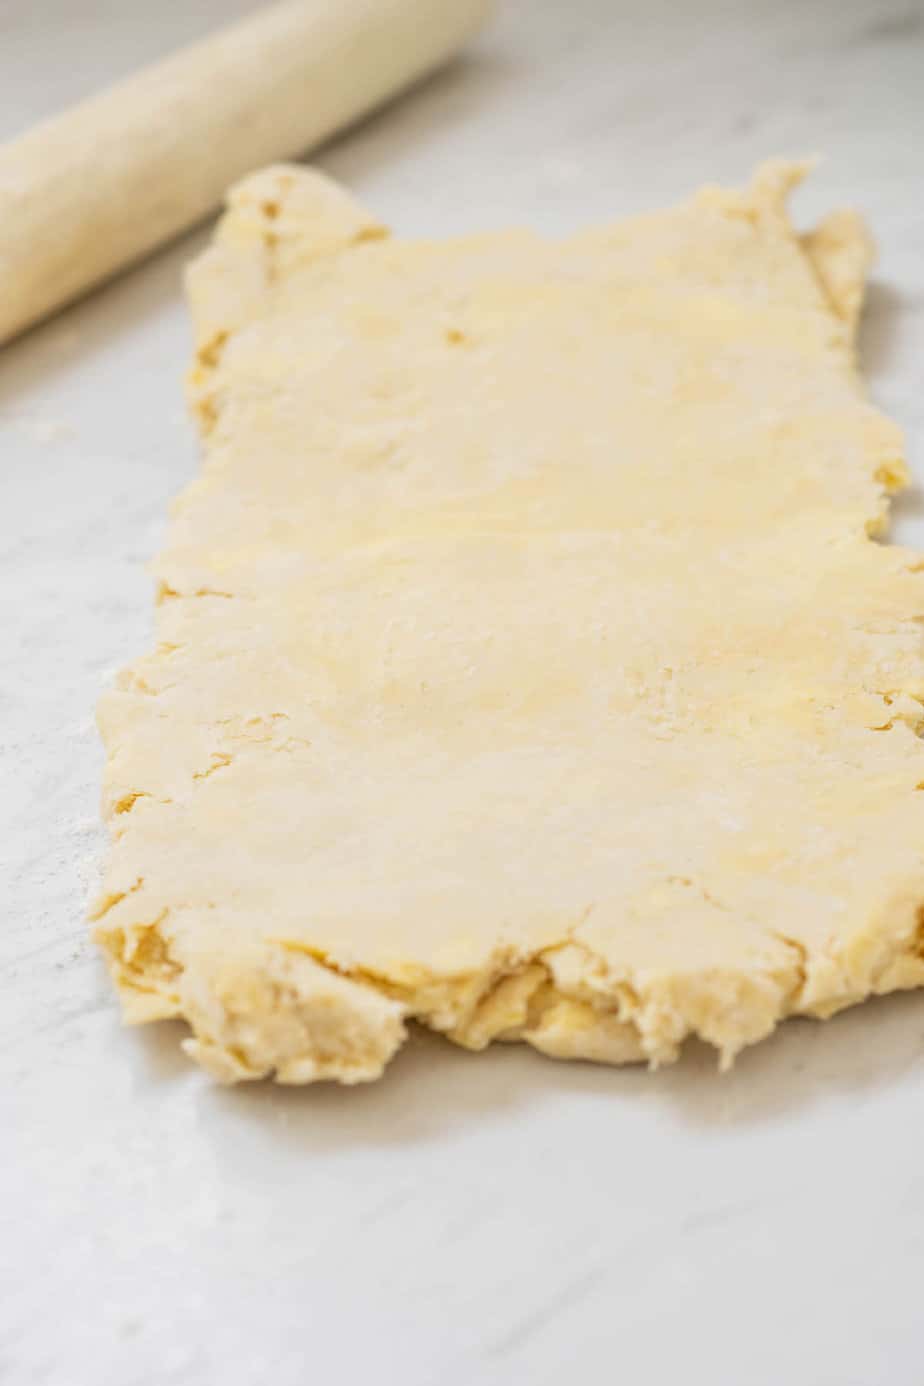
- Roll the dough out into a rectangle.
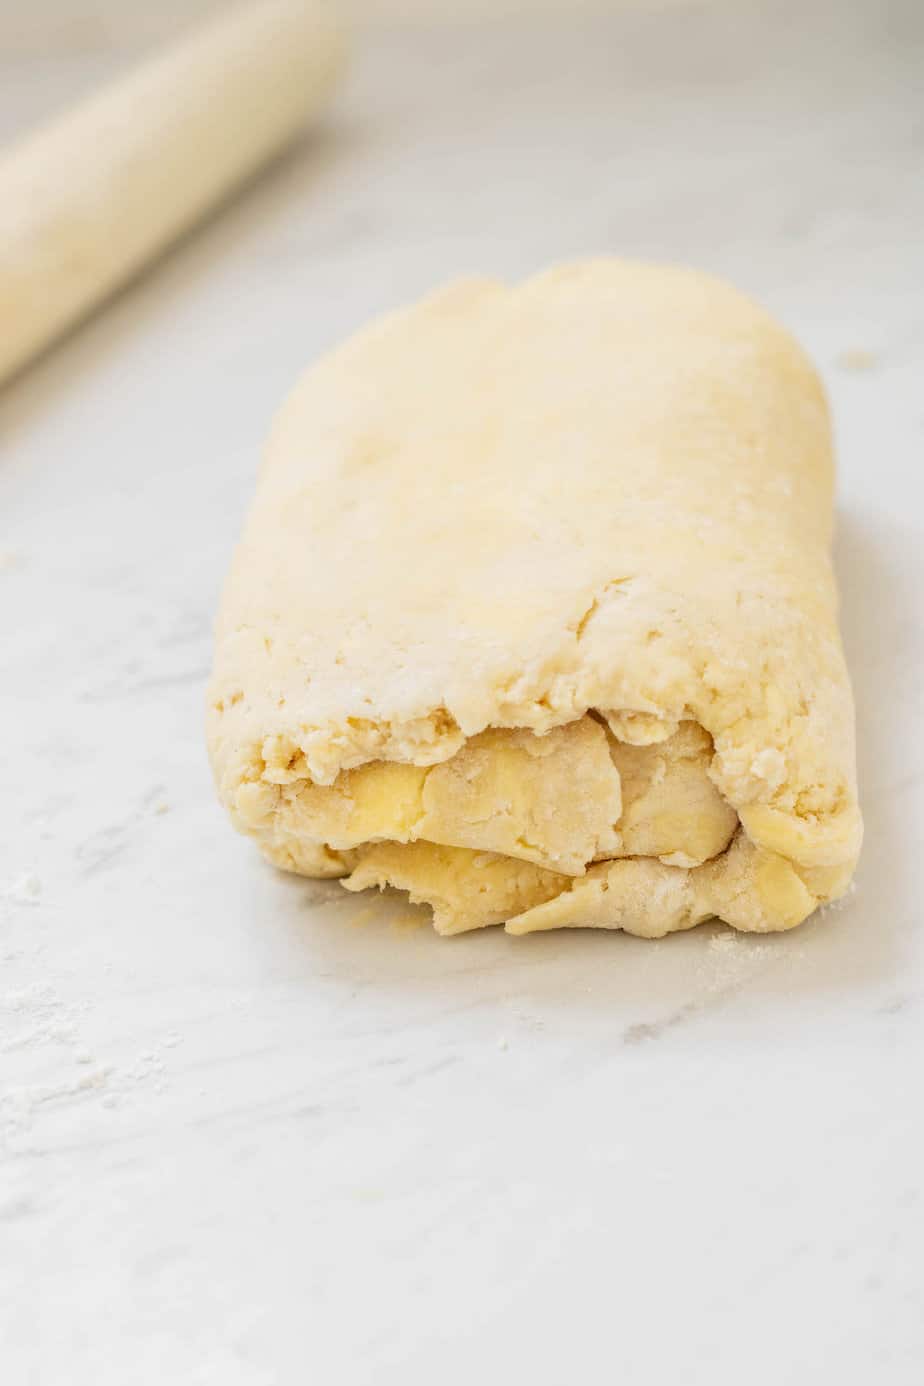
- Fold the bottom ⅓ of the dough up to the middle, then fold the top ⅓ of the dough over top to make a pamphlet shape.
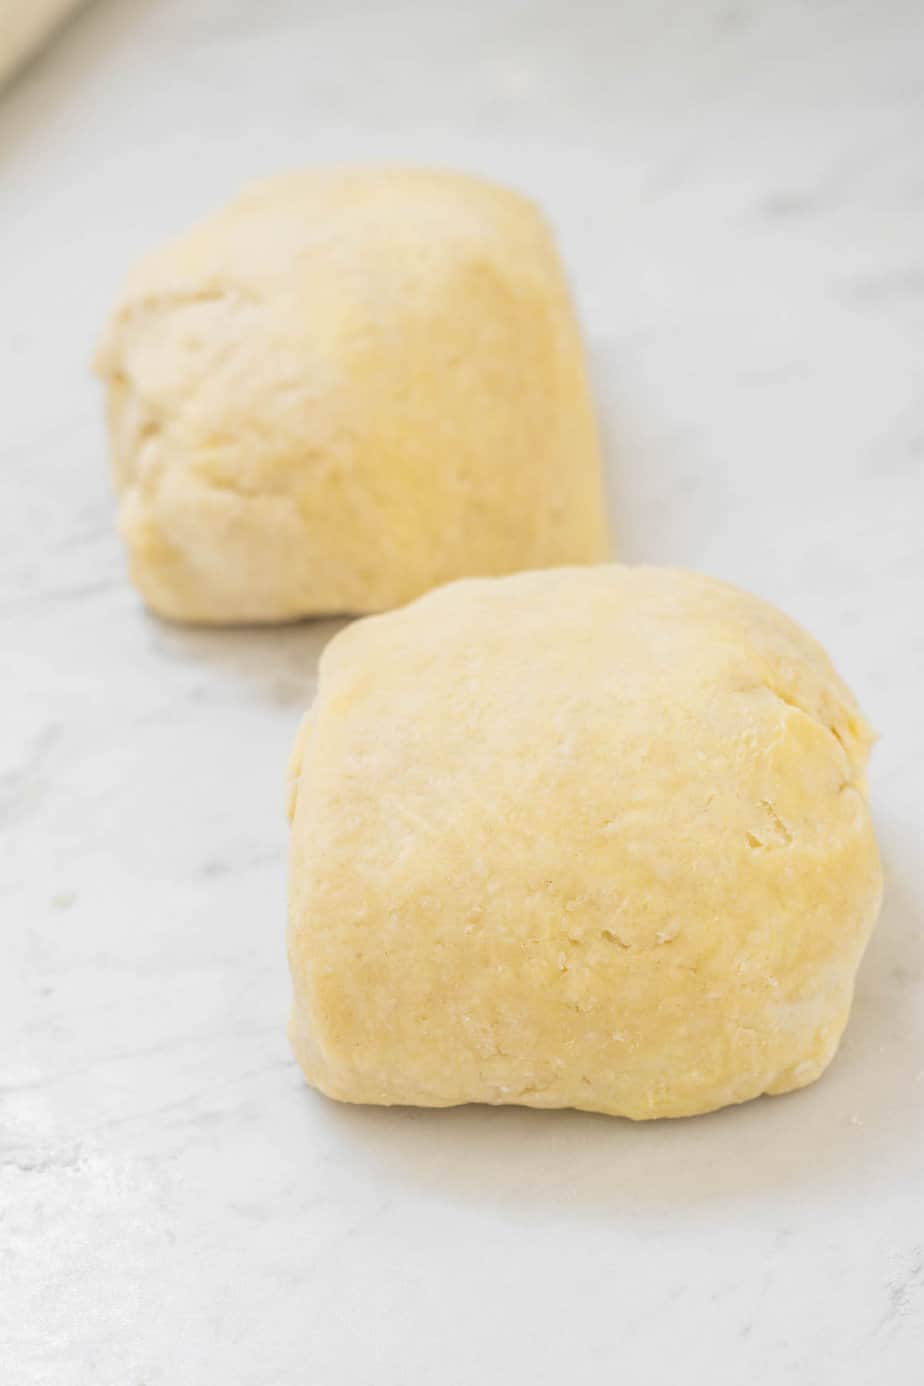
- Turn the dough a quarter turn and repeat this roll and fold process once more. Once finished, cut the dough in two and wrap it tightly before chilling.
Rolling a pie crust
- Roll one piece of the dough into a 12-inch/30cm circle on a lightly floured surface using a rolling pin. Keep the second piece of dough in the fridge until you need it.
- Lightly dust the top of the dough with flour, then gently roll it up the rolling pin like a spiral. Transfer it to a pie pan and carefully unroll it from the rolling pin until it’s draped over the pie dish and overhangs the sides.
- If your circle is a bit uneven, cut off any excess dough around the pie plate to make it even, but leave a bit of an overhang.
- Fill the bottom pie crust with your filling. For single crust pies, flute the edges of the dough and bake as per recipe instructions. For a double crust pie, roll the second dough piece and add it to the filling.
- Use a sharp knife to create some slits in the top to allow steam to escape. Or, make a lattice top.
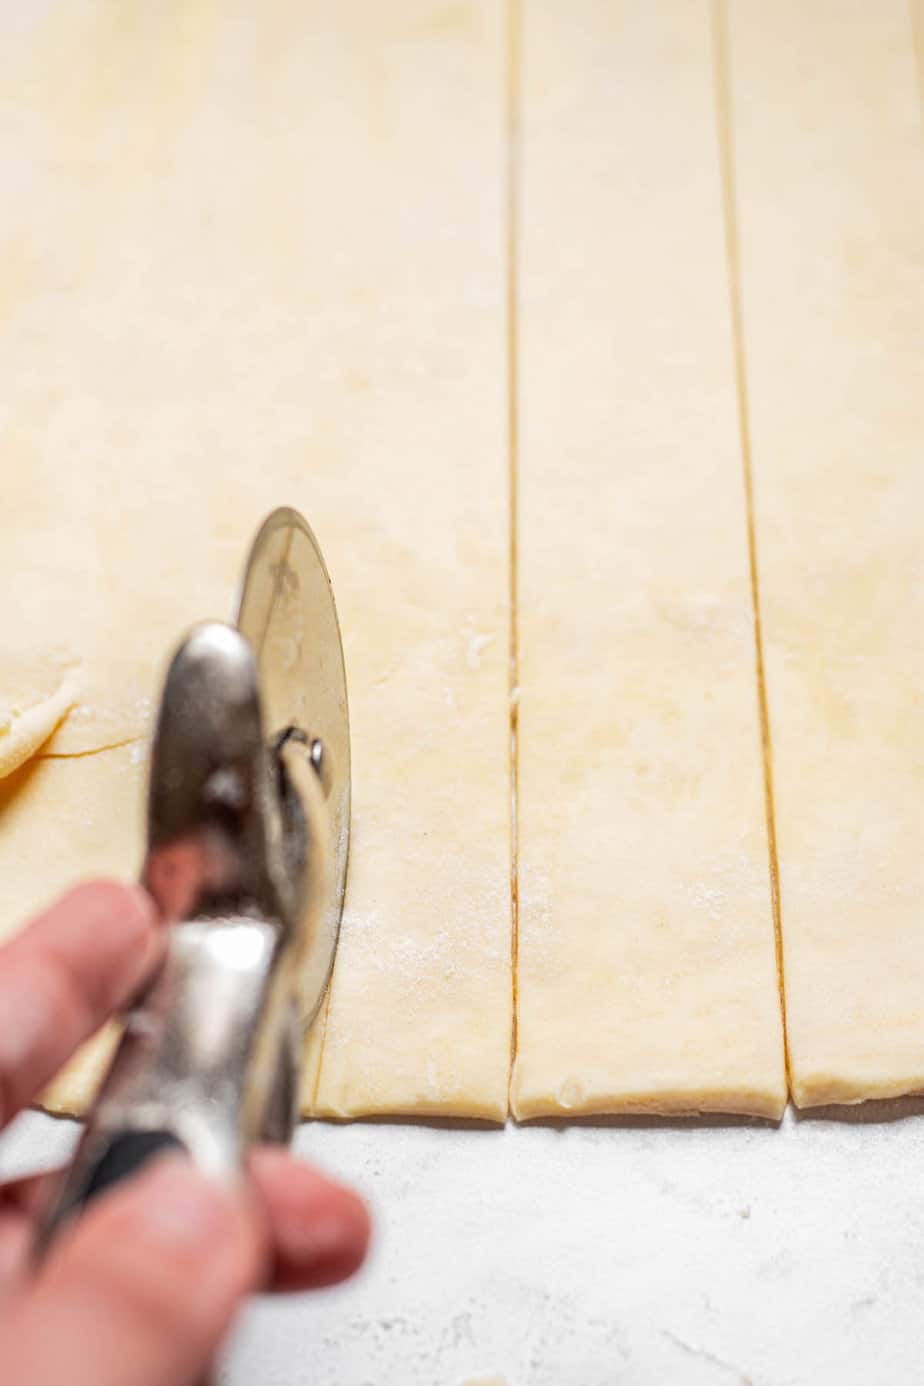
Lattice crust
Cut dough into 10-12 strips of dough, depending on how wide strips you prefer. Lay 5-6 strips vertically on top of the pie. The longest strips will go in the middle of the pie, and the shorter strips can go on the ends.
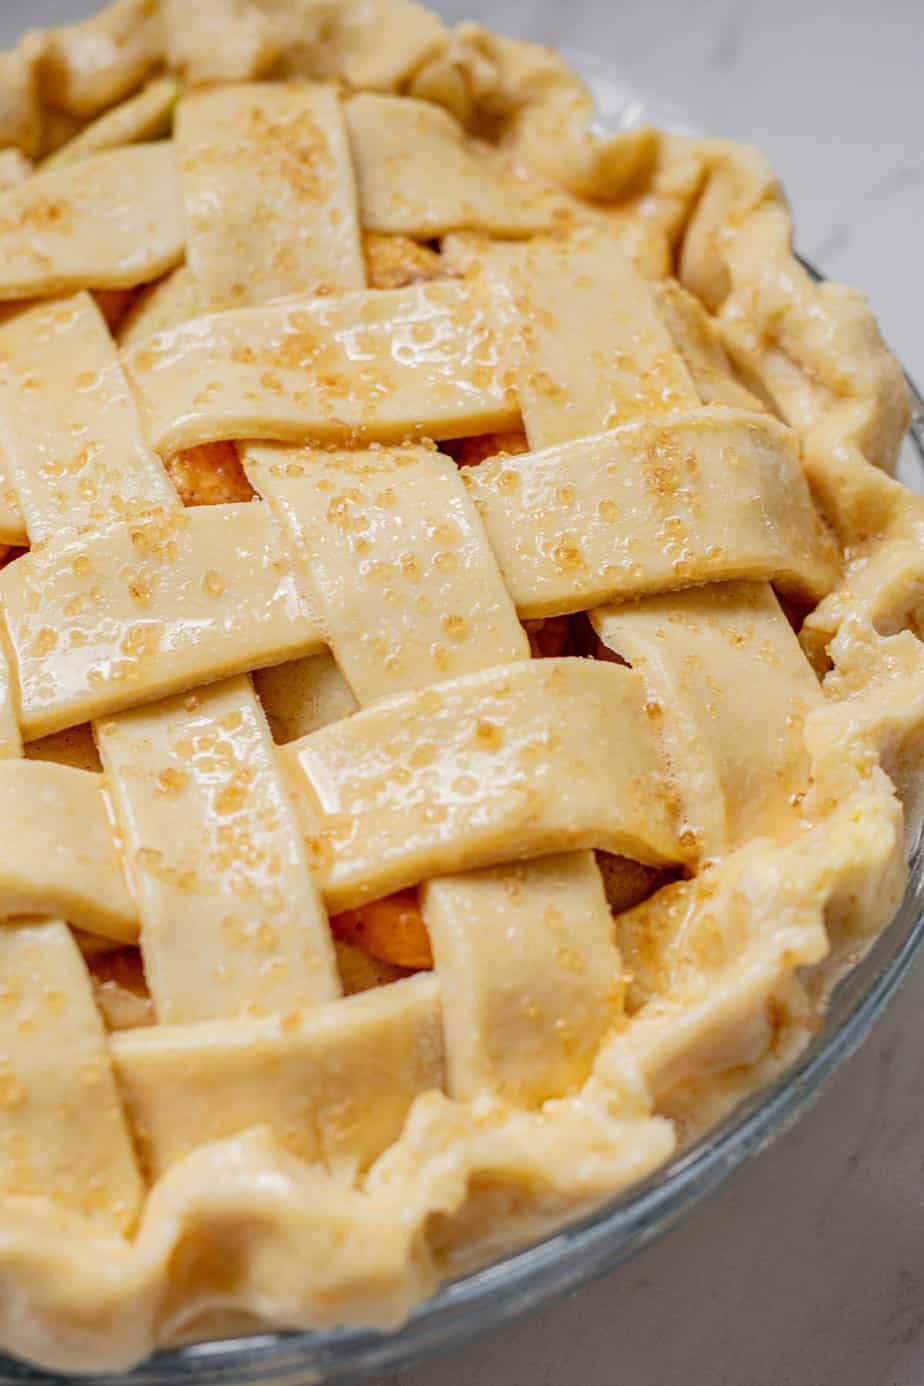
Fold back every second strip halfway. Lay one of the unused strips horizontally in the middle of the pie. Lay it over top of the strips that haven’t been folded back. Unfold the folded strips so they cover the horizontal strip.
Repeat this now but with the other vertical strips. Fold them back and add a horizontal strip to create a weaved pattern. Continue with the remaining strips until the whole pie is covered. Cut off the uneven excess dough overhang. Leave enough overhang so you can roll and pinch together the top crust and bottom crust of the pie. Flute the edges of the pastry with your fingers.
Baking a pie crust
The baking of the pie crust is where all the magic happens. A delicious crust is crispy and flaky. The oven needs to be hot so that the water evaporates fast without the fat in the dough just melting.
The pastry should be baked thoroughly, so it’s a deep golden brown and crispy. Under-baked pie crust is soft, pale, and soggy. It doesn’t matter how well you make the actual pastry. If it’s not baked well you will be disappointed. Some recipes will need blind baking too, read more about how to blind bake a pie crust.
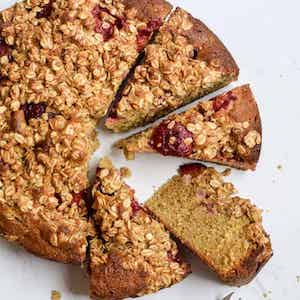
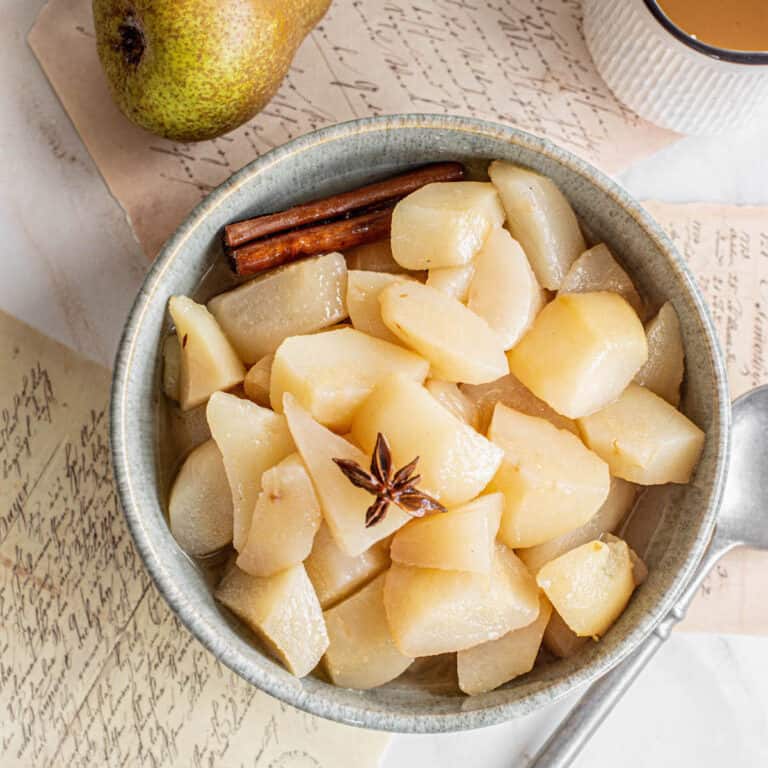
More sourdough recipes

Flaky Sourdough Pie Crust
Ingredients
- 225 g butter cold
- 250 g all-purpose flour
- 1 teaspoon granulated sugar
- 3/4 teaspoon salt
- 100 g discard sourdough starter
- 60 g iced water plus more as needed
Instructions
- Begin by chopping the butter into cubes. Add the cubes to a bowl and place them in the fridge or freezer for 10 minutes to ensure it's cold.225 g butter
- Add the flour, salt, and sugar to a large mixing bowl. Add the cold butter cubes to the flour. 250 g all-purpose flour , 1 teaspoon granulated sugar, 3/4 teaspoon salt
- Use a pastry cutter to cut the butter into small pieces into the flour, or use a food processor to pulse it a few times to break it up. Don't let the butter pieces get too small if using a food processor.
- Whisk together the discard starter and ice water in a small bowl. 100 g discard sourdough starter, 60 g iced water
- Make a well in the middle of the butter mixture and add the sourdough starter mixture. Use a fork to combine it to form a thick dough. Add 1/2 tablespoon of extra water at a time as needed. It needs to hold together easily but not be wet or very sticky.
- If the butter has softened or the dough is warm, place it in the fridge for 30 minutes before continuing with the next step.
Rolling the dough
- Using a rolling pin, roll the dough into a rough 10-inch/25cm rectangle on a lightly floured work surface. There's no need to measure it perfectly, lengthen it to around 10 inches.
- Fold the bottom ⅓ of the dough up to the middle, then fold the top ⅓ of the dough over the top to make a pamphlet shape.
- Turn the dough a quarter turn and repeat this roll and fold process once more.
- Once finished rolling, cut the dough into two and use your cupped hands to shape each piece into a flat disc gently.
- Wrap the dough discs tightly in plastic wrap or place them in a fitted airtight container. Chill it in the fridge for at least 4 hours or up to 2 days before using it.
- Alternatively, it can be frozen for up to three months in a freezer bag or airtight container.


if freezing the dough can you freeze it in the disc shape or does it need rolling out? also what are the thawing instructions?
Hey you can freeze it in disc shape and thaw overnight in the fridge then roll out 🙂